- Mail merge is based on a main document, a data source, and merge fields.
- The fields insert data such as names and addresses, and their appearance is controlled by formatting the field itself.
- The Assign Fields function maps your headers to those of Word to avoid missing or misplaced data.
When working with batches of letters or emails for many people, mail merge in Word is that discreet ally that saves you hours. It allows you to create personalized documents for each recipient from a single template, cleanly and without having to copy and paste names or addresses one by one.
The idea is simple: you use a main Word document , connect it to a data source (a list, an Excel spreadsheet , or a database), and place merge fields in the text where you want Word to automatically insert the information for each record. At the end of the process, Word generates a customized version for each name in the data source , formatted as you choose, and ready to review, print, or send.
What is mail merge in Word?
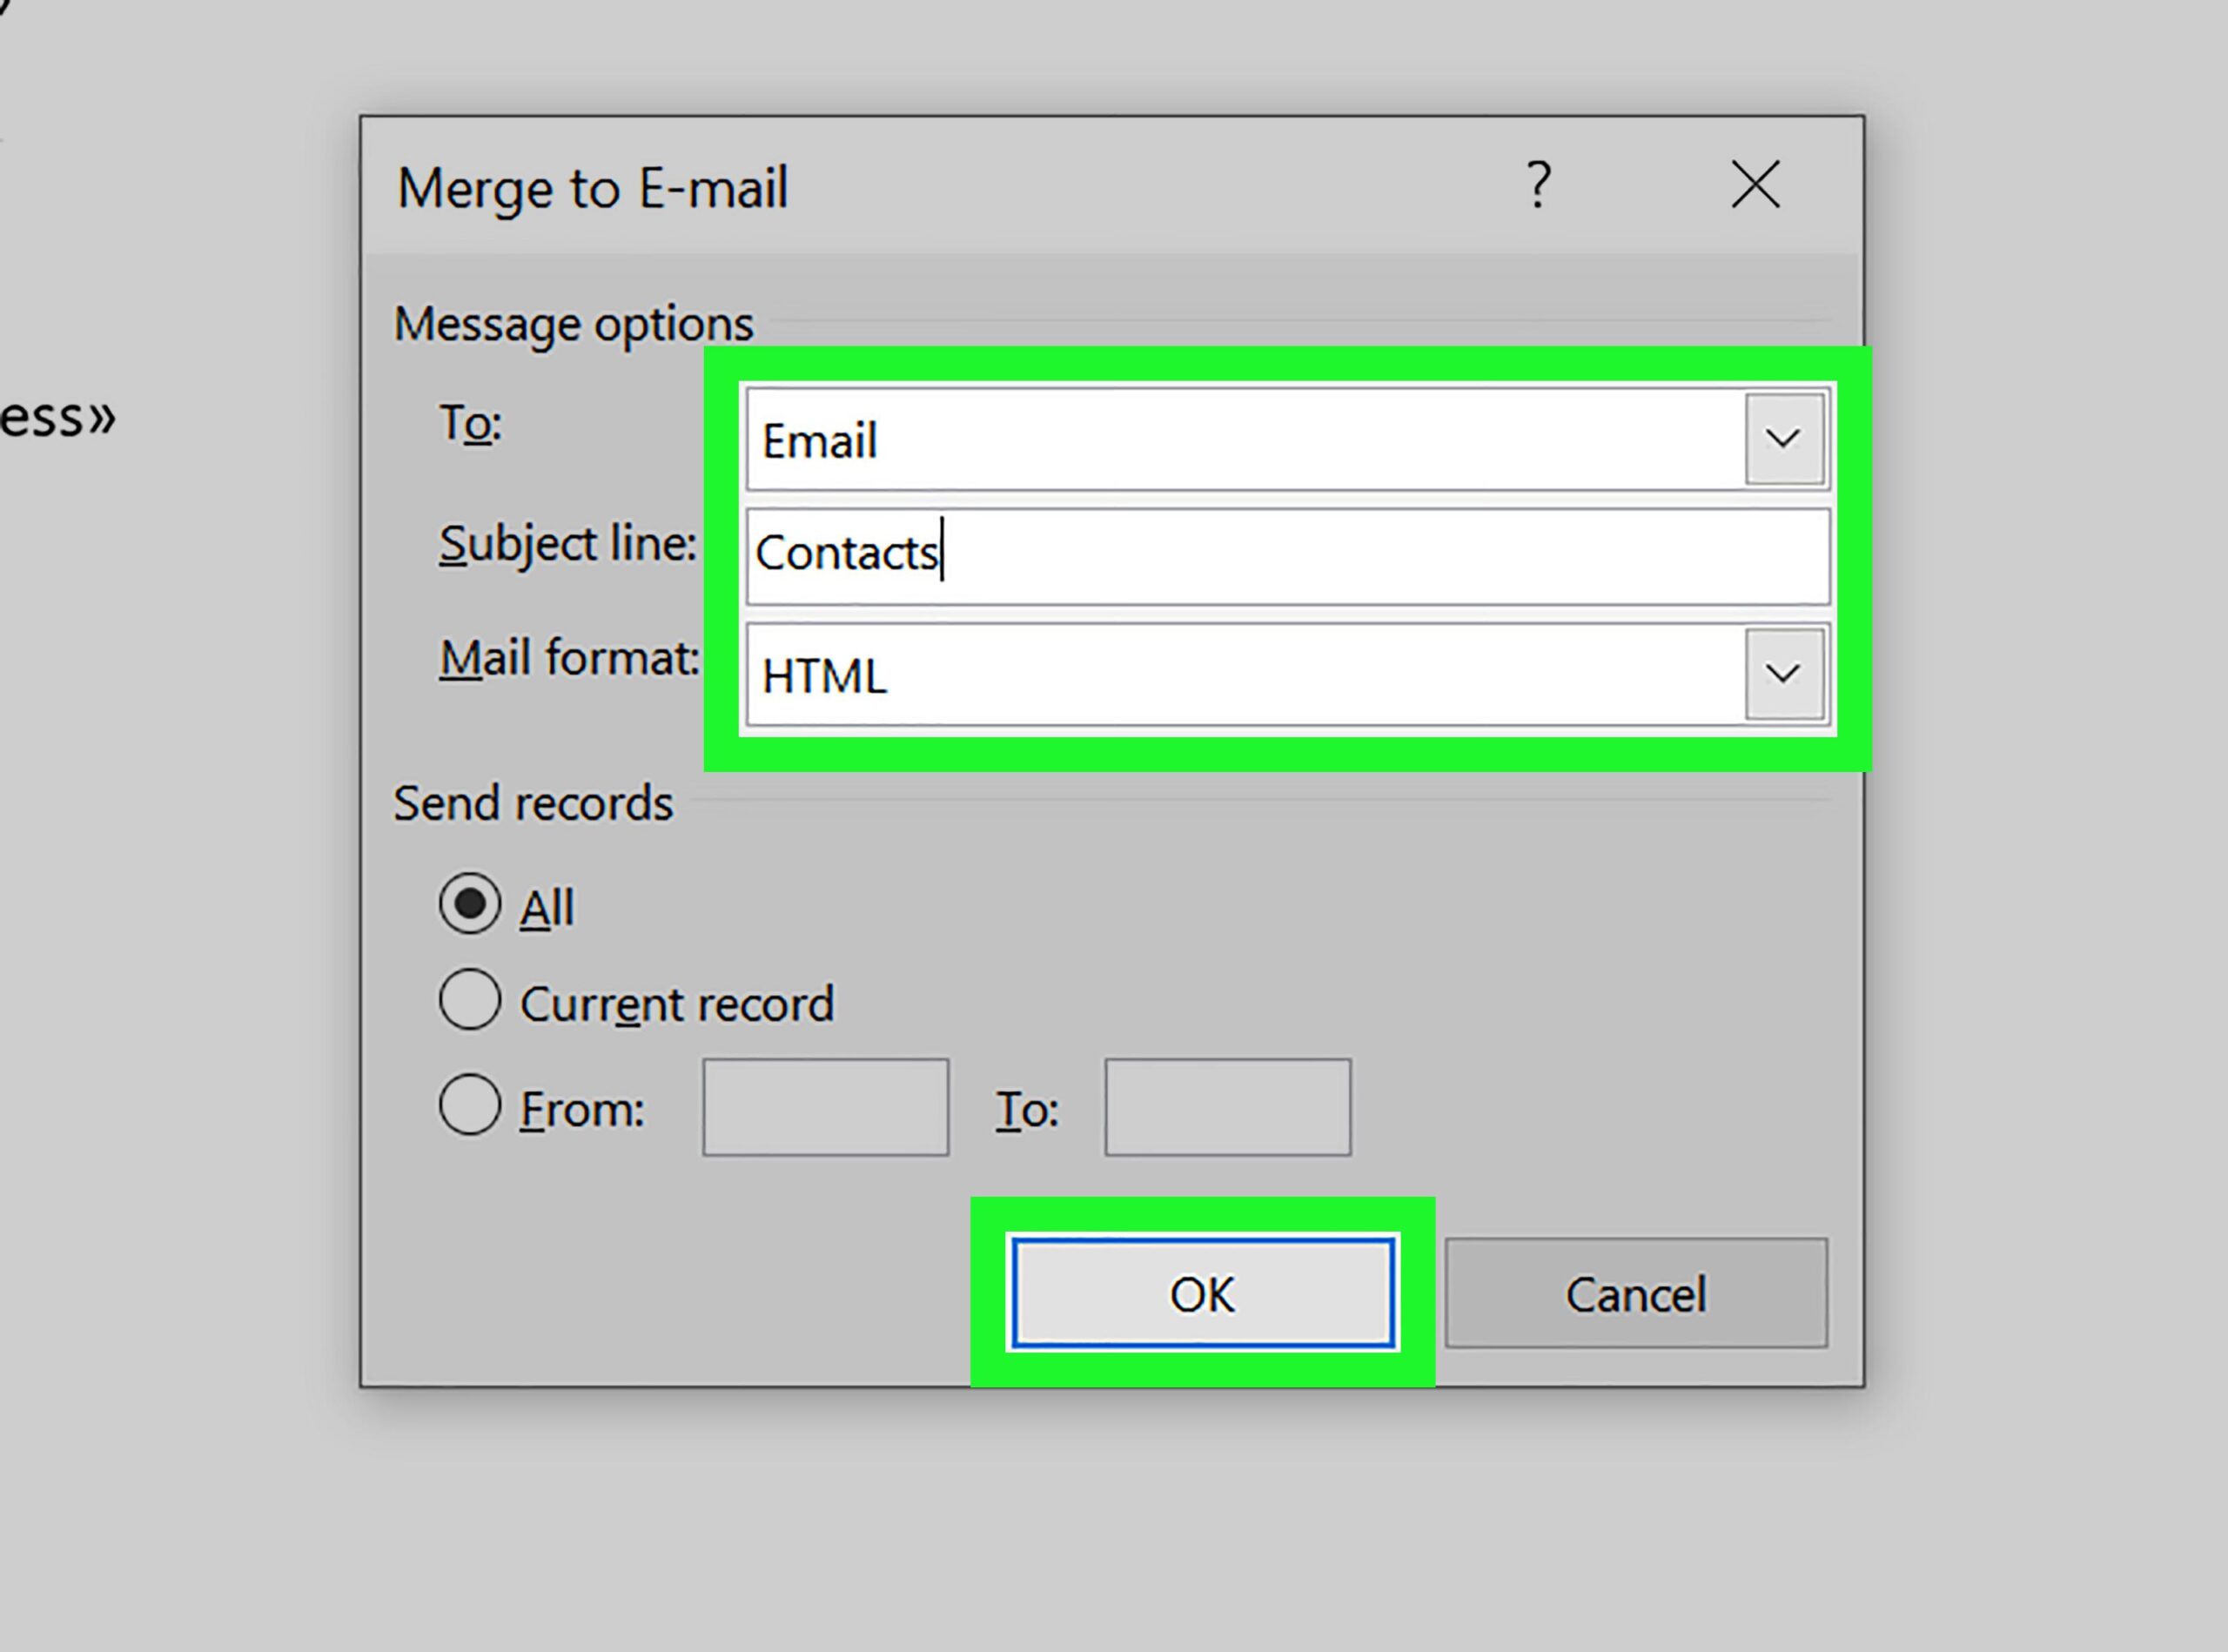
Mail merge is a Word feature that automates the creation of personalized documents by incorporating variable data (such as name, address, or job title ) into a single base file. Instead of writing dozens of letters, you prepare one and let Word insert the appropriate information for each recipient.
To achieve this, Word uses elements called merge fields . These are placeholders that indicate where the information from the data source should be entered—for example, the name in the greeting, the address in the header, or the company in the message body. As soon as you run the merge, these placeholders are replaced with the actual content.
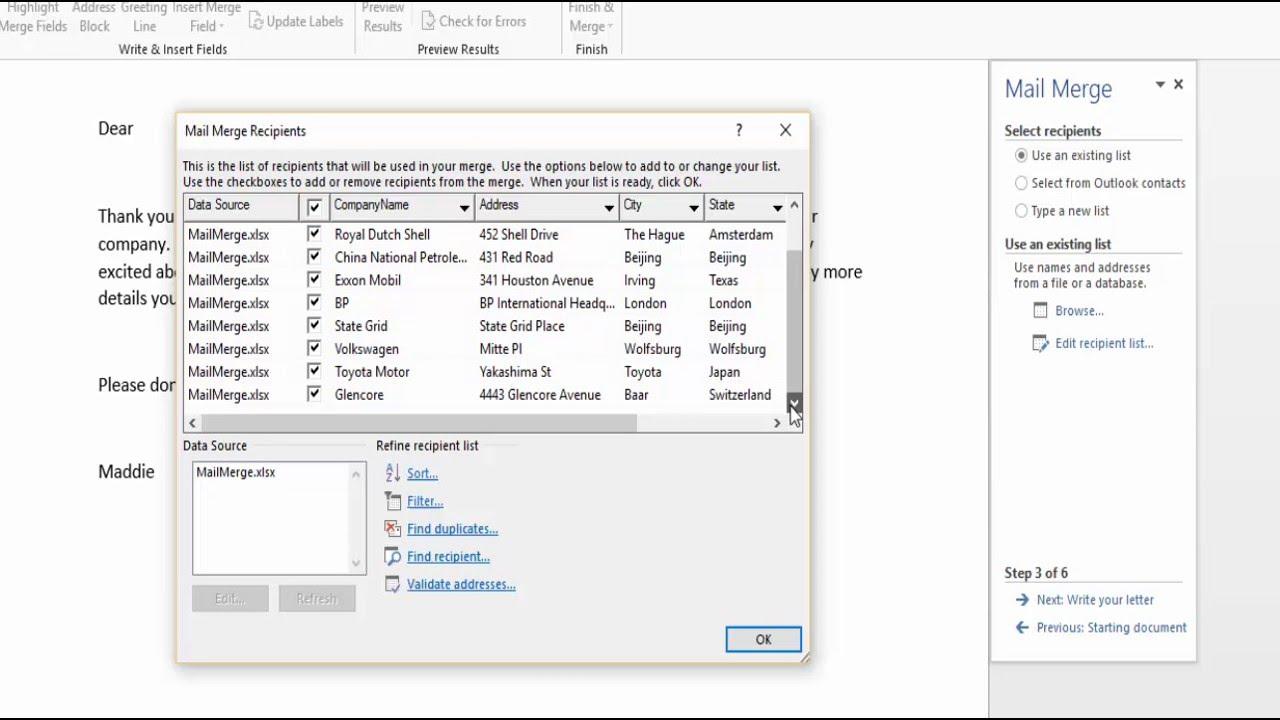
You can use a Word table, an Excel spreadsheet , Outlook contacts, or even a database as your data source. The key is that each column represents a data type (First Name, Last Name, City, etc.) and each row represents a record, that is, a specific recipient.
Once configured, you work on the main document as if it were a normal letter: you write, insert fields where needed, and apply your preferred formatting. After the merge is complete, Word returns a set of documents or pages, one for each recipient, with the text and fields already filled in.
Main document, data source, and merge fields
The first ingredient is the main document , which defines the structure and design: headings, body text, closing, and, of course, the exact location for the variable data. Here you insert the fields and adjust the formatting (font, size, line spacing) just as you would in any Word document.
The second ingredient is the data source , which can come from various sources. The most common is an Excel file with clearly labeled columns (First Name, Last Name, Address, Postal Code, etc.). The more organized this file is, the fewer headaches you'll have when assigning fields and running the merge.
The third element is merge fields . They act as a bridge between the two worlds: you insert them into the main document, and Word populates them with the information from the corresponding column of the data source for each recipient. Thus, {Name} becomes Marta, Carlos, or Lola depending on the record.
When the merge is complete, Word generates a version of the document for each record . In practice, this means that if you have 200 contacts in your list, you will get 200 letters or messages with the personalized data, respecting the format and design you have applied.
How to insert the Greeting Line
One of the most common insertions is the greeting header. Word makes this easy with a specific command to ensure the formula looks perfect and professional, using the first and last name information from the data source.
- open the tab Correspondence and choose the option Greeting lineThis is how you select the type of greeting you want to use.
- In the box that appears, choose the format Choose a greeting that best suits your style (for example, dear, with or without a title, with a comma or a colon, etc.).
- Balance Accept To insert the corresponding merge field into the document, you'll see a placeholder indicating where the actual greeting will be placed.
- Go to File> Save To save your changes. It's good practice to keep saving as you go.
If you notice that the greeting does not display the first or last name as expected, it is advisable to review the field assignments , as the data source may have different headers than those Word expects by default.
Add other fields from the data source
In addition to the greeting, you can insert any information available in your list: company, address, city, or any other data you've prepared. Word's merge tools allow you to insert merge fields that will fill in these gaps in the main document.
The process is similar for all data fields: place the cursor at the exact point in the text and select the corresponding field. This way, the letter will be completely customized, maintaining consistency and style in every output.
- Common fields: Name, Last Name, Address, City, Postal Code, Company.
- Specific project fields: for example, client number, expiration date o contracted product, if you included them in your source.
Insert only the fields that provide relevant information; the more you add without order, the harder it will be to maintain a clear and professional presentation . If you're missing any data, you can return to the data source, complete it, and update the connection.
Assign fields to avoid missing data
Sometimes, the column in your data source isn't named exactly as Word expects (for example, you have "Customer_Name" instead of "Name"). For these situations, Word includes a field mapping function that maps your headers to the standard fields in the join.
Field mapping solves common problems like missing parts of addresses or greetings not displaying surnames. If you notice gaps in the results, go into the mapping settings and check that each standard field is linked to the correct column in your list.
A good practice is to review this mapping before you start inserting many fields. This ensures that when you run the merge, Word will find the exact information it needs to incorporate into the document without errors.
If you update your source (add new columns or change the titles), it's a good idea to go back to the assignment to verify that everything is still properly linked , especially in projects with many recipients.
Adjust the format of the combined content
Word lets you fine-tune the appearance of incoming data to ensure a flawless result. If you want to change the font, size, or spacing of inserted data, simply select the merge field name in your document and apply the formatting as you would with any regular text.
This method is especially useful in postal addresses, where it may be desirable to use tighter line spacing or a legible font for envelopes. Similarly, in salutations or company names, a slightly larger font size can make a visual difference.
Remember that the formatting you apply to the merge field will affect all records when you generate the documents. Therefore, it's worth taking a minute to experiment with different styles until you find the look that best suits your brand or the formality of the submission.
If you're working with corporate templates, try to maintain consistency with your organization's style guide : font family, allowed colors, sizes, and margins. Mail merge respects all of those design decisions.
Save, generate, and review the results
With the fields inserted and the formatting to your liking, it's time to generate the result for each recipient. Once the merge is complete , Word produces a customized version for each record in the data source, allowing you to review each document individually and make minor adjustments if needed.
It's advisable to save the main document frequently ( File > Save ) and, if you create a file with the expanded results, keep it separate. This way, if you need to redo something, you can return to the template and repeat the merge without losing your previous work.
In very long mailings, a good strategy is to preview with a few records to check that the fields fit correctly, that the greeting line is correct, and that there are no strange breaks in paragraphs or line breaks.
Once you are satisfied, you can print, generate a single file with all the letters, or, if your workflow allows it, prepare the content to be used in email messages with the same level of personalization.


Passionate writer about the world of bytes and technology in general. I love sharing my knowledge through writing, and that's what I'll do on this blog, show you all the most interesting things about gadgets, software, hardware, tech trends, and more. My goal is to help you navigate the digital world in a simple and entertaining way.