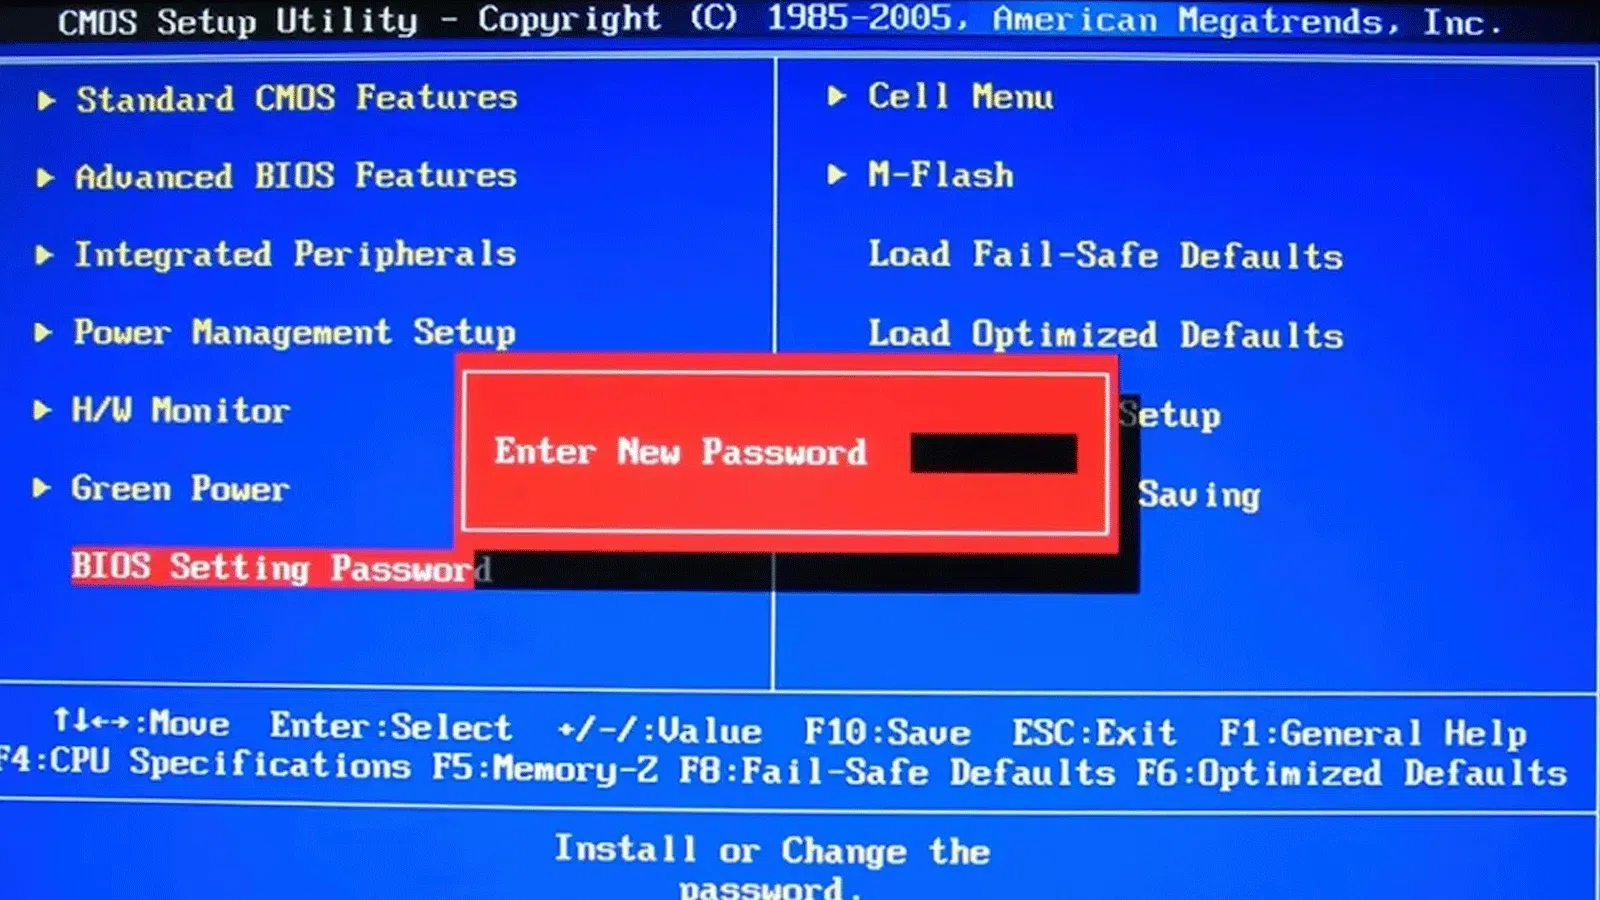
If you've forgotten your BIOS/UEFI password or are locked out by a setting that requires a password at startup, don't worry, you're not alone. This article will show you all the safe and legal ways to remove, reset, or disable a BIOS/UEFI password on desktop and laptop PCs, with important nuances depending on the brand (Dell, Lenovo , HP, ASUS) and the type of computer.
We'll review the purpose of setting a firmware password, the scenarios in which it's worthwhile, and most importantly: effective methods for regaining control when you've forgotten the password or when you no longer want to be prompted for it at startup. We'll also clarify when a simple CMOS battery won't suffice, when a jumper is the better option, when to contact official support , and what limitations exist with password-protected drives (especially NVMe).
Why put a password on the BIOS/UEFI?
We don't usually touch the BIOS on a daily basis; in fact, many people don't even access it after the initial setup. Even so, in certain situations it's advisable to protect it: this prevents unauthorized changes to the boot process and critical options , which is crucial in shared or work environments where multiple people use the same computer.
This protection is especially important on laptops, where theft or loss can be a major problem. Preventing someone from disabling security measures or altering the boot order adds an extra layer against opportunistic access ; however, in companies, the IT department usually maintains strict control over passwords and equipment, so don't worry too much if you have IT support.
The problem arises when time passes and we forget the firmware key. Setting the password is easy; remembering it after two years, not so much . Luckily, there are ways to restore factory settings or unlock the firmware, although on laptops it's usually more complicated than on desktops.
You should also consider whether, currently, a BIOS/UEFI password is the most effective tool for your situation, or if, as explained, it makes sense to bypass the BIOS password . Sometimes it's more beneficial to strengthen operating system security (accounts, BitLocker/VeraCrypt, policies) or rely on key managers and cloud-based solutions with vaults.
How to enter the BIOS/UEFI if you have forgotten your password
There are several ways to regain access. Some are universal, while others depend on the brand or form factor (tower vs. laptop). Before anything else, remember that resetting the CMOS will erase your BIOS settings : boot order, XMP/EXPO profiles, SATA mode, etc., and will return you to factory defaults.
Important: Turn off the computer, unplug the power cord, and wait a few minutes before opening the case. Avoid electrostatic discharge by using an antistatic wrist strap or by touching a grounded chassis. This will minimize risks when handling the motherboard.
Classic option: remove the CMOS battery
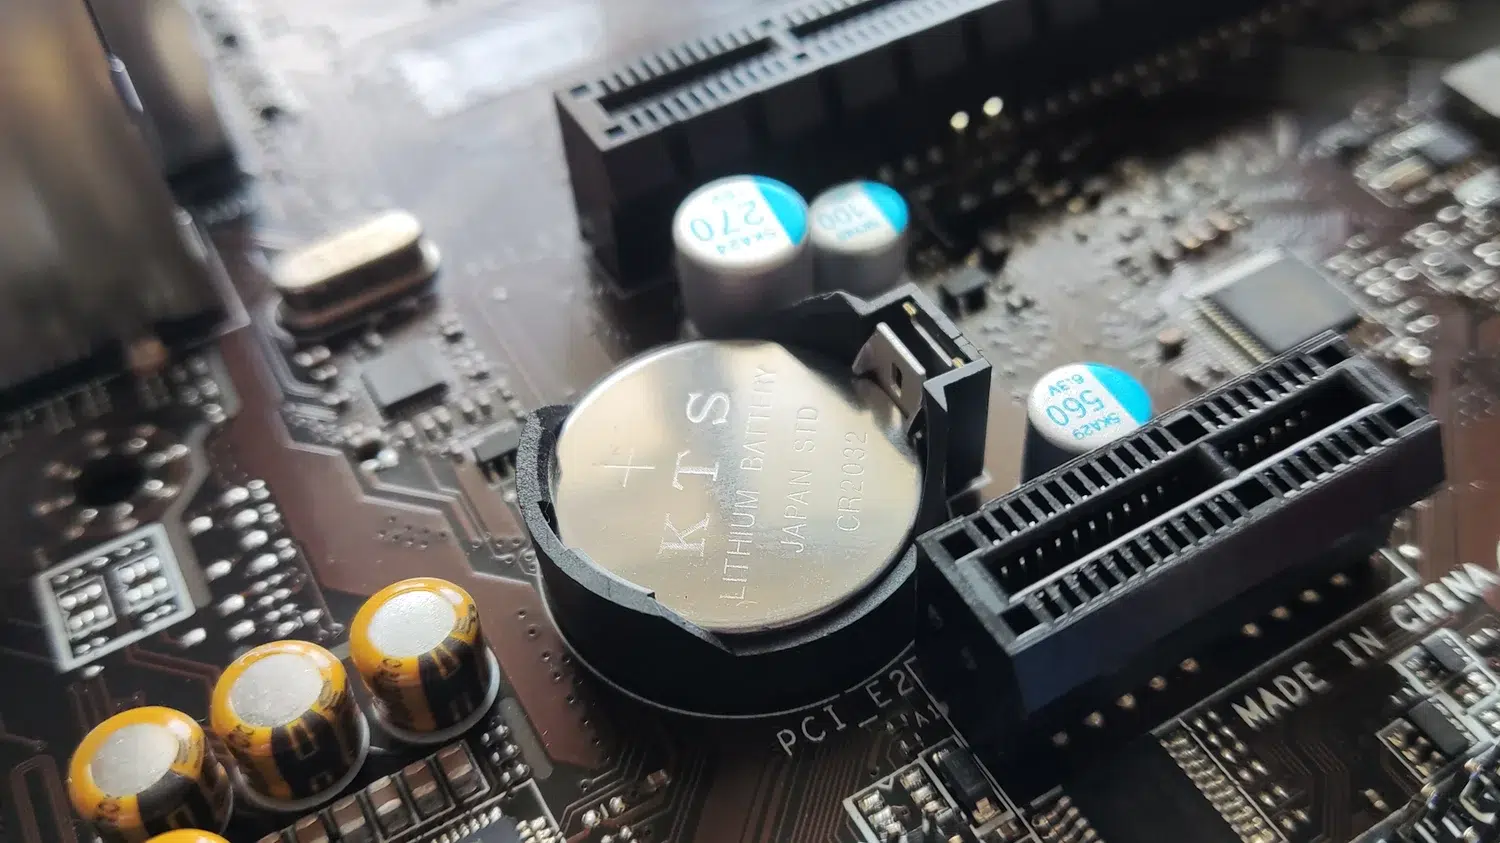
Many motherboards use a coin cell battery (CMOS) that stores the time and firmware settings. If you remove it for a long enough time, the settings and password will usually be erased . This method still works on a good number of desktop motherboards today.
Typical steps: 1) Turn off and unplug, 2) Wait 5-10 minutes for the standby components to discharge, 3) Carefully remove the battery (using a small screwdriver or your fingernail), 4) Leave the computer without the battery and power for 20-30 minutes , and 5) Replace the battery, plug it in, and start it up. If everything goes well, it won't ask for a password, and the BIOS will be clean.
Note: On many modern laptops and some UEFI systems, some security information may be stored in NVRAM or associated with other components (e.g., TPM ), so removing the battery will not erase the password . Additionally, some ultrabooks have an integrated or soldered CMOS battery, which complicates the process.
Clear CMOS with dedicated button
On recent mid-range/high-end motherboards, you'll see an internal "Clear CMOS" button, or one even visible on the rear I/O panel. Pressing and holding it for about 10 seconds (refer to your manual) with the computer powered off but still plugged in usually resets the configuration without opening the case.
The advantage is that you achieve the same result as removing the battery, but without touching delicate sockets. It's cleaner, faster, and generally less risky . On the other hand, if someone knows about it and presses it as a joke, they can restore your system to factory settings without asking permission.
Clear CMOS via jumper
If you don't have a button, the classic jumper is still the best option. Look on the motherboard for a connector labeled "CLR_CMOS," "CLRMOS," or similar variations (some even have "CLR_CMS" markings). To do this correctly, turn off and unplug the computer and locate that 2- or 3-pin connector.
Depending on the design: if there are two pins, remove the cap for a few seconds and replace it. If there are three, you'll usually see it in position 1-2 (normal); move it to 2-3 (clear) for a few seconds and then return it to 1-2. Many boards indicate this right next to the pins: "1-2 Normal" and "2-3 Clear CMOS," so check the silkscreen or consult the manual.
This procedure is also useful for checking that everything is saved correctly after changing a dead battery: you clear the BIOS, reconfigure the BIOS, turn the computer off/on, and verify that the settings are maintained correctly.
Flash the BIOS/UEFI to a new version
Updating the firmware can, on some models, revert parameters to default values and allow booting without a password . The problem is that certain update processes require the setup key, meaning you won't be able to start the flashing process if you don't know it.
It depends entirely on the manufacturer and the motherboard. In some cases, even with a password, the flashing mechanism ( USB Flashback, EZ Flash, Q-Flash, etc.) allows you to update without knowing the password , thus removing the lock. In others, you'll have to resort to physical methods (jumper, battery) or using the support bracket.
Typical cases and nuances by brand and type of equipment
Desktop towers offer more physical unlock options (battery, jumper, button). Laptops present a different picture : they typically lack an accessible jumper, and manufacturers manage unlocks centrally to prevent theft. Here are some key differences.
Dell: “PSWD” jumper on desktops and unlock code across the entire catalog
On many Dell desktops, you can clear all BIOS passwords (system, setup, and disk) using the password jumper, marked "PSWD" or "PASSWORD". The typical procedure is: download the service manual for your model , locate the jumper, power off and disconnect it, remove the cap, power on without the cap to fully boot, power off, and replace the cap.
On laptops (and also on desktops without a jumper), Dell offers a release code system : you enter an incorrect password 3-5 times until the computer displays an error code. You write down the exact code, contact support, provide proof of ownership, and they give you a release code that unlocks the computer.
Important notes: Clearing a BIOS password does not erase your files; it affects the firmware, not Windows or your data. However, if your problem is a hard drive (HDD/SSD) password, Dell cannot always help, and especially with NVMe drives, there is no release code that will work: that protection is usually permanent.
According to the documentation, these options cover a very wide range: Alienware, Inspiron, Latitude, Vostro, XPS, OptiPlex , desktop and mobile workstations, AIOs, and Dell Pro/Plus/Max families, among others. Always verify the service tag and manual for your specific device.
Lenovo: The administrator password cannot be reset except by replacing the motherboard.
Lenovo's policy is clear: if you forget your administrator password for the BIOS setup , authorized support cannot reset it. The official solution is to take the computer to an authorized service center to have the motherboard replaced, with proof of purchase and the cost of parts and labor.
If "Power On Password" is enabled, you can log in with your user or administrator password, but without the admin password you won't be able to access the settings to modify critical options. Again, only someone with admin privileges can change or delete passwords.
With hard drive passwords, the warning is even more serious: if you forget it, authorized personnel cannot recover it or retrieve the data. You'll have to replace the drive and accept the loss of your information . That's why it's crucial to take extreme precautions when setting an HDD/SSD password.
HP: “Power-on Password” and cases where removing the battery doesn't help
On HP computers, it's common to see a "Enter power-on password" prompt before Windows starts. If you know the password but find it annoying, you can access the firmware and disable the Power-On Password from the security menu (Security > Power-On Password or equivalent option).
If removing the CMOS battery didn't work, don't be surprised: on many modern HP laptops, the password persists because it's stored outside the traditional RTC/CMOS. This explains why, even if you wait 30 minutes without the battery, the window reappears as if nothing happened.
If you completely forget your password, especially on laptops, you'll need to contact HP's official support to have it unlocked, providing proof of ownership. If the cost or process doesn't suit your needs, consider whether you truly require this protection or if you can replace it with security measures within the operating system.
ASUS: ROG/Notebooks and MiniPC, user and administrator passwords
On ASUS laptops (for example, a ROG Strix G15), you can configure both the user and administrator passwords. Sometimes, when combining both, you might find yourself unable to access the BIOS setup even if you know both passwords, due to UEFI policies.
On ASUS desktops, more and more motherboards feature a rear Clear CMOS button and CPU-less flashing capabilities (BIOS Flashback), making it easier to reset even if you don't remember your setup password. For compact PCs and MiniPCs (PN, PB, PL, PA, and related families), it's recommended to consult the manual for your exact model or contact support if there's no accessible jumper.
ASUS maintains documentation under the umbrella "How to set up or resolve a forgotten BIOS/UEFI/boot password," which covers a good number of products, including PN40/PN41/PN42/PN50/PN52/PN53/PN54/PN64/PN65/PN80 , PB40/PB50/PB60/PB61/PB62/PB63/PB64, PL63/PL64, PA90, and others. Always check the specific guides and support for your model number.
When to rely on the service manual
If you can't find the jumper, if the board doesn't have a button, or if the steps don't make sense, you'll need to consult the official documentation. Download the service manual from the manufacturer's website using the service tag, serial number, or product code.
The manual will tell you the exact name of the jumper (“PSWD”, “CLR_CMOS”, “CLRMOS”, etc.), its location, and the correct sequence (pins 1-2/2-3, timings, precautions). Following this guide will prevent surprises and wasted time trying things out blindly.
Regaining control of the BIOS/UEFI involves choosing the method that best suits your computer: battery or jumper on desktops, Clear CMOS button (if present), flashing (if your motherboard allows it without a password), and official support for laptops (including the code system on Dell). With HP, ASUS, or Lenovo, there are important specifics that should be respected; and, if what bothers you is a known Power-on Password, the correct approach is to disable it from the firmware itself instead of forcing a reset that erases useful settings.


Passionate writer about the world of bytes and technology in general. I love sharing my knowledge through writing, and that's what I'll do on this blog, show you all the most interesting things about gadgets, software, hardware, tech trends, and more. My goal is to help you navigate the digital world in a simple and entertaining way.
Table of Contents
- 1 Why put a password on the BIOS/UEFI?
- 2 How to enter the BIOS/UEFI if you have forgotten your password
- 3 Typical cases and nuances by brand and type of equipment
- 3.1 Dell: “PSWD” jumper on desktops and unlock code across the entire catalog
- 3.2 Lenovo: The administrator password cannot be reset except by replacing the motherboard.
- 3.3 HP: “Power-on Password” and cases where removing the battery doesn't help
- 3.4 ASUS: ROG/Notebooks and MiniPC, user and administrator passwords
- 4 When to rely on the service manual