- Key differences between embedding and linking: file size, dependency on the original, and updating changes.
- Text, anchor, and position adjustment: Control how content flows around images and where they are anchored.
- Size, Crop, and Format: Quick tools to scale, rotate, crop, and apply styles without leaving your computer. Word.
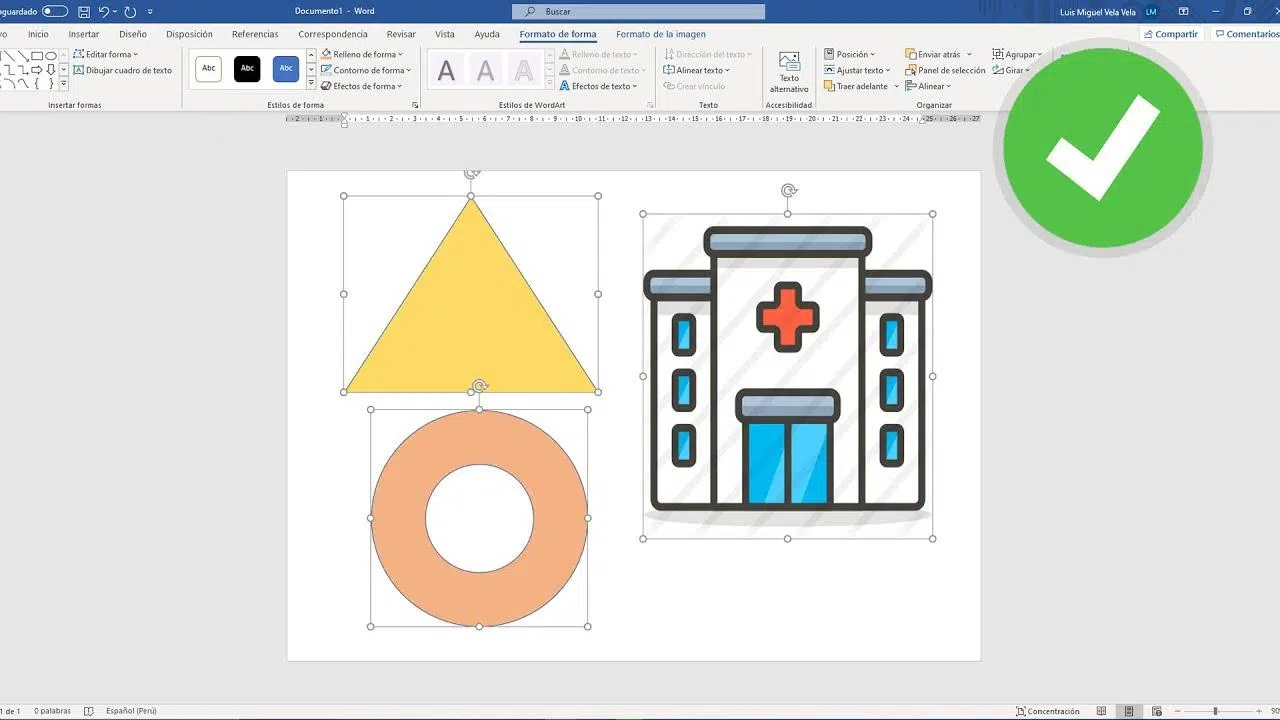
Working with images and objects in Word can be as simple as drag and drop, but if you truly want control over the outcome, it's essential to master linking and embedding files, text wrapping, anchoring, and sizing and cropping options. This guide brings together, step by step, everything you need to achieve flawless results.
Throughout this article, you'll learn when it's worthwhile to insert a copy within the document and when it's better to keep the original file linked, how to make the text follow the image's outline, what the anchor point means , and how to fix an exact position on the page. We'll also review tricks for sizing, rotating, cropping, and styling that will save you time and headaches.
Linking vs. embedding objects and files
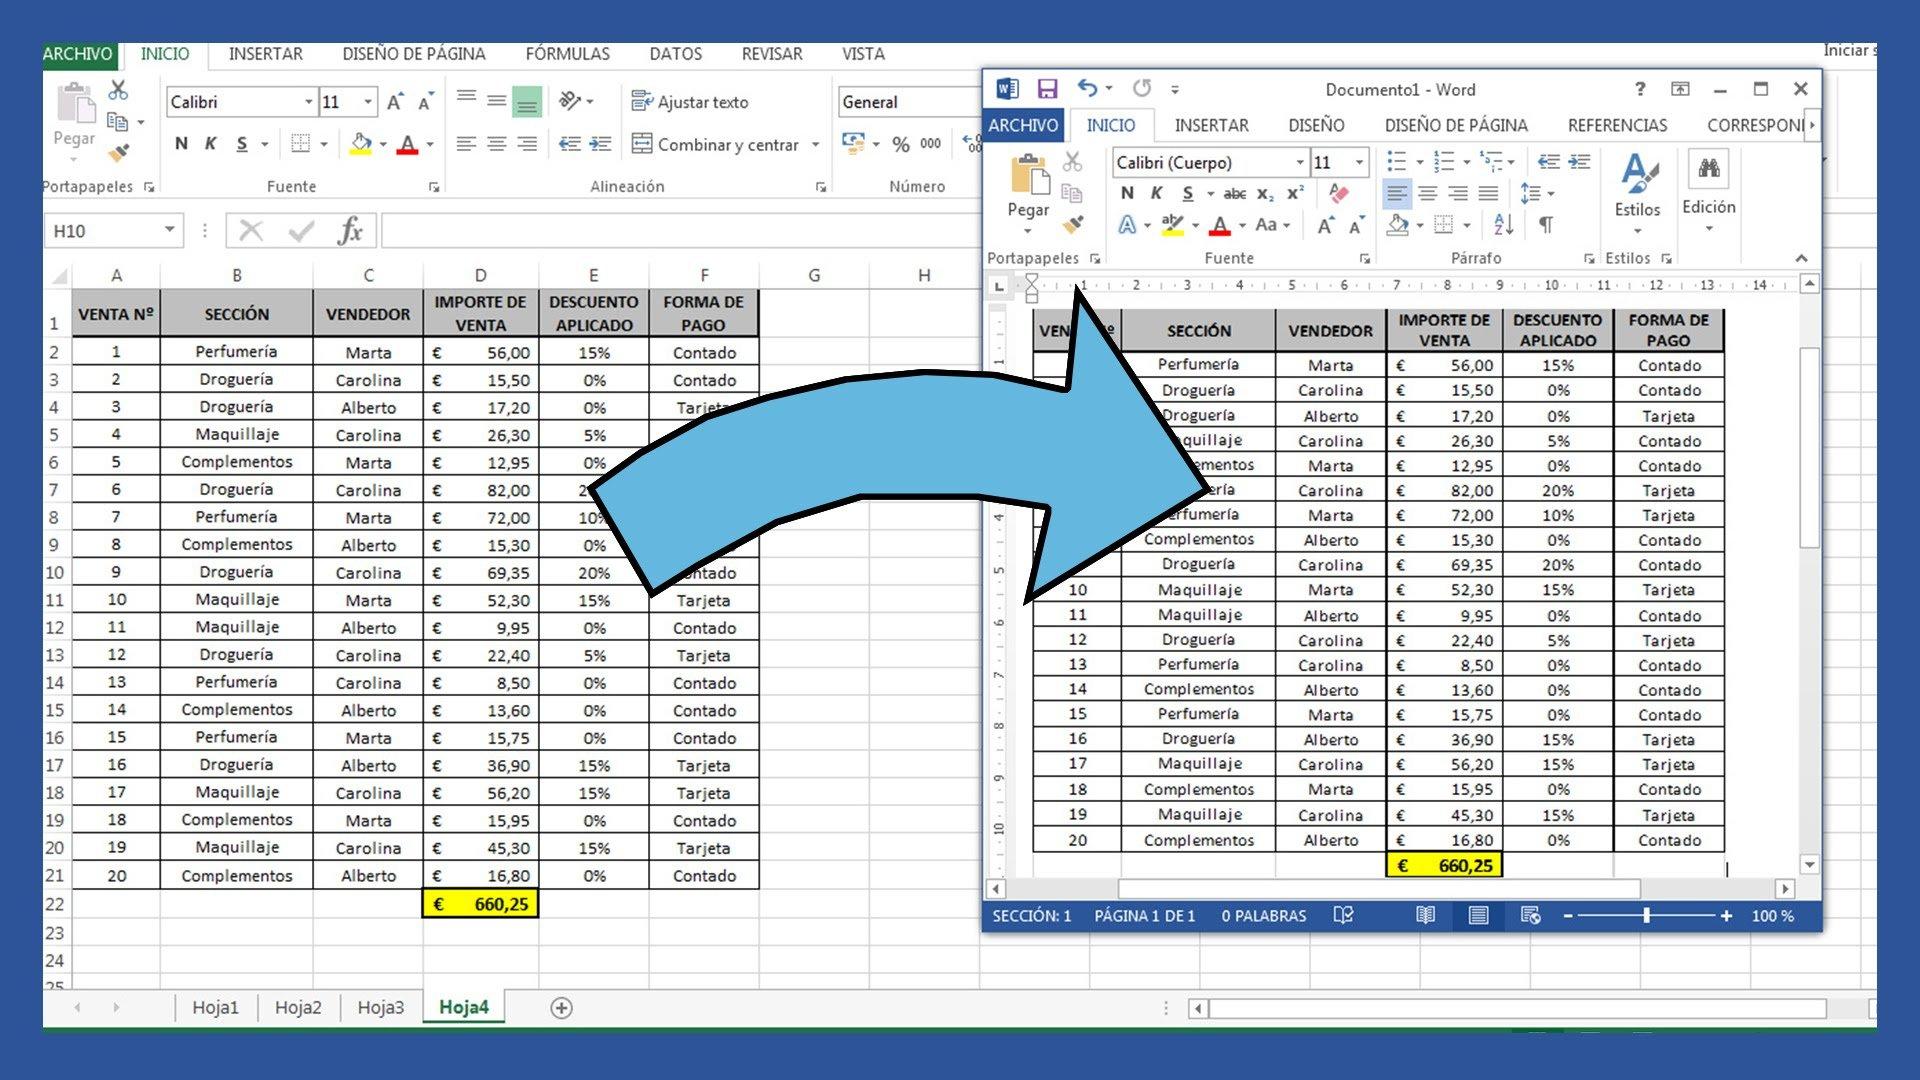
When you insert external content into a document (for example, a dynamic chart from another application or an additional document), you have two options: embed a copy within Word or create a link to the original file to keep it separate.
Embedding means that the object becomes part of the .docx file, so it travels with it and can be opened without access to the source file; in return, the document size increases and changes to the original are not automatically reflected in Word.
Linking, on the other hand, keeps the file outside the document and creates a reference; thus, updates in the original can be seen in Word, the .docx weighs less, but you will need access to the linked file for everything to work correctly on other computers.
To manage both options from Word using the object box , you can follow this clear and direct workflow, which focuses on the key steps without missing any details:
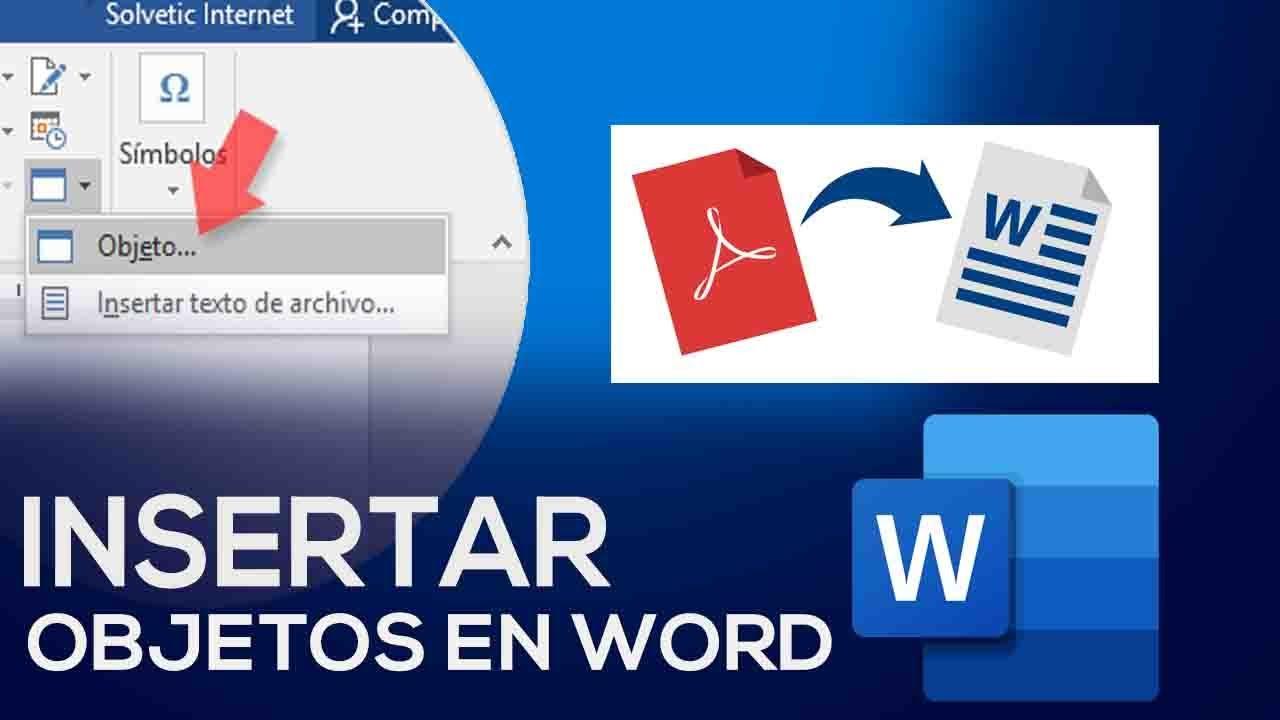
- Go to Insert > Object to open the objects dialog box.
- Choose Create from file to bring in existing content.
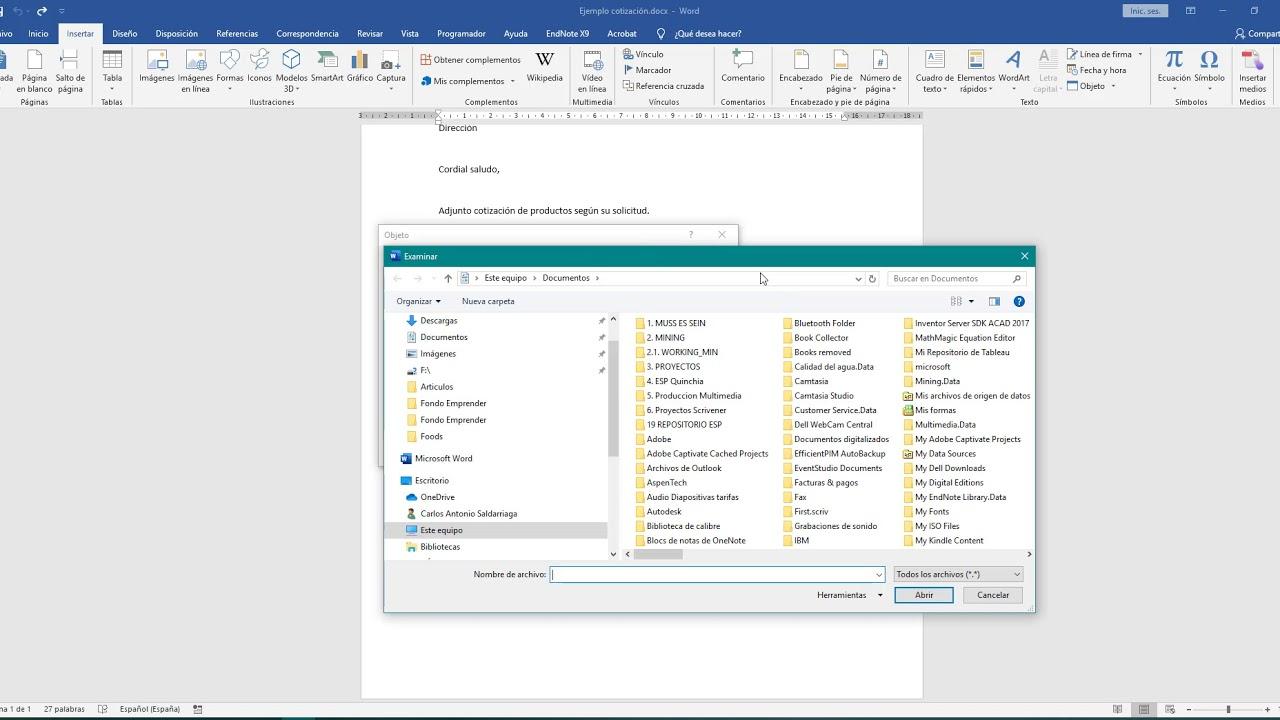
- Click on Browse and select the file you want to use (image, document, spreadsheet, etc.).
- Confirm with Insert to load the reference to the chosen file.
- Decide how to add it: check Show as icon if you want it to appear represented by a clickable icon, or activate Link to file if you prefer to keep a link instead of embedding the copy.
- Finish by pressing Accept to insert the object with the chosen mode.
There is another valid way when the content is open in its original program: select the object there, copy it and paste it into Word ; depending on the type of element, Word can include it as an embedded copy or as a link, and you can always adjust its link or presentation properties afterwards.
Remember that choosing "Link to file" is especially useful with data that changes (for example, charts that are updated frequently, or when it's convenient to sync OneDrive with Office ), while embedding is the solid alternative when you want the document to be self-contained and not dependent on external paths.
Insert illustrations and adjust how text flows
A well-placed image reinforces any explanation: diagrams , charts, photos, or icons make reading easier and help you grasp ideas quickly. In Word, you can insert an illustration virtually anywhere in the document, either as a separate paragraph or integrated within the text.
The usual practice is to place the image in a paragraph just for it, so that it is the only content of that line; if after inserting the image you press Enter, Word will create a new paragraph below to continue writing without the image getting in the way.
You can also insert images into a drawing canvas or a text box to group elements and better control the design. The general workflow involves the Illustrations group on the Insert tab, where you'll find the image and shape options.
Regarding layout style, " text wrapping " defines the relationship between the image and the paragraph: it explains whether the text should border the illustration, go behind or in front of it, or stay away from it on either side. Understanding these modes allows you to create cleaner, more professional presentations.
These are the most useful wrapping modes and how they behave when applied to an image already placed in the document, with very different results in terms of how they wrap the text :
- Square: The text surrounds the image, respecting its rectangular outline. This is useful for photos or graphics that must coexist with long paragraphs.
- Behind the text: The image is in the background, and the text flows over it. Useful for discreet watermarks or decorative backgrounds.
- In front of the text: The image is placed above the text. Recommended for highlighting a specific element without the text interfering.
- Narrow y Transparent: Word attempts to fit text into the unfilled areas of the image, “invading” spaces whenever possible. This is ideal for irregular shapes or graphics with transparent areas.
- Up and down: The text is not placed on the sides; it just sits above and below the image, forcing a clean block around the illustration.
If you try, for example, the Square setting, you'll see that the paragraph flows naturally, bordering the edge of the image; by modifying the spacing after the paragraph (for example, 8 points) you can also fine-tune the visual separation so that the whole thing breathes better.
Whichever setting you choose, you can open the small floating menu that appears when you select the image to quickly switch between modes and check in real time which one best suits your design, without losing the editing rhythm or getting bogged down with advanced options.
Anchoring, movement with the text and position on the page
When you select an image with a setting other than "In line with text," an anchor icon usually appears : this tells you which paragraph the image is related to. This anchor point determines how the image will react if you add or remove content around it.
In the image's context menu, you'll see two key options: Move with text and Adjust position on page . If you enable "Move with text," when you add content above it, the anchored paragraph will move, and the image will move with it, maintaining its relationship.
Conversely, if you choose "Adjust position on page", the image will be fixed in a specific place on the page; adding text will not move it, and the content will flow around it according to the setting you have selected at that moment.
When you want to position the image precisely, use the Position options available in Picture Tools: Format > Arrange > Position. There you'll see predefined combinations (top/middle/bottom left/center/right) that fix the illustration at one of nine common points.
These positions anchor the image consistently, and the text will wrap around it unless you choose a setting that prevents it. Playing with the "Position" + "Text Wrap" combination gives you a lot of control: you can pin a photo to the top right corner while the text gently follows its outline, or lock a graphic in the center so that no accidental editing moves it.
Image size, cropping, and format settings
When you click on an image, small handles appear on its edges: these are the resizing handles . Dragging them allows you to enlarge or reduce the image, and using the circular arrow at the top, you can apply a quick rotation without opening any additional dialog boxes.
If you prefer exact measurements, you can set the width and height in centimeters under Picture Tools: Format > Size . By default, Word maintains the aspect ratio: when you change one dimension, it adjusts the other so the image doesn't become distorted.
In the advanced size options, in addition to absolute measurements, you can enable percentage changes ( Relative ) and, if needed, disable aspect ratio lock to compress or stretch the image on purpose (taking care not to lose visual quality).
Cropping is just as straightforward: tap the Crop tool and you'll see the handles change. Drag from any of the eight handles to crop from that side; until you're satisfied, you can experiment with variations and fine-tune the framing as much as you like.
When you're happy with the crop, press Enter to apply it. If you change your mind later, you can always crop again. This workflow lets you adjust images non-destructively during editing, avoiding the need to return to an external editor for every minor change.
In addition to resizing and cropping, Word offers quick adjustments in Picture Tools: Format > Adjust to modify brightness, contrast, or color without leaving the document. It's not a substitute for a professional editor, but it's perfect for minor corrections and visual consistency.
To complete the look, Image Styles let you add borders, shadows, and reflections with a single click. Use them sparingly: a subtle border or soft shadow can create separation and depth, while too many effects distract from the content. In layout design, less is often more.
Group and ungroup objects for precise editing
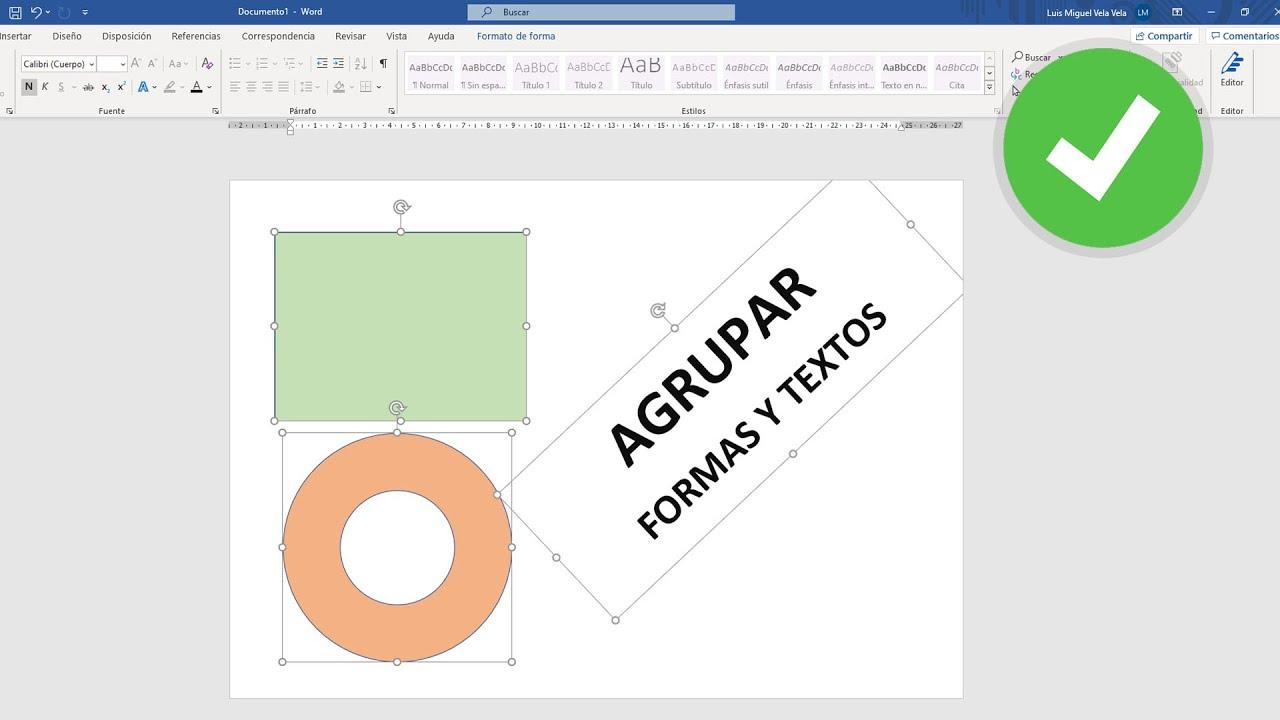
Sometimes it's convenient to move several elements at once or apply a single format to them; other times, you need to isolate a specific element to work on it. To do this, select the group containing the object and go to the Shape Format or Picture Format tab , then choose Group > Ungroup.
Ungrouping allows you to modify, align, or replace a specific piece without affecting the rest; later, if you want to treat them as a block again , select them and choose Group.
When to embed and when to link
As a rule of thumb, embed when you want a self-contained file (for example, to send by email or archive without dependencies), and link when you want Word to reflect changes from the source (reports with charts that update or resources shared in a common location (if any compatibility issues arise )).
If you choose to display as an icon, the object will take up less visual space and will open with its corresponding application when double-clicked, keeping the document clean and readable without sacrificing access to the content.
Mastering these tools will allow you to build clearer and more visually appealing documents: choose between linking or embedding according to your needs, control how the text surrounds the images, fix or move illustrations with their anchor, and refine size, cropping, and style for a professional and consistent finish in any project.

Passionate writer about the world of bytes and technology in general. I love sharing my knowledge through writing, and that's what I'll do on this blog, show you all the most interesting things about gadgets, software, hardware, tech trends, and more. My goal is to help you navigate the digital world in a simple and entertaining way.