- Visual Studio Code can become a complete development environment when combined with appropriate extensions for each language.
- The use of virtual environments, linters, and formatters keeps projects isolated, consistent, and with good code quality.
- Setting up debugging, automated testing, and environment variable management improves productivity and reduces errors.
- Additional tools such as Docker, GitLens, or Live Share integrate collaboration, containers, and version control into the editor itself.
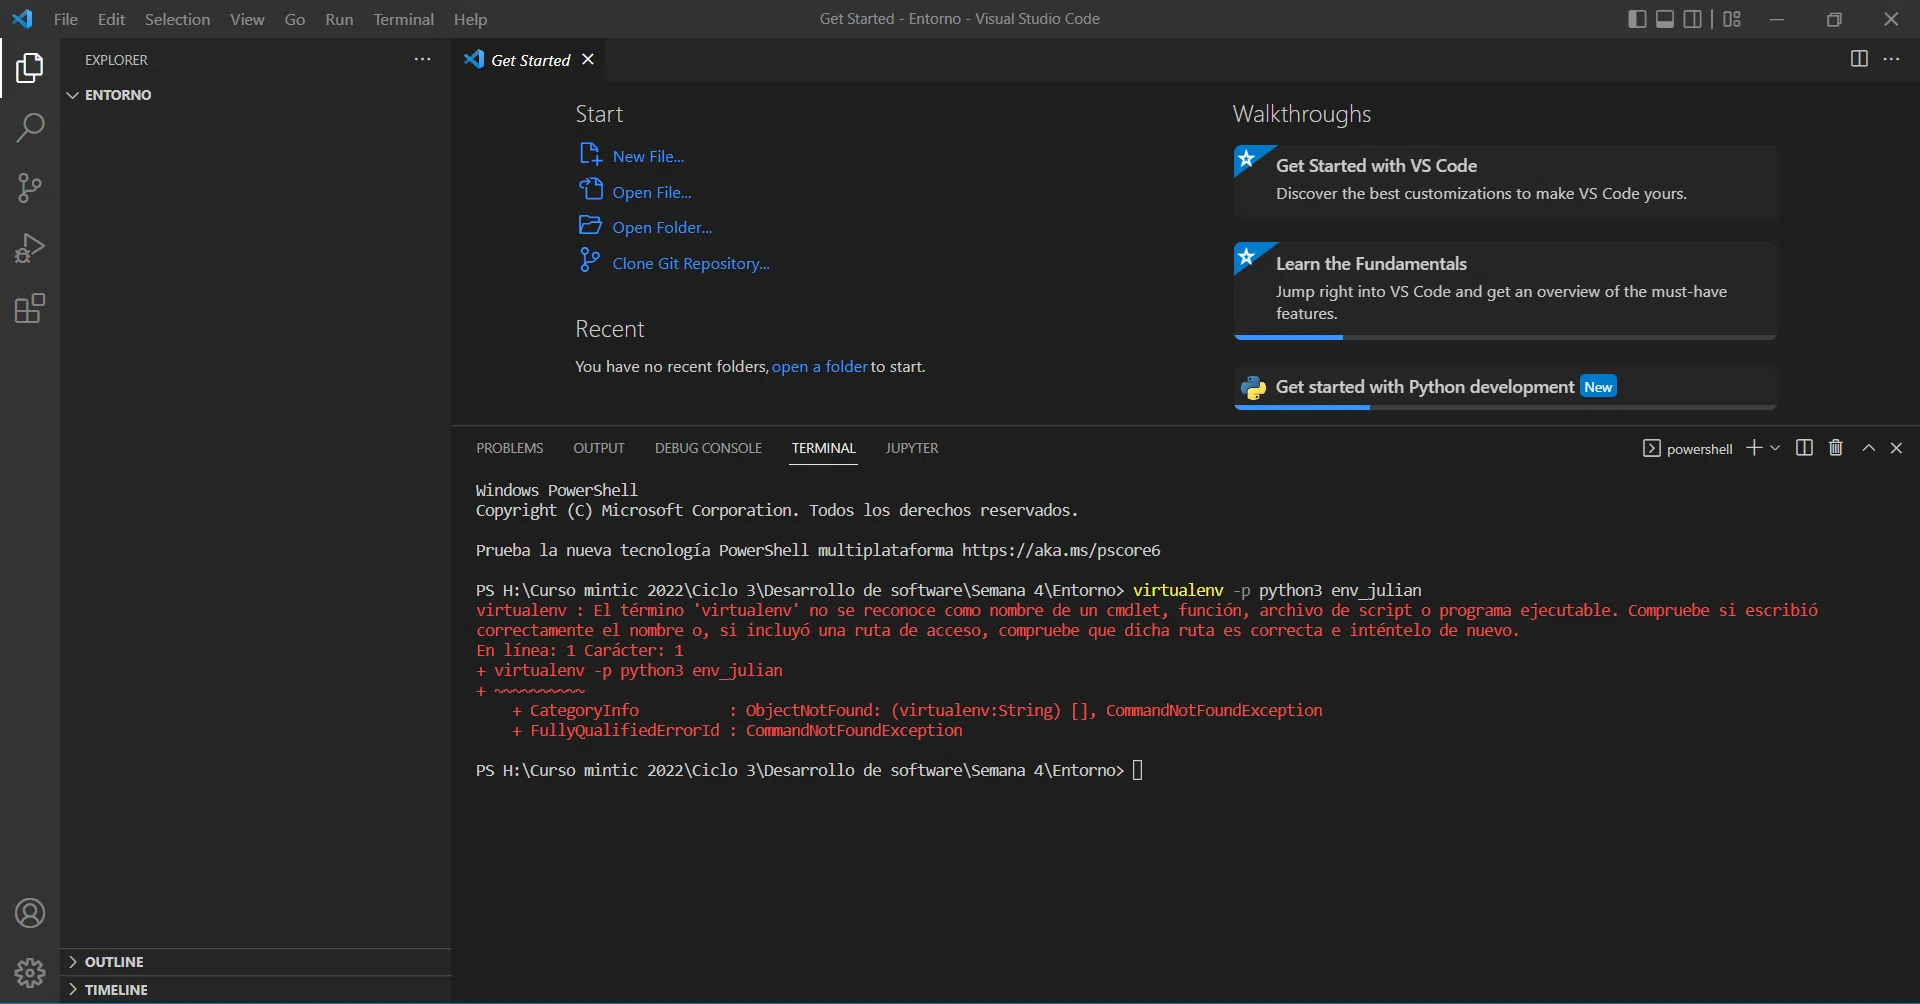
If you want to get serious about programming , setting up a well-configured development environment in VS Code makes all the difference between scribbling code haphazardly and working smoothly and professionally. It doesn't matter if you're working with Python , Go, Angular, or any other JavaScript framework: with a few well-chosen tools, you can turn Visual Studio Code into your daily command center.
Throughout this guide, you'll learn how to set up VS Code from scratch : installation, key extensions, virtual environments, linters, tests, debugging, and some tips to improve your productivity. The goal is for you to end up with a comfortable, fast, and ready environment for both personal projects and teamwork, without constantly struggling with the configuration.
Why Visual Studio Code is worth using as your main IDE
Visual Studio Code is a lightweight yet powerful code editor that 's free and has a huge community behind it. It's not a "heavyweight" IDE like WebStorm, but rather a modular editor where you add extensions as needed, allowing you to fine-tune your workflow.
Compared to traditional IDEs, VS Code stands out because it starts up quickly, consumes fewer resources , and adapts seamlessly to projects using Python, Go, Angular, React, Vue, or virtually any modern stack. With the right configuration, you can have advanced autocompletion, built-in debugging, Git integration, Docker support, and code quality tools without sacrificing agility.
If you're coming from other environments, you'll see that WebStorm comes with many features "out of the box," while in VS Code you'll have to install and configure extensions to your liking . In return, you get a free, open-source editor maintained by a very active Microsoft team, along with a community that releases extensions for almost anything you can think of.
Before you start fiddling with settings like crazy, it's worth mastering some keyboard shortcuts and the browser's DevTools . Simple things like opening a file with Ctrl+P, using Deepseek in VS Code , commenting and uncommenting lines, or adding multiple cursors (Alt+click) can save you an indecent amount of time when you spend many hours in front of the code.
Basic installations: what you need before opening VS Code
To have a proper development environment, simply installing VS Code isn't enough. You need the basic tools of your main language (Python, Go, Node, etc.) installed on the system and working correctly from the terminal , or by following guides to create environments with WSL2 and Docker.
In the case of Python, the normal thing to do is to install a Download the latest version from the official website or your package manager. of the operating system. Make sure that, when you open a terminal, when you run python --version o python3 --version You see the correct version and that pip It also responds because you'll use it to install libraries and tools like linters or formatters. In environments Windows you can even Create installation scripts with Chocolatey to automate the initial setup.
If you work with Go, the typical process is very similar: Download the installer from go.dev, run the package for your system (Windows, Linux or macOS) and check that everything is in order with a simple go version in the terminal. This installs the compiler, the standard library, and a set of tools that will also be used by the Go extension in VS Code.
In modern web development projects using Angular, React, or Vue, it's common to have installed Node.js and npm or pnpm/yarnAdditionally, if you're going to use frameworks like Angular, you'll typically also install the official CLI (for example, @angular/cli) to quickly generate projects and scaffolding with commands.
Once you have your basic language and tools installed, you can go to code.visualstudio.com and download the installer for your operating system. Installation is simple: just follow the wizard and you'll see that in a few minutes you'll have the editor ready with the essentials to start working. If you prefer an alternative terminal, you can try Warp Terminal for your workflow.
Essential extensions to enhance VS Code
The real beauty of VS Code lies in its extension ecosystem . From the Extensions view (Ctrl+Shift+X), you can install and manage extensions and everything else you need for your stack. Here are some essential ones, depending on the language and project type.
To work with Python, the basic extension is Microsoft Python , which adds integrated execution, debugging, easy refactoring, notebook support, and virtual environment detection. Combined with Pylance , you get very fast autocompletion and fairly accurate static type analysis.
If you want to keep your Python code styled consistently without much hassle, extensions like Black Formatter and isort are a lifesaver. Black handles automatic code formatting, and isort sorts imports; this way, you don't have to argue about style in every commit—the tool decides the format consistently throughout the project.
To ensure code quality, tools like Flake8, Pylint, and mypy are essential. Flake8 and Pylint focus on style errors, syntax, and potential logic problems, while mypy checks type annotations. With VS Code integration, you'll see warnings directly in the editor, allowing you to make corrections on the fly before even running your program.
In data science environments or when you work a lot with notebooks, the extension Jupyter It allows you to open, edit, and run cells in files .ipynb or even use code cells within Python files. This way you can mix exploratory analysis, visualizations, and reusable code while keeping the context within VS Code.
If your project relies on Git, extensions like GitLens offer a very interesting advantage: seeing who modified each line, exploring a file's history, comparing changes, or quickly scanning branches and repositories with a clear interface. VS Code already includes Git integration, but GitLens takes it much further.
In the Angular world, there are specific extensions that greatly speed up daily tasks, such as Angular vX Snippets , which adds shortcuts for generating typical component, service, or module structures. In general, these snippets allow you to write less repetitive text and focus on business logic.
There are also very useful extensions to improve your work organization, such as those that highlight TODO or FIXME comments in the code and generate a view of all pending tasks in the project. These types of tools mimic the task management systems included in more robust IDEs and help you avoid losing unfinished work.
If you document with Markdown, there are extensions that allow you to preview exactly how your document will look on GitHub , adjusting small details so that what you see in VS Code matches the final view in the repository. While the native Markdown viewer is already good, these extensions further refine the result when GitHub is your production repository.
For projects using containers, the official extension of Docker for VS Code It lets you manage images, containers, and logs from a side view of the editor. It also offers autocomplete and validation for files such as Dockerfile o docker-compose.ymlavoiding silly syntax errors before building the images.
If you're someone who enjoys planning complex architectures or flows, there's an extension that allows you to work with UML diagrams very easily within VS Code itself, ideal for sharing application flowcharts or class structures with the rest of the team without leaving the editor.
And if you do a lot of pair programming, Live Share and its add-ons are a real gem: you can share your VS Code session with another person via a link, grant read or edit permissions, and, with the additional extension, even initiate a voice call directly from the editor, all without setting up complicated infrastructure.
Creating and using virtual environments in Python
In Python projects, it's almost mandatory to work with isolated virtual environments so that one project's dependencies don't mix with those of another or with the system. This allows you to fix library versions without fear of breaking other work.
From the built-in VS Code terminal (or any terminal), you can create a virtual environment with a command that generates a specific folder for that environment . This folder will store its own interpreter and installed libraries, separate from the rest of the system, so each project lives in its own bubble.
Once created, the next step is activate the virtual environmentIn Windows, a different command is used than in macOS or Linux, but the idea is the same: after executing it, the terminal changes to indicate that it is using that environment. From then on, everything you install with pip It will remain within that folder and will not affect the rest.
To have VS Code use the virtual environment in question, open the command palette with F1 or Ctrl+Shift+P, and type “Python: Select Interpreter” and you select the interpreter that corresponds to your environment (usually in ./venv or similar). If it doesn't appear the first time, simply restarting the VS Code window might be enough for it to be detected.
From that point on, any Python file you run or debug in that folder will use the chosen virtual environment. This ensures you're running with the library versions you've specified for that particular project, without any surprises from global changes.
Within the virtual environment you can install packages with pip install Without fear of messing things up. Ideally, all the key dependencies of your project (framework, testing libraries, linters, etc.) should be included in a file like requirements.txt or similarso that you or anyone else can easily rebuild the environment on another computer.
Configuring VS Code for Python, linting, and formatting
Once you have the virtual environment ready and the interpreter selected, it is highly recommended customize the file .vscode/settings.json of your projectThis ensures that all the specific configuration travels along with the code, and the rest of the team shares the same editor behavior.
Within that settings.json can you indicate which code formatter you want to use (for example, Black), how to format it when saving, and how the imports should be ordered. This avoids "tabs or spaces" debates because the tool itself enforces a common format.
Additionally, here you configure your preferred linters (Flake8, Pylint, mypy) , enabling or disabling specific rules, selecting which one runs on save, and how warnings are displayed. A well-configured linter system helps detect logic errors, misuse of variables, unnecessary imports, and a long list of other problems before your code reaches production.
Linting, in essence, is a Automatic source code analysis which looks for style problems, syntax errors, and dangerous patterns. Flake8 is very lightweight and effective for style issues; Pylint delves deeper into code structure and complexity; mypy checks static typing when you use annotations with type hints.
When these tools are integrated into VS Code, you'll see underlines and error or warning messages in real time. If you also define tasks or scripts that execute flake8 . o pylint src/ From the terminal, you can have them launched in CI/CD pipelines so that the code is automatically validated on each push.
Outside of Python, this same idea of combining formatters and linters applies to JavaScript, TypeScript, and frameworks like Angular or React. Tools like ESLint and Prettier often fill the same role as Flake8/Black in the Python world, helping to maintain consistent and easily reviewable web code.
Configuring VS Code for Go: Extensions, Tools, and Debugging
If you work within the Go ecosystem, Visual Studio Code can also become a very robust development environment thanks to the official Go extension . This extension adds IntelliSense, definition navigation, test execution, and integrated debugging with a relatively simple setup.
After installing Go on your system and verifying with go version Once everything is working, install VS Code from the official website, open it, and go to the extensions view (Ctrl+Shift+X). There you'll find the extension “Go” and you install it; it is the mandatory starting point for any project in this language within the editor.
With the extension installed, open the command palette (Ctrl+Shift+P), type “Go: Install/Update tools” , and run the command. VS Code will display a list of recommended tools for Go (formatters, linters, debugger, etc.). Ideally, select all of them and let them install, as many of the extension's features depend on them.
To verify that everything is configured correctly, you can create a small example program in Go. A single file would suffice. main.go with a main package and a function main() that prints a simple message, for example a greeting addressed to developers or the environment you connect to.
You compile and run the program, and if you see the message in the VS Code integrated terminal, it means the Go extension and auxiliary tools are properly integrated . From here, you can explore other features, such as intelligent autocompletion, navigation between definitions, and unit test support.
To test the debugger, add a breakpoint on a specific line (for example, above a variable assignment) by clicking in the left column or pressing F9 with the cursor on the line. Then open the Run and Debug view (Ctrl+Shift+D) and choose "Run and Debug" or press F5.
With the debugger running, execution pauses at the breakpoint, and you can inspect the values of variables by hovering your mouse over them or using the variable windows in the debug panel. When you're finished, press F5 again (or the Continue button) to run the program to the end and print its output.
Productivity in Angular and other JavaScript frameworks
When working with Angular, React, Vue, or similar frameworks, the main goal is to set up a working environment that minimizes repetitive tasks . Angular, for example, already includes a CLI and time-saving tools, but if you don't complement that with a good setup in VS Code, you'll end up losing performance on a daily basis.
Visual Studio Code can compete head-to-head with IDEs like WebStorm if you configure it correctly. WebStorm is a classic IDE with many features available right out of the box, but VS Code offers a more modular and lightweight approach, where you decide which components to install and how to integrate them for your specific workflow.
To fully leverage Angular, it's usually enough to combine the Angular CLI, some specific snippet extensions , and the typical support for TypeScript, ESLint, and Prettier. With this, you can generate components, services, and modules with just a few commands, while the editor assists with autocompletion and type checking.
Generally speaking, having your editor properly configured is one of the keys to productivity. Investing time in refining keyboard shortcuts, color schemes, save formatting , and small automations pays off many hours in the medium term, especially in large projects where every second saved opening files, formatting , or searching for symbols adds up.
There's a very simple setting in VS Code that's rarely mentioned but worth enabling: the one that removes unnecessary whitespace when saving . This keeps your files clean and prevents massive diffs in Git caused by simple line break changes, something you'll appreciate when reviewing your history.
Don't forget the browser: Chrome DevTools are a fundamental part of your workflow if you work in frontend development. Although they're not integrated into VS Code, the editor and the browser complement each other: you review structure and logic in the editor, and debug events, networking, and styles directly in Chrome.
In Angular, and in modern JavaScript in general, VS Code extensions can also help you manage compilation or transpilation tasksFor example, you can define "shell" type tasks in tasks.json To launch Babel, Webpack, or whatever builder you use, with a command that monitors changes in the folder src and turn the results into dist with source maps enabled.
Additional tools: testing, variables, and automation
Beyond basic editing, a professional environment in VS Code includes automated testing, management of sensitive variables, and repetitive tasks well organized. This is where tools like Pytest and files come in. .env and Makefiles become very useful.
In Python projects, Pytest has become the de facto choice for testing. You can create a clear folder structure with code modules and a dedicated tests folder , each containing its own test files. From VS Code, you can run the tests in the built-in terminal or even configure them to launch with specific shortcuts.
Sensitive environment variables (tokens, credentials, secret settings) are best handled through files .env that VS Code can automatically readThis way, you don't have to put keys directly into the code or upload them to the repository, and the local environment still works with the correct values.
A file .env This file typically defines key-value pairs, for example, for connection strings, API keys, or debug settings. VS Code and many popular libraries detect this file and load its values, allowing you to Change settings without touching the source code.
To automate repetitive tasks such as formatting, launching linters, running tests, or building the project, a Simple Makefile It remains a very useful tool, even in modern environments. You can define commands like make format, make lint o make test and you unify all operations into a few shortcuts.
In the area of version control, it's advisable to use Git effectively from VS Code and rely on resources such as Use gitignore.io to generate files .gitignore adapted to your operating system and languages. This way you avoid uploading temporary files, compiled dependencies, or local configurations to the repository, which only clutter the history.
As your project grows, integrating CI/CD with tools like GitHub Actions allows you to automate testing, linting, and deployments every time you push or open a pull request. Workflow configuration is done in YAML files within the repository itself, which aligns perfectly with the philosophy of having your entire development infrastructure as code.
For backend-type web applications in Python, for example with Flask, VS Code offers a debugger that you can adjust using the file launch.jsonThis allows you to set breakpoints in your views, inspect request and response data, and run the server in debug mode with hot reloading while you develop.
In these types of scenarios, you learn to combine breakpoints, step-by-step execution, and automatic reloading to quickly detect errors and verify the behavior of your API or backend without having to rely solely on logs or prints scattered throughout the code.
If you get used to having all this set up properly from the start of each project, configuring a good environment in VS Code goes from being a one-off hassle to becoming an initial investment that saves you time with every commit, every code review, and every deployment , keeping your projects organized, reproducible, and easy to share with the rest of the team.


Passionate writer about the world of bytes and technology in general. I love sharing my knowledge through writing, and that's what I'll do on this blog, show you all the most interesting things about gadgets, software, hardware, tech trends, and more. My goal is to help you navigate the digital world in a simple and entertaining way.