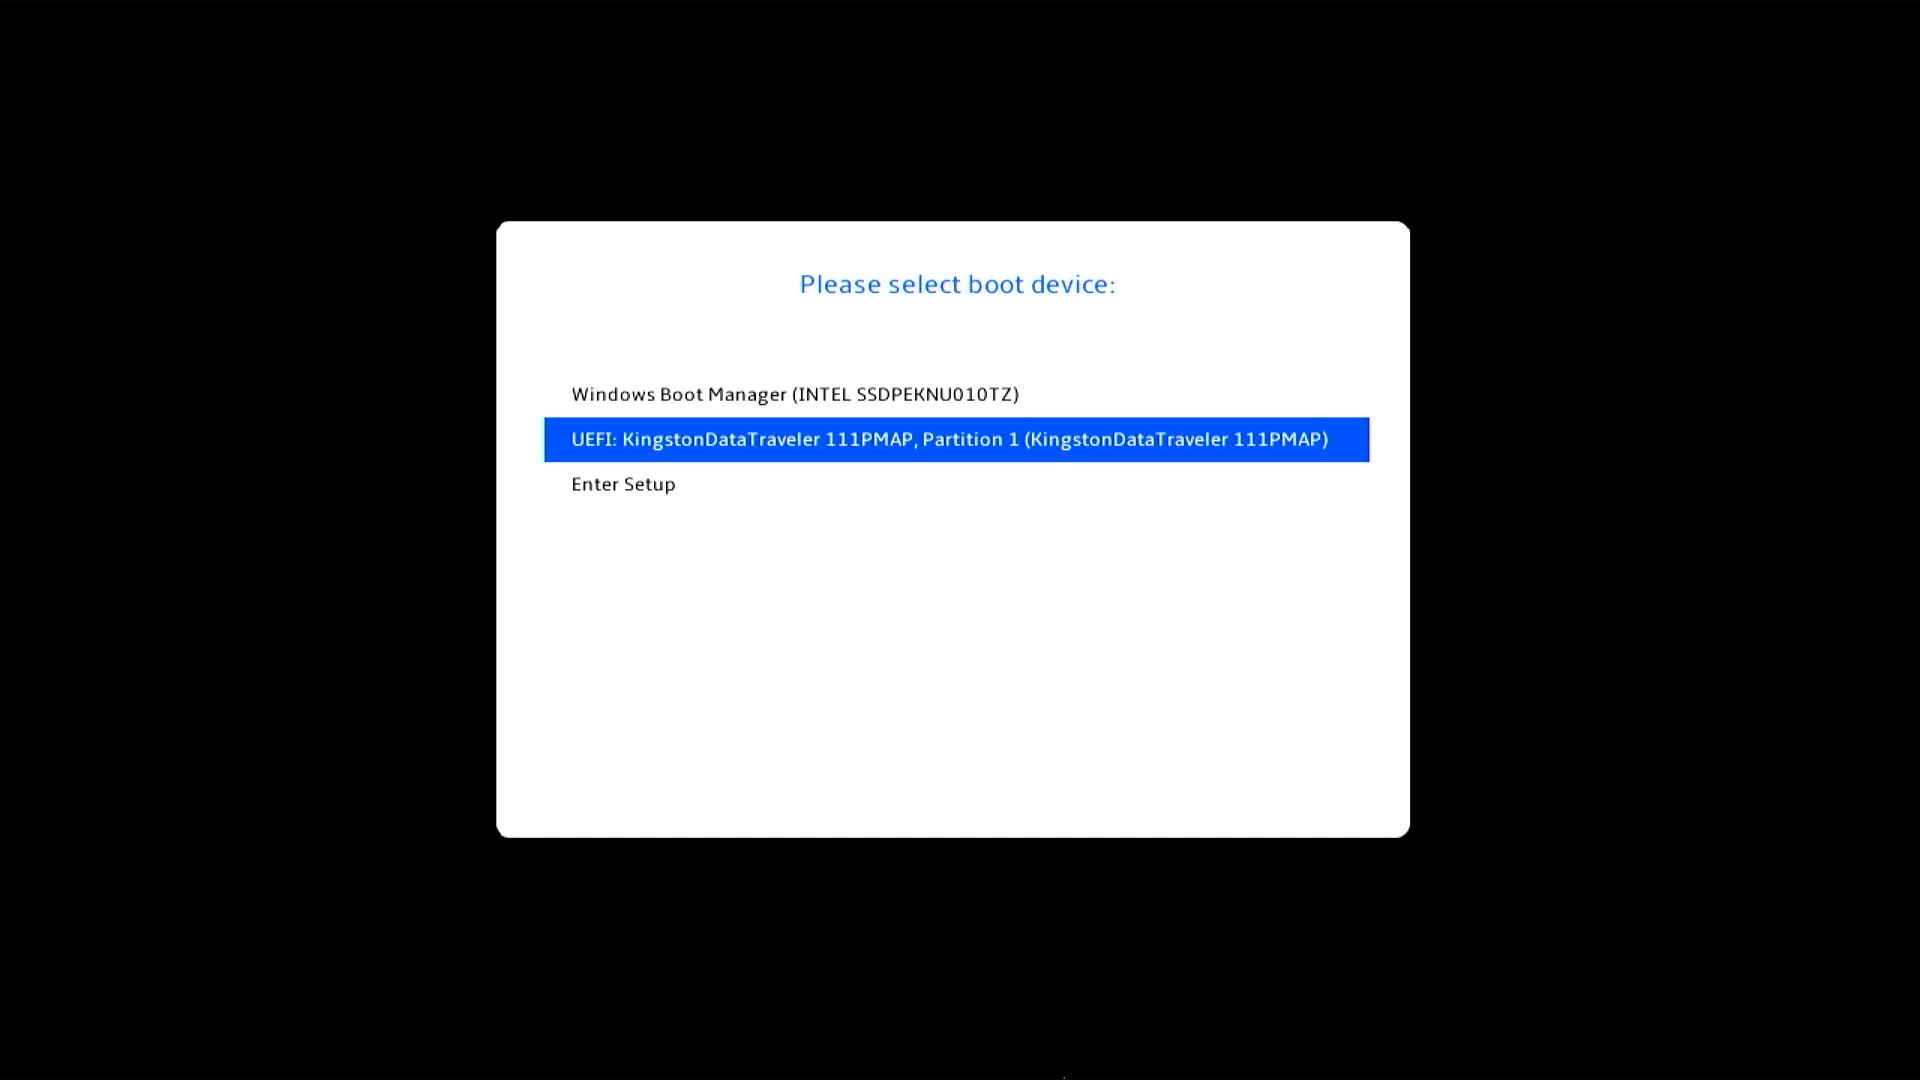
Often, those of us who have more than one operating system installed on our computer need to decide which one to boot into by default or simply rearrange the boot menu. Modifying this menu not only saves us time each time we turn on the computer, but also prevents potential headaches if we want to maintain control over the boot process and the security of our systems.
Fortunately, both Windows and Linux offer several ways to manipulate the boot menu , from simple methods for less experienced users to advanced utilities for those who want to customize every detail. Below, I explain clearly and in detail all the options for managing and changing the boot menu, including advanced features, external utilities, and essential security considerations.
What is the Boot Menu (Boot Manager) and what is it for?
The boot menu is the first checkpoint that appears when you turn on a computer with multiple operating systems installed. From there, you can choose which system to boot into or let the computer automatically boot into the default. In Windows, this manager is called Windows Boot Manager , while in Linux, the most commonly used is GRUB . Both are vital for those who use dual boot or need to perform maintenance or recovery tasks.
Native options to edit the boot menu in Windows
Windows offers several built-in ways to modify the boot order and the entries available in Boot Manager. Depending on your version of Windows, you can use different tools, from advanced system settings to command -line utilities.
1. Advanced system settings
One of the most accessible ways to manage boot entries is through the Advanced System Settings . To access:
- Seeks "Advanced System Settings» in the Windows search engine.
- Click on the option and access Start and recovery.
- There you can select which of the systems will appear as default and adjust There waiting before starting automatically.
Advantages : It's fast, graphical, has a low risk of error, and allows you to change both the default system and the timeout for selecting a different system at each startup. To modify the timeout, you can consult how to modify the boot menu timeout in Windows and Linux.
2. msconfig utility
Another simple way is the msconfig command , which provides access to a visual interface for managing boot options:
- Open the run menu with Win + R and introduces msconfig.
- In the start You will see all detected operating systems.
- Select the system you want to set as default or delete entries you no longer use.
Important note : Before deleting entries, make sure you won't render your computer unusable, especially if you're unsure which entry corresponds to which operating system.
3. Modify the boot from the advanced Windows options
It is possible to change the default operating system directly in the advanced startup menu:
- Restart your PC by holding down the key Shift and click Restart.
- In the blue menu choose Use another operating system, then select Change default values and there you can choose the default operating system or modify the timeout. To learn how to do this, you can visit .
This option is especially useful if you already have several systems listed and prefer not to touch advanced utilities.
Advanced customization with BCDEdit
For experienced users or those who want deeper control, BCDEdit is Microsoft's official tool for editing Boot Manager entries:
What is BCDEdit?
BCDEdit is a command-line tool included in Windows that allows you to view and modify boot manager entries in detail. Its use is almost essential when you need to add a new operating system, customize descriptions, or modify the boot order beyond what graphical interfaces allow.
Useful BCDEdit Commands

- See current entries: Open a window symbol of the system as administrator and run
bcdedit. All current identifiers and settings will appear. - Copy an existing entry: Ideal for creating a new custom entry without losing the original settings.
For example, to copy the current system entry and create a new one called “DebugEntry”:
bcdedit /copy {current} /d "DebugEntry"The system will return a unique identifier (GUID) between braces {}, which will be the ID of the new entry.
- Change the boot order: Use this command to define the listing as it will appear on the screen:
bcdedit /displayorder {current} {id_nueva_entrada}- Delete entries: To delete a menu entry, you can use
bcdedit /displayorder {id} /removeor to completely remove it from the system:
bcdedit /delete {id}
With BCDEdit you can also modify descriptions, change loader paths, or modify advanced boot parameters, although it is recommended to consult bcdedit /? for a summary of all options.
Caution: Manipulating BCDEdit requires administrator privileges, and even the slightest error in paths or IDs can render your system unbootable. Don't hesitate to create restore points before making any changes.
External tools to modify the bootloader: EasyBCD and other alternatives
EasyBCD
EasyBCD is a free and highly intuitive utility that simplifies configuring the boot manager in Windows. It allows you to add or remove operating systems, modify their order, customize names, and avoid the problems that can arise from manually editing BCDEdit. It's ideal for less technical users or those seeking speed and ease of use.
- You can download EasyBCD from its official website.
- Allows you to create entries for Windows, Linux systems and even ISO images.
- Includes options to temporarily disable entries without deleting them, which is very useful for testing or maintenance tasks.
Easy UEFI
Another very versatile tool, especially if you work with UEFI-booting systems, is EasyUEFI . Although it's a paid program, it has a trial version and stands out for its ease of use in managing partitions, choosing the default boot disk, and modifying the timeout, all from a user-friendly graphical interface.
- Allows you to manage UEFI entries for multiple systems and disks.
- Especially useful for those who frequently change disks or use advanced configurations.
Modify the boot order from BIOS/UEFI
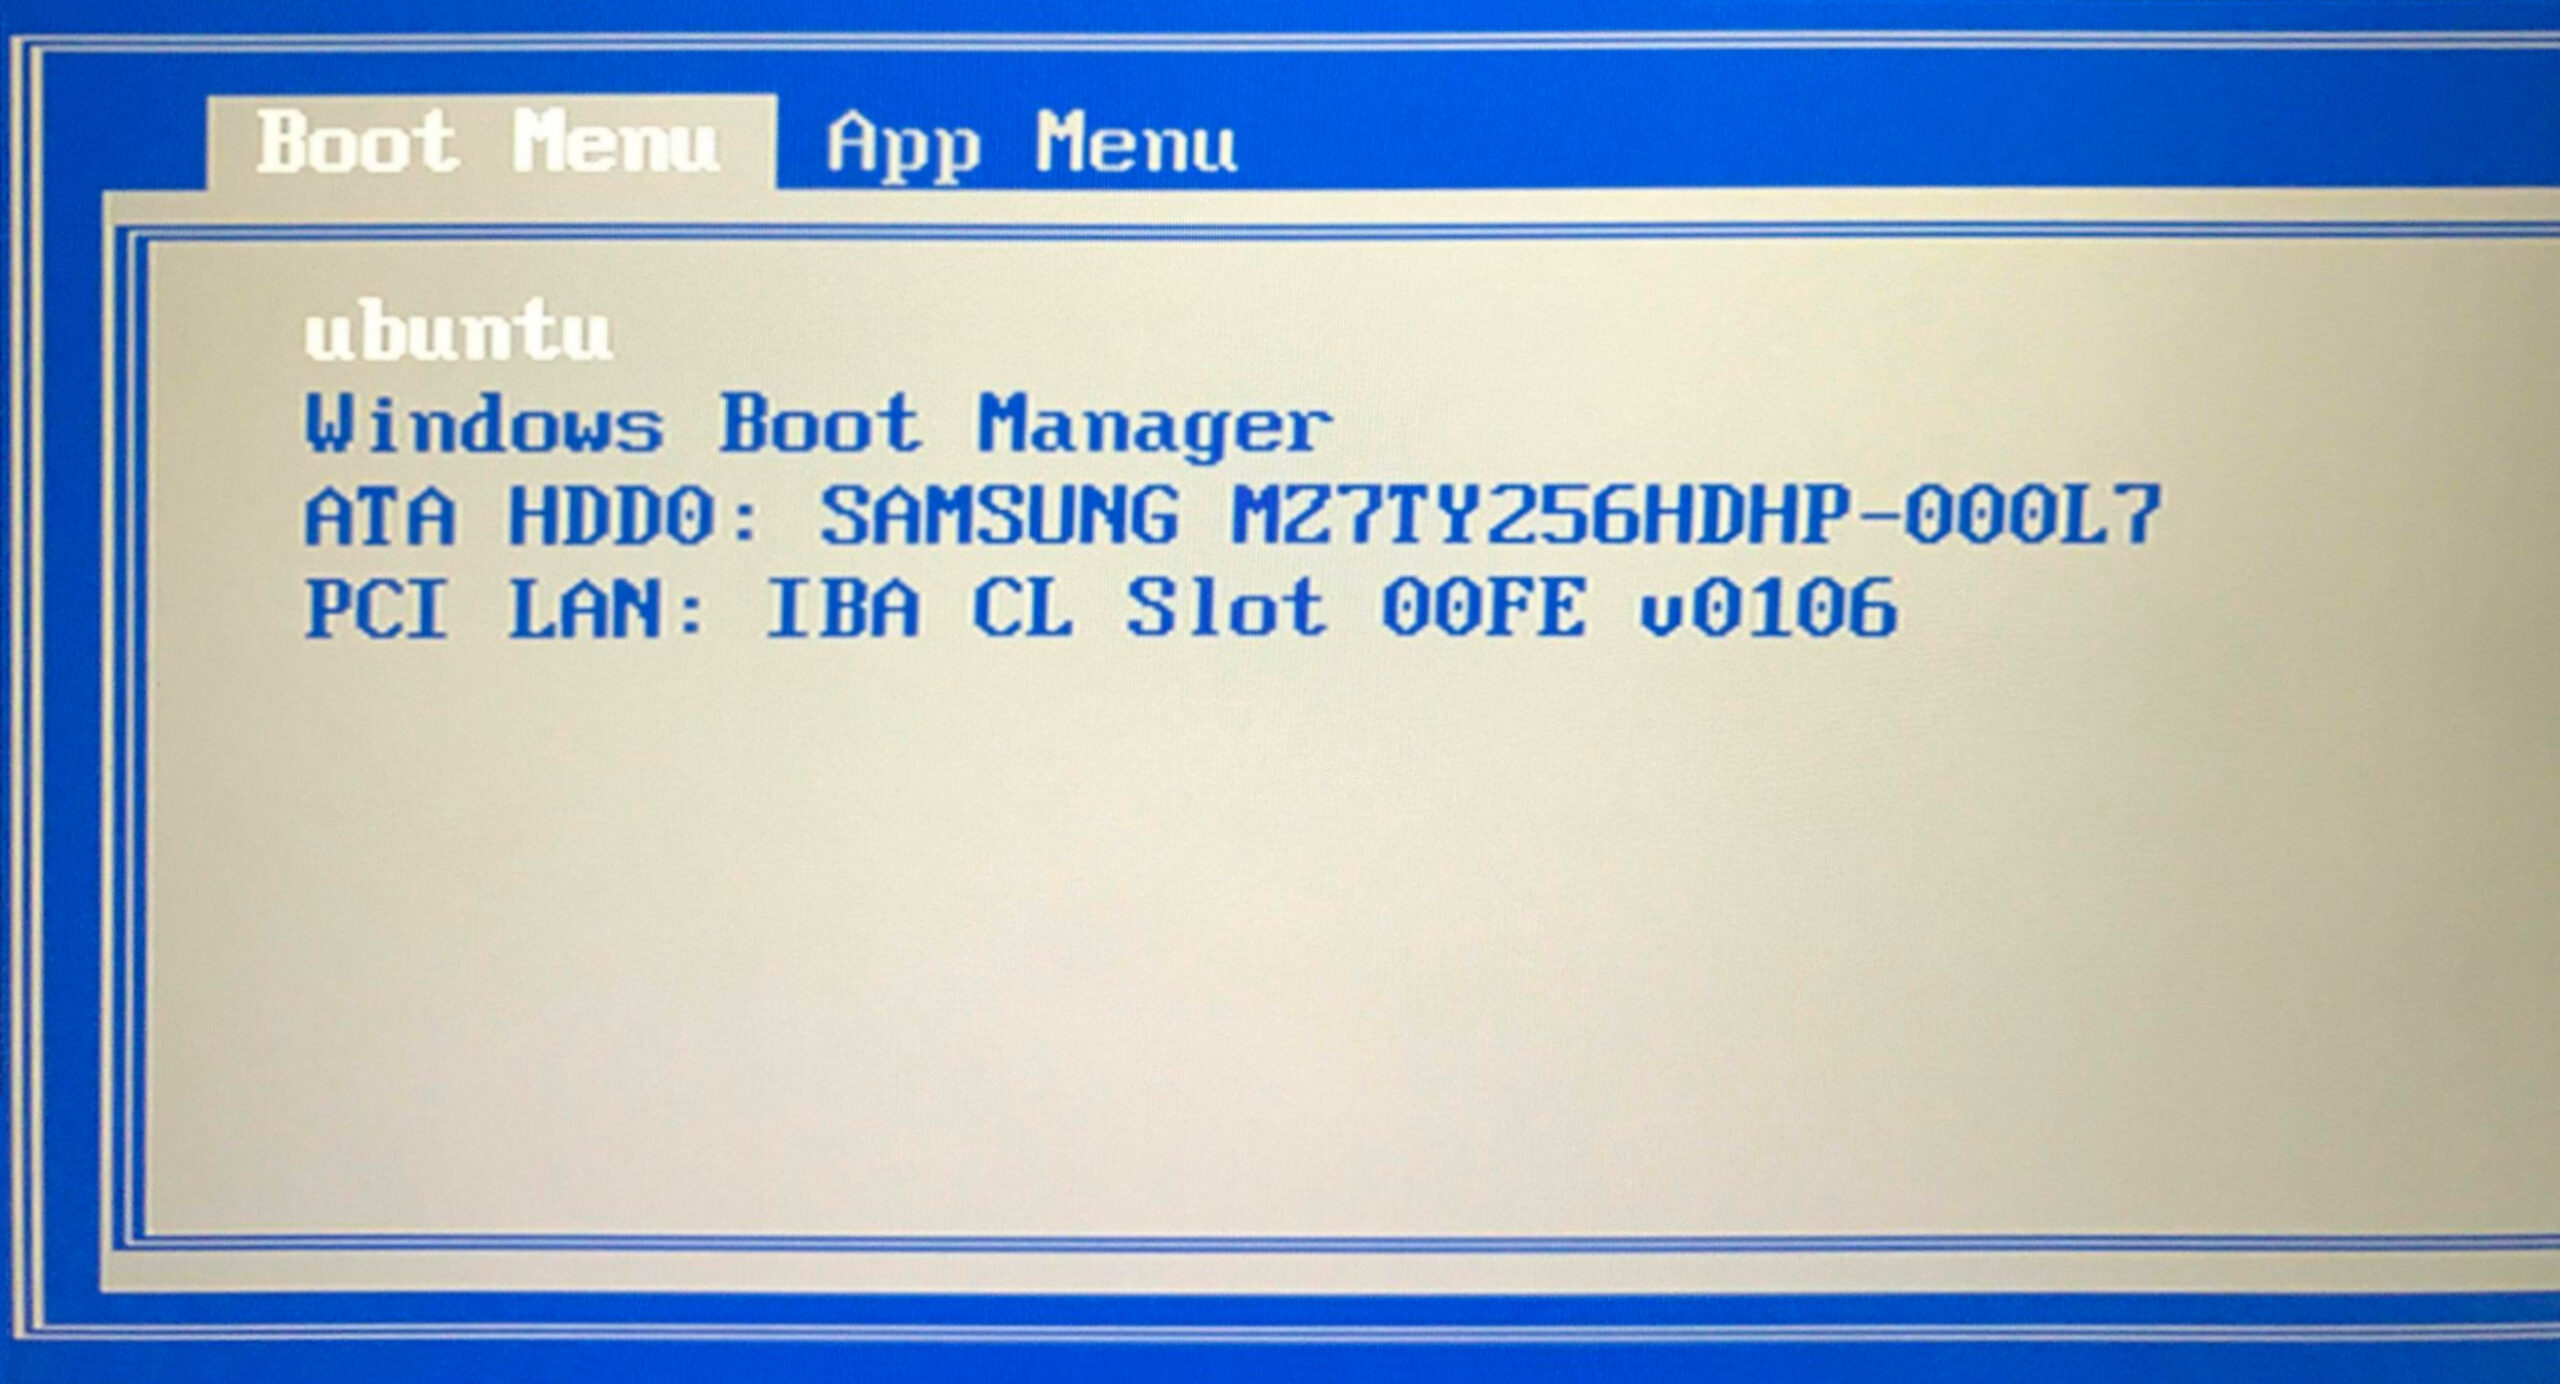
In addition to the options above, you can change the boot device or disk your PC starts from in your motherboard's BIOS or UEFI settings . This method is common when you want to boot from a USB drive , a new hard drive, or perform a clean installation of the operating system.
- When you boot your computer, access BIOS/UEFI by pressing the corresponding key (usually Del, F2, F10, F12 or Esc, according to the manufacturer).
- Find the section Boat o start.
- Change the order by dragging the desired disk to the first position using the + and - keys.
- Save the changes (usually with F10) and reboot.
Modify the boot menu in Linux (GRUB)
If you have Linux installed alongside Windows, GRUB is usually the primary boot manager. GRUB is much more flexible and customizable than Windows' GRUB, as it not only detects operating systems automatically but also allows you to edit menus, timeouts, and appearance. To make these changes easier, you can consult our guide on how to customize system names in the boot menu.
Editing GRUB manually
The configuration is in the file /etc/default/grub (The name may vary depending on the distro.) You can edit it with any text editor, for example:
sudo nano /etc/default/grub- GRUB_DEFAULT: Change the number to set which entry will appear as the default (starts at 0).
- GRUB_TIMEOUT: Modifies the number of seconds GRUB waits before booting the system by default. For more details, see .
After any changes, run sudo update-grub to regenerate the menu.
Using graphical tools: Grub Customizer
If you prefer not to work with text files, Grub Customizer is a graphical application that allows you to:
- Change the order of the listed systems.
- Rename entries.
- Delete systems you no longer use.
To install it, you can use the following command on Ubuntu and derivatives:
sudo apt install grub-customizerWhen to change the drive or boot order?
Changing the boot unit or order is recommended in the following cases:
- When installing or reinstalling an operating system.
- If you need to boot from a recovery drive.
- To use antivirus utilities that require booting outside the main operating system.
- If you use different drives or SSDs for different systems and want to choose which one to load.
Fix boot problems
Sometimes, after upgrading Windows or installing new systems, you may find that GRUB, Boot Manager, or even no entries boot properly. In these cases:
Windows: Repair Boot Manager
- Boot from a Windows installation disc or USB.
- Choose Repair equipment and access the command prompt.
- Run commands like
bootrec /fixbootobcdboot c:\windows /l es-es /s X: /f allto rebuild the boot files.
Linux: Recover GRUB
- Boot with a Linux Live image.
- open one terminal and run
sudo grub-install /dev/sdXfollowed bysudo update-grubto restore GRUB.
Safety tips before modifying the boot
- Always create a restore point or make a backup before making deep changes.
- Note the changes made and the IDs of important entries, especially if you use BCDEdit.
- Avoid deleting entries you don't recognize without first investigating which system they are.
It's important to take precautions before making changes to the bootloader to avoid problems that could render your system inoperable. Keeping backups and having repair tools on hand can make all the difference in the event of an error.


Passionate writer about the world of bytes and technology in general. I love sharing my knowledge through writing, and that's what I'll do on this blog, show you all the most interesting things about gadgets, software, hardware, tech trends, and more. My goal is to help you navigate the digital world in a simple and entertaining way.