- Server Core reduces attack surface and power consumption; SConfig and PowerShell cover all the essential configuration.
- In 2019/2022, a GUI cannot be added to Core; the desktop experience edition is selected during installation.
- Roles and services (Hyper‑V, AD DS, DNS, DHCP, NAT) are installed using PowerShell and GUI-less installation.
If you are looking for a straightforward, lightweight and secure way to get a server up and running, install Windows Server from the line of commands is your best bet. Server Core mode and the SConfig tool They allow you to configure essentials without the need for a graphical interface, saving resources and reducing the attack surface.
In this practical guide we gather everything you need to move with ease in environments without GUI: from the Boot and the installation media, up to the Complete configuration with PowerShell, SConfig and native utilities (including network, domain, updates, Remote Desktop, roles, activation, and more). You'll also see when a GUI is appropriate, what's changing in Windows Server 2022, and how to manage typical roles (Hyper‑V, AD DS, DNS, DHCP, NAT) without leaving the console.
What does it mean to install Windows Server “from the command line”?
When you choose Server Core, standard graphical components are not installed and the system is managed from PowerShell, SConfig, or remote methods. The benefit is a more secure server, with less maintenance and lower consumption., since there is less code loaded and fewer components exposed.
In the face of this, the “desktop experience” edition (Desktop Experience) includes the traditional GUI, all graphical tools, and the Server Manager console; It is more complete in compatibility, but it consumes more disk and memory and exposes more surface area to vulnerabilities.
Downloading the ISO and creating the media
You can get the media from subscription (MSDN/VLSC) or use the ISO official assessment Available on the Microsoft website (Eval Center). For versions like Windows Server 2016 or 2022, the evaluation lasts 180 days and is used for real-world testing before activation. For virtualization, the ISO is the same. (for example in VirtualBox or Hyper‑V).
To record it, use a memory USB or DVD. With a USB, utilities like Rufus make the process easier: you select the ISO, choose the USB drive and writeIf you prefer DVD, simply select “Burn Disc Image” from the ISO file and you’re done.
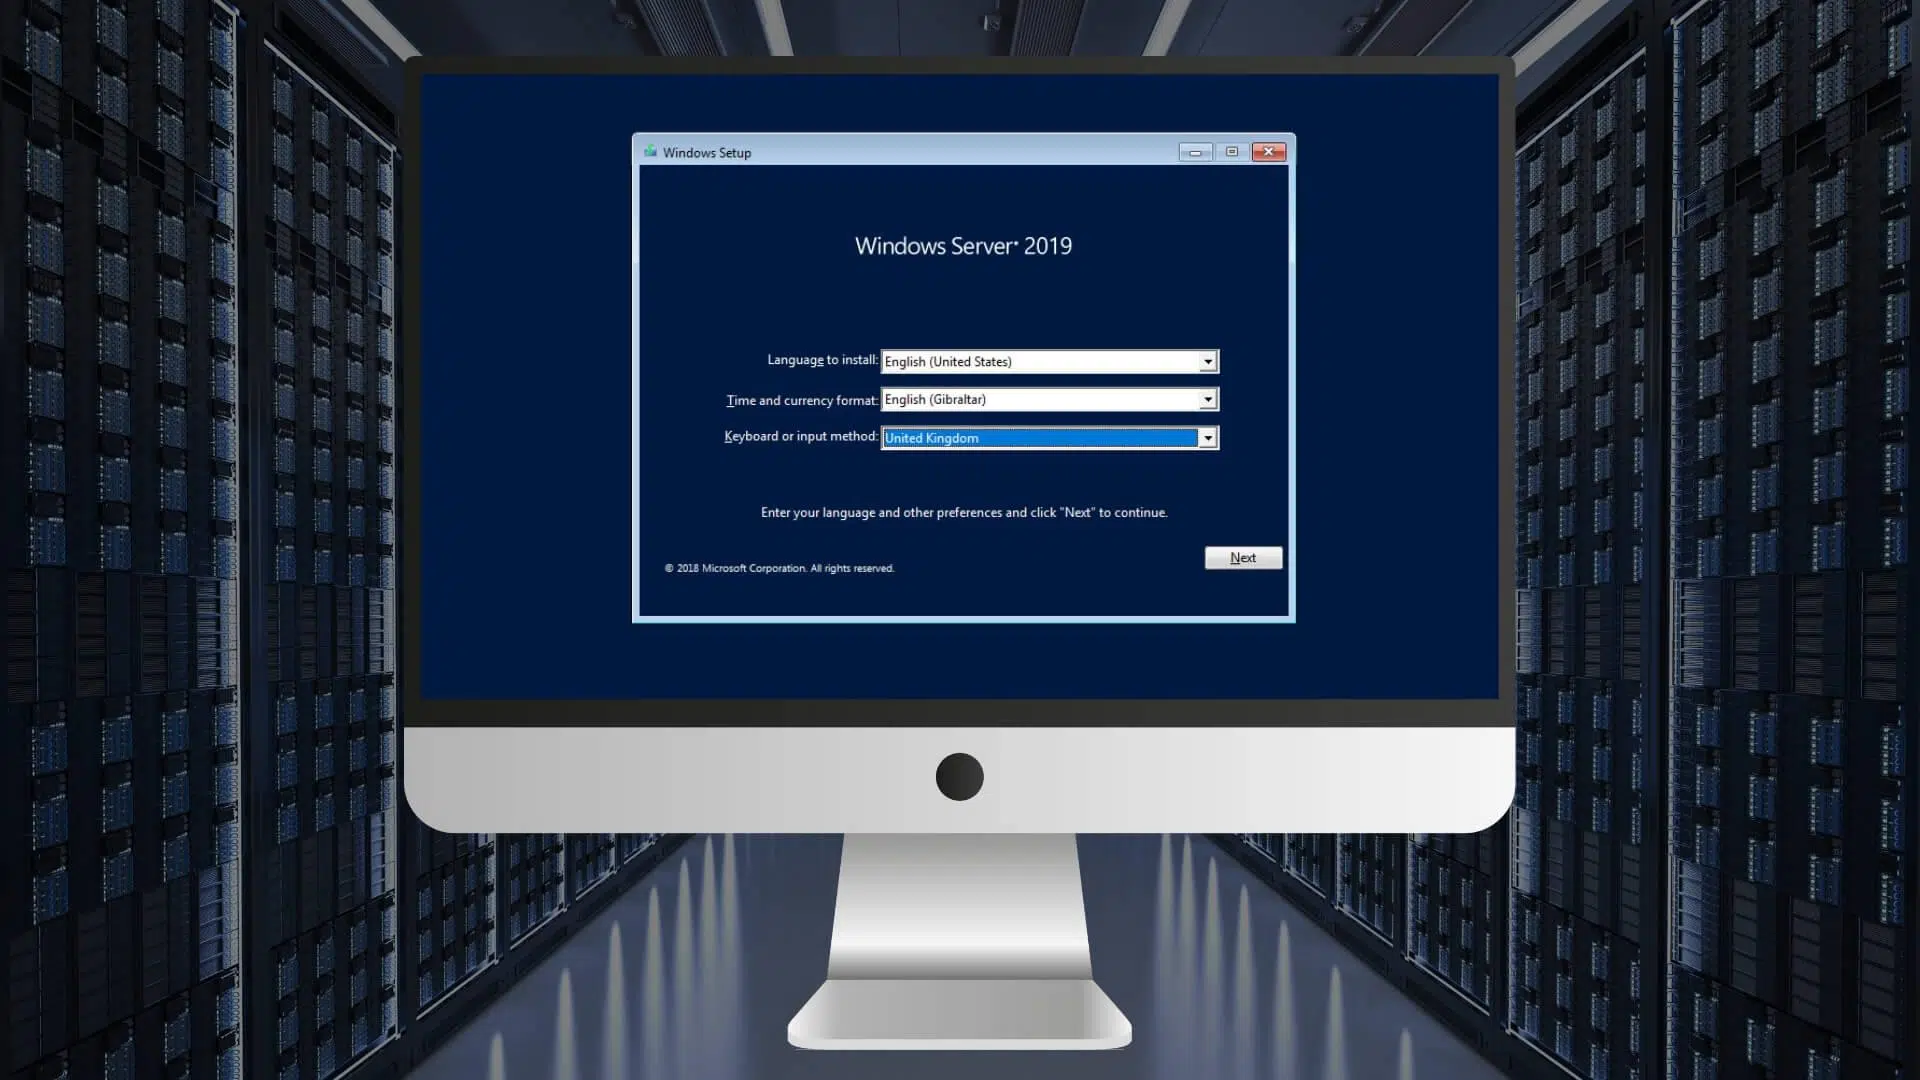
Step-by-step installation in Server Core mode
Boot from the media and select the edition without “Desktop Experience” (Standard or Datacenter, depending on your needs). Upon completion, the wizard will ask you to set the password. from the Administrator account, meeting the complexity requirements (length and character combination).
After the first boot, on Windows Server 2022 the system opens SConfig directly in a PowerShell console; In previous versions you will see CMD and you can run the tool manually. This difference is intentional: in 2022, the default shell is PowerShell, and SConfig starts automatically.
First start: SConfig, the Swiss Army knife of Core
SConfig is the text-based control panel for essential tasks. In 2022 (Server Core) it runs only when you log in; in 2019/2016 you can launch it with SConfig or SConfig.cmd from PowerShell or CMD. You must belong to local Administrators and use it in local or RDP session (does not work in remote PowerShell sessions).
To start it in previous editions, simply open PowerShell and run: SConfigIf you accidentally close it in 2022, it will automatically restart. In the menu, you'll see numbered options for network, domain, RDP, updates, activation, and more.
Basic configurations with SConfig (key options)
- Domain or workgroup: From the membership option (Domain/Workgroup) you can join the server to an Active Directory domain or a workgroup. If you choose domain, SConfig will prompt you for the domain name and valid credentials (in the format domain\user or user@domain).
- Name of the team: Change the hostname from the corresponding option (Computer name). If the computer is already in the domain, you'll be prompted for credentials with permission to rename the computer account; changes require a restart to apply.
- Local administrators: Add users or groups (domain or local) to the Administrators group with the Add local administrator option. It's instant and very useful for delegating tasks without exposing the Administrator account.
- Remote administration and ping: Enables or disables remote management (WinRM/PowerShell Remoting, Windows Admin Center, some MMC snap-ins) and controls whether it responds to ping (ICMP). By default, remote administration is enabled on domains and local subnets; ICMP echo is usually disabled.
- Updates: You can configure the mode (Automatic, Download Only, or Manual) and run the search and installation. SConfig allows you to choose categories like “All Quality,” “Recommended,” or “Features,” and install all, none, or a specific one. It’s a handy shortcut for keep the server patched or integrate with WSUS.
- Remote Desktop: Enable RDP with Network Level Authentication (more secure) or without requiring NLA (less secure). You can also disable it. Remember open firewall rules if they are not automatically applied according to your policy.
- Red: Defines DHCP or static IP (IPv4), mask, gateway, and DNS servers (preferred and alternate). If no DHCP is present, the system assigns APIPA automatically; On servers, a fixed IP is recommended to avoid problems with services such as AD DS or DNS.
- Date and Time: Opens the classic applet for time zone and synchronization. Make sure you use the correct NTP and time zone. especially in domain environments.
- Telemetry: Configures whether anonymous diagnostic data is sent to Microsoft (based on internal policies). This is a compliance and privacy setting that you should decide early on.
- Activation: Check license status, install a product key, and activeYou can attempt activation with your current key or enter a new one and then proceed with online activation.
- Session and energy: From the menu you can log out, restart, or shut down the server. This is useful after changes that require restart to apply, such as renaming the computer or joining it to the domain.
- Exit to PowerShell: The option to return to the interactive console is essential when you need more advanced actions (storage, VLAN, drivers). In 2022, if you run
exit, the current window will be closed and SConfig will be automatically reopened.
PowerShell as the default shell (and differences with CMD)
Starting with Windows Server 2022 Core, PowerShell is the default shell; previously, it was CMD. The good news is that you can run the same console tools from PowerShell, and you also have a much more powerful language and modules to automate and monitor performance.
If for some reason you uninstall PowerShell, the system will return to CMD and SConfig will no longer run either manually or automatically. In that scenario, it will be necessary to use classic utilities. such as netsh.exe or diskpart.exe until the necessary components are reinstalled.
Want to open a CMD prompt from PowerShell? Run cmd o start cmd to launch it in another window. If you run a .bat/.cmd file, it will interpret it as CMD even if you call it from PowerShell.
How to disable SConfig autostart
If you prefer to boot into a clean PowerShell session and open SConfig on demand, you can disable it with a single command. Run in PowerShell:
Attention: Set-SConfig -AutoLaunch $False
Installing roles and features from the console
On Server Core, the golden rule is to use PowerShell to install roles. With Get‑WindowsFeature / Install‑WindowsFeature (or its DISM equivalent) you can add services such as Hyper‑V, AD DS, DNS, DHCP or RRAS without leaving the terminal.
Typical examples (run them in PowerShell “as administrator”): Install Hyper‑V on a host and restart automatically:
Run (Hyper-V): Install-WindowsFeature -Name Hyper-V -IncludeManagementTools -Restart
On Server Core you won't have the local graphical consoles, but you can manage Hyper‑V remotely with Windows Admin Center or RSAT; In Windows Server 2016 it was common to use Core for Hyper‑V due to its lower consumption and better attack surface.
Install role: Install-WindowsFeature AD-Domain-Services
To prepare a new Active Directory forest (equivalent to “promote to domain controller”), first install the role and then deploy the forest:
Run: Import-Module ADDSDeployment
AD Deployment: Install-ADDSForest -DomainName "SISTEMA.local" -DomainNetbiosName "SISTEMA" -InstallDns:$true -SafeModeAdministratorPassword (Read-Host -AsSecureString "DSRM Password") -Force
With that you will have AD DS and DNS integrated; After the reboot you will be authenticated against the domain as a Domain Administrator. Remember to set a static IP and DNS pointing to the server itself before deploying AD.
For DHCP: Install-WindowsFeature -Name DHCP -IncludeManagementTools and authorize the server in AD. Then create the scope with PowerShell. Example of mass reservations from CSV (identical concept to script classic):
CSV Reservation: Import-Csv -Path .\dhcp.csv | Add-DhcpServerv4Reservation -ComputerName SERVO.SISTEMA.local
If you need NAT or routing, install Remote Access/Routing (RRAS) and enables NAT to access the Internet from a public interface. Although this is feasible on the same host, for security and performance reasons, it is often worth separating them.
Remote Administration and GUI: What You Need to Know
Common question: "I start SConfig and I don't see the desktop. How do I enable the GUI?" The answer is clear in 2019 and 2022: You can't add the GUI later in Server CoreYou must reinstall the system by choosing the “with desktop experience” edition during the wizard.
The evaluation edition is not always Core: during installation, Standard/Datacenter options with and without GUI appear. If you select the one that does not include “Desktop Experience” You'll have a Server Core by design. To manage a Core, use Windows Admin Center, RSAT, or Server Manager from another machine.
Edition update and activation from the console
If you started from an evaluation and want to convert to Standard or Datacenter, check the current and target editions with DISM. Useful commands:
Current query: DISM /online /Get-CurrentEdition
Destination editions: DISM /online /Get-TargetEditions
To set an edition (requires a valid product key) and accept the license: use /Set-Edition with the desired edition and restart when requested.
You activate it from the console with SLMGR: install the key and activate with:
Keys and activation: slmgr /ipk CLAVE-PRODUCTO-AQUI
slmgr /ato
Network and Security: Essential Settings
On servers, configure a consistent static IP and DNS. In SConfig, define the IPv4, mask, gateway, and DNS; if you prefer, use PowerShell. NetTCPIP (New‑NetIPAddress, Set‑DnsClientServerAddress). Check connectivity with ping (if you enabled ICMP) and test DNS resolution with nslookup.
For secure RDP, enable NLA in SConfig and check the firewall. If you're managing with remote PowerShell, confirm that WinRM is up and running. remote administration is enabled (it is enabled by default in Core on local domain/subnet).
Additional practical examples (SQL Server and copies)
In many deployments you will need a database. You can install SQL Server Express, enable TCP/IP in Configuration Manager and start SQL Browser. Make sure to create firewall rules for sqlservr.exe y sqlbrowser.exe in suitable profiles.
For copies, it is typical to use a copy device. backup and schedule a task. A classic full backup script with log output can serve as a starting point, and then programs the task in Task Scheduler to run at specific times. See how make a full backup on Windows Server.
Tips for working in Core environments
Before deploying “name servers” (DNS), DHCP, or AD DS roles, leave the static IP and local DNS tied up. Export your selections when using GUI wizards (if you manage another team) to generate XML or scripts and repeat installations with PowerShell on new Core servers.
Don't mix too many roles at once on the same host if you're just starting out; it will be easier for you to diagnose and keep each function. And don't forget to take down the DHCP from the router if you're going to serve addresses from your server. If you need to move functions, check how migrate roles and services to another server.
With all of the above, you've got the complete map: choose the right ISO, install on Core, go through SConfig for network, name, and domain, enable remote management, configure updates and RDP, and finish by deploying roles with PowerShell. The “console only” mode is more spartan, but tremendously efficient; and if you need a GUI, simply reinstall with Desktop Experience and manage your Core remotely without sacrificing its lightness.

Passionate writer about the world of bytes and technology in general. I love sharing my knowledge through writing, and that's what I'll do on this blog, show you all the most interesting things about gadgets, software, hardware, tech trends, and more. My goal is to help you navigate the digital world in a simple and entertaining way.