- Default locations: Documents > Scanned Documents or Images depending on the format.
- Check the scanning app (Windows Fax and Scan/Windows Scanner) and its destination folder.
- If they don't appear, use Explorer's search or add the network scanner from Settings.
- In case of loss, recover with EaseUS or AOMEI and set a clear path for future scans.
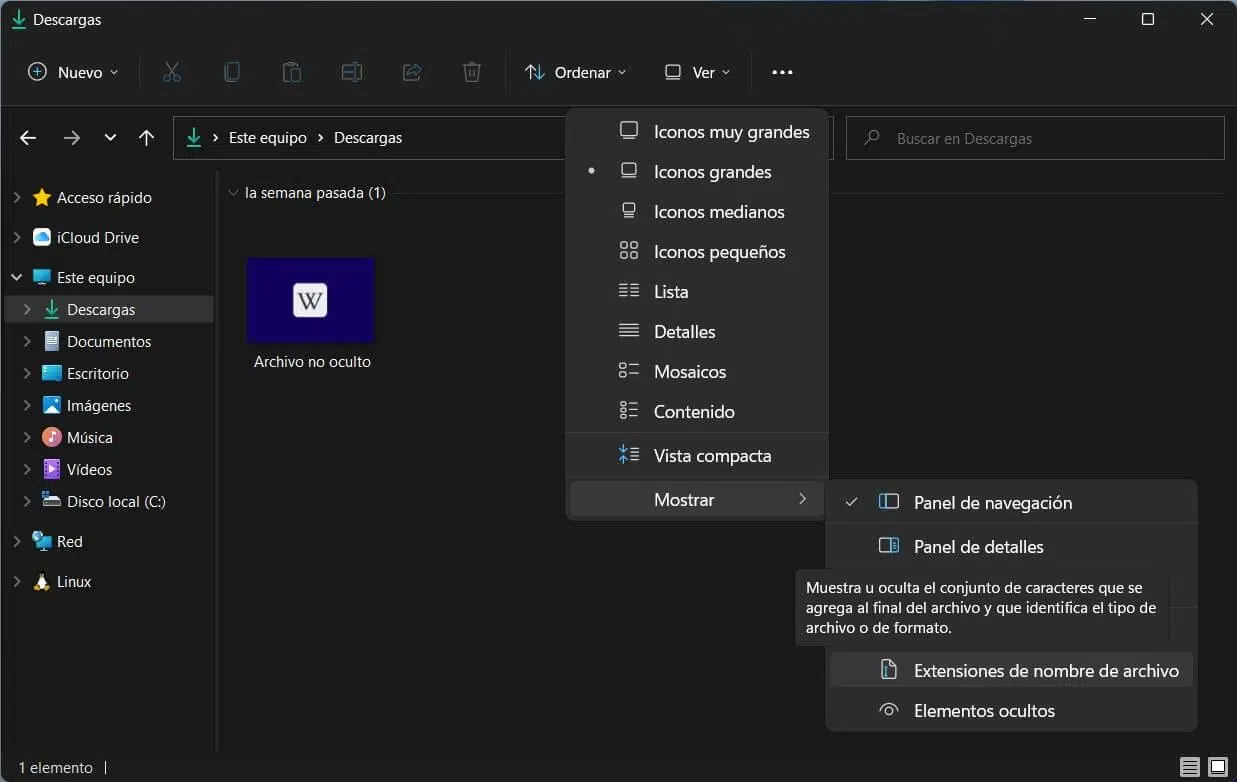
If you've just scanned a document and can't find the file on your computer, don't worry: it's a common problem. In Windows 11 (and also in Windows 10), documents are usually saved to default locations that vary depending on the application and format. Here you'll find all the typical paths, how to check your scanning app, and what to do if nothing appears.
In addition to Windows, we'll also cover the process on macOS and various options for recovering lost or deleted files. We'll include native methods, settings worth checking, and two well-known recovery utilities for when the file is nowhere to be found. We'll wrap up with frequently asked questions, common problems (such as the scanner not offering to save), and a specific case study using a Brother printer.
Where are scanned documents saved in Windows 11 and 10?
On most computers, document scans end up in the Documents folder , within a subfolder named something like "Scanned Documents." The typical path is: This PC > Documents > Scanned Documents. If you usually save as PDFs or TIFFs from the Windows app, this is the first folder you should check.
If you selected image formats like JPG, JPEG, PNG, or BMP when scanning, Windows will most likely save them to Pictures . On some Windows 10/11 computers, even if you don't change anything, the scan results will end up there if the app treats them as photos.
To check manually, you can do the following: open "This PC" from the Desktop or from File Explorer , go to Pictures, and examine the recent subfolders. If they are not there, go back to Documents and check "Scanned Documents."
If you still can't find anything, don't just scratch the surface. You can search the entire disk using the Explorer box by typing keywords (for example, part of the file name or .pdf) and letting Windows scan "This PC".
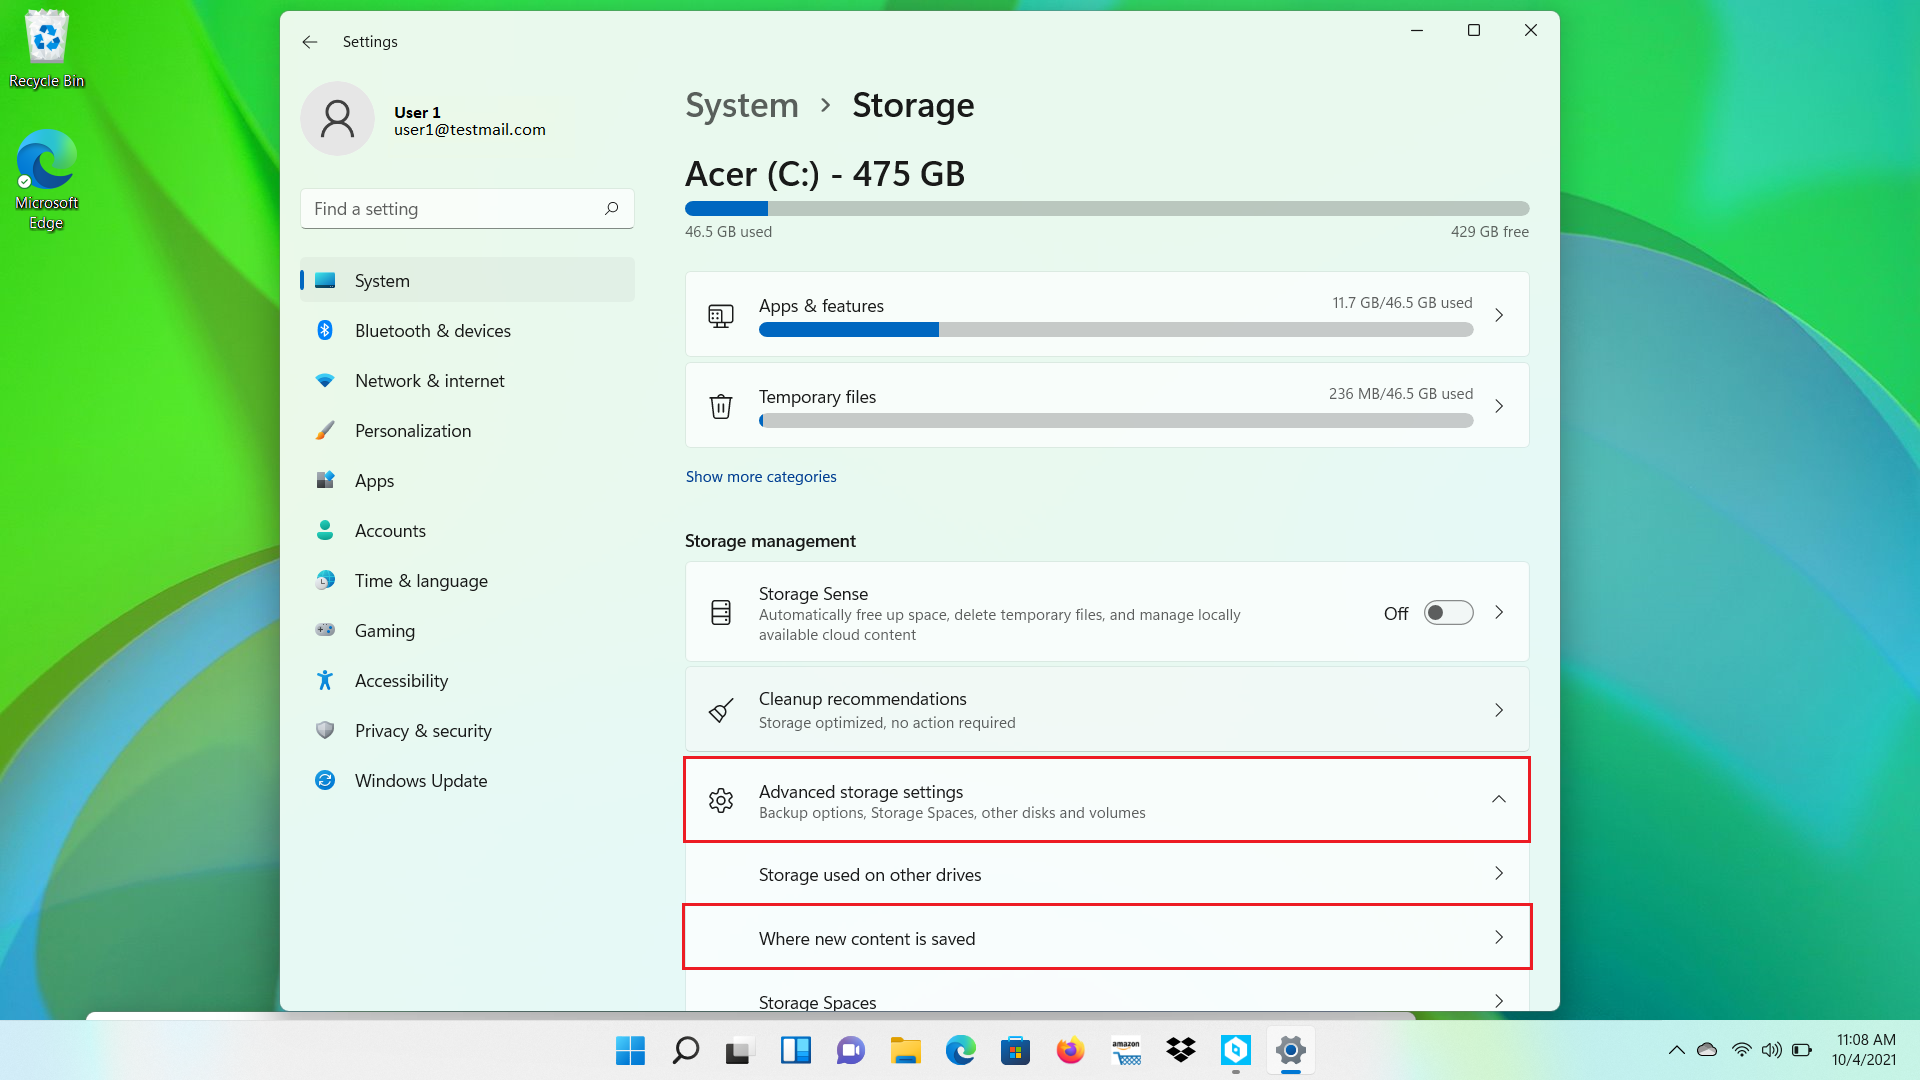
Check the scanning app you use on Windows
When you're unsure which program you used, the best approach is to find the default location within the application itself . Windows includes two common utilities: "Windows Fax & Scanner" and "Windows Scan." Anyone can manage the destination folder.
To get there quickly: open the search bar on the taskbar and type "Scan" or "Fax". Go to "Windows Fax & Scanner" and check the saving options . In many cases, the Save or Save As button shows the current location and lets you change it.
If you prefer "Windows Scanner" (the modern app), start a test scan. Before confirming, click Save As and you'll see the saved location, which is usually the "Scanned Documents" subfolder within Documents. From there, you can set a different location to avoid losing them again.
Don't forget that some devices use proprietary software from the scanner or printer manufacturer . For example, HP utilities (like the classic HP Solution Center) or tools from Brother, Epson, or Canon may have their own default folder. Open their settings panel and look at the destinations or "output folder" section.
Search with File Explorer when there are many documents
If you manage multiple drives or hundreds of PDFs and images, the built-in search is a lifesaver. Select "This PC" in the Explorer's left pane to apply the search to all local drives.
In the search box at the top right, type the file name, a keyword, or the extension (for example, .pdf, .jpg, .png). Press Enter and let Windows gather the results without interrupting the process.
Once finished, review the list by filtering by "Date Modified" to identify the most recent items. If you remember the day you performed the scan, this order will help you locate it instantly.
If nothing appears, try variations of the name or general terms (such as "scan", "document", "img"). Some apps name files automatically, and the name might not match what you expected. You can also try recovering previous versions if you suspect it was overwritten or deleted.
Install or add a network scanner in Windows
When the scanner is turned on and on the same network, Windows usually detects and installs it automatically . This also applies to scanners connected to another computer and shared, as well as Bluetooth or Wi-Fi models.
If it doesn't appear, you can add it manually: Open Start > Settings > Devices > Printers & scanners . Under "Add printers & scanners," tap "Add a printer or scanner" and wait for the scan to finish. If you're having trouble detecting it, you can audit your network connection to identify any blocks or interference.
When you see your scanner in the list, select it and click "Add device" . In a few seconds, Windows will install it and you'll see it in the available printers and scanners section.
If nothing comes up after several attempts, use the "The printer I want isn't listed" link and follow the wizard to add it by IP address or other advanced methods. Keep in mind that the network search may take a few minutes.
How to Locate Scanned Documents on Mac
On macOS, the standard workflow involves the Image Capture app. Connect your scanner to your Mac , position it, and open Image Capture from Spotlight or the Applications folder. You'll see your scanner listed on the left side.
Before clicking Scan, choose the destination from the location pop-up menu . The Pictures folder is often a good choice to keep it organized and avoid mixing it with other documents.
Select the area of the paper using the bounding box (letter size by default). If you need multiple areas, you can draw more than one selection to generate separate files. When everything is to your liking, click Scan.
To open your scans, go to Finder > Go > Home and double-click Pictures . If you chose a different folder, navigate to that location. By default, many scans end up in Pictures when the destination isn't changed.
If they do not appear: recovery with specialized software
The file may have been accidentally deleted, the disk may be faulty, or the program may have saved it to an unusual location. In these cases, a recovery tool can scan the disk for existing or deleted documents and offer the option to restore them. If you suspect physical or logical failures, try diagnosing your hard drives and SSDs before attempting advanced recovery methods.
EaseUS Data Recovery Wizard (Windows and Mac)
EaseUS Data Recovery Wizard scans internal and external drives to locate documents in a multitude of formats. On Windows, after installing the tool, choose the drive or folder where you believe the file is located and click "Scan for lost data."
The application will perform an automatic analysis and display results as it progresses. You can preview documents, filter by type or date , and, once you're ready, select what you want to retrieve.
On a Mac, the process is similar: select the volume to scan, let EaseUS complete the scan (both quick and deep), and choose the items to restore using the "Recover" button. Try saving the recovered files to a different drive than the original.
AOMEI Partition Assistant for Recovery (Windows)
If you suspect accidental deletion, formatting, or infections, AOMEI Partition Assistant for Recovery is another free alternative focused on recovering documents, images, videos, emails, and more on Windows 11/10/8/7.
- High hit rate: designed to maximize the chances of bringing back lost files, even after formatting or damage.
- easy handling: clear interface for novice and advanced users, with guided steps.
- Wide compatibility: Works with multiple file types and media (HDD, SSD, USB, cards).
- Two modes of analysis: quick scan for recent deletions and deep scan for thorough searches.
- Previous view: ability to check content before retrieving to avoid noise and save time.
The basic flow is straightforward: install and run AOMEI Partition Assistant for Recovery , choose the partition or disk where the data was lost, and press Scan.
First, it will perform a quick scan, then a deep scan to refine the results. When it's finished, you'll see deleted files, trash contents , and other missing items ready to be flagged.
Select what you need, tap Recover, and choose a destination folder different from the original. Let the process finish without closing the application.
Extra tips: if the file doesn't save or doesn't appear
There are simple reasons why a scan might not save. Check that the original is properly positioned on the glass or feeder; if the app doesn't detect any content, it may cancel or close without prompting.
Check the driver for your scanner or multifunction printer. An outdated driver can cause the app to crash or prevent files from being written. Install the full driver package from the manufacturer for your model.
Check your disk space. If your drive is full, saving may fail silently or only partially complete. Free up space and try scanning again. You can clean and optimize Windows with specific tools to do this.
Finally, make sure you have sufficient permissions on the destination folder . In multi-user environments, a standard account may not have write permissions on certain paths.
Brother MFC-L3770CDW Problems: Diagnostic Steps
If you're using a Brother MFC-L3770CDW and the app closes after scanning without offering to save, try this. First, try scanning with a different app , such as "Windows Fax & Scanner," to see if the problem is with the Brother software or a general system issue.
If it works in another app, check the permissions of the affected user account . Make sure it has write access to the destination folder, and if necessary, try a neutral location like C:\Users\YourUsername\Documents.
Download and install the latest driver and utility package for your model from the Brother website, including the scanning software. Sometimes the module that saves the file is the one that fails.
Consider performing a factory reset of the printer/scanner from its control panel or using Brother software. This will clear any corrupted settings.
If nothing changes, completely uninstall the scanning software and reinstall it to clear caches and temporary files. If the problem persists, contact Brother support with details of the issue.
Why is it important to digitize your documents?
1) Instant access and order
Once you have your documents digitally, locating them takes seconds and is accessible from anywhere . No more rummaging through physical filing cabinets: with folders and search functions, everything runs more smoothly.
2) More security for information
Digital files can be encrypted, password-protected, and stored on secure servers . In the event of loss or physical damage, a digital copy adds an essential layer of protection.
3) Frictionless remote work
With geographically dispersed teams, having documents in the cloud makes all the difference . Collaboration is faster, and you don't need to be in the office to check or share.
4) Sharing is immediate
All it takes is an email, a link, or uploading to a collaborative platform. Digitized documents are distributed instantly, eliminating the hassle of printers and couriers.
Where can you digitize… and how to find them later?
If you lose track of a scan, don't worry: a few basic checks can usually resolve it. Start by looking in Documents > Scanned Documents or in Images if you saved them as JPG/PNG.
Form 1. Review Documents or Images
In Windows 11/10, the most common location is This PC > Documents > Scanned Documents . If you scanned as an image, look in Pictures. Many applications default to these folders.
Method 2. Use Windows Search
Open File Explorer and select "This PC". Type the file name or its extension in the search box , press Enter, and let it finish. Then sort by date to see the most recent files.
Way 3. Recover with AOMEI Partition Assistant for Recovery
If there's no trace, it may have been deleted. With AOMEI Partition Assistant for Recovery, you can scan the drive and recover documents (DOCX, XLSX, PPTX, PDF, etc.), images, videos, or emails. Select the drive, run a quick and deep scan, preview, and recover to another folder.
When important content is nowhere to be found, recovery utilities like EaseUS or AOMEI are a lifesaver . First, try the standard scan in File Explorer, then move on to the specialized scan, and finally, set a clear folder as the destination in your scanning app to avoid losing them again.


Passionate writer about the world of bytes and technology in general. I love sharing my knowledge through writing, and that's what I'll do on this blog, show you all the most interesting things about gadgets, software, hardware, tech trends, and more. My goal is to help you navigate the digital world in a simple and entertaining way.