- It is possible to clone or copy an external disk to an internal one as long as there is sufficient space and compatible partition styles.
- The connection can be made using internal SATA ports, USB adapters, docking stations, or external enclosures depending on the type of disk.
- Cloning is ideal for migrating entire systems, while disk images are more suitable as a backup strategy.
- Saving copies to a different physical disk and checking BIOS/UEFI and controllers prevents boot and drive detection problems.
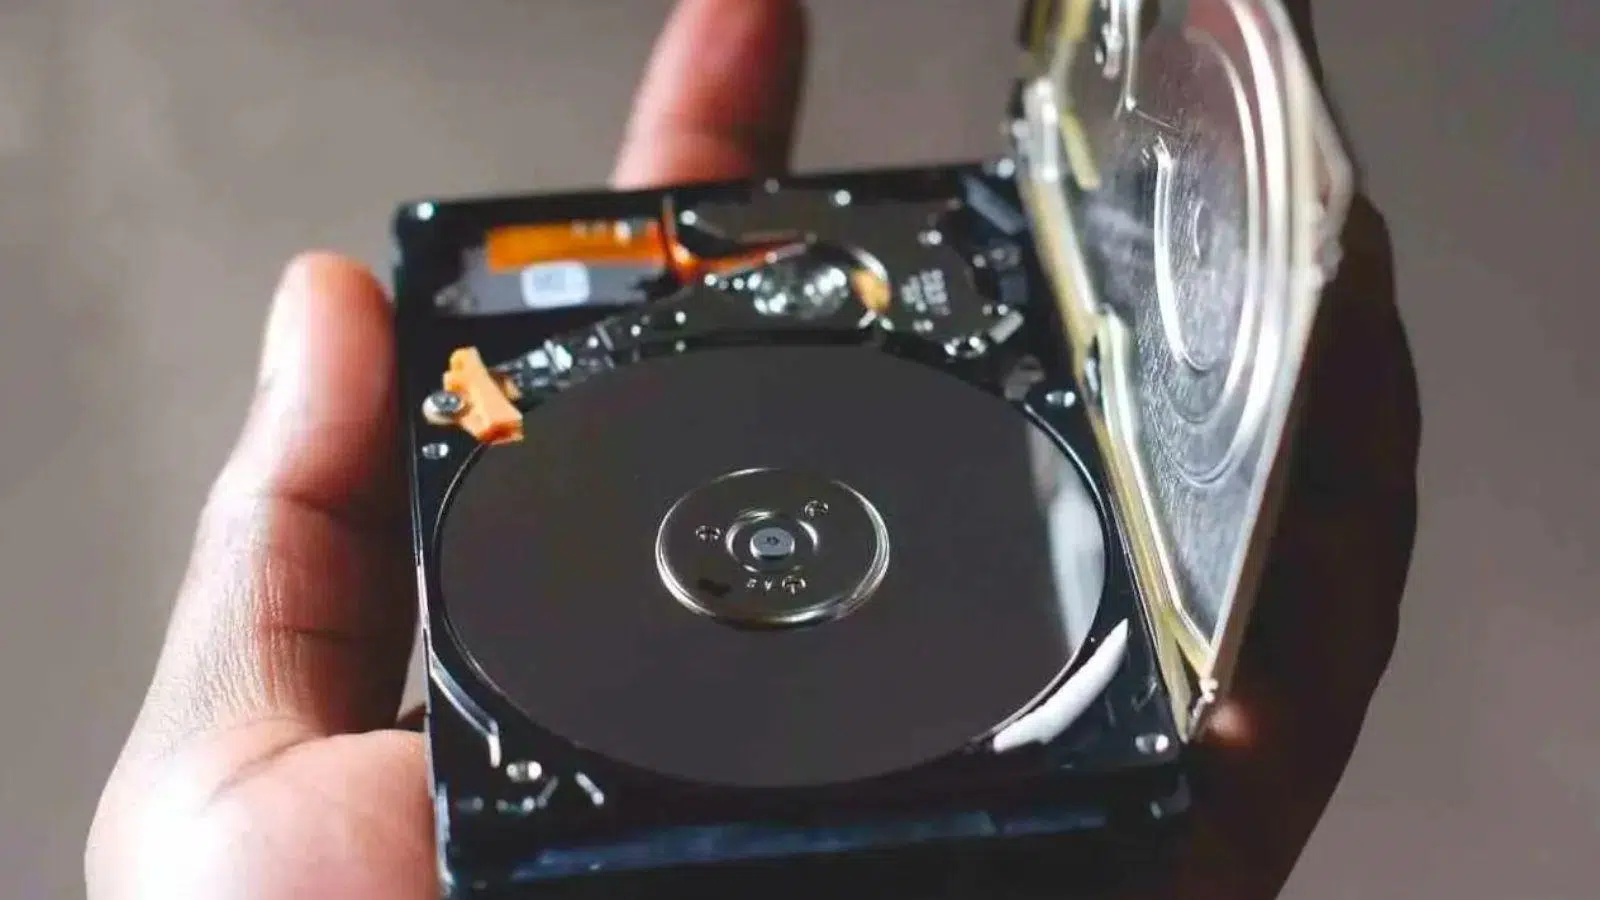
When we change computers or storage devices, it's very common to want to connect an external hard drive or SSD to copy everything to an internal drive without losing anything in the process. Sometimes it's an old mechanical HDD, other times a SATA SSD, or even a drive that was in a USB enclosure and we now want to use inside the PC.
This process raises many questions: whether you can clone an external drive to an internal one , what type of cable or adapter you need, whether it's better to clone or create an image, what happens if the drive is an older IDE or SCSI model, or even how to proceed when Windows detects an internal SSD as if it were removable and displays the typical "Safely Remove Hardware" icon. We'll break all this down calmly so you can do it confidently and with minimal complications.
Is it possible to clone an external hard drive to an internal one?
The short answer is yes, you can clone an external hard drive to an internal drive without any problems . Cloning software doesn't distinguish between "external" and "internal" logically; what matters to them is that the source and destination drives are recognized by the system and that the destination drive has enough space and a compatible format.
Cloning an external drive to an internal one is very useful when you want to migrate backup data to your main PC or when you're working with a system installed on an external SSD and want to move it to an internal SSD/HDD to improve performance and stability. The data flow can go in any direction: internal → external, external → internal, between external drives… the cloning tool handles all combinations virtually the same.
What often causes confusion is that most users are more accustomed to cloning the system from an internal drive to an external one for backups or to create a bootable USB drive, and not so much to doing it the other way around. But technically there's no limitation; you just need to meet a few prerequisites and choose the right way to connect each drive.
Furthermore, cloning from an external disk allows you to recover or reuse information from old drives that you had stored at home, or rescue data from an old computer simply by mounting its disk in another computer and copying everything important to a more modern internal drive.
Requirements and preparations before copying or cloning the disk
Before you start cloning or copying the contents of an external hard drive to an internal one, it's a good idea to make some basic preparations to avoid data loss and compatibility issues. These aren't complicated steps, but they are important.
First, make sure the destination internal drive has enough space for everything on the external drive. If you're cloning sector by sector, the destination drive should have at least the same capacity as the source; if you're cloning only used space, it just needs to have equal or more free space than the external drive.
It's also crucial to back up any important data on the destination drive . The cloning process overwrites or erases the information on that internal drive, so if you were using it for other things, save anything you don't want to lose beforehand, either to another drive, a NAS, or the cloud.
Another key point is to check the partition style of both disks, MBR or GPT . To see this in Windows you can use " diskmgmt.msc ":
- Balance Windows + R, type diskmgmt.msc and accept to open Disk Management.
- Right-click on the disk (not the partition), choose Properties and go to the tab Volumes.
- In “Partition style” you will see if it is MBR or GPT.
If the file system styles don't match between your external and internal drives and you want to clone a system that boots correctly, you might need to convert from MBR to GPT or vice versa using tools that allow you to do so without data loss. These days, with UEFI, GPT is the most recommended option, but it will depend on your computer's configuration.
Finally, check how both drives connect to your PC. For a desktop computer, the easiest way is to use SATA ports and the power supply connectors directly. For laptops, or when you don't want to open the computer case, you'll usually use USB-to-SATA adapters, docks, or external enclosures.
Ways to connect the new external hard drive to the PC
The key to successfully copying or cloning is that both the external (source) and internal (destination) drives must be visible on the computer simultaneously . There are several ways to achieve this, depending on whether it's a desktop PC, a laptop, an older IDE drive, etc.
If you have a tower with enough free space and a decent power supply, the simplest solution is to install the drive internally using the SATA connectors . Modern motherboards usually have enough ports to connect multiple drives, and modern power supplies come standard with several SATA or Molex power connectors for older drives.
In this case, you only need a SATA data cable and a suitable power cable . Turn off your PC, open the case, screw the drive into a 2,5" or 3,5" bay as appropriate, connect the cables, and you're done. Once Windows boots, the drive will appear in Disk Management, and you can use it to copy or clone data. This solution is ideal when you're reusing a drive from a previous PC as additional internal storage.
If the hard drive you want to recover is very old and has an IDE or even SCSI interface , things get a bit more complicated. IDE uses a large pin connector and typically requires 40/80-wire ribbon cables, in addition to Molex power connectors. SATA, on the other hand, uses thinner, separate connectors for data and power, which are much easier to handle.
For these older hard drives, it's usually more practical to use an IDE/SATA to USB adapter or a compatible docking station, rather than trying to connect them directly to the current motherboard, which likely no longer has IDE ports. The advantage of these adapters is that they turn almost any hard drive into a USB device that you can plug into any modern PC.
Connect the drive using USB adapters, docks, and enclosures
One of the easiest and quickest ways to connect an old hard drive or a new external hard drive to back up the data to your internal drive is to use USB adapters. There are several types available, each with its own advantages depending on your intended use.
"Air" USB-SATA/IDE adapters are small cables with an intermediate module that connects to the hard drive (2,5" or 3,5" SATA or IDE) on one end and to the PC via USB on the other. For 3,5" drives or some IDE drives, they usually include an external power supply. For SSDs or 2,5" SATA drives, the power supplied through the USB connection is typically sufficient.
These adapters are very practical when you want to temporarily connect a hard drive to transfer data , without needing to install anything permanently inside the computer case. There are even models that allow you to connect multiple drives simultaneously and transfer data directly between them.
Another elegant and somewhat safer solution is a hard drive docking station . These are bases where you insert one or two 2,5" or 3,5" drives (depending on the model), keeping them vertical, and connect to your PC via USB. Simply insert the drive into the slot, turn on the dock, and Windows will recognize it as just another external drive.
Some docking stations include extra features like standalone disk cloning , without even needing a PC turned on. Simply place the source disk in one slot, the destination disk in the other, press the "Clone" button, and wait for the process to finish. However, always check that the docking station supports the type of interface you need (SATA only or also IDE).
If you plan to use a hard drive more or less permanently as an external drive, another very convenient option is an external HDD/SSD enclosure . You install the drive inside the enclosure, close it, connect it to your PC via USB, and you're done. Many of these enclosures combine SATA and IDE connections, although nowadays SATA-only is more common. The advantage is that the drive is better protected against shocks and electrostatic discharge than if it were loose on a desk.
As a last resort, you can also repurpose the enclosure of a commercially available external hard drive you already own. Most of these devices are simply a standard SATA drive connected to a small board that converts SATA to USB. If you open the enclosure (which usually voids the warranty), you can remove the drive, connect it internally to your PC, or even use the same enclosure for another SATA drive you want to mount externally.
Cloning an external hard drive to an internal one step by step
Once you've determined how the source (external) and destination (internal) drives will be connected, it's time to choose your cloning or copying method . You can do it manually, copying files and folders, or use specialized software that clones partitions or entire drives.
If you want to migrate the entire operating system and boot partitions , the most practical solution is to use a disk cloning program . Tools like EaseUS Partition Master, among others, allow you to clone entire disks, clone only the system disk, or clone data drives, with fairly guided and easy-to-understand wizards.
In this type of program, the usual steps would be:
- Open the application and enter the section of Clone disk or similar.
- Choose external disk as sourcewhether it's an HDD, SSD, USB or SD card.
- Select the internal disk as destinationconfirming that its content will be deleted.
- Check the partition scheme proposed (automatic adjustment, clone as is, etc.).
- Start the process and wait for it to finish, without disconnecting any units.
Many of these tools allow you to clone only the used space , which saves time if the source drive has a large capacity but little actual data. They can also help if the external drive has bad sectors, by attempting to skip them and copy only the healthy portion.
If you're only interested in copying data (documents, photos, projects, etc.) and don't need the internal drive to be bootable, you can manually copy files from Windows Explorer or using synchronization tools. However, keep in mind that this won't transfer the operating system or hidden partitions.
Once the cloning process is complete and you have configured the BIOS/UEFI to boot from the new internal disk (if you have cloned a system), it is advisable to verify that all partitions are working correctly and that the computer boots smoothly from the new drive.
What to do if Windows detects an internal SSD as a removable device?
It's relatively common that, after reusing an SSD from another computer and connecting it to a SATA port , Windows continues to recognize it as a removable device, displaying the "Safely Remove Hardware" icon in the system tray. While this is usually not a serious issue, it can be annoying.
This behavior is usually due to the way the motherboard's SATA controller manages the ports . Some ports are internally configured in "hot-swap" or "eSATA" mode, which causes Windows to treat them as external drives, even though the drive is physically screwed into the case.
To avoid this, you can try several things, starting by checking your BIOS/UEFI for hot-plug or similar options for the SATA port where the SSD is connected. Disabling this option (if it exists) will make the system see the drive as a fixed internal drive and stop showing it as removable.
Another possibility is that the problem stems from the chipset or SATA controller drivers . Updating the drivers from the motherboard manufacturer's website (Intel, AMD, etc.) may correct this behavior. In some advanced configurations, you can also modify how each port is handled through the Windows Registry, but this is best done only if you know exactly what you're doing.
Meanwhile, even though the drive appears as removable, you can perfectly well use it as internal storage . Just avoid "ejecting" it from the tray icon, because that will force its logical disconnection and you could lose data if there are pending writes.
SSD backup to an internal hard drive
Another very common situation is having all your data on a primary SSD (for example, an NVMe drive where Windows is installed) and wanting to back it up to a secondary internal hard drive. This involves combining two approaches: manual data copying and automated or image-based backups.
If you only want to store your personal files (documents, photos, videos, projects, etc.), simply create a clear folder structure on your HDD and regularly copy the data from your SSD there. You can use synchronization or backup programs that allow you to schedule daily or weekly backups.
What's not recommended is saving the system image on the same disk you're backing up . If the primary SSD physically fails, having the image on a partition of the same disk is useless. However, if you save it on a completely separate disk (like that secondary internal HDD), then you'll be able to restore the image later on another SSD.
Therefore, when creating a full system image using Windows tools or third-party software, ensure the destination path is on a different physical drive , whether internal, external, or even in the cloud. Additionally, it's highly recommended to also create a system repair disk or USB drive so you can boot your PC and restore the image even if Windows isn't working.
Regarding using a SATA-to-USB cable to transfer data from the SSD to the HDD , there's no problem as long as the adapter is of good quality and provides sufficient power if it's a 3,5" drive. From a software perspective, for Windows it's simply another storage device, so you can copy or clone without any added risk beyond what you would with any USB drive.
Is it better to clone the disk or create an image?
When you're thinking about migrating the contents of an external hard drive to an internal one , the question arises whether it's better to clone directly or create a disk image to restore it later. Both options are valid, but they have different implications.
Disk cloning copies the contents of one disk directly to another, usually assuming both are connected simultaneously. It's ideal for switching disks and continuing to work seamlessly (for example, moving from an HDD to a faster SSD) or for replicating a disk onto a larger one. It's a faster and more direct process if you want to "change the wheels on the go."
A disk image creates one or more files containing all the information from the source disk, including partitions, the boot sector, and so on. This image is saved to a different drive (another disk, a NAS, cloud storage, etc.) and can be restored later to a compatible disk. It offers greater flexibility as a backup because you can store multiple images from different dates.
If your priority is upgrading your computer or migrating an entire system from an external to an internal drive, cloning is usually the simplest and fastest option. If you're looking for a medium- to long-term backup strategy, system images are more suitable because you can preserve multiple system states.
In any case, the decision depends on your needs: for a one-off, direct migration , cloning; for a repeated backup strategy , periodic images combined with copies of your important data.
In short, by correctly connecting the new external drive—whether via direct SATA, USB adapters, docking stations, or enclosures—, checking space and partition format, and using good cloning or imaging software, it is perfectly possible to safely transfer all the contents of an external drive to an internal one, reuse old drives to recover valuable data, and organize a much more reliable backup system than relying on a single drive.


Table of Contents
- 1 Is it possible to clone an external hard drive to an internal one?
- 2 Requirements and preparations before copying or cloning the disk
- 3 Ways to connect the new external hard drive to the PC
- 4 Connect the drive using USB adapters, docks, and enclosures
- 5 Cloning an external hard drive to an internal one step by step
- 6 What to do if Windows detects an internal SSD as a removable device?
- 7 SSD backup to an internal hard drive
- 8 Is it better to clone the disk or create an image?