- SteamCMD manages the installation and update of dedicated servers with SteamPipe and replaces the old HLDSUpdateTool.
- Allows anonymous or account authentication, supports beta branches, and file validation to ensure integrity.
- Supports CLI and script automation, as well as downloads crossed with @sSteamCmdForcePlatformType.
- Includes fixes for common bugs (32-bit libs, login, ulimit) and utilities like LGSM and SteamCMD GUI.

If you want to set up or maintain dedicated game servers using Valve's infrastructure, you'll inevitably encounter SteamCMD. This utility is the command- line version of the Steam client and has become the standard tool for downloading, installing, and updating servers. Since SteamPipe replaced the old HLDSUpdateTool , virtually every title that supports dedicated servers uses it.
In this comprehensive guide, I explain in detail how to download SteamCMD on Windows , Linux , and macOS, how to run basic and advanced commands, log in (anonymously or with an account), install and validate servers, automate tasks with scripts, force cross-platform downloads, and troubleshoot common errors. I also include a practical example using Palworld and review external utilities and scripts that will make your life easier.
What is SteamCMD and what is it used for?
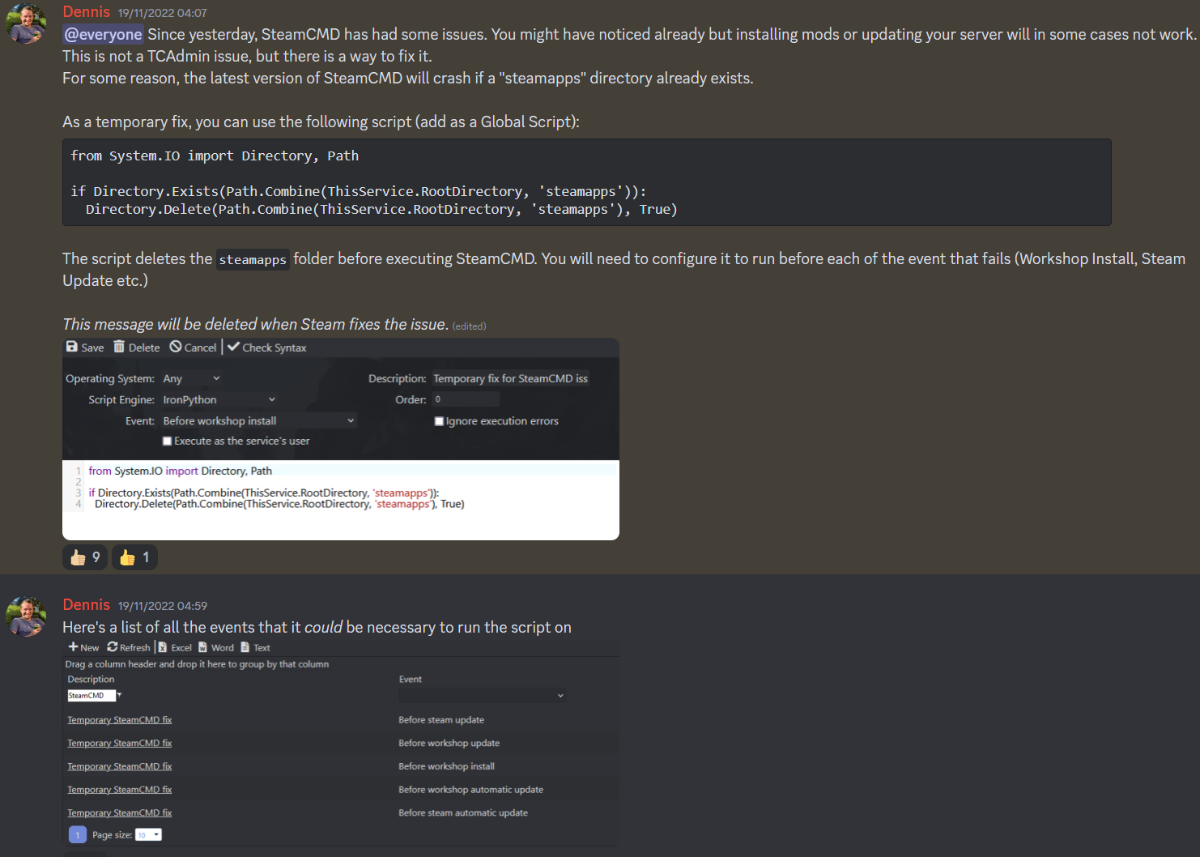
SteamCMD is the Steam client console: a text-based application without a graphical interface. Its primary function is to install and update applications and dedicated servers that use the SteamPipe content delivery system. All games that previously used HLDSUpdateTool have migrated to SteamCMD , making it the official and Valve-supported method for managing servers.
Download and install SteamCMD
The process varies depending on the operating system, but it's always straightforward. First, create a dedicated directory for SteamCMD and work from there to keep everything organized.
Windows
On Windows, simply create a folder, download the official ZIP file, and extract it. A convenient path example is C:\steamcmd.
1) Crea la carpeta, por ejemplo: C:\steamcmd
2) Descarga: http://media.steampowered.com/installer/steamcmd.zip
3) Extrae el ZIP dentro de C:\steamcmd
Linux
On Linux, it's best to install the 32-bit libraries first, since SteamCMD is a 32-bit binary. The specific packages depend on the distribution.
Ubuntu/Debian 64-bit:
apt-get install lib32gcc1

RedHat/CentOS:
yum install glibc libstdc++

RedHat/CentOS 64-bit:
yum install glibc.i686 libstdc++.i686
It is highly recommended to create a dedicated user account (e.g., "steam") to install and run the servers. Do not run SteamCMD as root ; it is unnecessary and can cause permission issues.
# Como root, crea un usuario y su home (o usa sudo)
useradd -m steam
su - steam

# Crea el directorio de trabajo y entra en él
mkdir ~/steamcmd
cd ~/steamcmd

# Descarga y extrae SteamCMD
wget http://media.steampowered.com/installer/steamcmd_linux.tar.gz
tar -xvzf steamcmd_linux.tar.gz
macOS (OS X)
On macOS, the process is similar: folder, download, and extract from Terminal . Use curl to retrieve the installer.
mkdir ~/steamcmd
cd ~/steamcmd
curl -O http://media.steampowered.com/client/installer/steamcmd_osx.tar.gz
tar -xvzf steamcmd_osx.tar.gz
How to run SteamCMD
On first launch, the tool will automatically update and take you to the Steam> prompt. Type "help" to see the available commands and get started.
Windows
From the Windows command prompt, navigate to the folder where you extracted the files and run the command. The basic commands are straightforward :
cd C:\steamcmd
steamcmd
Linux and macOS
On Unix -like systems , enter the working directory and run the script . Remember to use ./ before the executable :
cd ~/steamcmd
./steamcmd.sh
SteamCMD Login
SteamCMD allows you to log in in two ways: anonymously or with Steam credentials. Many server apps are downloaded in anonymous mode , but not all.
Anonymous access
For servers that allow it, the fastest option is: anonymous login.
login anonymousLogin with your Steam account
Some servers require authentication and, in some cases, that you have purchased the game. In those cases, log in with your username. For security, it's advisable to create a secondary account specifically for servers and avoid using your personal account for games.
login <tu_usuario>Enter your password when prompted. If you have Steam Guard, you'll receive a code by email and will need to enter it the first time (or if you delete the files where SteamCMD stores your login data). Note that an account can only be logged in to one place at a time , either in the graphical client or in SteamCMD.
Installing and Updating Servers with SteamCMD
The typical workflow is: log in, choose the installation folder, and use app_update with the App ID. You can also validate files and choose beta branches if available.
First, define the destination directory (slash in Linux/macOS and backslash in Windows): force_install_dir <path>
# Ejemplo: subcarpeta "cs_go" en el directorio actual
force_install_dir ./cs_go/
Next, run the installation or update with `app_update`. You can add `validate` to check integrity, and `-beta` with `-betapassword` if you need a protected branch. The general syntax is as follows :
app_update <app_id> [-beta <rama_beta>] [-betapassword <clave>] [validate]HLDS is a special case: its App ID is always 90, and you must select the mod using app_set_config before updating. The parameter to set is mod.
app_set_config <app_id> <opcion> <valor>Some commonly used practical examples. Dedicated CS:GO :
app_update 740 validateHLDS with Team Fortress Classic :
app_set_config 90 mod tfc
app_update 90 validate
Note that HLDS (appid 90) may need to run app_update several times until it downloads all the necessary files. Repeat app_update 90 validate until no more updates are available.
HLDS (Half-Life) in beta :
app_update 90 -beta beta validateCounter-Strike: Source dedicated (prerelease branch) :
app_update 232330 -beta prerelease validateNatural Selection 2 dedicated in private beta (branch "alpha", key "natsel") :
app_update 4940 -beta alpha -betapassword natsel validateWhen you're finished, log out properly with: quit.
quitfile validation
The `validate` modifier forces a check to ensure that all files match the official ones. This is useful if you suspect corrupt or missing files after a failure.
Note: Validation overwrites any modified files from their default state. For example, if you customized mapcycle.txt , it will restore the original version. Files that are not part of the default installation are not affected.
Automate SteamCMD
You can automate tasks by either stringing commands together on the command line or using scripts with `+runscript`. On Linux and macOS, replace `steamcmd` with `./steamcmd.sh` in the examples.
From the command line
To chain multiple actions, precede each instruction with a +. There's a peculiarity with beta branches in the CLI: they must be enclosed in special quotes if passed within app_update.
Example for dedicated CS:GO with custom installation path: with anonymous login
steamcmd +login anonymous +force_install_dir ../csgo_ds +app_update 740 +quitTo install an HL1 mod like Condition Zero, remember to set the mod first: use app_set_config 90 mod czero
steamcmd +login anonymous +force_install_dir ../czero +app_set_config 90 mod czero +app_update 90 +quitIf the game requires a login, enter the username and password in the command: example with Killing Floor
steamcmd +login <usuario> <contraseña> +force_install_dir c:\KFServer\ +app_update 215350 +quitRegarding beta branches in the CLI, try formats like: +app_update "90 -beta beta" or "+app_update 90 -beta beta" if the first one doesn't work.
With a script
Place your SteamCMD commands in a text file and run them with +runscript. You can add comments with // within the script itself.
steamcmd +runscript csgo_ds.txtCross platform download
SteamCMD allows you to force the target platform using the @sSteamCmdForcePlatformType variable. Supported values: Windows, macOS, and Linux. Yes, the variable starts with two 's's: @sSteamCmd…
# Ejemplo: descargar el servidor dedicado de CS:GO para Windows desde Linux
./steamcmd.sh +@sSteamCmdForcePlatformType windows +login anonymous +force_install_dir ../csgo_ds +app_update 740 validate +quit
Software and utilities for Windows
There are tools that act as a bridge or interface to SteamCMD. Some of the most commonly used on Windows are :
- Socket: bootstrapper for installing, configuring, and launching dedicated Steam servers.
- SteamCMD GUI: A graphical interface for using SteamCMD without bat or commands. Repository: https://github.com/DioJoestar/SteamCMD-GUI
- SteamCMD Guardian 1.2: utilities and scripts; download at: http://pastebin.com/BRUbsGQh
Useful scripts for Linux
If you work with Linux, there are projects that automate server management. One notable example is Linux Game Server Managers (LGSM) , a set of CLI scripts for quickly deploying and managing servers.
Its functions include: installer with SteamCMD, start/stop/restart, update , monitor with email alerts, backups, and server console.
LGSM supports a wide variety of games, including ARMA 3, Blade Symphony, Counter-Strike (various editions), Day of Defeat , Fistful of Frags, Garry's Mod, Half-Life DM Classic, HL2 DM, Insurgency, Just Cause 2, Killing Floor, Left 4 Dead (1 and 2), No More Room in Hell, Natural Selection 2, Red Orchestra: Ostfront 41-45, Team Fortress (various editions), among others.
More information and full list: http://danielgibbs.co.uk/lgsm — repository on GitHub: https://github.com/dgibbs64/linuxgameservers
There's also a script called SteamCMD Guardian 1.2 , tested on Debian Wheezy. You can view and download it at: http://pastebin.com/hcpMpmaZ
Typical installation (session under a dedicated user, for example steam): create the file and edit it
- Create the file:
nano updateserver.sh - Paste the provided code.
- Adjust the content and add at least one game in the lines DL_SV*=.
- Save with Ctrl + A, press Enter and go out with Ctrl + X.
- Grant execution permissions:
chmod u+x ./updateserver.sh - Run:
./updateserver.sh
This script will download SteamCMD if it's not already installed, update it, and install the chosen servers (up to 4 at a time). When you relaunch it, it will automatically update any already installed games.
Common mistakes and how to fix them
As with any tool, there are typical issues that are worth noting. These are the most common ones and their solutions.
MISTAKE! Failed to install app 'xxxxxx' (No subscription)
This message indicates that the server you're trying to download from requires you to log in or own the game. Try logging in with a Steam account, and if that doesn't work, purchase the game. For security, create a separate account specifically for dedicated servers and avoid using your personal account.
32-bit libraries on 64-bit Linux
Since SteamCMD is 32-bit, it requires equivalent libraries. The typical error is: libstdc++.so.6: cannot open shared object file . Install the correct packages according to your distribution.
Debian/Ubuntu (y derivadas):
apt-get install lib32gcc1
# Nota: no hace falta ia32-libs; lib32gcc1 basta.
# En Debian 7 "Wheezy" puedes toparte con dependencias no satisfechas para ia32-libs.

Red Hat/Fedora/CentOS:
yum install glibc.i686 libstdc++.i686

Arch Linux (activa multilib primero):
pacman -S lib32-gcc-libs
Login Failure: No Connection
On Linux, some servers require specific iptables rules for login to work. See the ports at: https://support.steampowered.com/kb_article.php?ref=8571-GLVN-8711&l=english and add the necessary rules.
On Windows, if you see errors like "SteamUpdater: Error: Download failed: http error 0" or "Steam needs to be online to update", it's usually fixed by enabling automatic detection in Internet Explorer (Internet Options > Connections > LAN settings) . Steps:
- Open Internet Explorer.
- Tools → Internet Options.
- Connections tab.
- Under Local Area Network (LAN) Settings, tap Settings.
- Brand "Automatically detect settings«.
- Accept and apply. If the problem persists, lower the security level to medium or lower.
SteamCMD startup errors
On Linux you may see: [S_API FAIL] SteamAPI_Init() failed; unable to locate a running instance of Steam, or a local steamclient.dll . Solution: Link steamclient.so to ~/.steam/sdk32/steamclient.so.
ln -s steamcmd/linux32/steamclient.so ~/.steam/sdk32/steamclient.soSome scripts display an error with `ulimit` on startup (no permission/cannot open file), caused by a low file descriptor limit (`-n`). Increase it to a reasonable value.
ulimit -n 2048
# Comprueba con: ulimit -a  (busca: open files (-n) 1024)
If you don't have permissions, log in as root to change them or edit /etc/security/limits.conf . In many cases, you'll only see a warning, and SteamCMD will continue to function.
Only the HLDS engine is downloaded
When trying to download an HL1 mod (like TFC), it's normal to initially see only the engine files. Keep running `app_update` several times until everything downloads. There's a documented workaround here : http://danielgibbs.co.uk/2013/11/hlds-steamcmd-workaround-appid-90/
Another option is to delete the appmanifest files and let SteamCMD regenerate them. You'll see an error at first, but it usually resolves itself. Keep in mind that CS sometimes installs itself even if you don't request it.
Case Study: Palworld Dedicated Server on Windows
On a Windows machine, you can deploy the Palworld server using SteamCMD quite straightforwardly. It works by logging in anonymously and using the appropriate App ID.
Basic installation: run SteamCMD.exe (if you want, leave the default directory for simplicity; it will install to the SteamCMD's own steamapps folder) and paste this command: it will download and validate PalServer
login anonymous +app_update 2394010 validate +quitThe files will be located in: …/SteamCMD/steamapps/common/PalServer . There you'll find PalServer.exe; you can run it as is, but without configuration you won't be able to join. Run it once to generate the configuration and then close it.
Go to Pal > Saved > Config > WindowsServer and open PalWorldSettings.ini. If it doesn't exist, create it after running the server once. Paste the following line into a single line (without breaks or extra spaces) and replace the marked values with your own:
[/Script/Pal.PalGameWorldSettings]OptionSettings=(Difficulty=None,DayTimeSpeedRate=1.000000,NightTimeSpeedRate=1.000000,ExpRate=1.000000,PalCaptureRate=1.000000,PalSpawnNumRate=1.000000,PalDamageRateAttack=1.000000,PalDamageRateDefense=1.000000,PlayerDamageRateAttack=1.000000,PlayerDamageRateDefense=1.000000,PlayerStomachDecreaceRate=1.000000,PlayerStaminaDecreaceRate=1.000000,PlayerAutoHPRegeneRate=1.000000,PlayerAutoHpRegeneRateInSleep=1.000000,PalStomachDecreaceRate=1.000000,PalStaminaDecreaceRate=1.000000,PalAutoHPRegeneRate=1.000000,PalAutoHpRegeneRateInSleep=1.000000,BuildObjectDamageRate=1.000000,BuildObjectDeteriorationDamageRate=1.000000,CollectionDropRate=1.000000,CollectionObjectHpRate=1.000000,CollectionObjectRespawnSpeedRate=1.000000,EnemyDropItemRate=1.000000,DeathPenalty=All,bEnablePlayerToPlayerDamage=False,bEnableFriendlyFire=False,bEnableInvaderEnemy=True,bActiveUNKO=False,bEnableAimAssistPad=True,bEnableAimAssistKeyboard=False,DropItemMaxNum=3000,DropItemMaxNum_UNKO=100,BaseCampMaxNum=128,BaseCampWorkerMaxNum=15,DropItemAliveMaxHours=1.000000,bAutoResetGuildNoOnlinePlayers=False,AutoResetGuildTimeNoOnlinePlayers=72.000000,GuildPlayerMaxNum=20,PalEggDefaultHatchingTime=72.000000,WorkSpeedRate=1.000000,bIsMultiplay=False,bIsPvP=False,bCanPickupOtherGuildDeathPenaltyDrop=False,bEnableNonLoginPenalty=True,bEnableFastTravel=True,bIsStartLocationSelectByMap=True,bExistPlayerAfterLogout=False,bEnableDefenseOtherGuildPlayer=False,CoopPlayerMaxNum=4,ServerPlayerMaxNum=32,ServerName="xxxx",ServerDescription="",AdminPassword="",ServerPassword="",PublicPort=8211,PublicIP="xx.xxx.xxx.xxx",RCONEnabled=False,RCONPort=25575,Region="",bUseAuth=True,BanListURL="https://api.palworldgame.com/api/banlist.txt")Customize: ServerName (display name), PublicIP (your public IPv4 address: find it on Google by searching "what is my IP"), and passwords if desired. Keep port 8211 unless you have a reason to change it. Open and forward ports 8211 and 27015 on your router.
If your router requires an internal host, use your private IP address (using `ipconfig` in the command prompt , select IPv4). Make sure to save the INI file with the server stopped. Start PalServer.exe and connect using your public IP address and port on the client: format xxx.xxx.xxx.xxx:8211.
This procedure worked for the person who shared it and should work in other environments. Remember to check your system and router firewalls if you can't make it visible from the outside.
Table of Contents
- 1 What is SteamCMD and what is it used for?
- 2 Download and install SteamCMD
- 3 How to run SteamCMD
- 4 SteamCMD Login
- 5 Installing and Updating Servers with SteamCMD
- 6 file validation
- 7 Automate SteamCMD
- 8 Cross platform download
- 9 Software and utilities for Windows
- 10 Useful scripts for Linux
- 11 Common mistakes and how to fix them
- 12 Case Study: Palworld Dedicated Server on Windows
