- The key to photographing the Moon with your mobile phone is to combine good stability, manual parameters (low ISO, fast shutter speed) and a moderate optical zoom.
- Choosing the right time, lunar phase, and a location with little light pollution makes all the difference in sharpness and level of detail.
- The Pro modes, HDR RAW, along with good post-processing, allows you to get the most out of the sensor. smartphone in high contrast scenes.
- Using simple accessories like a tripod, remote shutter release, and telephoto lenses turns any decent mobile phone into a very capable tool for lunar photography.
I'm sure you've seen one more than once. huge and beautiful moon in the skyYou've pulled out your phone, zoomed in all the way, taken the shot… and when you look at the photo you think: "What a disaster." A blurry white smudge with no detail, all blurry or full of noise. Don't worry, it's happened to all of us.
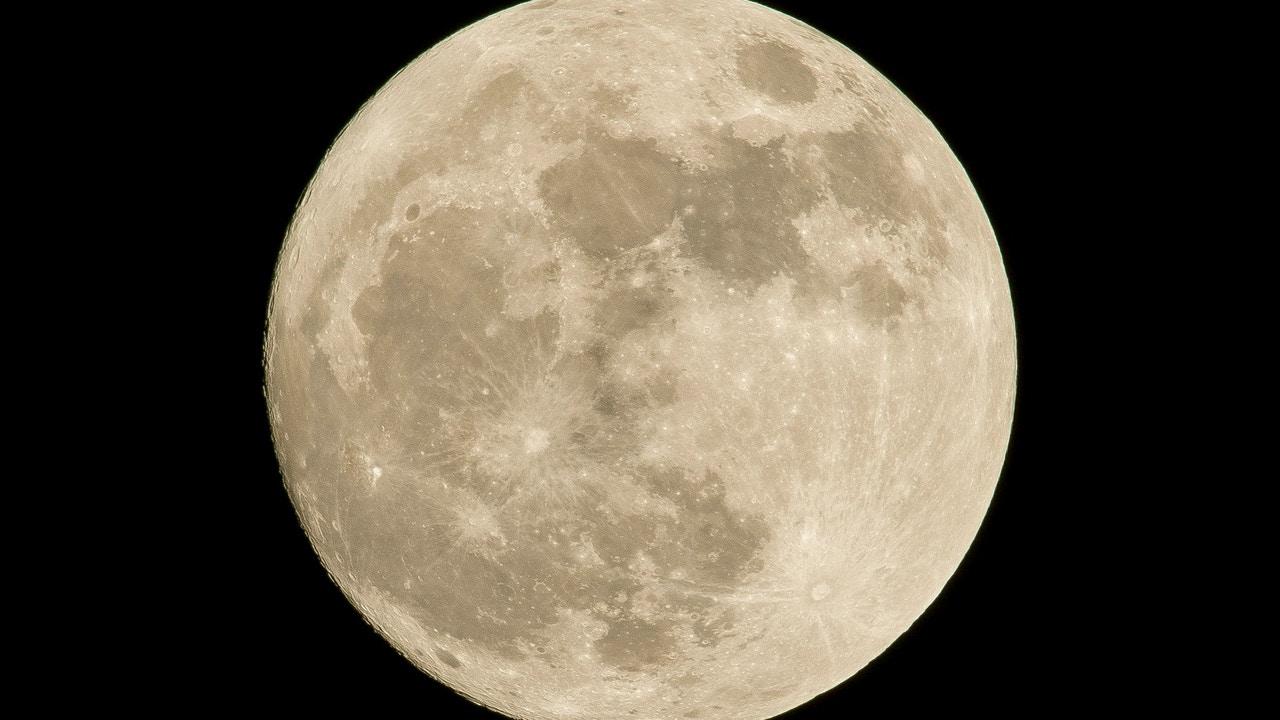
The good news is that, with a little practice and some very specific adjustments, You can get truly spectacular photos of the Moon with your smartphoneYou don't need an expensive professional camera, but it is helpful to understand what's happening with the light, how the phone's sensor responds, and what settings to adjust to prevent the image from being overexposed or blurry.
Prepare your mobile phone before photographing the Moon
Before getting into technical parameters, it's worth taking a minute to Get your phone ready for the sessionSome very simple details can make a huge difference in the final result.
The first thing, although it may seem obvious, is clean the camera lens thoroughlyBetween fingerprints, dust, and grease from your pocket, it's very easy for the lens to develop a layer of dirt that causes strange halos, reflections, and a hazy appearance. Use a microfiber cloth (the one for cleaning glasses works) and, if necessary, a drop of distilled water or 70% isopropyl alcohol, always applied to the cloth, never directly to the phone.
It's also not a bad thing that the mobile phone screen is cleanBecause this way you'll see more clearly whether the Moon appears gray with detail or as a blown-out white blob. Although it doesn't affect the recorded image, it does affect how you judge the exposure in real time.
One detail that many overlook is the tempered glass or screen protector over the camera moduleSome cheap screen protectors cause reflections, loss of sharpness, or very annoying glare in scenes with intense light sources, such as streetlights… or the moon itself. If you're going out to take photos on a special night (supermoon, eclipse, blue moon…), consider removing the camera protector for that session and replacing it afterward with a spare.
In the camera app settings, make sure that Image quality is at the highest available valueOn many mobile phones Android You can go into Camera Settings and select the maximum resolution or the "high quality" option. It's also worth enabling, if your terminal It allows it, the RAW mode In professional mode: this way the phone saves a file without excessive compression, with all the sensor information, ideal for editing later in apps like Lightroom or Snapseed iPiccy.
Choosing the best time and place to photograph the Moon
No matter how well your phone is set up, if the timing and location aren't right, your photos will be limited. Lunar photography doesn't depend solely on your skill: the phase of the Moon, its position in the sky, and light pollution They have a huge influence.
To begin with, it's advisable that you check the Moon's calendarSupermoons, full moons, and phenomena such as the so-called Blue Moon (very bright and spectacular) are perfect opportunities to practice. There are free apps for both Android and iOS. iPhoneas the StellariumThese displays show the phases, risings, and settings of the Moon, and even simulations of its position relative to the horizon. You can also consult the calendars of the National Geographic Institute or the National Astronomical Institute for more precise data.
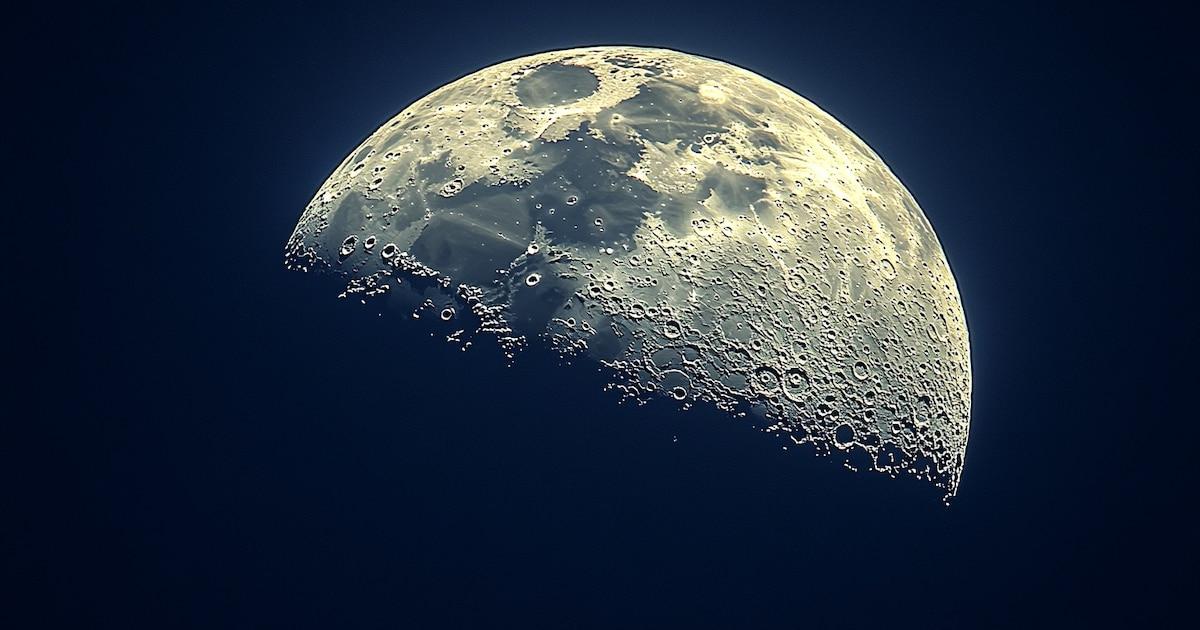
However, the full moon is not always the most interesting phase from a photographic point of view. During the waxing or waning phases, the shadows of the craters are more clearly definedBecause the light hits it from the side. This adds more texture and a sense of volume than a completely flat, white moon.
Another very useful trick is take advantage of the moment when the Moon rises over the horizonDuring this phase, we perceive the moon as visually larger, and there is still some ambient light (blue hour or twilight), which reduces the stark contrast between a very bright moon and a completely black sky. This smaller difference in light allows mobile phones to handle the scene better.
As for the location, try to get as far away from the city as possible and from areas with intense light pollutionStreetlights, illuminated signs, and buildings create a background glare that washes out the contrast of the sky and reduces the sharpness of the moon. If possible, go to a high area, a hill, or a viewpoint without direct streetlights. If you have no other option than to shoot from the city, consider lowering the exposure and using night mode to better control stray light.
Stabilizing your phone: the foundation for a clear moon
Stability is one of the points where the difference between a mediocre photo and an image that can be enlarged without everything shaking is most noticeable. The slightest movement during the shooting It makes the moon appear blurry, especially if you use zoom.
If you don't have accessories, hold the phone with Both hands and elbows close to the bodyFind a comfortable position; you can rest your elbows on a railing or wall for stability. Try not to shoot while moving or breathing heavily.
Even so, ideally you should use a smartphone tripodYou don't need to spend a fortune; any basic tripod with a phone holder will drastically improve the results. Many phones even automatically detect that they're on a tripod and extend the lens slightly. There exposure to obtain more detail with less noise.
To further minimize vibrations, get used to use the timer or a remote triggerWith a 3-5 second timer, you press the button and forget about it: when the camera fires, you're no longer touching it. If you want to go a step further, you can buy a Bluetooth remote (very inexpensive) or use your smartwatch as a shutter release, so you don't generate any movement in the camera.
If you plan on taking a lot of photos of the night sky, a [photograph/camera/tool] will come in very handy. tripod with integrated remote controlThese are very common kits that are sold together and can also be used to record video, video calls, etc., so it's not an accessory that's going to just sit around gathering dust.
Configure the mobile phone's professional or manual mode.
Where you really stand out from the rest of the users is in Exit automatic mode and switch to Pro or professional mode.Almost all current mobile phones (even mid-range or low-end ones) include a mode of this type, although sometimes it is somewhat hidden in the carousel of modes of the camera app.
In that mode you can adjust key parameters such as ISO, shutter speed, focus, white balance, and exposure compensationHere's a summary of some very effective settings as a starting point for photographing the Moon:
- ISOSet it as low as possible, usually between 64, 100, and 200. The moon is very bright; there's no need to increase the sensitivity. A low ISO reduces noise and avoids that grainy look so typical of night photos.
- Shutter speedUse a fast speed so the Moon doesn't get burned out. Values around 1/125 to 1/250 of a second They usually work very well. If the moon looks too dark, lower the shutter speed a bit (1/80, 1/60). If it looks like a textureless white circle, increase it (1/250 or faster).
- Our ApproachSwitch to manual focus (MF) and slide to the infinity symbol. You can also tap the moon on the screen to have the camera focus there, but manual focus ensures that everything in the distance is perfectly clear.
- Exposure compensation (EV)Many photographers recommend values of -1 or -2 EV To avoid overexposing the lunar disk, try lowering the zoom level by one step and see if craters and other details start to appear on the screen.
- White BalanceYou can leave it on automatic, but if you want a more natural tone, adjust the values between 5200K and 5800KThis prevents the Moon from appearing too yellow or bluish.
If your mobile phone offers the option to shoot in RAW format in addition to JPEGActivate it in this mode. You'll get larger files, but with incredible latitude for editing light and shadows without ruining the image.
Special modes: Night, Moon Mode, and artificial intelligence
Many manufacturers have begun to incorporate specific modes for photographing the Moon or the night skySometimes they appear as "Moon Mode," "Astrophotography," "Night Sky," or similar. In other cases, it's simply the IA It detects that you are pointing at the Moon when you zoom in and activates special processing.
To find out if your phone has it, point it at the Moon, zoom in a little (2x, 3x, 5x, depending on the model), and wait a few seconds. If the system recognizes the scene, You will see an icon or message indicating that Moon mode or night vision has been activated.There, the software applies noise reduction, image stacking, and selective sharpening algorithms.
These modes usually work quite well for users who don't want to deal with complicated manual settings. Even so, it's important that Don't overuse digital zoom which the app itself sometimes suggests: it's best to limit yourself to the camera's native optical zoom telephoto lens (2x, 3x, 5x) and then crop the photo in editing.
If your phone isn't automatically activating anything, look through the modes carousel: you probably have a Night Mode / Night VisionAlthough designed for urban scenes, some brands also handle the moon well, especially if you include landscapes or buildings in the composition. However, if you notice the moon is overexposed in Night Mode, switch back to Pro Mode and adjust the exposure yourself.
Remember that, in both Smart Mode and Pro Mode, You don't usually get the photo right on the first try.Photography is trial and error: take several shots, review the result, adjust the ISO, EV, or shutter speed, and try again. This learning curve is perfectly normal.
Take advantage of zoom and telephoto lenses
One of the biggest challenges when taking photos of the Moon with a mobile phone is that it is very far away and takes up a lot of space. a very small portion of the frameThat's why we all tend to zoom in like crazy... with horrible results if we don't know what the phone is actually doing.
On many smartphones, zooming beyond a certain point is simply digital zoomThis means a crop of the original image that the software then tries to fill in using algorithms. This results in a loss of detail, noise, and strange artifacts. Therefore, if your phone has cameras with multiple zoom levels (1x, 2x, 3x, 5x), it's recommended to stick with the lowest zoom level. actual maximum optical zoom available and don't switch to the 20x, 30x or 100x digital ones that are so heavily advertised.
A good strategy is to position yourself, for example, at 3x or 5x optical zoom, take several well-exposed photos and crop slightly afterwards in the editing appThis cropping usually offers better quality than an extreme digital zoom done at the time of capture.
If you want to go a step further without changing your phone, you can invest in external telephoto lenses These attach to the camera module with a clip. There are universal kits that increase magnification by up to 10x or 15x, getting much more out of the sensor. They're not magic, but when properly aligned with the main lens, they provide a huge boost for lunar photography.
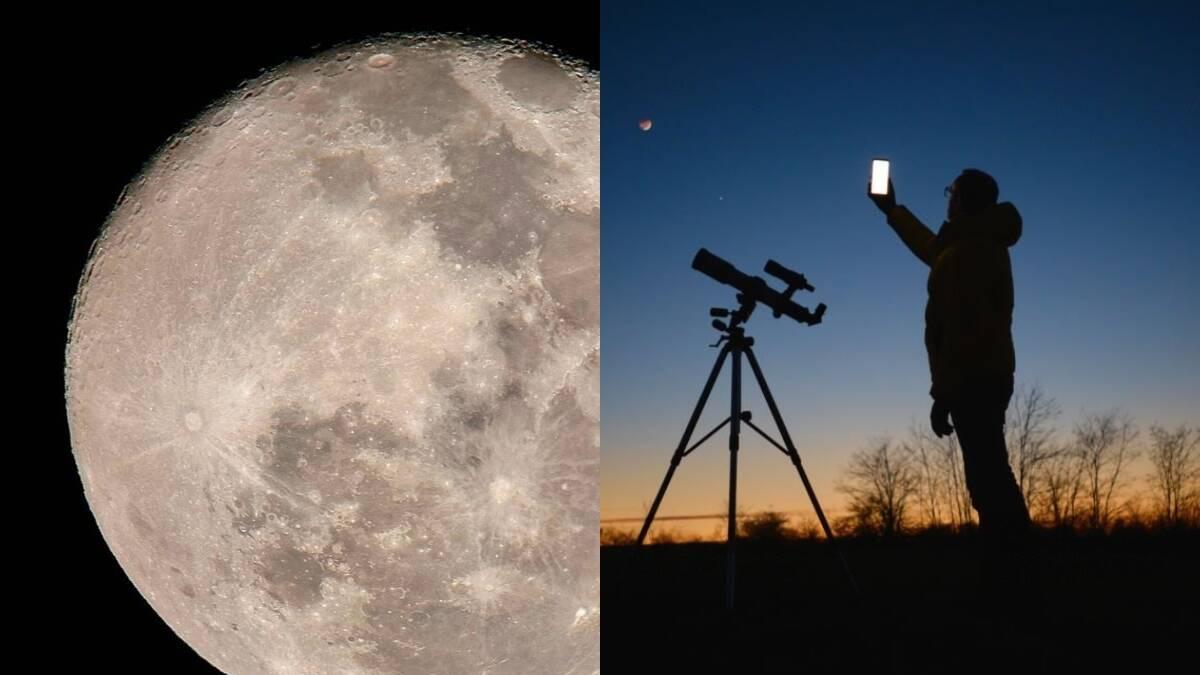
Another very interesting option, if you have access to one, is using a telescope as a mobile phone's "super-lens"Simply align your smartphone camera with the telescope's eyepiece (either manually or using a specific adapter) to capture incredibly sharp close-ups of the lunar surface. Here, more than ever, stability and using a timer are crucial.
Exposure advice according to lunar phase and photometric studies
Some studies, such as those conducted by MIT Public Lab, and recommendations from manufacturers such as Huawei, have analyzed How to adjust exposure according to the lunar phase to achieve sharp and well-exposed images.
When the Moon is full phase and very brightIdeally, you should use a Very low ISO (64-100) and fast shutter speedsaround 1/125 or 1/250 s. This avoids overexposure and allows you to see craters, lunar seas, and subtle textures.
Whereas in waxing or waning phasesThe illuminated area is smaller and the overall brightness is low. It's recommended to increase the ISO slightly (400-800 on larger cameras; on mobile phones it's best not to exceed 200-400 if you don't want excessive noise) and adjust the exposure so that the Moon still shows relief, but without blowing out the terminator (the line between the illuminated area and the shadow).
Some manufacturers, such as Huawei, propose as a technical starting point a ISO around 100, shutter speed 1/250 and zoom 10x or higher When the phone supports it and has good optical image stabilization (OIS). These values fit quite well with the general idea: low ISO + fast shutter speed + some zoom to center the moon.
Always keep in mind that, even if you have a theoretical recipe for adjustments, Each mobile device and each specific scene requires slight changesUse those parameters as a base and focus on making slight adjustments up or down depending on what you see in the histogram or the result on the screen.
Composition: how to frame the Moon so the photo isn't boring
Once you master the technical aspects, the creative side begins: the compositionA photo with just a white disc floating in a black sky might be interesting, but it often comes across as rather bland. Including elements in the frame completely changes the story.
Activate the camera grid To apply the rule of thirds, place the moon at one of the grid intersections, instead of right in the center, and look for foreground elements such as trees, mountains, buildings, bridges, or monuments. This provides context, scale, and an added point of interest.
In the city, he plays align the Moon with the architectureBehind a tower, above a dome, grazing the edge of a skyscraper… That's where you get the most striking images. For this, it's great to plan with apps that show the Moon's path on a map.
The call "blue hour" (Shortly after sunset or just before sunrise) is a magical time: the sky is a deep blue, there's still some ambient light, and the moon stands out without the contrast being too extreme. It's much more rewarding for mobile phone cameras than pitch black.
Don't be afraid to try vertical or panoramic framing, or even series of photos to create an HDR or bracketing (multiple shots with different exposures). Shoot in RAW and combine images In editing, it allows you to capture details both on the Moon and in the urban or natural landscape that accompanies it.
HDR, RAW and editing: getting the most out of your photos of the Moon
Because the moon is very bright and the sky quite dark, we are looking at a scene of high dynamic rangeThat's where HDR and RAW shooting come into play, two tools that help to extract more information from both the shadows and the highlights.
El HDR mode High Dynamic Range (HDR) is present in virtually all mobile phones, even older ones. It captures multiple photos with different exposures and combines them to create an image with greater detail in both the dark and light areas. This is especially useful if, in addition to the moon, you want to include some of the landscape or buildings without them becoming black silhouettes.
To get the most out of it, activate HDR in the camera app's quick settings and, if your phone allows it, Always choose the highest image qualityOn some Android devices, you can even combine HDR with the maximum resolution mode (e.g., 108 MP), resulting in huge files but with a very powerful level of detail for cropping later.
If you shoot at RAWYou'll have a much more flexible file to edit. In the editing app, you can make precise adjustments. exposure, contrast, shadows, highlights, color temperature, and sharpness without the image breaking down or strange artifacts appearing. This is pure gold in scenes of a bright moon against a dark sky.
When editing your moon photos, focus on a few key settings:
- Showroom: correct if the photo has turned out too dark or light, but without losing detail on the lunar surface.
- Contrast and shadowsIt slightly increases the contrast to clearly distinguish between seas and craters, and recovers some detail in shadows if there is a landscape.
- SharpnessApply moderate sharpening to highlight textures, avoiding overdoing it so that artificial contours do not appear.
- Cutout: crop the image to highlight the Moon or to improve the composition, always respecting sufficient resolution if you want to print or share it in a large format.
Never delete the original file: save your edits as new copiesThis way you can go back if you regret it or try other styles without fear of losing the base version.
Accessories that make a difference in lunar photography with a mobile phone
Although you can do a lot with just your mobile phone, some Very affordable accessories help to take quality up several notches.We've already talked about the tripod and the remote shutter release, which are almost essential if you want to stabilize things well in slightly longer exposures.
In addition to them, the external telephoto lenses They're a great idea if your phone only has a main camera without a telephoto lens. They attach with a clip over the lens and multiply the optical zoom, allowing you to get much closer to the moon without relying so much on digital zoom. There are universal kits that work with almost any smartphone, both Android and iPhone.
If you have a telescope or can attend an astronomy activity with local associations, ask if they will allow you to attach the mobile to the eyepieceThere are specific adapters, like the "Easypic" and similar models, that hold the phone perfectly aligned. The result is lunar photographs that look like they were taken with a large camera, but using only your smartphone as a sensor.
Another useful accessory is the neutral density filters (gray filters) For telescopes or external lenses. They reduce the brightness of the Moon, preventing overexposure and allowing for slightly longer exposure times without overexposing.
Along with these accessories, remember that to have a mobile phone with a minimally competent camera It also helps to have at least 12 MP, optical image stabilization (OIS), and a manual mode, giving you a very decent amount of control. If your phone is very old and the camera is lacking, it might be time to consider an upgrade if you're passionate about night photography.
Common problems when photographing the Moon with your mobile phone and how to solve them
Even following all these tips, it's normal to encounter recurring failures To begin with, knowing why they happen and how to correct them will save you a lot of frustration.
The most typical problem is the The moon is completely white, without any detail.as if it were a spotlight. This is because the camera measures the light from the dark sky and decides to brighten the entire scene, overexposing the area around the Moon. Solution: lower the exposure (EV -1 or -2), use a faster shutter speed, and point the focus/exposure control directly at the Moon by tapping the screen.
Another headache is the blurry or out-of-focus photosThe causes here are usually a lack of stability and/or an excessively long exposure time. Make sure you hold the phone firmly, use a tripod whenever possible, use the timer, and maintain a fast shutter speed (1/125 or faster) if you're zooming in a lot.
La very pixelated or excessively noisy image This appears when we overuse digital zoom or raise the ISO too high. Try limiting the zoom to the phone's optical range, shoot with a low ISO, and crop later in post-processing. If you're still not satisfied with the quality, your phone's sensor and lens may simply not be up to the task under these conditions.
Finally, be patient with yourself. Great photographers spend years perfecting their technique And learning to read light; with a smartphone and a few nights of practice, it's normal to have ups and downs. The important thing is to understand why each setting works and train your eye to recognize a correct exposure before taking the shot.
With the phone properly prepared, the moon checked on the calendar, a dark and stable location, fine-tuned manual parameters (low ISO, fast shutter speed, focus at infinity), intelligent use of zoom, HDR and RAW, plus a simple accessory like a tripod or remote shutter release, You have everything you need to take your moon photos from a "botched job" to something you can truly be proud of.From there, it's just a matter of practicing, experimenting without fear, and enjoying each clear night as a new opportunity to improve.

Passionate writer about the world of bytes and technology in general. I love sharing my knowledge through writing, and that's what I'll do on this blog, show you all the most interesting things about gadgets, software, hardware, tech trends, and more. My goal is to help you navigate the digital world in a simple and entertaining way.