- Use the Fonts panel Windows to search, preview, hide and uninstall.
- With NexusFont you can organize by libraries and collections with tags and favorites.
- With FontBase activate/deactivate fonts on the fly and test Google Fonts without installing them.
- Avoid duplicates and redundant formats; create collections by style and project.
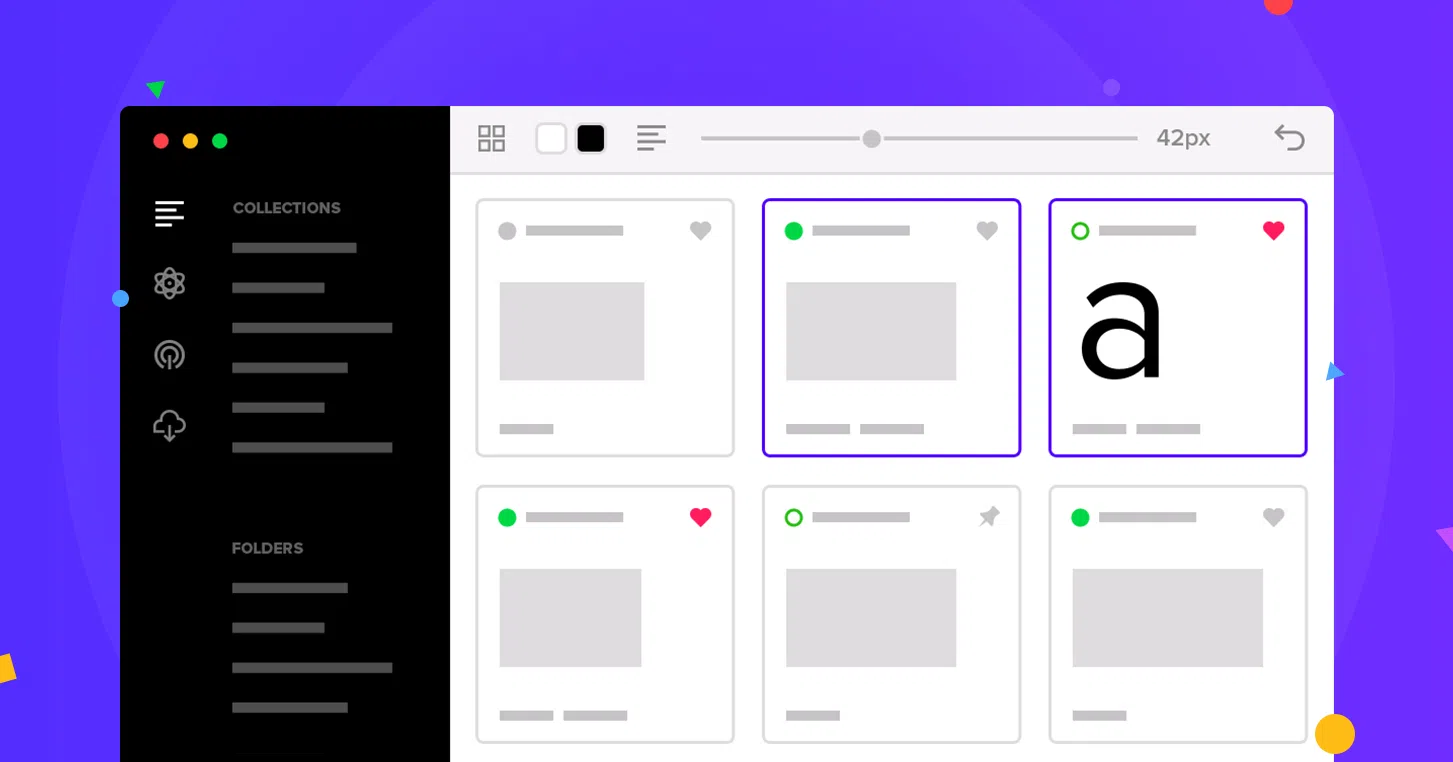
If you work in design, development, or document editing, sooner or later your font collection will grow exponentially and become unmanageable. Learning how to install, activate, and organize fonts in Windows with tools like FontBase or NexusFont makes all the difference between wasting time searching for a font and having it ready instantly.
Simply throwing all your fonts into the system folder and crossing your fingers isn't enough: Windows offers useful features, and there are font managers that take it to another level. In this guide, I'll explain how to do it step by step , how to get the most out of the Windows Fonts panel, how to organize with tags and collections in NexusFont, and how to activate fonts on the fly with FontBase—including integration with Google Fonts—plus several tips for keeping your library healthy and lightweight.
Why you should manage your fonts in Windows
Installing a font and forgetting about it might work for a while, but as your library grows, duplicates appear, files with different names for the same font family, format conflicts arise, and searches become endless. The sooner you organize by clear criteria (style, project, source) , the faster you'll work and the fewer problems your system will have.
In web and editorial design, it's common practice to test many font families before making a decision, and today, Variable Fonts with multiple adjustment axes are also available. Managing temporary collections for testing without overloading Windows prevents app restarts and gives you agility in the early stages of a project.
Another practical reason: many programs don't detect a newly installed font until you restart them. Font managers that enable/disable fonts on the fly (without permanent installation) allow you to use fonts immediately in applications that are already open.
Finally, good organization helps the team run more smoothly. Removing duplicates, avoiding redundant formats, and hiding unused items reduces endless lists and minimizes errors when selecting sources.
Native Management: Install, Preview, and Sort on Windows
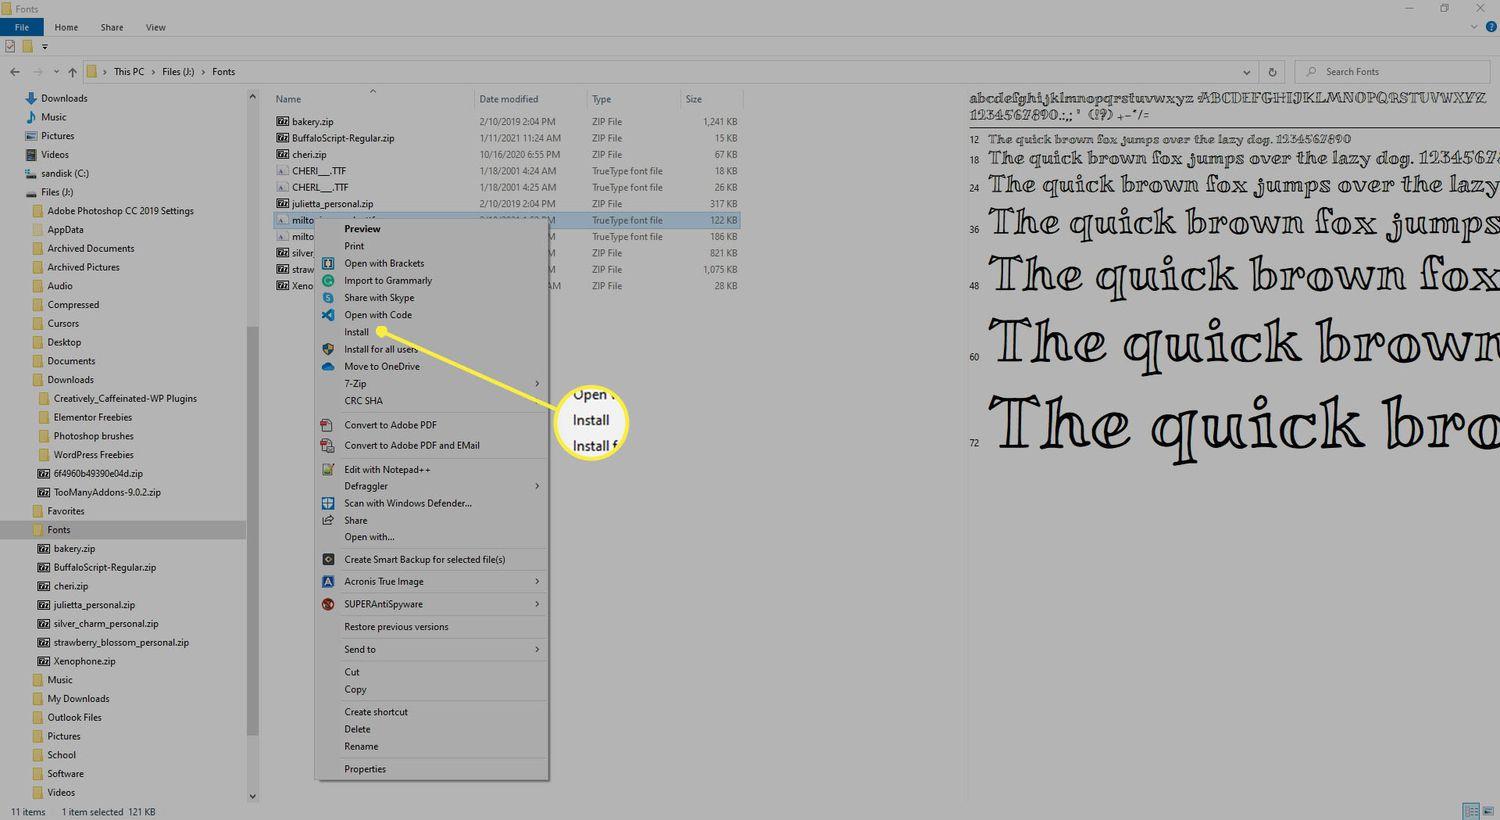
Windows makes the basics quite simple. To install, you can either copy the file to the System Fonts folder or right-click the file and select Install. It's a quick and easy way to add a family of apps to your PC.
If you have any doubts about the appearance, right-click and choose Preview: a window will open with a pangram and various sizes so you can clearly see styles and readability before using it in your documents or designs.
Since the Windows 10 April 2018 update (and in Windows 11 ), the Settings panel includes a very useful section: go to Settings > Personalization > Fonts . There you'll find all the available fonts, with a search function and filters to speed up any search.
Clicking on a font family in that panel opens its detailed information: a text field to write your own example, a size slider , previews in different styles, and the font's metadata. It's perfect for checking out variations before making a decision.
Within that Fonts area are key functions for everyday use: you can search for a font by name, see an enlarged preview with multiple faces, hide families you don't use often to lighten up menus without uninstalling them, and uninstall those you don't need to free up space and keep your system tidy.
A word of caution: even if you don't like the pre-installed fonts, don't delete them from the system . Hide them so they don't appear in the font lists, thus avoiding compatibility issues with Windows or applications that expect them to be there.
NexusFont: Sort by libraries and collections with tags
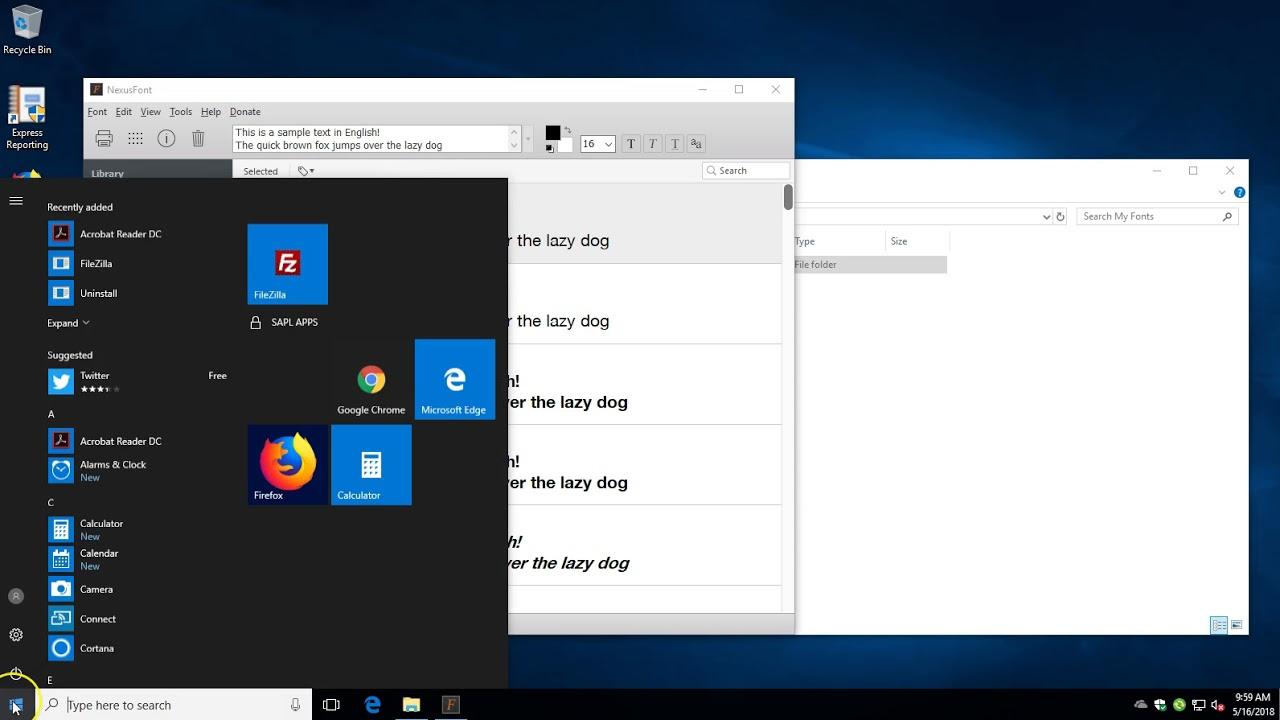
When native font management falls short, NexusFont is a classic that stands out for its simplicity and how it structures the library. You can install it on your computer or use its portable version , ideal if you prefer not to leave a trace when deleting it or if you work from an external drive.
One of its biggest advantages is testing without installation: open or drag downloaded fonts and test them instantly without copying them to the Windows folder. This way you can run test runs without filling your system with font families that might not stay.
NexusFont's organization is based on two blocks: Libraries and Collections. In Libraries, you add the physical folders where you store your fonts (by origin, client, project, or however you prefer). It mirrors your actual disk structure, making maintenance easier.
Collections, on the other hand, are personalized views organized by tags and groups. You can group font families by style (serif, sans, display, script ) , by use (editorial, UI, branding), or by status (favorites, reviewed, in testing). A single font family can appear in multiple collections, which greatly speeds up finding what you need based on the context.
To speed things up even further, create a Favorites Collection with your go-to wildcards. At a glance, you can see key names and features and start working with what you know works before exploring alternatives.
NexusFont also helps identify duplicates. When you download from different repositories, it's common to accumulate the same font under different names. Removing duplicates and preventing multiple installations of the same design saves space and avoids conflicts in font selection lists.
FontBase: activate and deactivate on the fly, without overloading the system
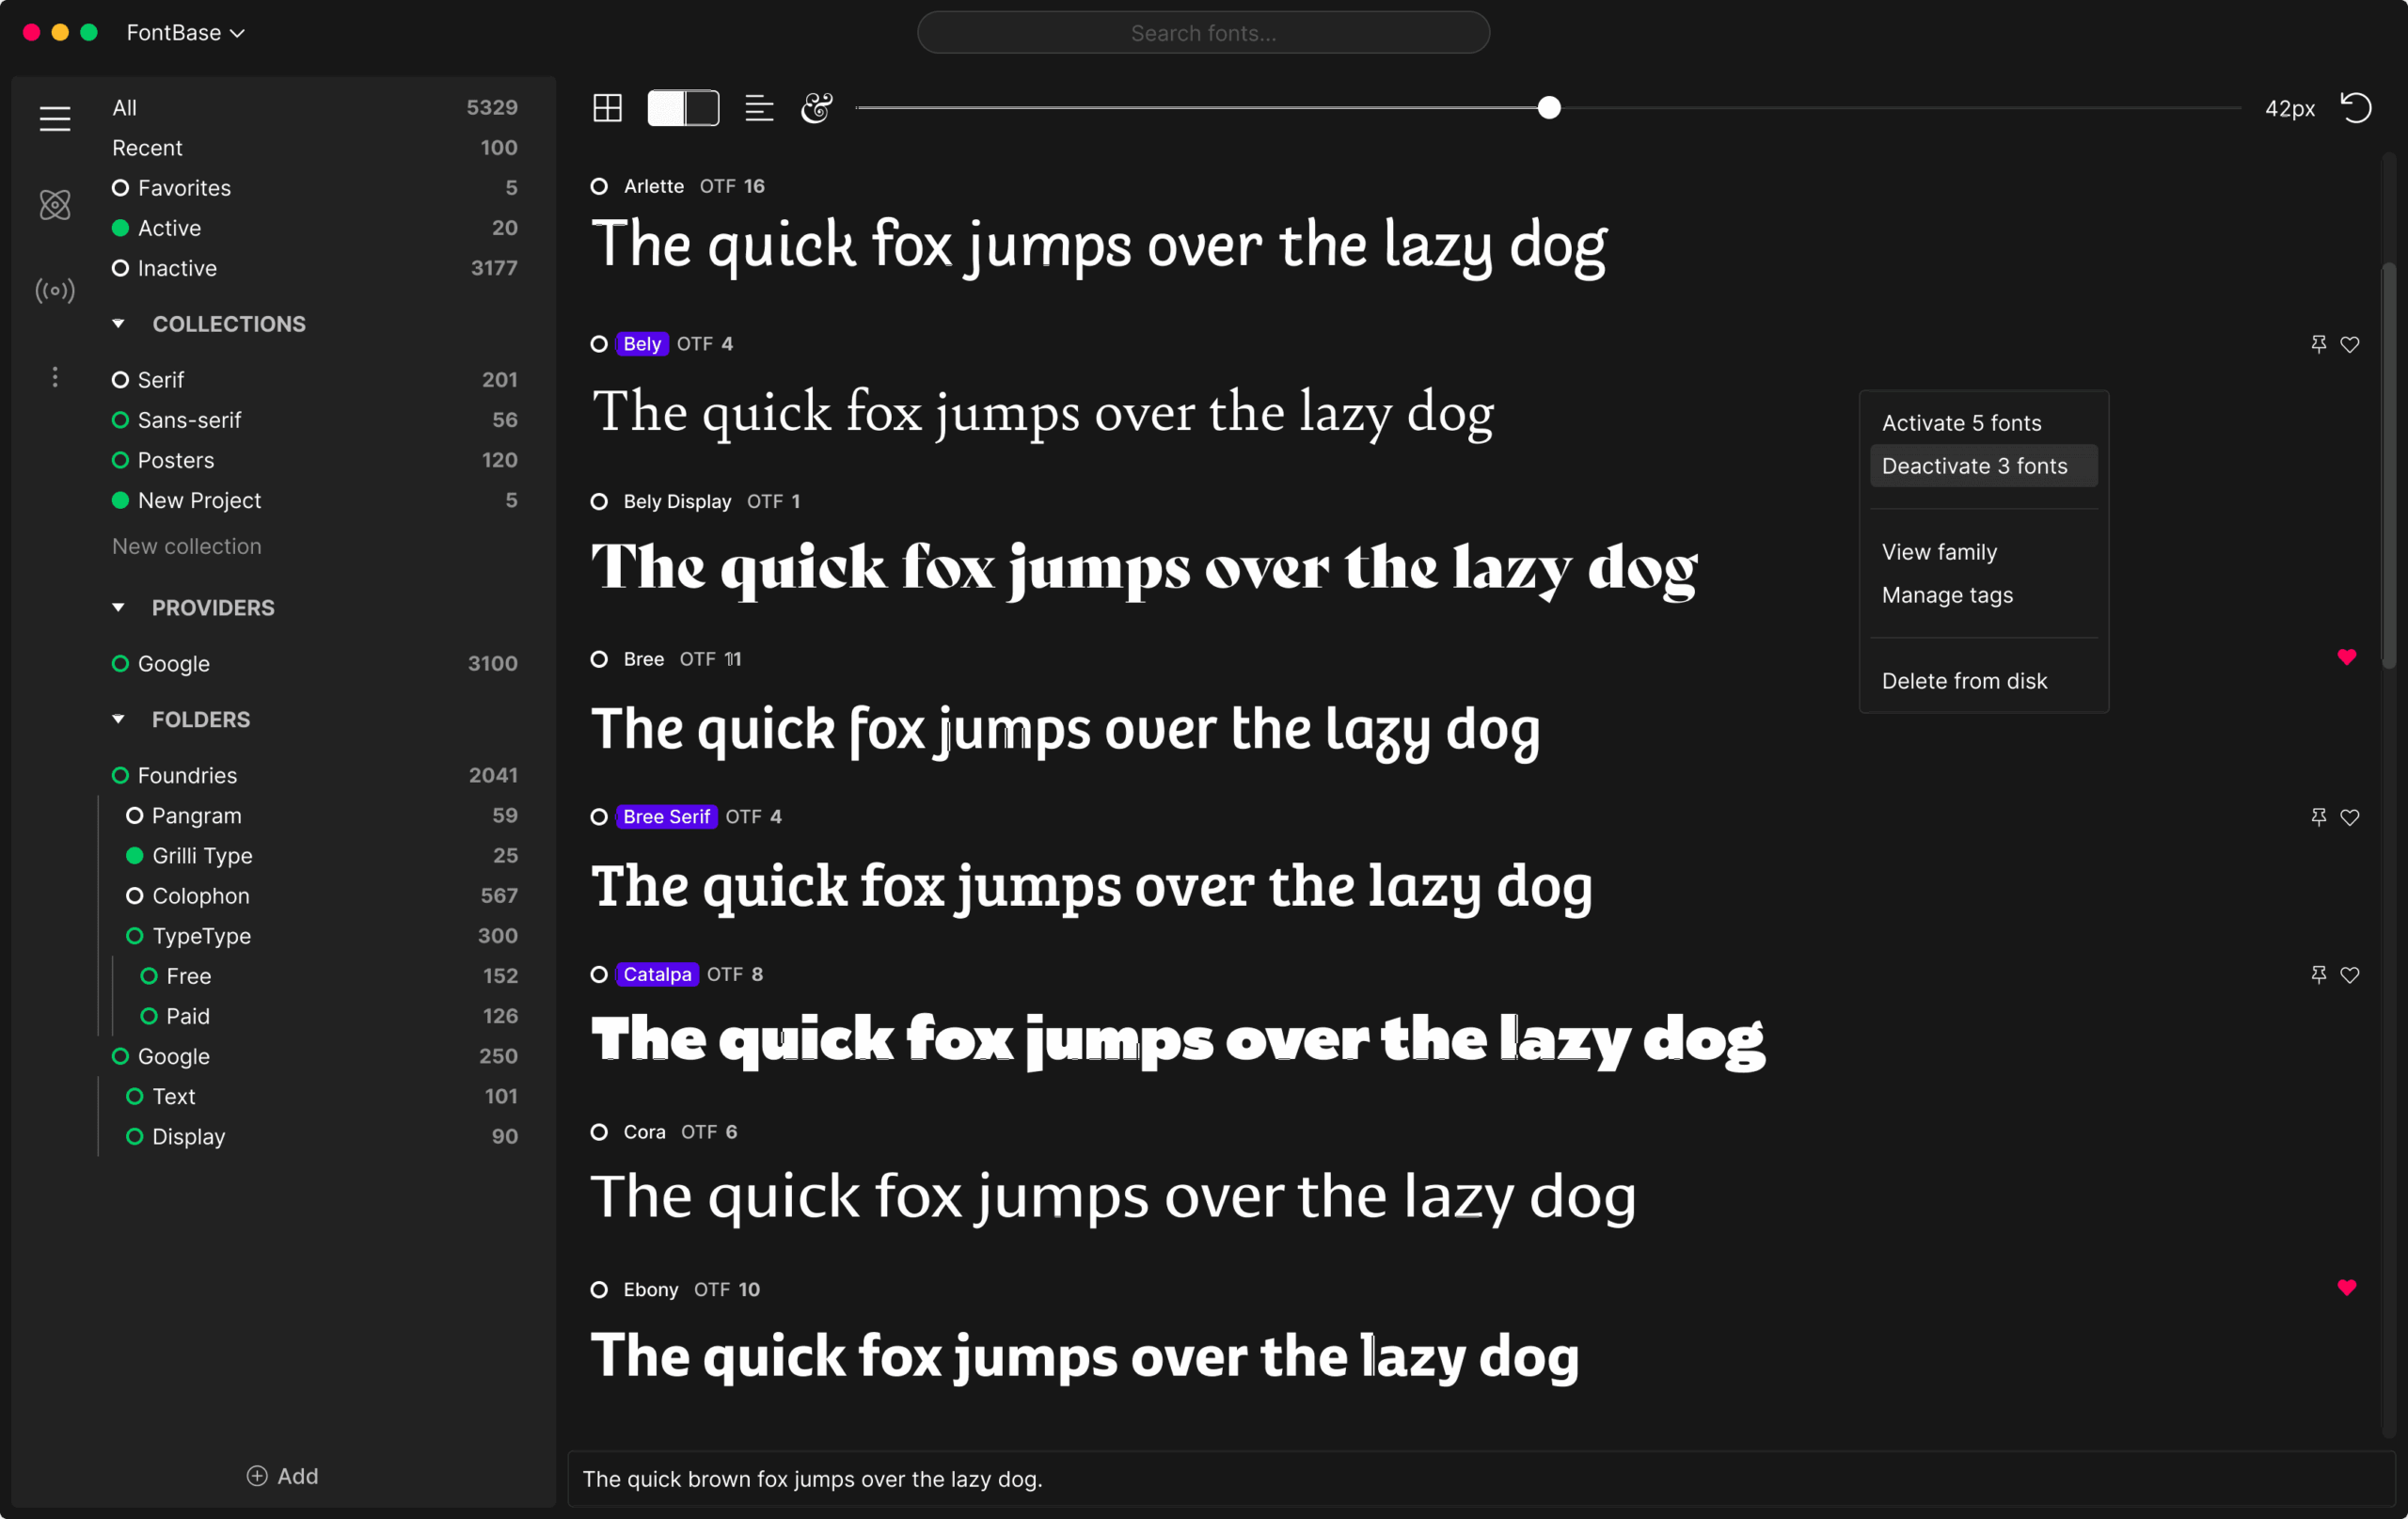
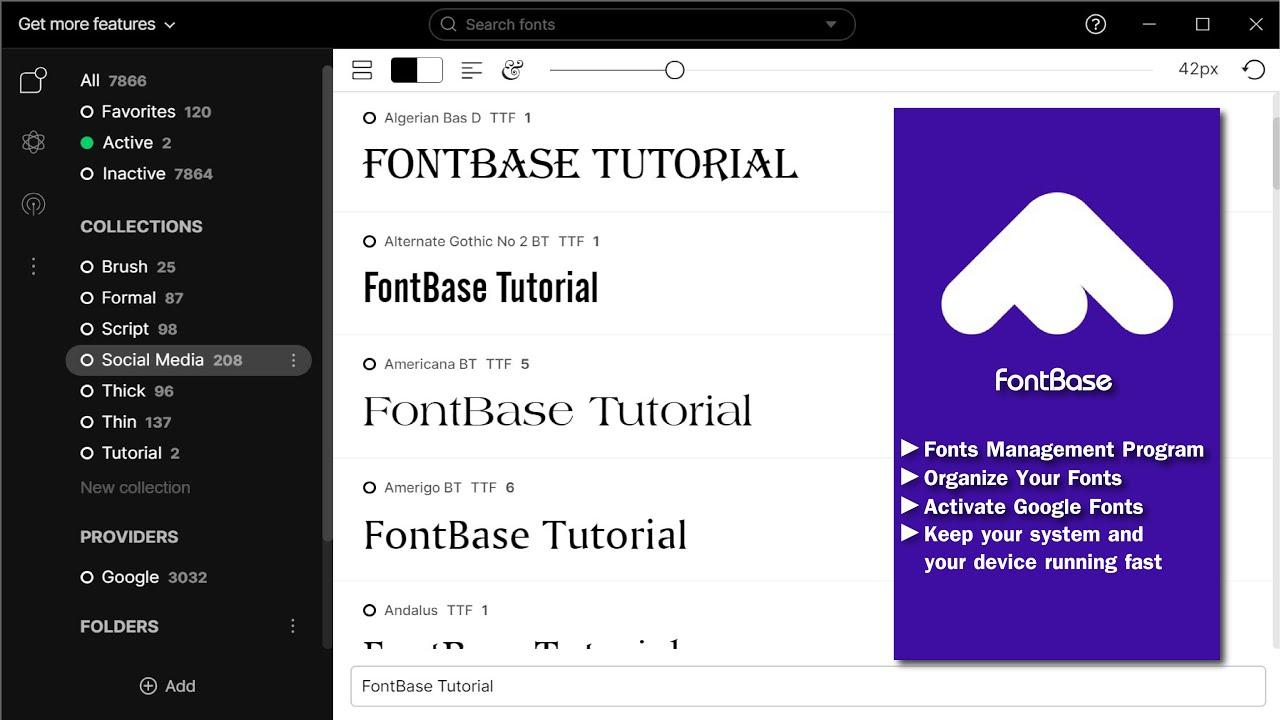
FontBase is a cross-platform font manager that uses temporary activation. Instead of installing everything on Windows, it activates only the fonts you need for your current project and deactivates them when you're finished. This keeps the system lightweight and prevents applications from becoming overloaded.
It works very simply. To make a font family available in apps like Photoshop, Illustrator, InDesign, or even Word , just click the activation box next to its name within FontBase. Once activated, it becomes usable instantly, even if the program was already open.
Loading fonts is just as simple: drag the file to the FontBase window and it will appear in the sidebar. If you have a batch in a folder—for example, the font candidates for a project—drag the entire folder and you'll have that set ready to experiment with without installing anything on your system.
When you finish the testing phase or close FontBase, the fonts become inactive . This is perfect for working on projects: you maintain separate folders for each font family and activate them only when needed, avoiding those endless lists in apps that only add to the confusion.
Another strong point is its integration with Google Fonts. In the left-hand panel, you'll see Providers, and within that, Google: you can activate Google Fonts directly on your desktop , without downloading them one by one. It's a very convenient way to test them in design mockups before using them on the web.
Want to expand your catalog with desktop-friendly font licenses? Fonts from repositories like Font Squirrel (https://www.fontsquirrel.com/) are a great addition to commercial projects. And if you're interested in exploring advanced features, check out FontBase's official learning documentation at https://fontba.se/learn.
Practical tips for large libraries
Keeping things organized isn't just about knowing where everything is; it's also about avoiding the problems that arise with large collections. These guidelines will save you time and headaches every day.
- Classify by style and useCreate groups for serif, sans, display, monospace, script, etc., and, if appropriate, separate them by project or year. This way, you can quickly find a suitable family for your context.
- Remove duplicates: It's common to download the same source from different repositories; detect and delete copies to reduce noise and avoid menu conflicts.
- Do not delete system fonts: If you don't have one pre-installed, hide it from the Windows panel so it doesn't appear, but don't delete it completely.
- Avoid installing the same family in multiple formats: TTF/OTF/WOFF formats from the same font can cause duplicates and errors. Stick with the format you need on your desktop (usually OTF or TTF).
- Keep your favorites on hand: Create a collection of reliable wildcards to quickly jump-start projects without having to sort through your entire library.
If you work with Adobe applications or other creative suites, keep this in mind: some don't detect newly installed fonts until you restart them . A font manager like FontBase or NexusFont saves you that step thanks to instant activation.
It's also important to maintain a clean disk structure. Keep a master fonts folder with subfolders for each source or client, and use the NexusFont Libraries to reflect that organization. Separating the stable library from temporary test sets gives you a cleaner workflow.
Finally, document your decisions. Note why a family makes it onto your shortlist or into a client's corporate set: keeping track of licenses, approved styles, and valid combinations avoids unnecessary revisions and facilitates teamwork.
Other options in the typographic ecosystem
In addition to Windows Fonts, NexusFont, and FontBase, there are other solutions that may be a better fit depending on your environment and team size. Understanding these options will help you choose the right tool for your workflow.
- Monotype Fonts is a cloud-based offering that centralizes discovery, licensing, and installation. It offers a very extensive collection (more than 150.000 fonts) with advanced search, tags powered by IA and activation flows integrated with design tools (Sketch, Illustrator, Photoshop, InDesign). Allows you to import your existing library, complete missing fonts in files and organize by project, style, or tone for distributed teams.
- If you work in Mac, the Font Book is the native manager: installs, activates, creates collections and validates fonts to check file integrity, as well as display license details. It's sufficient for simple workflows in the Apple ecosystem.
- Adobe Fonts (formerly Typekit) integrates with Creative Cloud: you search, activate and sync fonts in your applications without worrying about local files, ideal when you work on projects linked to the Adobe ecosystem and want to minimize friction between teams.
- On Windows, the native manager already seen fulfills the basics—view, install, uninstall, and hide—and for finer-grained control there are FontBase and NexusFont. FontBase shines in temporary activation per project and the connection with Google Fonts; NexusFont stands out for its Libraries/Collections system, the portable version and testing without installation.
As a general rule, define the role of each tool: use the Windows panel for quick tasks and maintenance, rely on FontBase for testing and instant activation , and use NexusFont when you need to thoroughly catalog by tags and physical folders.
Mastering these options will allow you to choose the right font in seconds, keep your team agile, and reduce errors in complex projects. With a sensible combination of native management and a good manager , your library will go from being a chaotic mess to a powerful tool.

Passionate writer about the world of bytes and technology in general. I love sharing my knowledge through writing, and that's what I'll do on this blog, show you all the most interesting things about gadgets, software, hardware, tech trends, and more. My goal is to help you navigate the digital world in a simple and entertaining way.