- The UEFI shell allows you to access and manipulate devices, files, and settings. Boot directly from the firmware.
- It includes commands essential for disk management, diagnostics, scripting, and advanced system configuration.
- It is primarily compatible with FAT16/FAT32 file systems and its syntax may vary between manufacturers.
- Mastering the UEFI shell is key to maintaining, customizing, and repairing modern computers.
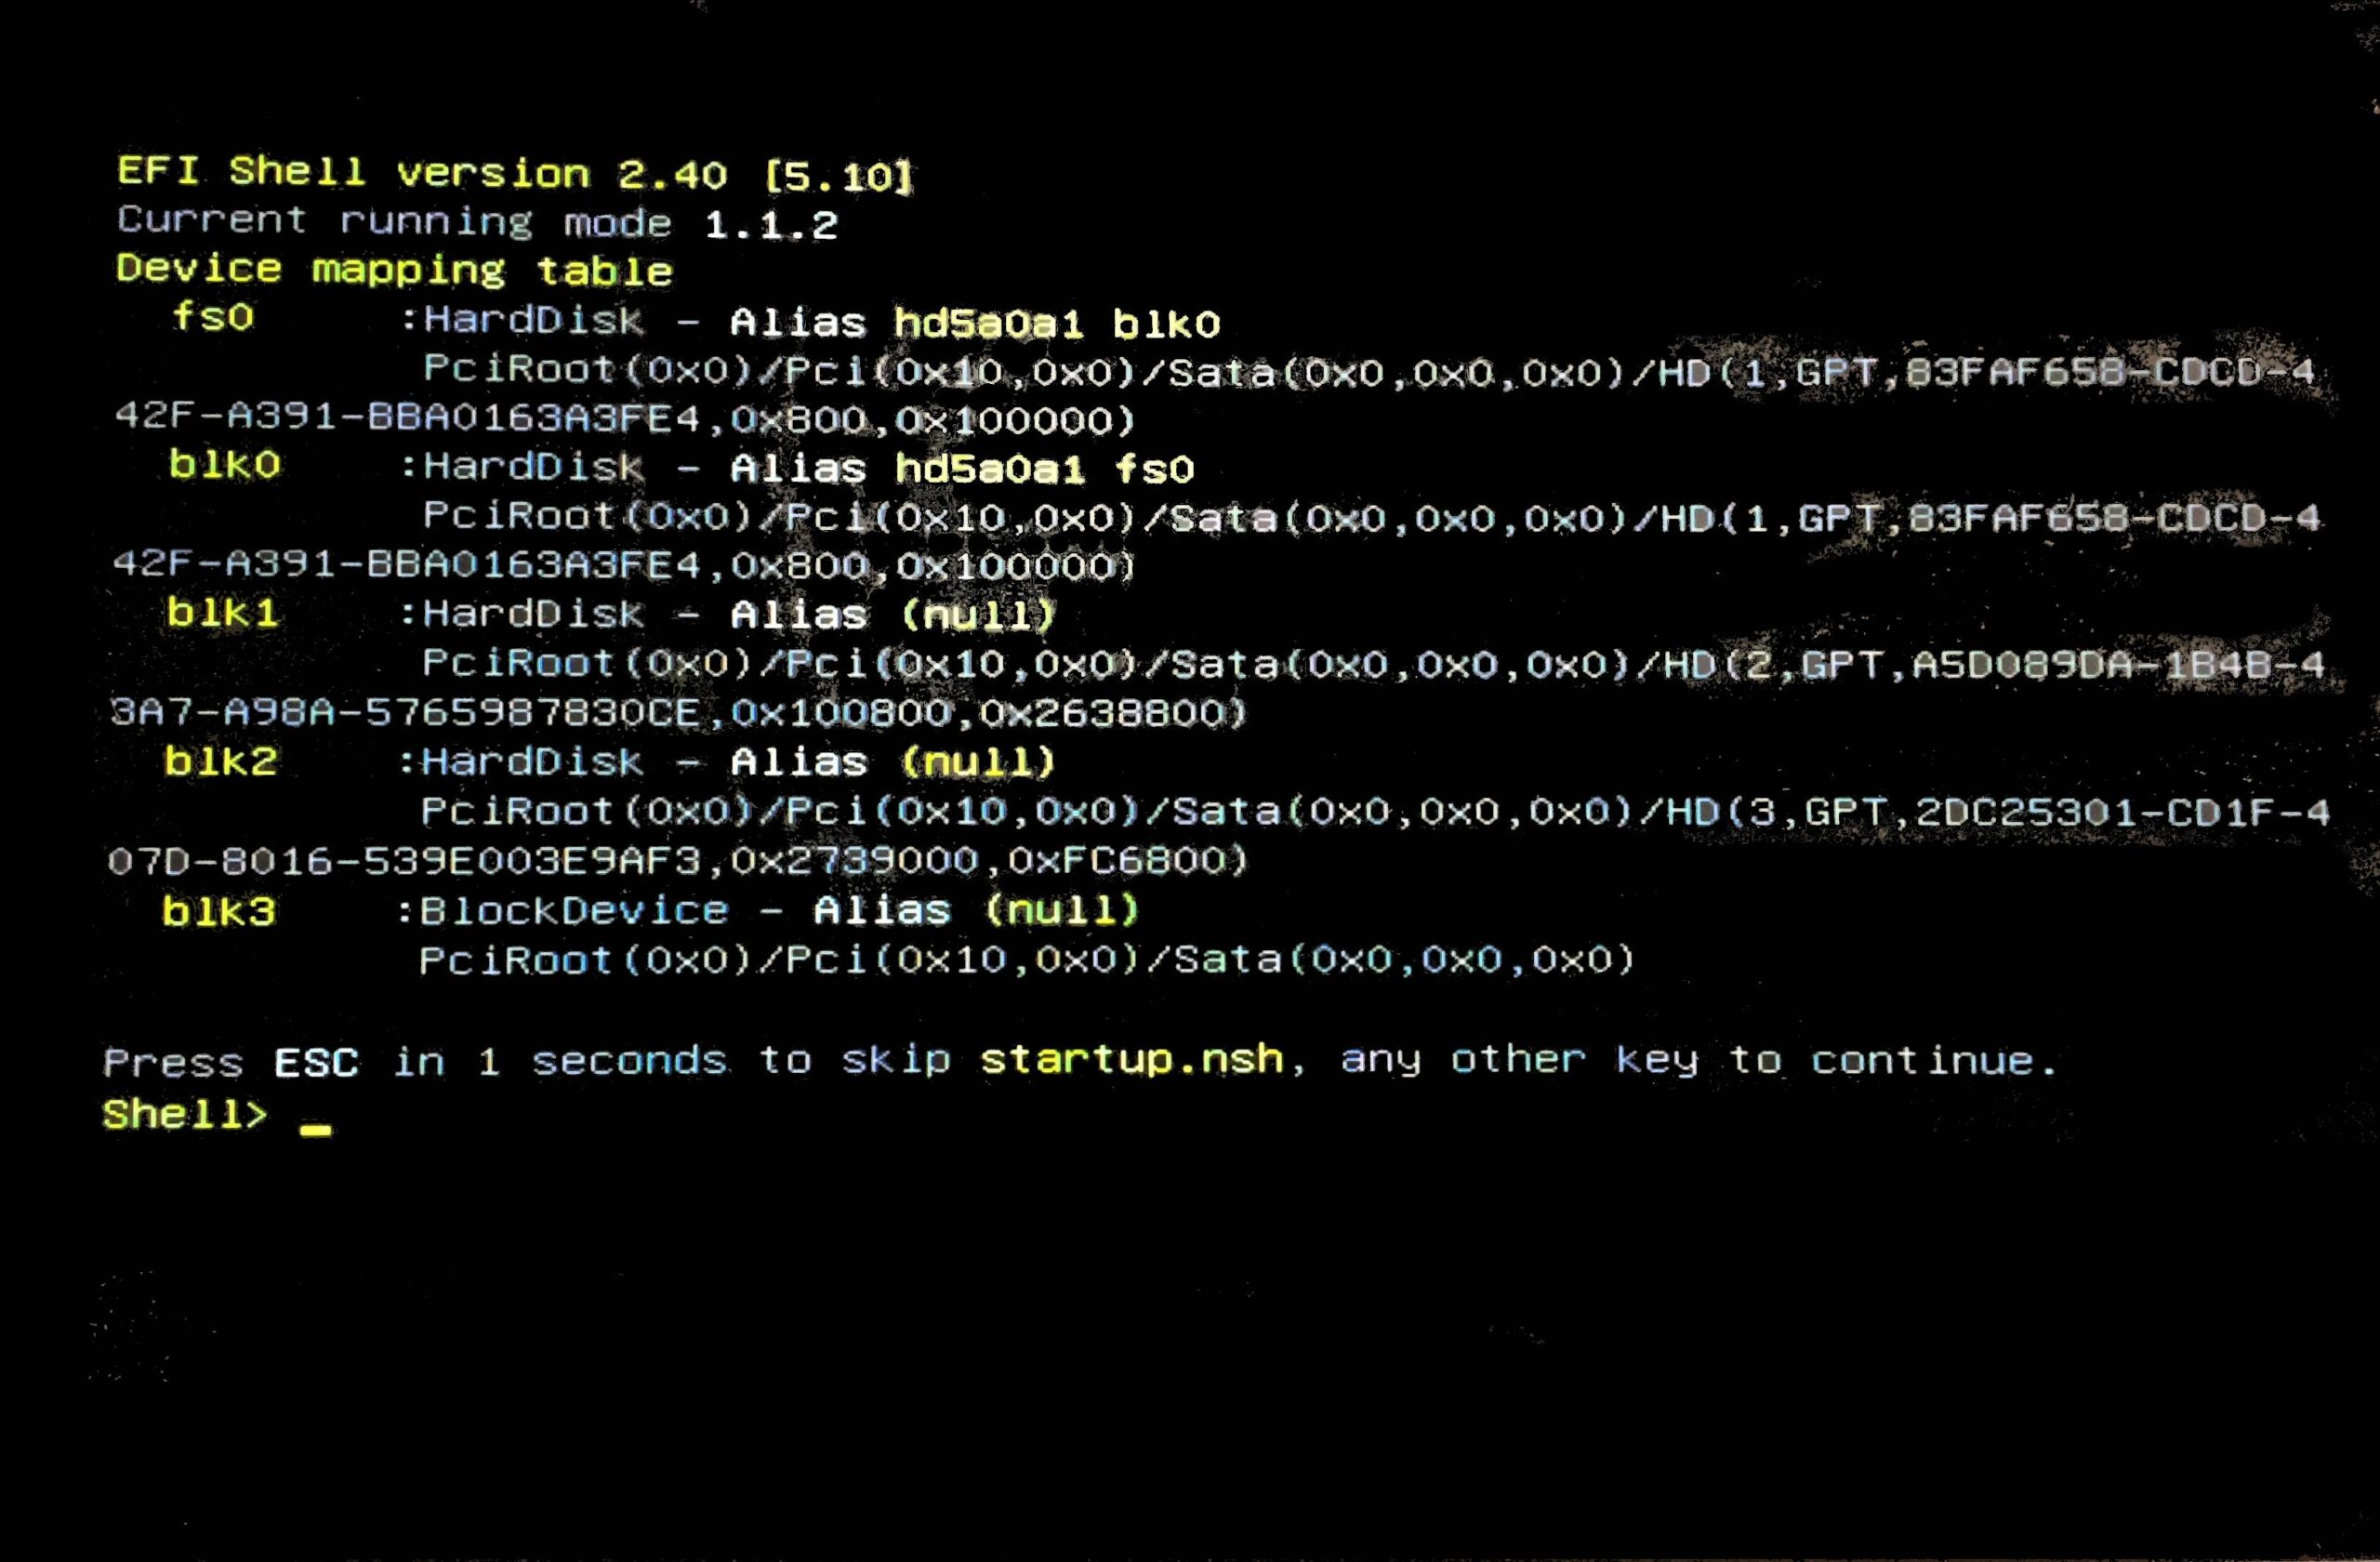
Today, more and more advanced users and professionals need to interact with their devices' firmware, especially during maintenance, troubleshooting, or operating system installation . In this context, the UEFI (Unified Extensible Firmware Interface) shell stands out as a powerful tool that offers direct and flexible access to a series of essential commands and utilities for managing, configuring, and diagnosing a computer's boot environment.
However, despite its importance, there is some confusion about its use and which commands are actually useful in the UEFI shell . If this topic sounds like gibberish to you, or if you already have some experience and want to delve deeper, here is an in-depth guide that compiles the most complete and up-to-date information based on official documentation and the best available sources.
What exactly is the UEFI shell?
The UEFI shell acts as a console similar to other command interpreters (like the old DOS or the Linux terminal ), but located directly within your motherboard's firmware environment. From here, you can execute commands to manage EFI partitions, access file systems, load drivers, launch .efi applications, edit configuration files, and even automate sequences using scripts . In addition to all this, it offers powerful diagnostic and repair options, making it an essential resource for administrators and hardware enthusiasts.
Why use the UEFI shell?
Accessing the UEFI shell can be a lifesaver when you need to modify the boot sequence , install a custom boot manager, diagnose hardware, troubleshoot boot problems, or directly manipulate firmware variables and files. Furthermore, in many professional system, server, or even Hackintosh installations, this console is the only way to perform certain advanced configurations.
Types of commands in the UEFI shell
The UEFI environment offers a wide variety of commands and utilities . These can be classified into different categories according to their purpose. Below, we analyze the most common and useful ones, broken down by area of use:
Commands to explore and manage drives and files
- fsX: Switch between different recognized partitions, where X represents the assigned number (example: fs0: to access the first FAT16 partition or FAT32 recognized). It is essential for navigating between devices and file systems from the shell.
- cd : Allows you to change the current directory and move within the file structure of the active partition.
- work : Displays a list of files and folders in the current or specified directory, very useful for exploring the contents of the EFI.
- cp destination file(s): Copy files or folders (with -r for recursive directory copying).
- mv : Move or rename files and folders.
- rm file/dir: Delete files and directories.
- mkdir dir: Creates new directories in the specified path.
- file type: Displays the contents of a file in text format.
- edit file_name: Opens a simple text editor to create or modify files directly from the shell.
Device mapping and management commands
- map: Lists all devices and partitions accessible by the UEFI, assigning names such as fs0: for file systems or blk0: for block devices. This is essential for identifying the locations of EFI disks and partitions. For example, you might see output like:
fs0 : VenHw(Unknown Device:00)/HD(Part1,Sig00000000) blk0 : VenHw(Unknown Device:00)
fsX: refers to accessible FAT16/FAT32 file systems, while blkX: identifies block devices detected by the firmware.
- mount BlkDevice : Mount a block device as a file system with an alias if desired.
- deblk : Performs a hexadecimal dump of block devices, useful for low-level inspection.
- devtree : It shows the tree of available devices, very interesting to understand the hardware topology.
Boot management and EFI variables
- bcfg: This command is key to managing boot options in the EFI NVRAM. It allows you to add, remove, or list boot and driver entries. For example, to add a custom bootloader (such as Clover), you could use:
bcfg boot add 0 fs1:\EFI\CLOVER\CLOVERX64.efi "Clover"
Where 0 is the priority, fs1 is the partition where the .efi file is located, and the last argument is the name of the entry in the boot menu. To manage EFI variables, you can also consult [link to relevant documentation].
- dmpstore: Dumps the contents of the EFI variable store, making it easy to review or edit current values.
- reset : Performs a cold reboot of the system, useful after modifying critical settings.
Drivers, protocols and maintenance
- connect Handle#: Associates an EFI driver with a device and boots it.
- disconnect DeviceHandle# ]: Disconnect the device from the controller, which is important when manipulating drivers or diagnosing incompatibilities.
- drivers : Displays the drivers loaded on the system.
- drvcfg, drvdiag: They invoke configuration and diagnostic protocols for controllers, useful for debugging in complex environments.
- loadpcirom, load driver_name: They load PCI option ROMs or additional drivers, allowing the firmware functionality to be extended.
- bootmaint: Starts the boot maintenance manager, a visual utility for modifying boot options within the shell.
Memory management and data dumping
- dmem : Allows you to display the contents of a memory location, ideal for advanced debugging.
- mem : Dumps allocated memory or I/O.
- memmap : Displays the system memory map, providing an overview of used and free memory.
- mm address : Allows you to modify memory regions, whether physical or MMIO. Typically used by technicians and developers.
Commands related to date, time and environment
- date : Displays or sets the system date.
- time : Check or adjust the time.
- watch: Displays the current version of the UEFI shell.
- cls: Cleans the terminal screen, ideal for keeping things tidy when working for long periods of time on the console.
- mode: Sets or queries the current graphics mode in the shell.
Scripting and Automation Commands
- echo | ]: Displays text on the screen and controls echoing of commands within .nsh scripts.
- if, else, endif, for, endfor, goto tag, pause: Basic control structures for automated scripts, facilitating the automation of routine or complex tasks in the UEFI environment.
Advanced diagnostics and hardware testing
Some UEFI environments, such as those implemented by Oracle or on enterprise platforms, incorporate a diagnostic CLI with specific commands for checking the system's hardware. The most relevant are:
- cfgtbl: Displays all installed UEFI tables, vital for understanding the firmware structure.
- cpu { cpuid | info | model | speed | simd | top | sysregs | idt | memcfg }: Runs tests and displays detailed information about the CPU.
- fpu: Runs floating point unit tests.
- graphics: Displays available graphics modes or performs tests on them.
- memory { test | info }: Tests and displays information about RAM and its settings.
- network: View Ethernet interfaces or run connectivity tests.
- rtc: Check the current date and time in 24h format.
- storage { info | mst | rrt | srt | rwv }: Analyzes and tests devices storage.
- system { acpi | info | inventory | symbios | cpuestockets | pelink }: Displays general system information, very useful on servers.
- tpm: Displays details about the security module (TPM) and access logs.
- usb: Lists information about USB devices and hubs.
Things to keep in mind when working with the UEFI shell
Some basic questions to consider before taking the plunge:
- The UEFI shell, except in specific cases, usually only works with partitions formatted in FAT16 or FAT32. If your disk's file system is NTFS, exFAT or any other, This environment will not be able to access it.
- To find out all the commands available in your version of the UEFI shell, you can use the command or , depending on the language and specific firmware.
Practical example of use: adding a custom bootloader
One of the most common reasons for working with the UEFI shell is to modify the boot sequence to load a custom bootloader (e.g., Clover or OpenCore on Hackintosh or custom Linux installations). The basic process would be:
- Switch to the appropriate EFI partition with fsX:
- Check the content with ls o dir.
- Run command bcfg boot add , For example:
bcfg boot add 0 fs1:\EFI\CLOVER\CLOVERX64.efi "Clover" - Check that the entry has been created correctly and restart the computer to verify the change.
The UEFI shell is an extremely versatile and powerful tool. Mastering its commands and utilities will not only facilitate maintenance and troubleshooting tasks, but will also give you complete control over your system's boot process. Practice and experimentation in controlled environments are the best ways to become familiar with its operation and take full advantage of its capabilities.

Passionate writer about the world of bytes and technology in general. I love sharing my knowledge through writing, and that's what I'll do on this blog, show you all the most interesting things about gadgets, software, hardware, tech trends, and more. My goal is to help you navigate the digital world in a simple and entertaining way.