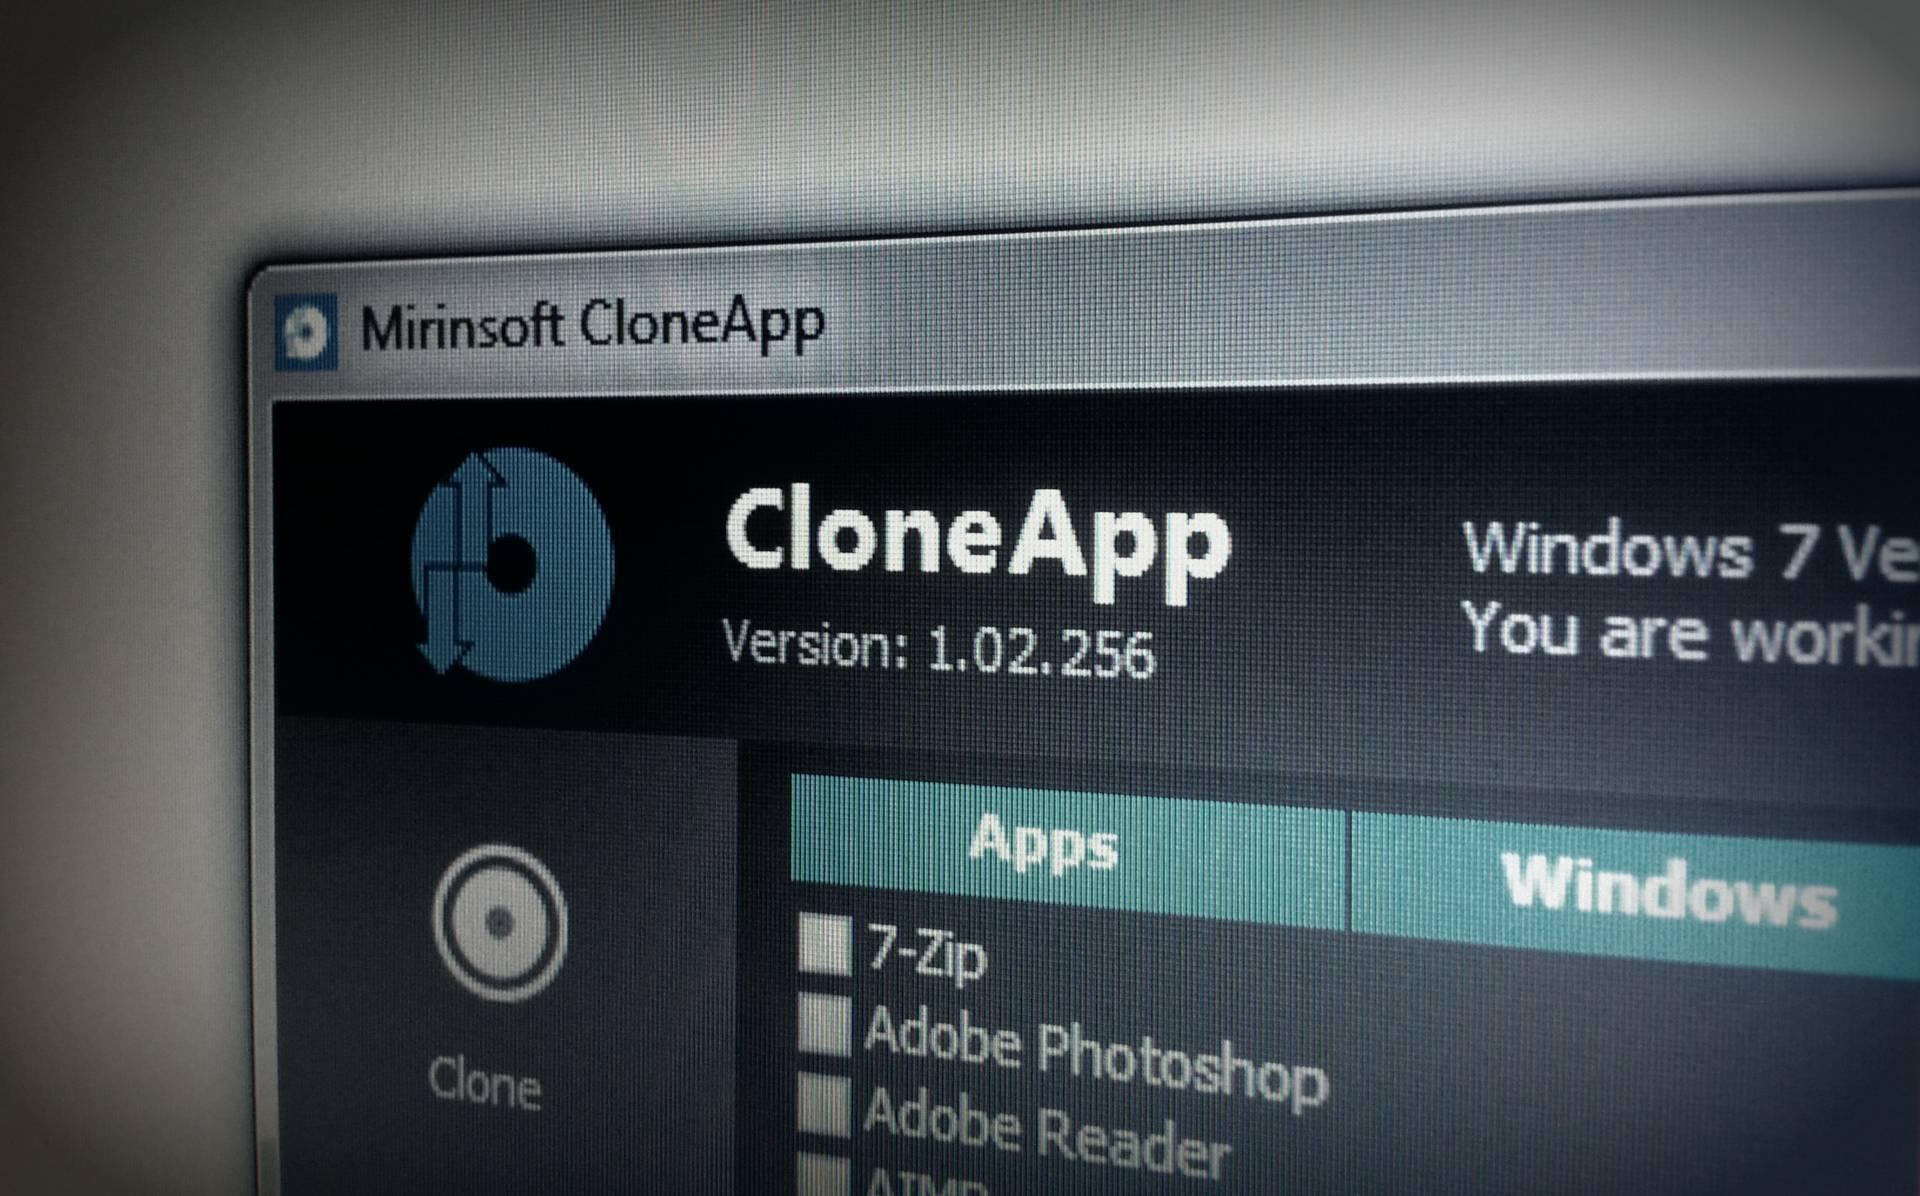
- CloneApp copies and restores program settings (Registry and folders) for clean migrations in Windows.
- Supports from 119 to more than 240 apps and 247 plugins, and allows custom copies.
- Works without installation, with key options: paths, separate folders, 7z compression, and conflict management.
- Includes easy restore and key plugins; ideal for pairing with batch installers like Ninite.
If you've ever set up a new computer or done a clean install and found yourself manually reconfiguring everything, you know how tedious it can be. Losing profiles, preferences, and fine-tuning your programs is precisely what turns a migration into an ordeal, especially when you're meticulous about every detail.
To end this ordeal, there's a very specific tool: CloneApp. This free, portable software for Windows knows where your applications store their settings (folders, files, and especially the Registry) and allows you to back them up and restore them when you switch PCs or reinstall the system. It's not magic, but it is a very smart automation that saves you hours.
What is CloneApp and how does it work?
CloneApp is a tool designed to back up the settings of numerous Windows applications. It doesn't create a system image or move executables; it focuses on the data that defines your preferences. It detects what you have installed , knows which Registry keys and folders to copy, and generates a backup ready for later restoration.
The application stands out for being portable (it requires no installation) and very lightweight. Various reviews mention that version 2.0 weighs only 300 KB , while other downloads show it's around 1 MB. In any case, it fits on any maintenance USB drive and works on all modern versions of Windows as long as you run it as administrator.
Program support has grown over time . Some tests show compatibility with 119 applications ; others mention more than 240 apps and 247 plugins to expand its capabilities. In practice, you'll see two key lists: Supported (all the apps it can clone) and Installed (those you have on your PC), and from there you choose what to save.
Important: CloneApp does not replace a full system backup. Its purpose is to recover settings and customizations. However, it does this very well with popular programs such as CCleaner, Google Chrome , Firefox, FileZilla, GIMP , Microsoft Office , and widely used media players and utilities.
Real advantages and limitations
The main advantage is obvious: it saves time and avoids human error . Instead of going program by program looking for paths in AppData or manually exporting parts of the Registry, CloneApp already includes these "recipes" for hundreds of apps and performs the backup in batches.
That said, it doesn't work miracles. If you use very unusual software (the typical rare bird), it might not have a predefined script . It also won't magically migrate licenses: you'll need your keys and, if necessary, reactivate them. Even so, you can create custom backups to save directories and Registry branches of unsupported apps.
Another piece of good news is its stability. In various tests , it performs reliably when cloning the Registry of known applications, although, as with any configuration backup , there may be occasional cases that require manual adjustments or second passes.
Performance is good, but the process isn't instantaneous. Depending on the number of apps and settings to copy, the backup can take a while. For large migrations, allow plenty of time and let it run unhurriedly.

Prerequisites and preparation
Before we begin, it's essential to open CloneApp with administrator privileges . This makes all the difference between an incomplete backup and a truly useful one. Right-click the executable file and select "Run as administrator."
Planning will also help. Make a list of critical programs (browsers, office suites, editors, FTP clients, media players, system utilities), locate licensors, and if you're going to change PCs, keep a USB drive or cloud folder handy to take your copy with you.
Download, execution and first views
Download the latest version from the official website and extract the ZIP file. It doesn't require installation: simply run the EXE file . When you open it, you'll see that it identifies your Windows version and architecture. On the left is the main menu; on the right are the tabs with the list of apps.
Navigation is simple: Home, Clone, Restore, Custom, and Options . You'll quickly become familiar with "Supported" and "Installed" for choosing what to clone, and with action buttons like "Backup," "Start CloneApp," and "Restore."
Configure critical options (Options)
Before changing anything, go into Options and adjust the important settings. Defining the backup path prevents surprises and simplifies moving your data later. By default, it creates a "Backup" folder in the same directory as the program; it's convenient to leave it like this, but you can change it with "Browse".
In the same panel, configure the path to the log file containing all the actions performed by the backup. This is useful for auditing, reviewing what has been copied, and diagnosing any warnings or conflicts.
Decide how you want to organize the data: “Clone Apps in separate folder” forces a subdirectory for each application, making it easier to selectively inspect or restore. If you disable it, it will copy everything together, which is less organized but acceptable in controlled environments.
If you're worried about space, enable "7z Compression" . This compresses the backup to save megabytes, ideal when uploading it to the cloud or using a USB drive with limited storage. Keep in mind that compression adds some time to the process.
In case of conflicts, you can choose to view all conflicts or use the automated approach. "Display dialog in Clone Conflicts" will display on-screen alerts; switching to "Respond silently to all Clone conflicts" will automatically respond "Yes" to all conflicts without interaction, which is useful for unattended processes.
What exactly does CloneApp save?
The “What is being backed up?” button is essential. It shows you the list of paths and keys that will be copied, so you know exactly what's being saved. Generally speaking, the tool usually backs up:
- Registry Keys where preference and local licenses reside.
- Configuration folders in AppData (Roaming/Local) and in program directories.
- Settings files (e.g. XML, INI, JSON and similar).
This data-centric approach means that, after reinstalling the system or moving to another computer, you can restore the same "personality" of your applications without having to reconfigure everything.
Clone settings step by step
Go to the Clone tab and check "Supported" (everything CloneApp can handle) versus "Installed" (what's detected on your computer). The typical workflow is to select the programs you want to clone under Supported or use "Select Installed" to have the system select all compatible programs it finds installed at once.
If you want to double-check that you haven't missed anything, go back to "Installed" and review the list of applications you actually have. It's common to be surprised by forgotten utilities; it's better to install them now than to discover them on your new PC.
Click “Start CloneApp” (or “Backup”, depending on the view) to begin the process. From that moment on, the program will copy keys and folders for each selected app. Depending on the size of the app, this may take some time; for large migrations, expect it to take a while.
When you're done, you'll have an organized structure of your data in your backup path. If you enabled separate folders, you'll see one directory per application, making it easy to review and, if necessary, manually discard anything you don't want to move.
Restore to the new computer or after a clean installation
The moment of truth has arrived: moving everything to your new environment. Copy the CloneApp folder and its Backup directory to a USB drive or the cloud, transfer it to your new PC, and run CloneApp as administrator.
Go to the “Restore” section . The tool will automatically detect the backup (if not, it will ask for the path). With one click, it will recreate the Registry entries and folders in their original location. When finished, open your apps: they should appear with the same settings as on the original computer.
If you prefer selective restores (for example, only browsers and office applications), you can uncheck the options you don't want and perform the restore in parts. Keep the log handy in case you need to review exactly what was restored.
Custom copies for non-compatible apps
Not everything is on the Supported list, and that's where the Custom tab comes in . It allows you to define your own backup sources: folders, individual files, or Registry keys. It's a backup plan for less common tools.
A typical example: locate the application folder (for example, in Program Files or AppData), click "Folders," then "Browse," and "Add" to add paths. Repeat for specific configuration files or registry branches. Then click "Start Backup," and you'll have your custom backup.
This approach ensures that even if CloneApp doesn't come with a pre-made script, you can still retrieve settings from virtually any program that saves its configuration to disk or the Registry.
CloneApp UA for UWP apps
If you need to clone Universal Windows Platform (UWP) settings , there's a variant called CloneApp UA designed for that ecosystem. It's useful for Microsoft Store apps where the location and permissions differ from traditional Win32 apps.
The philosophy is the same: back up and restore settings so you don't lose your customizations when reinstalling or switching devices. Consider combining CloneApp and CloneApp UA if you use both Win32 and UWP apps.
Plugins and key recovery
In addition to the core cloning tool, CloneApp supports plugins like Product KeyFinder and Backup Product Keys . These are perfect for retrieving product keys for Windows, Office, Adobe, and other products, provided they are available on the system.
Don't rely solely on the configuration copy for your license: keep duplicate keys . Plugins make this easier and complete the "migration package" so that if something requires activation, you'll have it readily available.
Comparison with other tools
Tools like Ninite are great for batch installations, but they don't handle configuration. The winning combination for migrations is usually: Ninite (or your preferred manager) for quick installations and CloneApp to restore your settings . One installs the programs; the other, your personal touch.
Traditional image backups (like disk cloning) are a different story. They're useful for duplicating everything , but they're large files, and you don't always want to carry over bloatware or other issues. CloneApp excels when you're looking for a clean installation with your preferences , without the added burden of everything else.
Good practices and tips
- Always run CloneApp as administratorIt seems like a small detail, but it determines whether the backup will be able to touch all critical paths and write all necessary keys during the restore.
- Usa separate folders By application, whenever possible. It's easier to audit content, delete what you don't want to move, and resolve specific conflicts without touching the rest of the backup.
- Activate the 7z compression if you work with large copies or storage Limited. In exchange for a few extra seconds of processing, you'll gain space and find cloud syncing more convenient.
- Take advantage of “Select Installed" to preselect everything compatible that you actually have in your system. Then uncheck anything you're not interested in; you'll save time and avoid oversights.
- Before closing the migration, open a handful of key programs and check that the configuration is “as is”. If something fails, check the log, run CloneApp again and selectively restore the app in question, and if necessary, use tools to recover files from hard drive.
Which apps usually work best
In practice, CloneApp shines particularly well with browsers (Chrome, Firefox, Edge), office suites (Microsoft Office), utilities (CCleaner), FTP clients (FileZilla), editors, media players, and games ( backing up saved games ). These are apps with well-known configuration locations and mature scripts.
If you work with highly specialized software, try it first. The "What is being backed up?" button will show you what it intends to copy. If you find something missing, complete it using the Custom tab by manually adding paths and keys.
Limitations to consider
Remember: CloneApp is not an installer . Install your programs first (better yet, with Ninite or your own scripts) and then restore the configuration with CloneApp. This is the logical order to avoid conflicts.
Some applications store part of their identity in user folders or cloud services (synchronized profiles). In these cases, the restore process may overlap with their own mechanisms; decide whether it's best to use only one of the two to avoid mixing states.
In corporate environments, group policies or restrictions may block certain registry writes or paths. Validate on a test machine and, if necessary, perform the restore with the appropriate account or elevated permissions.

Passionate writer about the world of bytes and technology in general. I love sharing my knowledge through writing, and that's what I'll do on this blog, show you all the most interesting things about gadgets, software, hardware, tech trends, and more. My goal is to help you navigate the digital world in a simple and entertaining way.