- Miracast mirrors your screen via Wi‑Fi Direct with Full HD support, 5.1 audio, and WPA2 encryption.
- Windows integrates shortcuts: Windows + K to connect and Windows + P to choose mode.
- You can project to TVs, projectors or another PC after turning on 'Wireless Display'.
- WiGig and the 'Project to this computer' settings expand connection and reception options.
If you want to send your PC's screen to a TV or projector wirelessly, Windows offers several ways to project wirelessly . Miracast is the most popular option on Windows 10 and Windows 11 computers , allowing you to mirror your computer screen to another compatible display.
In this practical guide, you'll learn what Miracast is, how it works, and how to use it on Windows step by step . We'll also cover projection modes, configuration options, projecting to another PC, connecting via WiGig docks, and key points to know to avoid problems.
What is Miracast, what is it for and its limits?
Miracast is a wireless playback protocol designed to allow two compatible devices to detect each other and mirror one's screen onto the other's. In other words, its purpose is screen mirroring: displaying on a television, monitor, or projector exactly what is shown on the screen of the transmitting device.
This standard was created as a wireless alternative to HDMI: it doesn't send an app or file in the background , but rather mirrors in real time what you're doing on the source device. Therefore, if you play a movie from your laptop or phone, you'll need to keep its screen active because what's being projected is a mirror of the original.
On a technical level, Miracast relies on Wi-Fi Direct to connect devices point-to-point . You don't need both devices to be on the same home network for it to work: the connection can be established directly between the sender and receiver. Many guides recommend sharing the same Wi-Fi network for convenience, but this isn't a requirement of the protocol.
In terms of quality, it supports video up to Full HD (H.264) and 5.1 audio . The connection is encrypted with WPA2-PSK and includes DRM, so it's possible to transmit protected content between compatible devices, maintaining data protection during the process.
The downside is that Miracast only allows screen mirroring , and its reliability can vary: in some environments or with certain certified devices, some users report dropouts or other issues. As alternatives, technologies like Google Cast and DLNA exist, which in different cases allow you to send content without mirroring your entire desktop.
How to use Miracast on Windows (Windows 10 and Windows 11)
Windows includes several projection features. The Windows + K key combination opens the Cast panel and lets you choose the wireless display to connect to. You can also access it from Settings and other system shortcuts, as you'll see below.
Requirements and basic compatibility
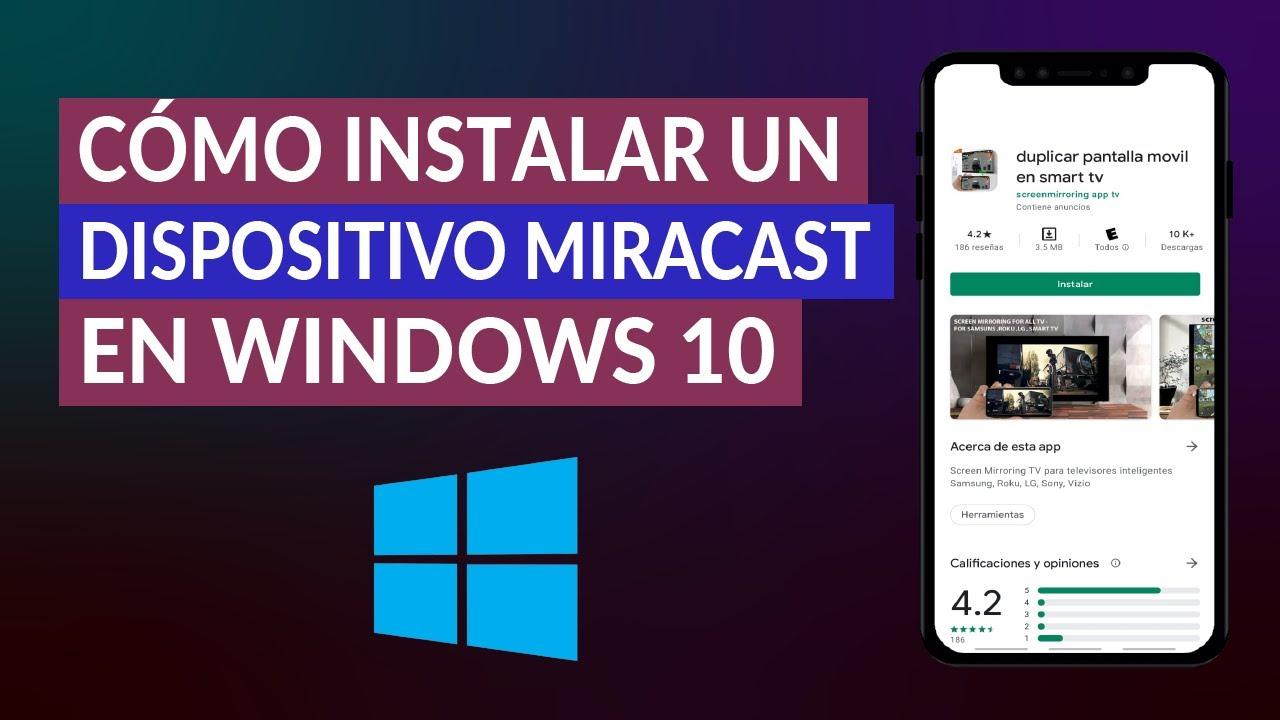
You need a PC with Windows 10 or 11 that supports Miracast and a compatible display (TV, monitor, or projector). If your TV doesn't have built-in support, you can use a Miracast adapter or dongle connected to the TV's HDMI and power inputs.
In addition to Miracast, Windows can also work with WiGig docks for wireless display connectivity. If your computer supports WiGig, you'll see a dedicated setting in Settings > Network & Internet > Airplane mode. Connect the dock to the display, turn it on, and pair it from your PC.
Project from PC to TV, monitor or projector
First, turn on the target display and, if you're using a Miracast adapter, make sure it's connected to the correct HDMI port and the input is selected on the TV or projector. Wait a few seconds for the receiver to be ready.
Quick shortcut: Press Windows + K and choose the device from the list, for example, to wirelessly mirror your PC . If it's your first time, a prompt will appear on the destination screen asking you to accept the connection . Confirm it, and once the link is established, you'll see your desktop on the other screen.
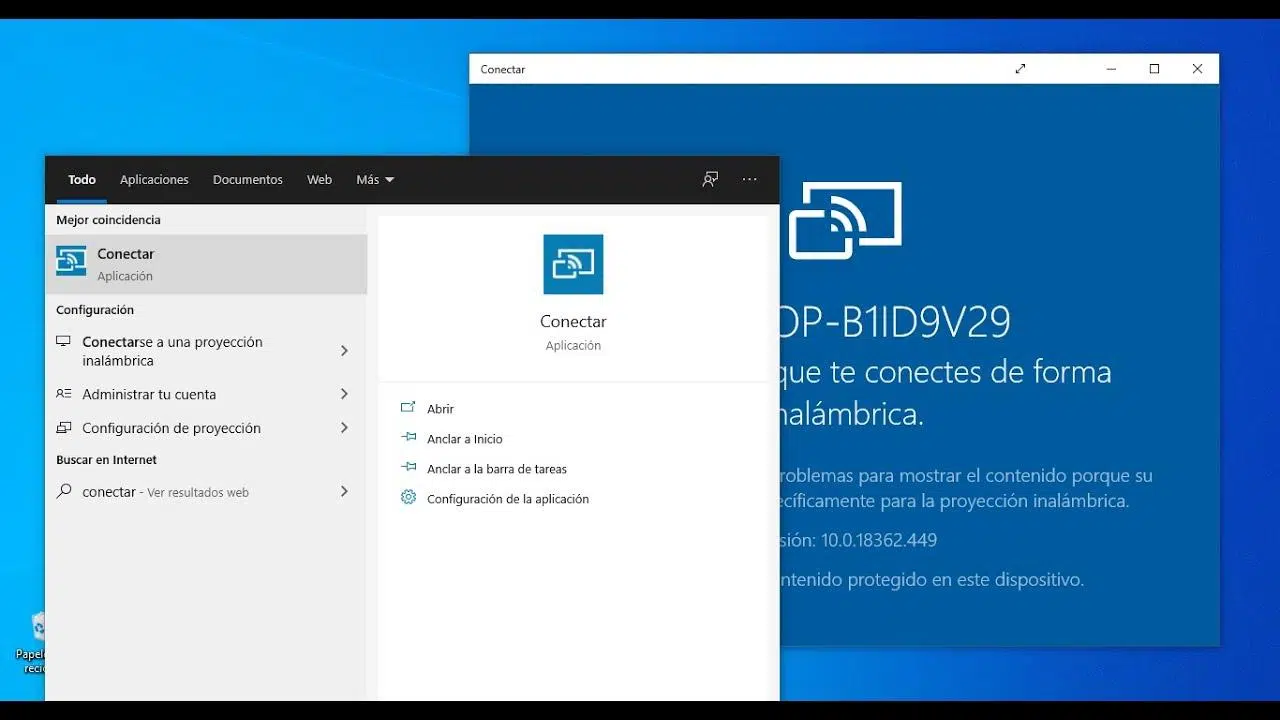
Via search and display settings: In the Windows search bar, type 'Cast' and go to 'Connect to a wireless display'. Within Display settings, under Multiple displays, you will find the button to connect and select your compatible TV or projector.
In Windows 10, you can also go to Settings > Devices > Add Bluetooth or other devices > Wireless display or dock . The system will search for nearby receivers and, when selected, will automatically start projection.
Choose how you want to display the desktop
To change the display mode, press Windows + P and select Display behavior. This is useful if you want to duplicate or extend your desktop, or use only one of the screens.
| Objective | Mode |
| Use it only on the PC monitor | PC screen only |
| Display the same thing on both screens | Double |
| Extend your desktop to have more space | Extender |
| View it only on the external display | Only the second screen |
This adjustment is immediate and will help you work better: for example, Extend lets you drag windows between screens , ideal for presentations or multitasking with several apps.
Connect to a WiGig base
If you have a WiGig base station, the procedure is very straightforward: turn on your TV or projector, turn on the base station, and confirm that the cable to the screen is correct . Check that your PC supports WiGig in Settings > Network & Internet > Airplane mode (a specific setting will appear).
Next, press Windows + K and select the dock from the list of devices. Follow the on-screen instructions if confirmation is requested . Otherwise, the connection will be established in a few moments.
Project to another Windows PC (turn a PC into a wireless display)
Windows 10 and 11 allow a computer to act as a receiver. To do this, you must first install the optional projection feature if it is not already present. Go to Settings > Apps > Optional features and click View features.
Search for 'Wireless Display' or 'Wireless Projection', check the box, and select Install. When finished, go to System > Project to this PC to adjust the reception preferences.
On that screen, you can decide whether your PC is available 'everywhere' or only on secure networks, and whether you want to be asked for confirmation every time or only the first time. You can also disable the pairing PIN if you prefer convenience; you'll still have to accept the requests on the receiving device.
To receive the projection, open the Connect app (search for it as 'Connect app' in the search box) and leave it in the foreground. Now, from the sending PC, press Windows + K and choose the receiving PC to project onto.
Send other devices to your PC
If you want to send your Android phone's screen to your PC, enable the "Project to this computer" function on your computer and open Connect. Alternatively, you can try controlling your Android screen with scrcpy . On your phone, use the screen sharing function (sometimes called Cast, Send Screen, or something similar).
On some Xiaomi phones, swipe to open the quick menu and tap the Cast button. When your PC is detected in the list, select it to start mirroring . Accept any notifications that appear on the receiving device.
Useful shortcuts and routes depending on your version of Windows
In Windows 11, a very convenient way is to press Windows + K and choose the display. You can also open Display settings and use the Connect to a wireless display option within Multiple displays.
In Windows 10, in addition to Windows + K, you can open the Action Center (speech icon next to the clock) and tap Connect. If you don't see the button, tap Expand to show all quick actions . From there, access Project to this PC whenever you want to receive content.
Usage tips and important notes
Miracast works via Wi-Fi Direct, so you don't need to be on the same network . However, having both devices connected to the same Wi-Fi network can simplify discovery in some environments.
Remember that this is a mirroring system: the transmitter's screen must remain active . If you lock your PC or close your laptop lid (depending on the settings), the projection will stop.
If you're getting errors when casting to a TV or projector, try casting to a Windows 10/11 PC as the receiver to rule out problems. This test helps determine whether the issue lies with the Miracast receiver or the sending device.
On some devices, support may be inconsistent. This is because not all manufacturers prioritize Miracast equally , and over the years more widespread alternatives like Google Cast or DLNA have emerged. If your TV displays messages like 'this device does not support Miracast', you might need to consider an adapter or upgrading your TV.
Models and platforms that continue to offer Miracast
Although several manufacturers have shifted to other protocols, many televisions and systems still integrate this function or implementations based on it. Some manufacturers include it as 'Screen Share' or 'Share screen' within their input menus.
Examples of devices with this feature include models with different screen sizes, operating systems , and resolutions. A 55-inch 4K TV can incorporate Miracast to mirror your mobile device , allowing you to enjoy smartphone content on a large screen, while also offering apps like Netflix , Prime Video, or Disney+ if it's a Smart TV.
There are also 32-inch options available that, in addition to Miracast, support HDR and image processing to enhance brightness, contrast, and color in demanding scenes. This screen size is practical for kitchens or bedrooms due to its size and energy efficiency.
If you prefer wired connectivity in addition to wireless, some models combine Miracast with HDMI and USB 2.0 ports , and use the latest Android TV systems for easy operation. Check the specifications to see if the specific model includes Miracast, as this can vary even within the same brand.
Step-by-Step Projection: Alternative Routes and Key Options
- Turn on your TV, projector, or external display. If you use a Miracast dongle, connect the HDMI and power and select the correct font on the screen.
- On your PC, press Windows + K and choose the device you want to connect to. You can also search for 'Stream' in the start menu. and open 'Connect to a wireless display' from Display Settings.
- If a notification appears on the TV or receiver, accept the requestSome receivers ask for confirmation the first time to pair.
- To adjust how it looks, use Windows + P and choose between PC Only, Duplicate, Extend, or Second Display Only. Extend mode gives you more workspace.
If you prefer to configure it from Settings in Windows 10: go to Devices > Add Bluetooth or other devices > Wireless display or dock . Select your receiver, accept the permissions, and you're done.
Configure your PC to receive projections
- Open Action Center in Windows 10 (icon next to the clock) and tap Connect. Then, go to 'Project to this team' to configure availability.
- In the drop-down menu, choose whether your PC will be available everywhere or only on secure networks. Decide if you want it to ask only the first time or always..
- The PIN option for pairing can be left disabled to speed up the connection. You will still need to confirm on the receiving device. when another PC wants to project.
- When the incoming connection prompt appears, press Yes. The remote desktop will be displayed on your screen. in seconds.
If you don't see the 'Project to this PC' option, install the 'Wireless Display' feature from Settings > Apps > Optional features > View features. After installation, return to the System > Project to this PC section to manage permissions and availability.
WiGig: Another way to connect your PC to a display wirelessly
Some devices, in addition to Miracast, support WiGig hubs for wireless video. Check for support in Settings > Network & Internet > Airplane mode , where a WiGig control will appear if available.
To use it: turn on the display and the dock, check the connections, and press Windows + K on your PC to select the dock. If additional on-screen instructions appear, follow them . When no further steps are displayed, the projection will be active.
Good practices and troubleshooting
Update your graphics and network drivers if the connection fails or drops. If your PC can't find the receiver, restart the dongle or TV and search again using Windows + K. Changing the receiver's network mode or moving the devices closer together may help.
If your device indicates that it doesn't support Miracast, check the compatibility of your wireless adapter and GPU. In some cases, an external Miracast dongle resolves the lack of built-in support in older TVs or projectors.
When the receiver supports multiple protocols (for example, Miracast and others), it may appear under different names in the search results. Select the entry that corresponds to 'wireless display' or 'Miracast' to avoid overlapping simultaneous connections with other protocols.
Remember that the typical maximum quality is 1080p. If you notice latency, reduce interference (move equipment closer together, free up congested channels) and avoid congested networks near the projection area.
You have a complete guide at your fingertips to get the most out of Miracast on Windows. Between shortcuts like Windows + K, mode management with Windows + P, and options like 'Project to this PC' , you can duplicate or extend your desktop on TVs, projectors, or even another PC, and use WiGig docks if your hardware allows it; keep in mind the mirroring limitations and the dependence on each device's compatibility to get the best experience.


Passionate writer about the world of bytes and technology in general. I love sharing my knowledge through writing, and that's what I'll do on this blog, show you all the most interesting things about gadgets, software, hardware, tech trends, and more. My goal is to help you navigate the digital world in a simple and entertaining way.