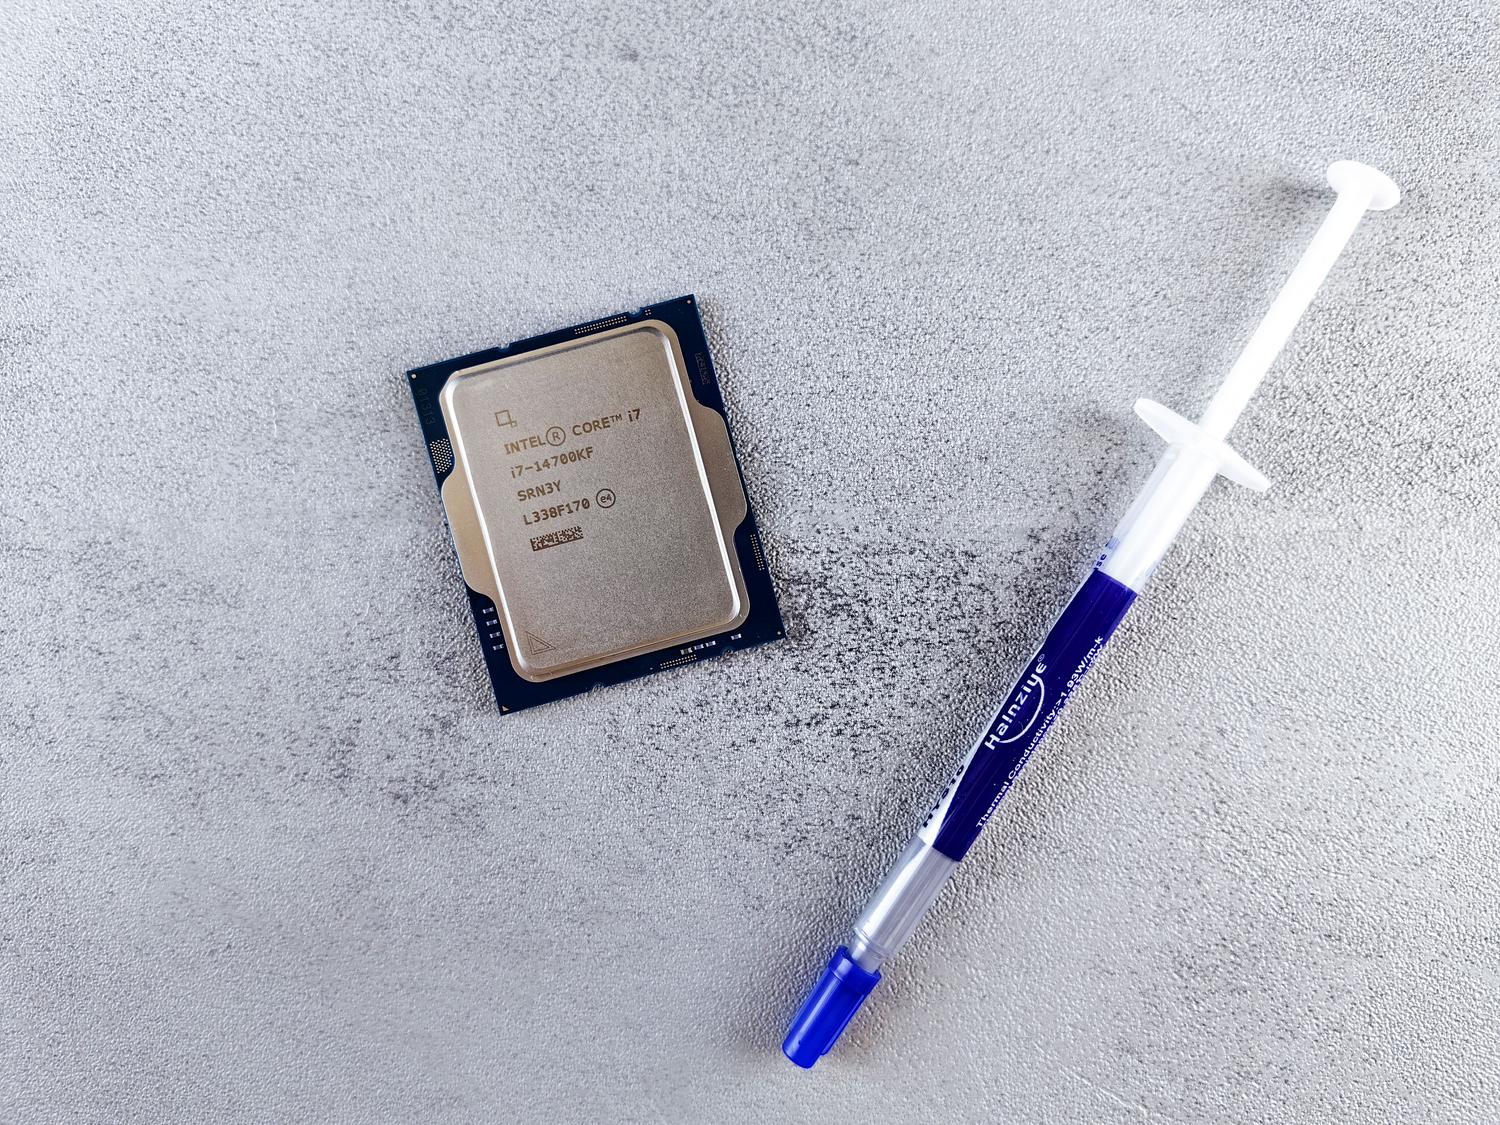
If you notice your computer is making more noise than a jet taking off or that the temperatures are rising excessively, it's very likely that the cooling system is crying out for help. The processor is undoubtedly the component that generates the most heat in any computer, whether it's a laptop or a desktop, and keeping it cool isn't just a matter of silence, but also of extending the lifespan of your hardware.
Sometimes, the stock cooler is the bare minimum and won't cut it if you're looking for extra performance or if you've decided to overclock. Replacing the fan might seem daunting for fear of damaging the socket, but if you follow a few simple steps and are careful, it's a fairly manageable process that any enthusiast can do at home.
Cleaning or replacement? Decide what your PC needs
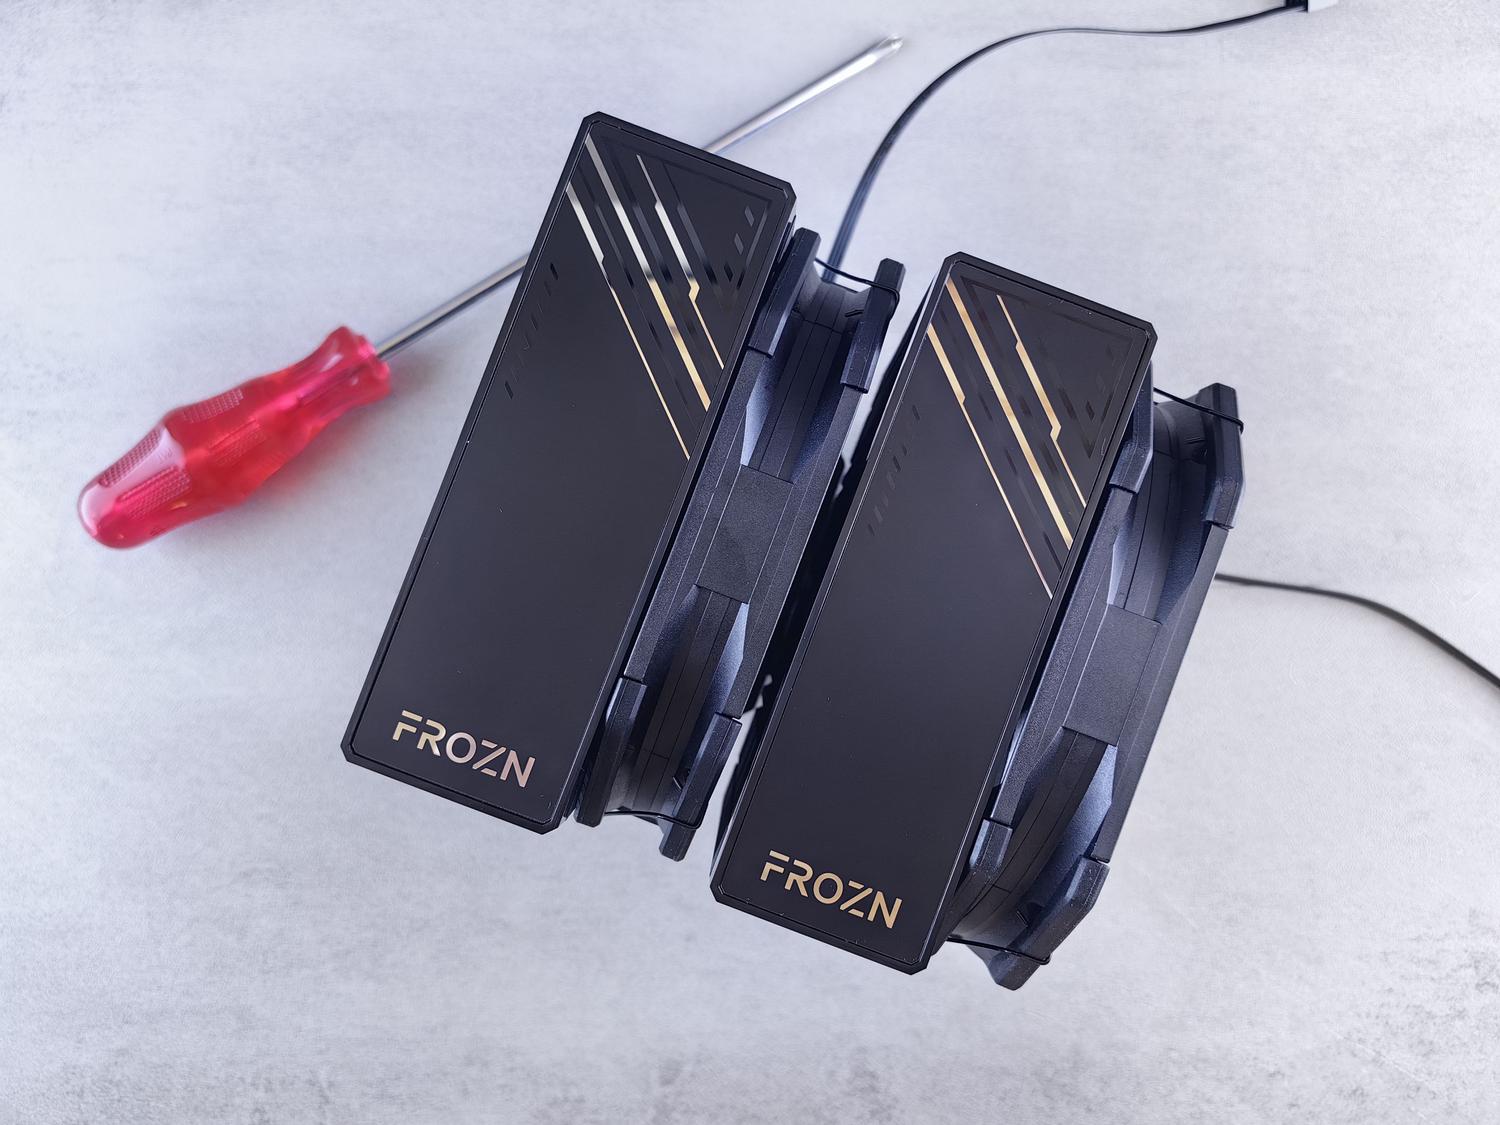
Before rushing out to buy new hardware, consider whether the problem is actually the fan or if it's simply clogged with dust. If the noise has gradually increased, it most likely needs a good cleaning. Ideally, turn off the machine completely and use a can of compressed air , applying short bursts to the fan blades to remove all the dust without disturbing the internal components.
If the fan is still noisy after cleaning, or if temperatures don't decrease, then it's time to take action and replace the entire unit. You have two options: if you only want to improve the aesthetics (like adding RGB fans), you could try replacing just the fan if the heatsink is compatible, but the best way to improve performance is to install a complete cooler (heatsink and fan).

Essential preparations before starting
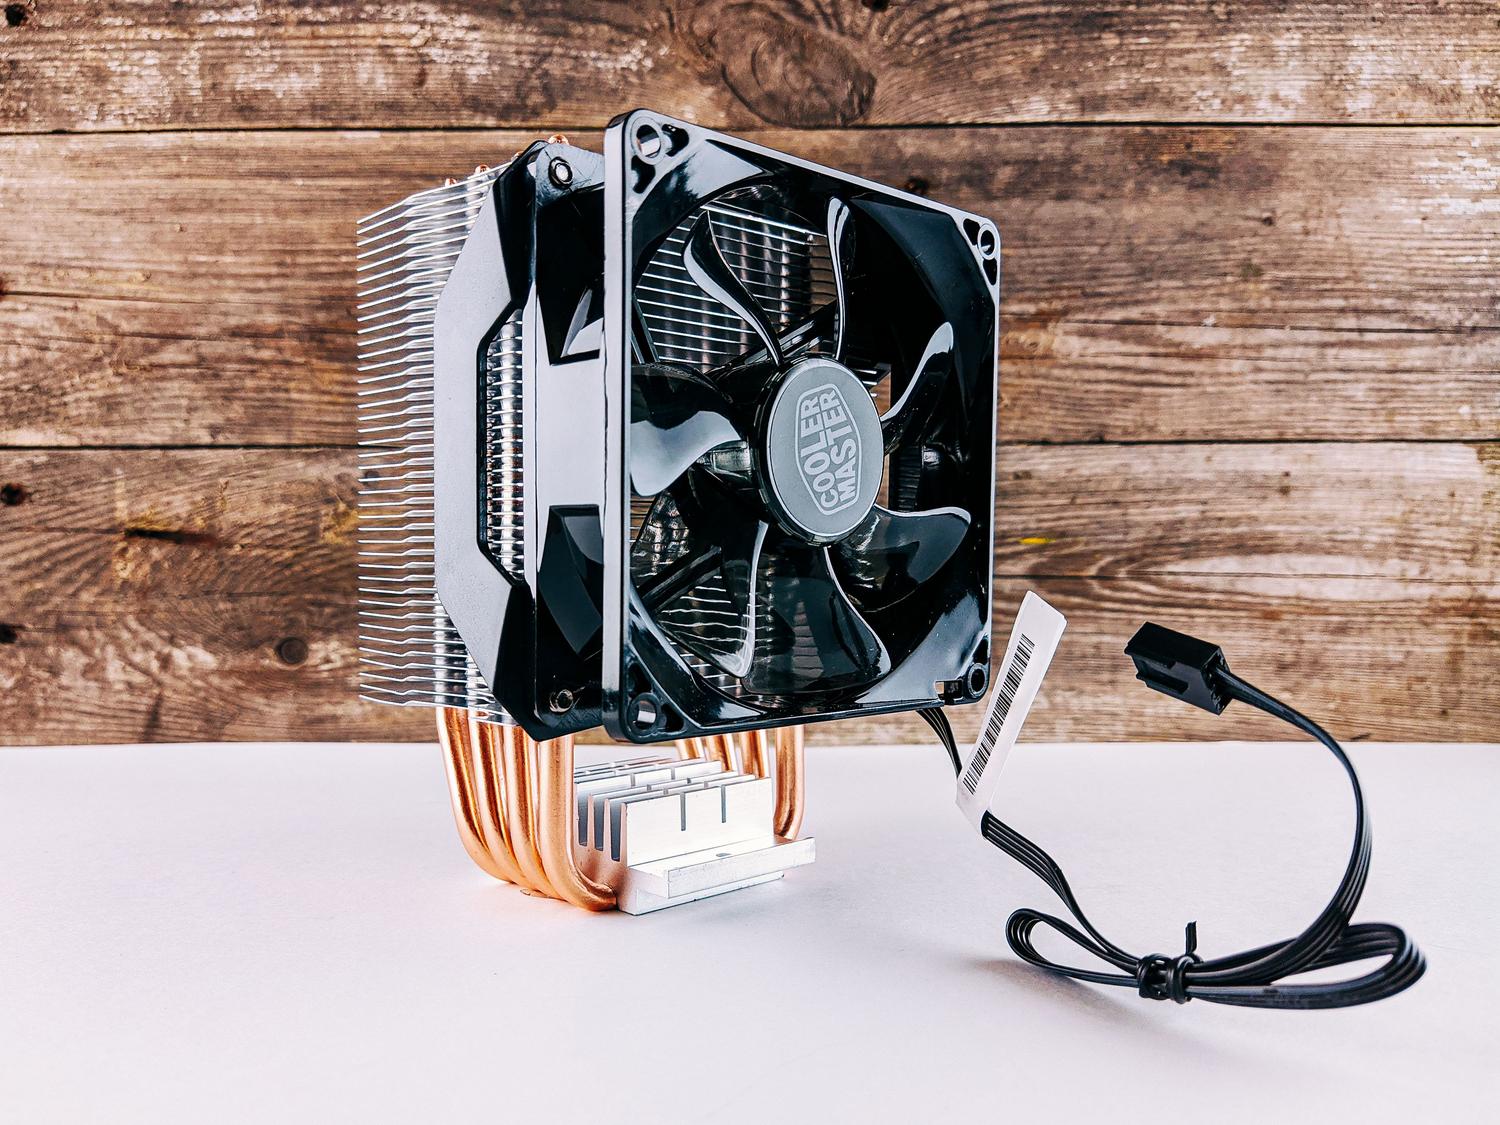
You can't just jump in blind; first, you need to know exactly which part to buy. The key piece of information is your processor's socket or form factor . You can easily find this out by typing "system information" into the Windows search bar. Once you have the model, look for a CPU cooler that's compatible with that specific socket and that physically fits inside your case without interfering with the RAM or the chassis.
In addition to the fan, it's essential to have a thermal paste kit , a soft cloth, and some acetone or isopropyl alcohol on hand to clean the processor surface. Don't forget safety: turn off your PC, unplug it, and, very importantly, discharge any static electricity by touching a grounded metal part to prevent accidental short circuits on the motherboard.

Step-by-step guide for changing a fan
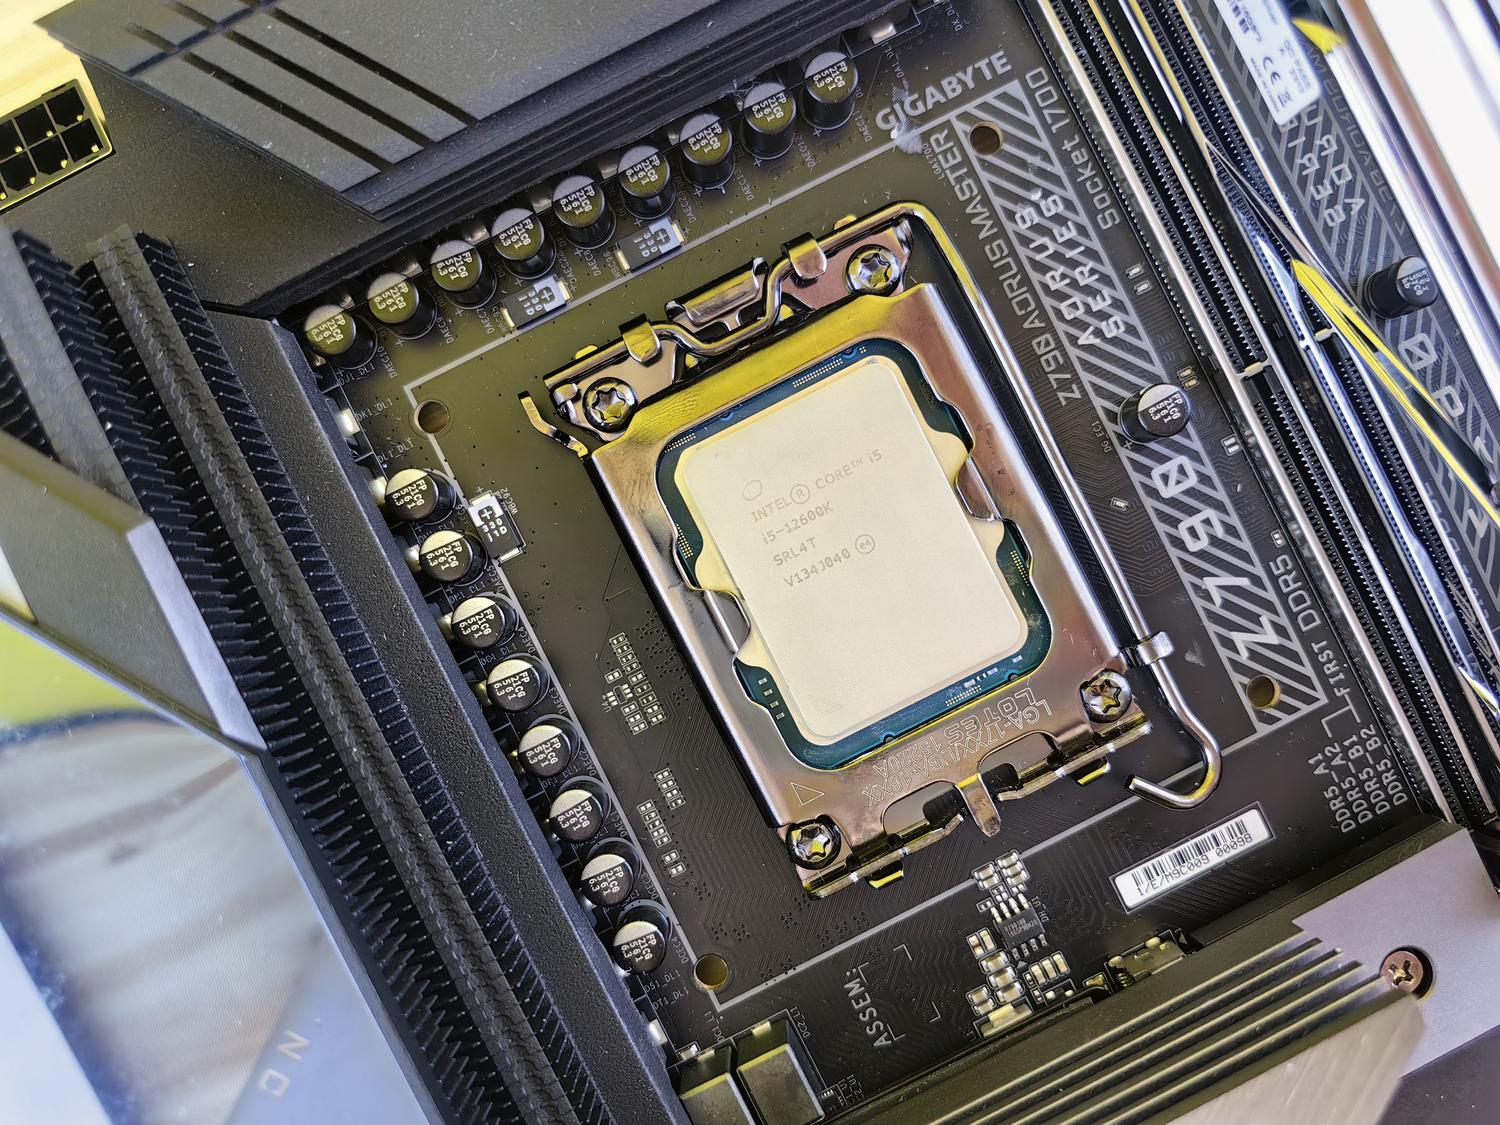
- Dismantling the old equipment: Open the side panel and locate the CPU cooler in the center of the motherboard. Disconnect the power cable (usually labeled CPU_FAN) and remove the mounting screws. To remove the cooler, simply pry it off. soft but firm to avoid stressing the socket.
- Processor hygiene: You'll see that the CPU has remnants of the old thermal paste. Dampen the cloth with acetone and clean the thermal paste off the CPU Gently until shiny. It is vital that the area is totally dry before further.
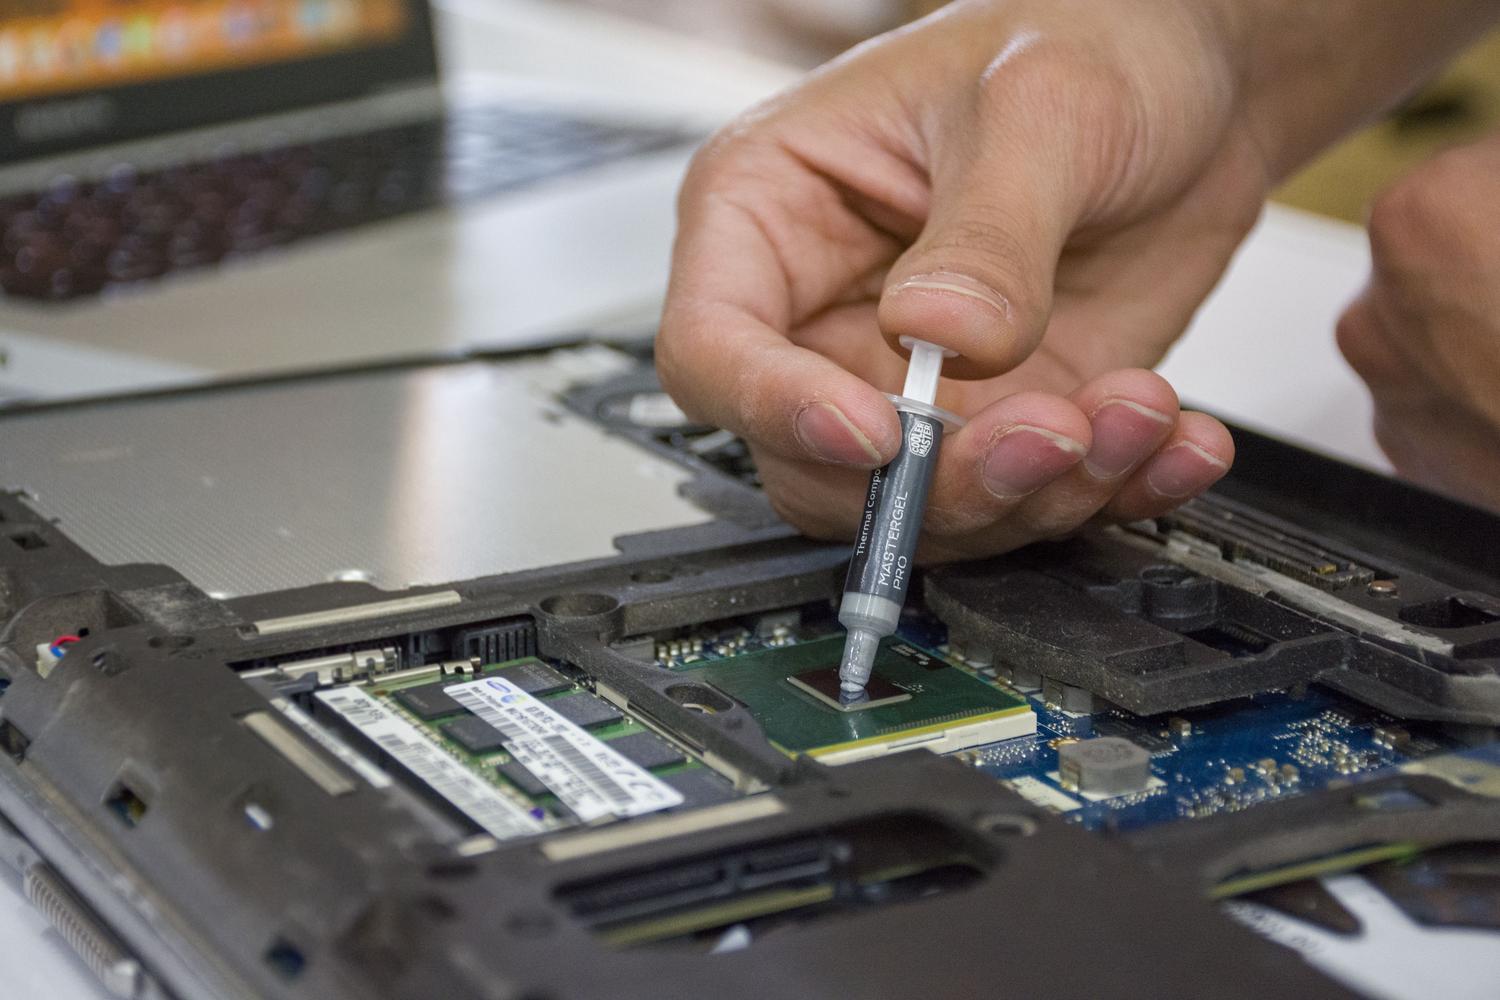
- Applying thermal paste: Apply a thin, even layer of thermal paste to the processor. You can use a plastic card to spread it evenly. Then, remove the protective plastic from the base of the new heatsink and Place the heatsink on the CPU carefully.
- Fixing and connection: Screw the clamping system in according to the manufacturer's instructions to avoid applying too much pressure to any one point. Make sure the airflow is directed correctly, generally expelling the heat towards the rear of the tower. Finally, connect the cable to the CPU_FAN port on the motherboard.
Replacing the cooling system not only reduces noise pollution but also optimizes heat transfer, preventing the processor from throttling for safety reasons. By combining meticulous installation with high-quality thermal paste , you transform your machine's performance, ensuring that components run cool and the system is much quieter and more efficient in the long run.


Passionate writer about the world of bytes and technology in general. I love sharing my knowledge through writing, and that's what I'll do on this blog, show you all the most interesting things about gadgets, software, hardware, tech trends, and more. My goal is to help you navigate the digital world in a simple and entertaining way.