- PhotoRec allows you to recover photos and other files from SD cards and disks by analyzing the raw data without modifying the source device.
- Effectiveness depends on subsequent use, the type of erasure or formatting, and the physical condition of the storage medium.
- Its advanced options allow you to filter file types, adjust the analysis, and preserve even partially corrupted files.
- There are alternatives such as Recuva, EaseUS, Disk Drill or TestDisk that can complement recovery attempts in difficult cases.
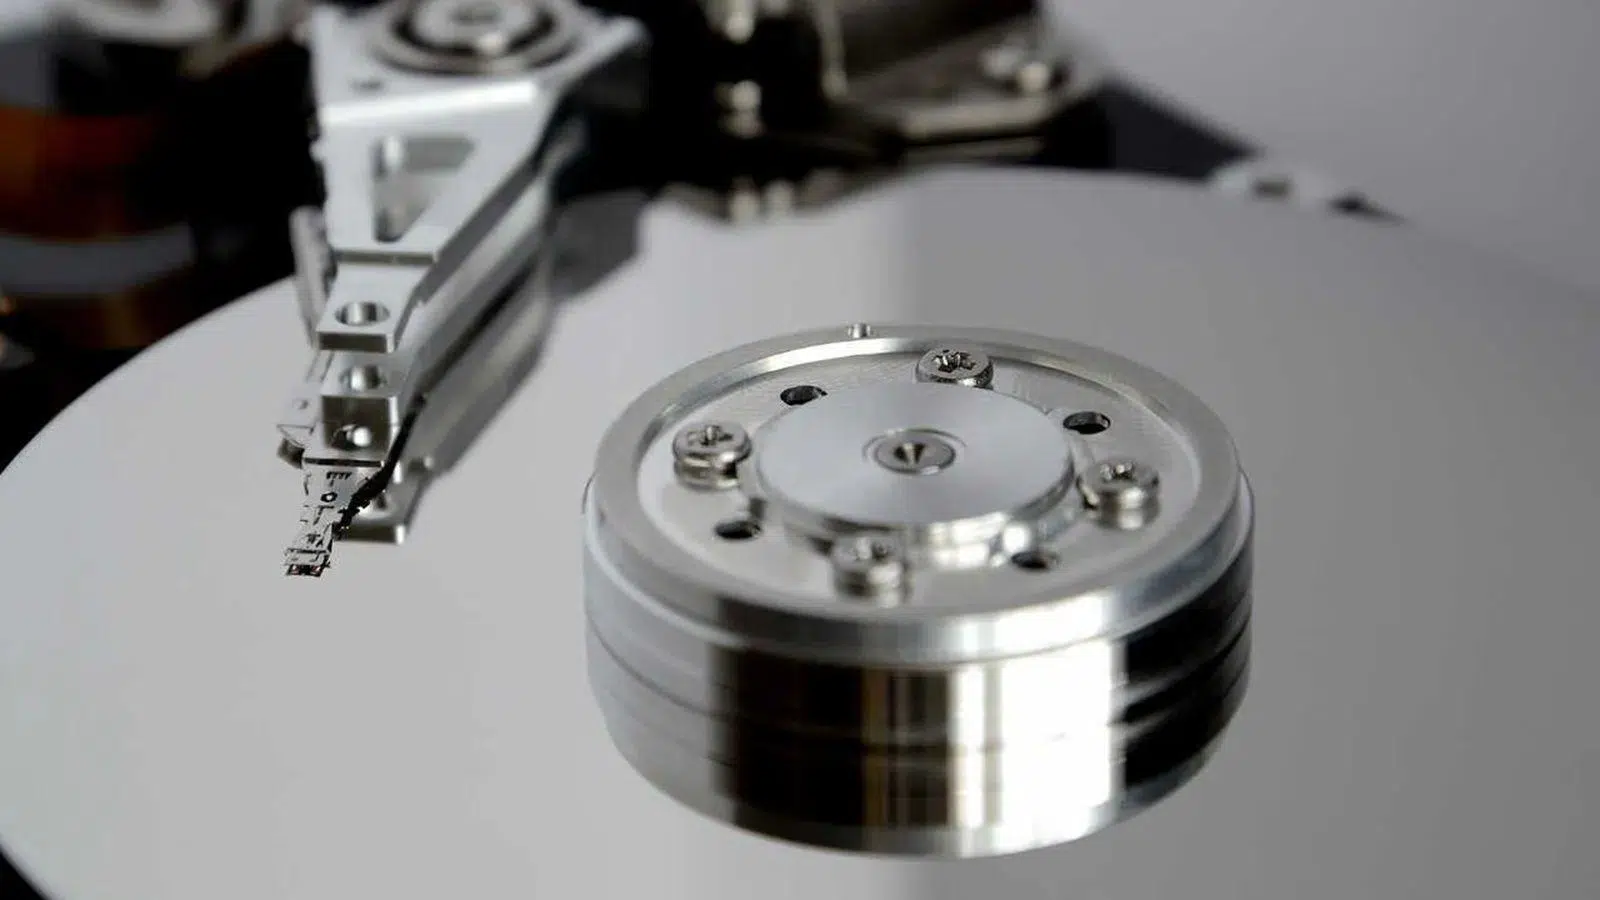
Losing photos from an SD card due to accidental deletion or card failure is one of those heart-stopping situations. The good news is that those images are often still there and can be recovered if you act quickly and use the right tool. One of the most powerful, free, and cross-platform solutions is PhotoRec.
In this guide, you'll learn how to recover deleted photos from an SD card using PhotoRec, step by step . You'll learn the expected level of effectiveness, the program's advanced options, and alternative solutions if you're unable to recover all your files. Everything is explained in clear, straightforward Spanish (Spain) so you can follow along even if you're not very experienced with the command line.
What is PhotoRec and why can it recover your photos?
PhotoRec is a data recovery software primarily designed for images, although it can actually restore hundreds of different file types . It's part of the well-known TestDisk suite and, while it lacks a graphical interface, it offers incredible power for recovering deleted files from SD cards, hard drives, USB flash drives, digital cameras, and other devices.
When you delete files "normally" (emptying the Recycle Bin, deleting from a camera, quick formatting, etc.), in most cases the data itself isn't deleted, only the references to that data in the file system table. In other words, the content remains in memory, but the system marks it as free space ready to be overwritten. PhotoRec takes advantage of this by analyzing the raw disk surface, searching for headers, signatures, and typical structures for each file type to reconstruct it.
This technique is called "file carving" and allows you to locate pieces of information and reconstruct photos, videos, or documents even if the file system is damaged or the partition has been reformatted . However, if you've performed a secure erase or a low-level format that overwrites all sectors with zeros or ones, the previous data is destroyed, and no program, no matter how good, will be able to recover it.
Another important point is that PhotoRec operates in read-only mode on the source device. This means it doesn't write anything to the SD card or the disk from which you want to recover data , minimizing the risk of overwriting any remaining files that could still be recovered. All recovered files are copied to a different folder or drive, which you choose during the process.
Advantages and capabilities of PhotoRec
One of the reasons PhotoRec has become a classic in data recovery is that it's not limited to photographs, despite what its name might suggest . It supports over 480 file extensions grouped into more than 100 different format families, including corrupted videos , office documents, compressed files, and other types of multimedia files.
In terms of compatibility, PhotoRec works with the most commonly used file systems today : FAT12/FAT16/FAT32, exFAT, NTFS , ext2/ext3/ext4, HFS+, and others. This allows you to work with SD cards used in cameras or mobile phones, USB flash drives, internal and external hard drives, as well as drives formatted for Windows , Linux , or macOS.
Furthermore, since it's included in the TestDisk package, PhotoRec is available for virtually all desktop operating systems : Windows, macOS, Linux, BSD, and some less common ones. Simply download the compressed file from the official TestDisk website, extract it, and run the binary corresponding to your system—no complex installation required.
It's important to note that PhotoRec's interface is exclusively text-based, using console menus. This might be a bit off-putting for those used to programs with buttons and windows , but the workflow is quite simple: you choose a disk, choose a partition, specify the file system, define what you want to scan (free space or the entire disk), and where to save the recovered files.
Another very interesting aspect of PhotoRec is its ability to recover fragmented files . Because it doesn't rely on the logical structure of the file system, but rather on raw data, it can sometimes reconstruct scattered pieces of the same file. The trade-off is that recovered files often lose their original names and are saved with generic names within numbered folders (recup_dir.1, recup_dir.2, etc.).
Factors influencing the effectiveness of recovery
PhotoRec is a powerful tool and, in many scenarios, achieves amazing results, but 100% data recovery is not guaranteed . The success rate will depend on several factors that should be clearly understood before starting to avoid creating unrealistic expectations.
The first determining factor is the time elapsed and subsequent use of the SD card or device . If you deleted the photos and continued using the card to take more photos or record video, the sectors containing the old files may have been overwritten, drastically reducing the chances of recovery. The sooner you stop using the device after deleting the photos, the better.
Another key element is the type of formatting or erasing that was performed . A quick format or a "normal" erase usually leaves most of the information intact, but a full low-level format, or secure erase techniques that rewrite memory with patterns, can make the process extremely difficult or impossible.
The physical integrity of the device also matters. If the SD card or hard drive has serious physical damage (bad sectors, electronic problems, mechanical failures in the case of mechanical drives), the software will be severely limited. In these situations, and especially if the data is critical, it's wise to use a professional forensic data recovery service that can work on the drive in a controlled environment.
Finally, there's the nature of the file system itself and the level of fragmentation . Highly fragmented systems, large and very full partitions, or devices used for a long time without maintenance can make it difficult for PhotoRec to correctly reconstruct all the files, although it remains one of the best options for these complicated cases.
How to install and start PhotoRec on different systems
Before diving into the SD card recovery process, it's helpful to understand how PhotoRec runs on each operating system . It doesn't require a traditional installation, but you do need sufficient permissions to access the physical device.
On Windows systems, you must download the TestDisk package from the official website, extract it, and locate the photorec_win.exe executable . It is recommended to run it from an account with administrator privileges. In modern versions of Windows, it's helpful to right-click and select "Run as administrator" to ensure it can access all connected disks.
On Linux, Unix , or BSD, once you've downloaded and extracted the package, you'll need root privileges to launch PhotoRec and read the low-level block drives. Usually, simply opening a terminal , navigating to the folder containing the binary, and running something like:
sudo ./photorec
On macOS, the process is similar to Linux. Open Terminal, navigate to the program's folder using `cd` , and run the corresponding binary. If you're not launching it as root, PhotoRec can be relaunched internally using `sudo`, prompting you for your system administrator password before proceeding.
PhotoRec also allows working from image filesThis is very useful in forensic environments or when you want to avoid further physical handling of the damaged device. You can, for example, create a raw image (image.dd) or an EnCase image (E01) and then use commands such as photorec image.dd o photorec image.E01 to recover files from that copy and not from the original card or disk.
Step by step: Recover deleted photos from an SD card with PhotoRec
Once you have PhotoRec ready, let's look at the basic procedure for recovering deleted photos from an SD card . Although the menus are text-based, the general flow is always the same on Windows, macOS, and Linux.
The first step is to connect the SD card to your computer, either via an external USB reader or the computer's built-in slot. Make sure not to copy or delete anything else from the card from the moment you want to recover the photos, to minimize the risk of overwriting data.
Launch PhotoRec from the command line or using the corresponding executable file. Upon startup, the program will display a list of all detected physical drives : these may include internal hard drives, SSDs , USB flash drives, SD cards, etc. Use the arrow keys to select the device corresponding to your SD card, paying attention to the capacity to avoid mistakes, and press Enter.
The next step is partition selection. PhotoRec will show you the partitions found on that device and, in many cases, also the "No partition" option to scan the entire space. If the card hasn't been used much since it was erased, it's usually advisable to select "No partition" so that the scan covers the entire memory and not just a specific partition.
Next, the program will ask you to specify the file system type of the partition or device. SD cards used in cameras and mobile phones typically use FAT or exFAT , so in most cases you'll need to choose the "Other" option, which includes FAT, NTFS, and other non-EXT file systems. Reserve the EXT option for Linux partitions formatted as ext2, ext3, or ext4.
In the next menu, PhotoRec will ask if you want to scan only the free space or the entire partition. Scanning only the free space is usually faster and sufficient when you've simply deleted files or emptied the Recycle Bin. However, if you suspect file system corruption or after a reformat, you might want to scan the entire partition, although this will lengthen the process.
Before starting the scan, there's a crucial decision: where to save the recovered files . The program will initially place you in the execution directory, and from there, you'll need to use the arrow keys to choose a destination folder on another drive or, at the very least, in a directory different from the SD card. Once you're in the correct folder, press the C key to confirm.
At this point, PhotoRec will begin the scan, displaying the progress, the number of recovered files, and the disk sector it is examining . Depending on the SD card's capacity and the chosen search mode, the process can take anywhere from a few minutes to several hours. It's perfectly normal for it to take a while when you're trying to recover many gigabytes of photos and videos.
While the scan is running, PhotoRec creates subfolders called recup_dir.1, recup_dir.2, etc., in the destination directory. The files it finds are stored within these subfolders. You can open these folders even while the program is still working to take a look at the files that have already been recovered.
When the search is complete, PhotoRec will display a summary on the screen showing the number of files recovered . If you paused the process at any point, the next time you launch the tool it will ask if you want to continue the previous session, keeping what had already been recovered.
Advanced options and important PhotoRec settings
Beyond the basic workflow, PhotoRec includes a set of very useful advanced options for fine-tuning recovery , especially if you are dealing with many types of files or complicated fragmentation situations.
From the main partition menu, you can access "Options" to change the program's behavior. One of the key options is "Paranoid ," enabled by default, which makes PhotoRec verify the validity of recovered files and discard those it considers corrupt. Disabling it may result in more files appearing, but also more damaged or unusable files.
Another interesting option is "Keep corrupted files ," which allows you to preserve even those files that PhotoRec considers invalid. This can be useful if you want to run other repair tools on them later or if you're in a forensic context where every piece of information counts.
You also have access to expert mode, which lets you adjust the block size and offset used during analysis. This is intended for experienced users who want to get the most out of the tool, for example, on devices with unusual data structures.
If you work with highly fragmented systems or extremely large volumes, memory consumption can spike, causing your computer to become unstable. In such cases, the "Low memory" option reduces RAM usage at the cost of some performance. It's advisable to use this option only if you encounter errors or crashes during the recovery process.
Last but not least, there's the option to filter which types of files you want to recover . In the "File Options" menu, you can enable or disable file formats: for example, select only JPEG, TIFF, or RAW (pef, nef, cr2, etc.) if you're looking for photos, or add ZIP and office documents if you also need to recover work files.
Common limitations: file names, damaged disks, and encryption
There are several things to keep in mind to avoid surprises. One of them is that PhotoRec doesn't recover the original file names or folder structure of your SD card. Because it works at the raw data level, the files are saved with generic names derived from the file type within the recup_dir.X folders.
This means that, after recovery, you'll have to take some time to review, rename, and reorganize the photos and videos manually. It's tedious, but it's the price to pay for having been able to rescue content that would otherwise be lost forever.
Another significant limitation is PhotoRec's inability to repair physical hardware damage . If the SD card has dead sectors, if the internal controller is faulty, or if the hard drive has a mechanical failure, the software will only be able to read as much as the device allows. In cases of serious physical damage, it's best to stop trying and consult a specialized repair shop.
In the case of encrypted drives, whether encrypted with system tools or solutions like LUKS, dm-crypt, or TrueCrypt, PhotoRec will only work if the encryption layer has already been unlocked or if you provide it with access to the corresponding decrypted drive (for example, /dev/mapper/truecrypt0 on Linux). Without the key or the decrypted volume, the contents will remain unreadable.
Finally, if you interrupt the recovery process midway, nothing serious will happen: PhotoRec stops the search and keeps all the files it had recovered in the destination folders. You can relaunch the tool later and, if you wish, continue the previous session to try to recover more files, although it's possible that not all the files that would have been found in a full scan will appear.
Using PhotoRec in NAS and special scenarios
In addition to SD cards and hard drives directly connected to the computer, many users use PhotoRec to recover deleted files from NAS servers or shared network drives. In these cases, it's best to work directly on the external drive or hard drive disconnected from the NAS, connecting it locally to the computer.
For example, if you had an external drive connected to a NAS and deleted files from it , you can unplug that drive from the NAS, connect it via USB to your laptop, and run PhotoRec on that physical device. Make sure you select the correct drive from the list and choose a different drive as the recovery destination to avoid mixing data.
If you work in forensic environments or simply want to be extremely cautious, it's a very good idea to first create a full image of the disk or SD card and always work on that image with PhotoRec. This way, if something goes wrong or you want to repeat the analysis with different options, you'll always have the original intact.
What to do after recovering your photos
When PhotoRec finishes, you'll have a number of recup_dir folders and hundreds or thousands of files with generic names. The next step is to organize them. You can filter by extension to focus only on the photos (for example, .jpg, .jpeg, .png, .cr2, etc.) and discard the rest if you're not interested.
It's worth taking some time to rename and categorize important images into new, well-organized folders. This is also a good opportunity to make several backups: on another hard drive, in the cloud, on a NAS, etc. Experiencing data loss and successfully recovering it is often the best lesson in taking backups seriously.
If you disabled your antivirus or real-time protection during the recovery process to speed up the reading , it's highly recommended that you perform a full scan of the destination directory before opening the recovered files. PhotoRec may have also recovered files that were already infected, and it's better to be safe than sorry.
If you have many corrupted files or some images won't open correctly, you can try using specific photo repair or JPEG header recovery tools . They won't work miracles, but sometimes they can partially fix files that PhotoRec flags as damaged.
After all this experience, the most sensible thing to do is to consider certain best practices: don't reuse SD cards indefinitely, avoid sudden disconnections , don't format lightly, and above all, always keep one or more copies of your important photos in different places.
Other data recovery tools as an alternative to PhotoRec
Although PhotoRec is an excellent and free option, it won't always deliver the best results in every situation . Therefore, if PhotoRec hasn't recovered the files you need, it might make sense to try other data recovery programs, as each uses its own algorithms and may find things that others miss.
On Windows, one of the best-known solutions is Recuva . This program offers both quick scans for recent recoveries and deep scans that take considerably longer but are capable of finding many more files on hard drives, USB drives, SD cards, and other devices. Its graphical interface is simple and geared towards users without much technical knowledge.
Another very popular option is EaseUS Data Recovery Wizard , which combines a highly intuitive interface with a powerful engine for recovering deleted files, data after formatting, and even data from damaged drives . It offers a free version with some data volume limitations, and a paid version designed for more serious or large-scale recoveries.
For those who use both Windows and macOS, Disk Drill is particularly interesting. It offers a user-friendly graphical experience, advanced scans of partitions and external devices , and a free version that allows you to recover a limited amount of data. It's very useful for checking if the files you're looking for are there before considering purchasing a license.
Finally, it's worth mentioning TestDisk , from the same creator as PhotoRec. While PhotoRec focuses on individual files, TestDisk specializes in recovering lost partitions and repairing damaged disk structures . It's not the tool you'd use to save just a few photos, but it can be crucial when the problem is that the disk or card won't even mount correctly.
If you manage to recover your files with any of these tools, it's always a good idea to share your experience, either in forums or in article comments , so that other people can get an idea of which program might work best for them in similar situations.
PhotoRec has established itself as one of the most effective utilities for recovering deleted photos from SD cards and other devices, but its real success will depend on not continuing to use the card after deletion, the type of damage suffered by the file system, and whether there is serious physical deterioration of the storage medium; even so, having this tool and some alternatives like Recuva, EaseUS, Disk Drill, or TestDisk often makes the difference between losing everything or being able to recover a very important part of your digital memories.

Table of Contents
- 1 What is PhotoRec and why can it recover your photos?
- 2 Advantages and capabilities of PhotoRec
- 3 Factors influencing the effectiveness of recovery
- 4 How to install and start PhotoRec on different systems
- 5 Step by step: Recover deleted photos from an SD card with PhotoRec
- 6 Advanced options and important PhotoRec settings
- 7 Common limitations: file names, damaged disks, and encryption
- 8 Using PhotoRec in NAS and special scenarios
- 9 What to do after recovering your photos
- 10 Other data recovery tools as an alternative to PhotoRec
