- Monitor your memory with Activity Monitor and the pressure indicator to detect real-life stress.
- Test thoroughly with Rember and Apple Diagnostics; note codes like ADP000.
- If there are errors, isolate the module by testing one by one or use tests Boot external.
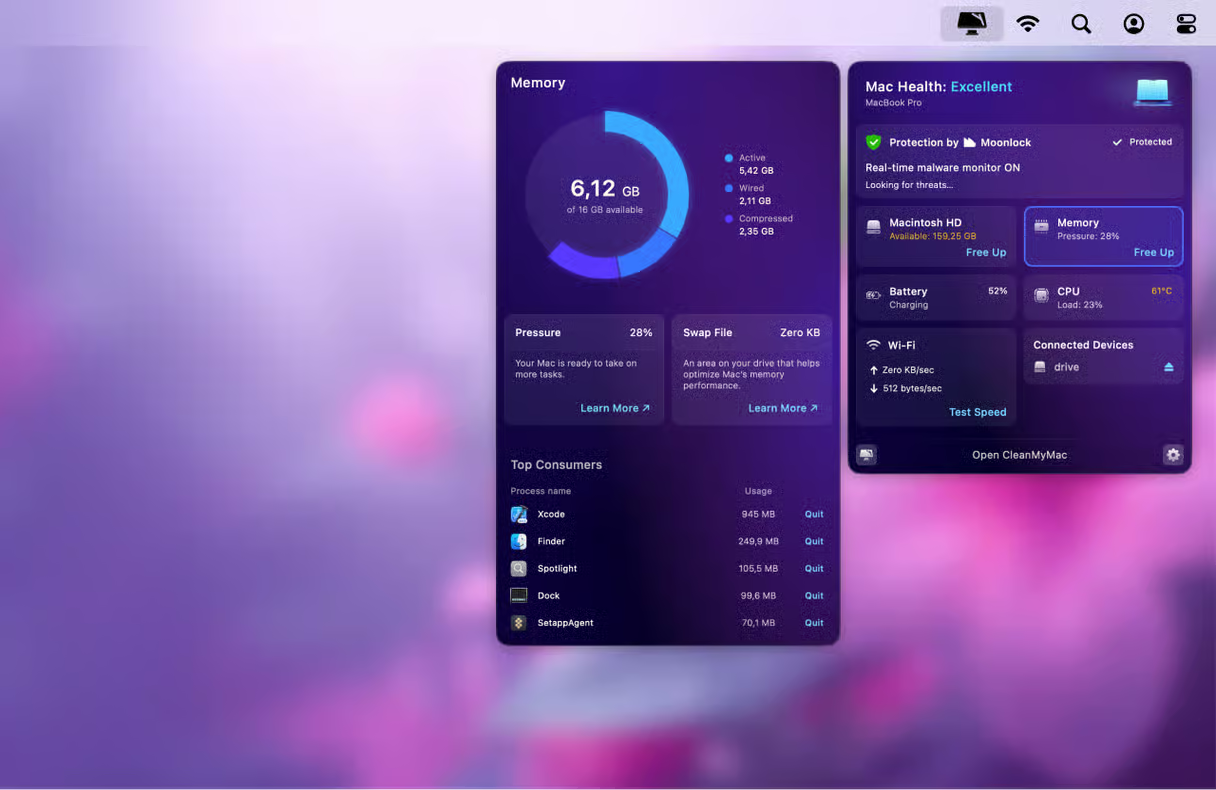
Testing RAM on macOS is one of those tasks we don't usually do until we experience crashes, unexpected restarts, or the dreaded endless spinning beach ball. Before assuming the problem lies with the system or considering a new computer, it's worth following a clear method to verify if the memory is healthy.
This guide covers all the reliable ways to check your Mac 's RAM : from Activity Monitor and the Memory Pressure Indicator to Rember, Apple Diagnostics, and advanced utilities. You'll also learn how to interpret diagnostic codes, what to do if errors appear, and practical tips for identifying a faulty module.
When to suspect RAM in a Mac
Memory errors can manifest in many different ways, and sometimes only when a specific area of the memory modules is in use. If your computer is experiencing freezes, unexpected shutdowns, or kernel panics , it's advisable to check the RAM as soon as possible.
- Triple beep on startup: a clear sign of a memory problem; the system fails to boot.
- Failed or unstable startups: Even without beeps, freezes on startup warrant a test.
- Apps that close themselves: They can fail for many reasons, but if it happens frequently, it points to RAM.
- Kernel panics and freezes: If they become habitual, it is a reason for a memory diagnosis.
- Files that become corrupted: When this happens often, there may be a faulty module behind it.
Before testing, prepare the environment: close apps and, if the method allows, run the tests in Safe Mode ( Shift key when starting) or with the system as clean as possible to avoid interference.
What you need to know about memory in today's Macs
In recent models with Apple chips, the so-called Unified Memory is soldered to the motherboard. This includes MacBook Air and Pro, Mac mini, Mac Studio, 24-inch iMac, and even the latest generation Mac Pro. It's not expandable, so choosing the right configuration when buying is key.
These systems manage virtual memory and SSD swapping very well , but if the system constantly uses swap, you'll notice slowness and, in the long run, SSD wear. Maintaining free disk space is important for swapping to work properly and not negatively impact performance.
In terms of storage capacity, for intensive use and multitasking, 16 GB is recommended . With 8 GB you can work on light tasks (browsing, office applications, multimedia consumption), but it's easier to reach capacity issues.
Monitor memory with Activity Monitor
For a quick overview of usage, open Activity Monitor with Command + Space and search for the app. In the Memory tab, you'll see processes and usage, and below that, the memory pressure graph.
- Green: everything under control; the system manages the RAM without stress.
- Yellow: There is tension; reducing load or closing apps helps.
- Red: High pressure and possible massive exchange; you'll notice the Mac is heavy.
Below are metrics that are important to understand in order to properly interpret the situation and avoid becoming obsessed with "free" RAM. macOS aims to use memory efficiently and not have it idle.
- Physical memory: total amount of available RAM or Unified Memory.
- Memory used: sum of the one used by apps, the wired one and the compressed one.
- Cached files: data saved to speed up future access.
- Swap used: SSD space used for swapping; if it increases too much, the computer feels slow.
- Application memory: what active apps use.
- Wired memory: essential for the system; cannot be compressed or reassigned.
- Tablet: reduced memory to free up space for other tasks.
The goal is not to always have "a lot of free memory", but to keep the pressure in the green and for the swapping to be reasonable for your usual load.
If you want a discreet, ongoing overview, apps like Stats add indicators to the menu bar showing RAM, CPU, GPU, network, battery, and sensor usage. You can expand the dashboards for more detailed information and customize which metrics to see.
Check if your Mac allows you to expand memory
On older computers, you might be able to upgrade memory modules. Hold down the Option key and click the Apple menu to open System Information. Under Hardware , go to Memory. If you see the Memory Slots panel and the Expandable Memory field, you'll know if it supports replacement or installation . If it doesn't appear, it's not expandable.
Manufacturers like Crucial offer Advisor -type tools to identify compatible modules and view current memory. However, on Macs with modern Unified Memory, there is no option for future upgrades.
Reliable Methods to Test RAM on macOS

There are several ways to test RAM on a Mac. Some run within the system, while others boot into external environments. Start with the simplest methods and progress to more complex ones if you suspect a hardware failure.
Rember, a graphical interface for MemTest on macOS
Rember is a graphical interface for MemTest on Mac that simplifies running tests without the Terminal . You can analyze all available memory, define loops, and view logs with results.
For a demanding test, configure Rember to test all memory , enable unlimited loops, and let it run for at least half an hour. Since it runs on the desktop, close all other applications to ensure the check is as accurate as possible.
Keep in mind that, when running on macOS, it won't be able to test 100% of the RAM because some is reserved for the system. Even so, it's a very useful check for detecting obvious errors.
If Rember reports errors, the best course of action is to replace the affected RAM . Memory is not repairable; a persistent error indicates a faulty module or a problematic slot.
Apple Diagnostics (formerly Apple Hardware Test)
The tool built into all Macs checks hardware components, including memory. It changes slightly depending on whether you have an Apple chip or an Intel processor , but the workflow is similar.
Preparation in both cases: turn off the Mac, disconnect peripherals except for the keyboard, mouse, display and network if applicable, place it on a stable and ventilated surface and, in laptops , connect it to the power outlet.
On a Mac with an Apple chip : Press and hold the power button until you see the options screen with the gear icon, release it, and press Command-D. You may be prompted to choose your language or connect to Wi-Fi. A progress bar will begin while the check is running.
On Intel-based Macs : Power on and hold the D key; on some computers, press Option + D to load the test from the internet if it's not installed locally. Select your language if prompted and wait for the analysis to complete.
When finished, you'll see results with reference codes . You can repeat with Command + R, restart with R, or shut down with S. If there's a connection, an option will take you to a page with more information and support.
Some common codes you might encounter when testing a Mac:
- ADP000: : no problems detected.
- VFD001 to VFD004: Possible display or GPU errors.
- NDC001: : built-in camera inaccessible.
- NDD001: hardware USB with potential failure.
- PFR001: : possible firmware issue.
- PPT001: : battery not detected.
- PPR001: : suspected CPU failure.
- PPP001: : power adapter with problems.
- NDK001: keyboard affected.
If any other code appears, consult Apple's official reference list and save it for technical support; it greatly speeds up diagnosis and makes diagnosing hardware failures easier.
Diagnostics from Terminal with sysdiagnose
When requested by technical support, you can generate a technical package. Open Terminal and run sudo sysdiagnose -f ~/Desktop/, enter your password and confirm. The system will collect data and leave a file on your desktop with information very technical For analysis.
External boot: MemTest86, Memtest86+ and alternatives
If you want to completely isolate the system, tests that boot from USB or CD are ideal. MemTest86 is a classic: you create a bootable USB drive from its image, boot your Mac from that drive, and let it run its suite of tests without an operating system.
Memtest86+ is a modern, free derivative of the original, useful if you're looking for a second opinion or encounter incompatibilities with another version. On Macs with a SuperDrive, you can burn the ISO and boot from it while holding down the C key; on computers without an optical drive, use a bootable USB drive compatible with your firmware.
There are older utilities like DocMemory , designed for floppy disks or very old media, which are less practical today. They would only make sense if other options fail or if your computer doesn't reliably boot from USB.
If you prefer Terminal on macOS, some users employ suites that allow you to run memtest all 2 for two full passes; remember that within the system not 100% tested of available RAM.
Identify the failing module or slot
In systems with replaceable modules, it's best to isolate the fault. Remove all modules, test them one by one , and record the results. Repeat this process for each slot if you suspect a faulty socket.
- Remove all modules and try just one at a time.
- Alternate slots to rule out a bad baseboard.
- Log errors and locates the conflicting component.
A classic trick: clean the gold contacts on the module with an eraser and remove any residue with compressed air or a lint-free cloth. This may restore contact if there was dirt, but if the problems persist, replacement is necessary.
Always handle the modules by discharging static electricity and, if possible, use an anti-static wrist strap or touch a grounded metal surface before handling the interior.
Good practices when performing tests
To ensure a reliable diagnosis, close apps, avoid background processes, and if you're using tools that run within macOS, try to minimize system activity.
Place the device on a hard, well-ventilated surface, especially if it's a laptop. For laptops, plug in the charger to prevent it from shutting down during the test. For some tools, it's advisable to let the test run for more than 30 minutes or several complete passes.
How much memory do you really need?
The answer depends on your usage. For multitasking, photo or video editing, virtual machines , or browsers with many tabs, 16 GB will last for years. With 8 GB you can work with simple tasks, but the system will resort to swapping files sooner, and you'll notice some slowdowns.
Remember that on modern Macs, Unified Memory cannot be expanded . It's worth choosing carefully when buying, because running out of memory forces you to use swap space and, in the long run, will make your computer feel less responsive.
If it's not RAM: Other useful performance tests
When the problem isn't memory, it's worth ruling out CPU, GPU, or disk bottlenecks. Start by opening Activity Monitor and going to the CPU tab to see if the System and User percentages are approaching 100%.
For easy benchmarking, Geekbench offers single-core and multi-core scores that you can compare with similar systems. If your numbers fall significantly short of expectations, there's something to investigate.
For storage , Blackmagic Disk Speed Test measures read and write speeds and tells you if the drive can handle demanding video streams. It's perfect for seeing if your SSD can keep up.
If you want a free, full-system alternative, Novabench creates a profile of your CPU, GPU, RAM, and disk in just a few minutes and lets you compare it with thousands of other systems. To push your GPU to its limits under heavy loads, Unigine subjects the graphics card to demanding 3D scenes and reveals stability or cooling issues.
About benchmarks, stress tests and maintenance
Benchmarks compare your system to similar configurations to detect abnormal deviations . Stress tests push a component to its limits for an extended period to check its stability outside of normal use.
If your system diagnostics confirm that the RAM is fine, a system cleanup can make a difference. Maintenance tools—for example, Avast Cleanup for Mac —help remove residual files and optimize processes, which is useful when multiple tasks are competing for resources.
However, if a memory test shows errors, the solution is to replace the module . Check if your memory has an extended warranty; many manufacturers offer lifetime or very long warranties and allow you to process an RMA.
You have a clear plan: monitor memory usage, track processes, run Rember and Apple Diagnostics, interpret code, and, if necessary, switch to external boot tools for independent system verification. Identifying a RAM failure early prevents data loss, crashes, and headaches, and if it's not the memory, you can focus on the CPU, GPU, or disk with the appropriate utilities.


Passionate writer about the world of bytes and technology in general. I love sharing my knowledge through writing, and that's what I'll do on this blog, show you all the most interesting things about gadgets, software, hardware, tech trends, and more. My goal is to help you navigate the digital world in a simple and entertaining way.
Table of Contents
- 1 When to suspect RAM in a Mac
- 2 What you need to know about memory in today's Macs
- 3 Monitor memory with Activity Monitor
- 4 A snapshot from the menu bar
- 5 Check if your Mac allows you to expand memory
- 6 Reliable Methods to Test RAM on macOS
- 7 Identify the failing module or slot
- 8 Good practices when performing tests
- 9 How much memory do you really need?
- 10 If it's not RAM: Other useful performance tests
- 11 About benchmarks, stress tests and maintenance