- Using Microsoft's official MediaCreationTool to generate the media.
- You need a USB drive with a minimum capacity of 8 GB and no important data.
- BIOS/UEFI configuration to prioritize booting from the external device.
- Importance of updating drivers after the first system load.
If you've decided to build your own computer or simply want to give your existing machine a fresh look with a clean Windows installation , the first thing you need to do is prepare the groundwork. There's nothing more frustrating than turning on your machine and realizing you can't boot the operating system, so creating a bootable USB drive from scratch is the essential step to ensure everything runs smoothly.
Many people get confused by this process, especially if they don't have much experience or if they try to do it from different operating systems, as is the case with Mac users who encounter insurmountable obstacles when creating the USB drive and need to know how to install Windows 11 on a MacBook . Fortunately, Microsoft offers official tools that simplify the process, allowing us to turn a simple USB drive into the master key to get the PC up and running.

Prerequisites before starting
Before you start downloading files, make sure you have everything you need on hand so you don't have to interrupt the process midway. The most basic requirement is a USB flash drive with at least 8 GB of capacity. Important note: it's vital that the flash drive is empty or doesn't contain any important files, as the Microsoft tool will erase absolutely all content to format the drive.
You'll also need a stable internet connection, because the Windows installer is quite large and any brief interruption could corrupt the download. Regarding activation, while it's not strictly required to install the system, it's a good idea to have your 25-character product key handy . However, if your PC is modern, the license is most likely already embedded in the firmware (BIOS/UEFI) and Windows will recognize it automatically without you having to type anything.
Step-by-step instructions for creating the installation USB drive
To begin, go to the official Microsoft software download page. Once there, find the Windows 11 section and locate the option called "Create installation media ." Click the "Download now" button, and a small program called MediaCreationTool.exe will be downloaded . This program will do all the work for you.
When you run the file, the first thing you'll see is a setup screen. After a few seconds, you'll need to accept the license terms and user agreement to proceed. On the next screen, the system will ask you for the language, edition, and architecture. By default, the options for your current computer will be selected, but if you want to change something, you can uncheck the "use recommended options" box to customize the installation.
Now we come to the crucial point: the program will give you the option between creating an ISO file or using a USB flash drive . Select the latter. Next, choose your flash drive from the list of connected devices. If for some reason it doesn't appear, try unplugging and plugging it back in, or click the " Refresh drive list" button so the software can detect it correctly.

Once confirmed, the process will begin automatically. The program will download the necessary files from Microsoft's servers and copy them to the USB drive after formatting it. This time can vary greatly; depending on your internet connection and USB speed, it can take anywhere from a few minutes to a couple of hours . When the notification confirms that the drive is ready, you can remove the USB drive and insert it into your new PC.

Installation on the computer and final configurations
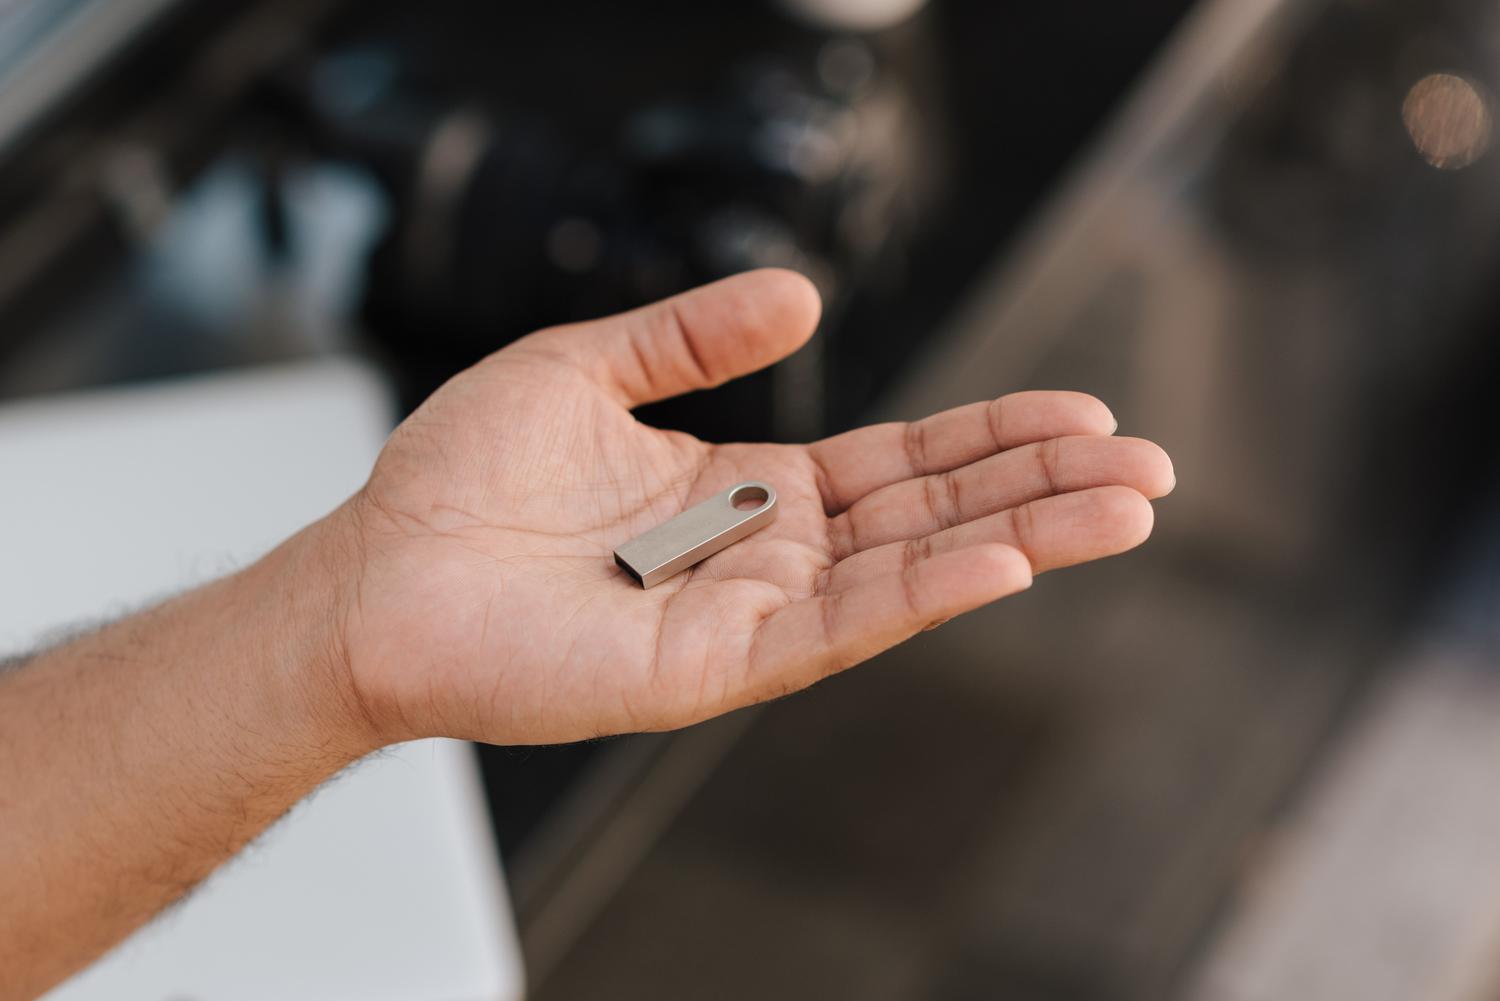
With the USB drive prepared, connect it to the newly assembled computer and turn it on. To prevent the computer from trying to boot from the empty hard drive, you will need to enter the BIOS or UEFI (usually by pressing F2, F12, or Delete at startup) and change the boot order so that the USB drive is the first priority.
During the installation process, the system will ask you to choose the installation type. For a new computer, it's best to choose a custom installation , which allows you to manage hard drive partitions. If you have detection problems, check the guide for installing Windows without disk errors . Once Windows finishes copying and the PC restarts, you'll enter the initial setup phase. Remember that after the first boot, it's essential to install the latest drivers for your motherboard and graphics card so that all the hardware is working at peak performance.
Having a ready-made installation medium is the best security measure for any user, as it allows not only a clean system installation but also system repairs or clean reinstalls in the future. All you need is an 8GB USB drive, the official Microsoft tool, and a little patience with the download to get your computer up and running and optimized.


Passionate writer about the world of bytes and technology in general. I love sharing my knowledge through writing, and that's what I'll do on this blog, show you all the most interesting things about gadgets, software, hardware, tech trends, and more. My goal is to help you navigate the digital world in a simple and entertaining way.