- Windows 11 It saves local activity and shows key dates for files, but not an infinite history of edits.
- File History allows you to conveniently recover previous versions and view changes by date.
- Search filters (modified, created, size, class, ext) refine results by ranges and metadata.
- For detailed business audits, solutions like ADAudit Plus offer real-time reports and alerts.
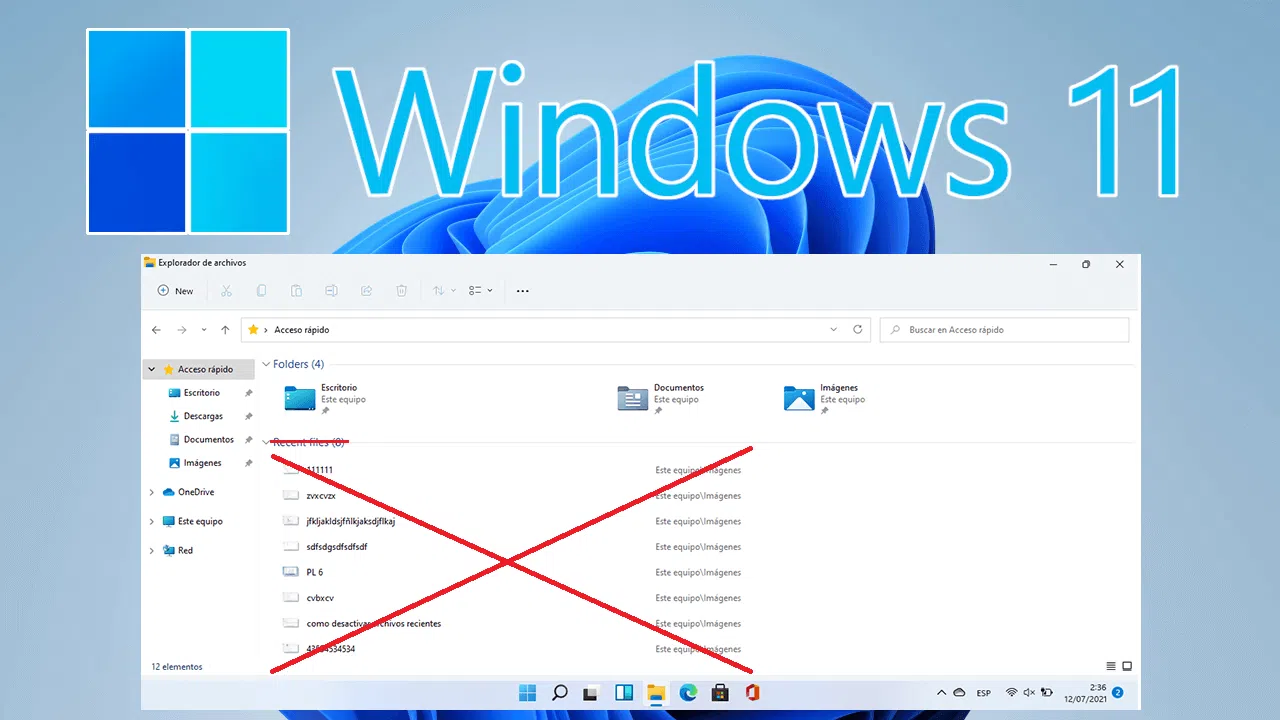
If you work daily with documents, photos, or shared projects, you've probably wanted to know who touched a file and when it was changed . In Windows 11, there are several ways to review activity related to your files: from viewing key dates in File Explorer ( see recent files ), to using version copies with File History, or auditing changes in corporate environments. There's no magic box that stores the entire edit history within each file, but there are tools to track modifications and access previous versions.
Before we get started, it's important to understand the system's actual scope. Windows 11 stores a certain amount of system-level activity history ( apps used, files opened, websites visited) on the device itself and offers features to manage or delete it. This doesn't mean you have an endless log of every change within a file, because by design, files store basic dates (creation, modification) but not an infinite list of edits. With that clear, let's look at the options that actually work.
Key concepts: What Windows 11 logs about files and activity
In Windows 11, the "activity history" keeps a local record of what you do on your device : applications you open, services you use, files you access, and websites you visit. This history is saved on your PC and helps you resume tasks and review recent activity without leaving your account.
Some system features use that history. The old "timeline" allowed you to view past activities and resume them later, so if you were editing a document yesterday , you could reopen it today from that view. Importantly, Microsoft Edge (previous version) integrated its browsing history there, but InPrivate browsing was never saved in this section.
If you use multiple accounts (local, Microsoft, work, or school), an activity history is stored for each account . You can view and manage these accounts from Settings, and in collaborative environments, you can assign permissions to folders and files to control access; you can also filter which activities are displayed. Hiding an account doesn't delete its data from the device; it simply stops it from being shown in the activity view, so the information remains locally until you delete it.
The settings let you customize the behavior: you can stop saving your activity history whenever you want, and also delete what's already been saved. In fact, Windows offers a direct option to delete the local history if you don't want to keep it.
To clear this history, the process is simple. In Windows 11: go to Start > Settings > Privacy & security > Activity history . Next to the option "Clear activity history for this account," click Clear history ; you may also find it as Clear activity history > Clear . And if you're using previous versions or the classic path, the process is similar in Settings > Privacy > Activity history , where you'll also find the button to clear local data.
It's worth clarifying a point that often causes confusion: your Microsoft account settings may prevent your history from being sent to Microsoft , but this doesn't stop it from being saved on your device for local use. In other words, local storage is enabled by default and you can disable or delete it, but don't expect a detailed record of every file edit like a version control system embedded in the document.
How to view changes and roll back versions: real options in Windows 11
To review file-level modifications, the first step is to use File Explorer itself : switch to Details view and add columns like Date Modified or Date Created. This allows you to quickly sort by the most recent changes. However, by design, you'll only see the latest modification, not a complete history of how many times the file was modified or who modified it, which is typical in home environments.
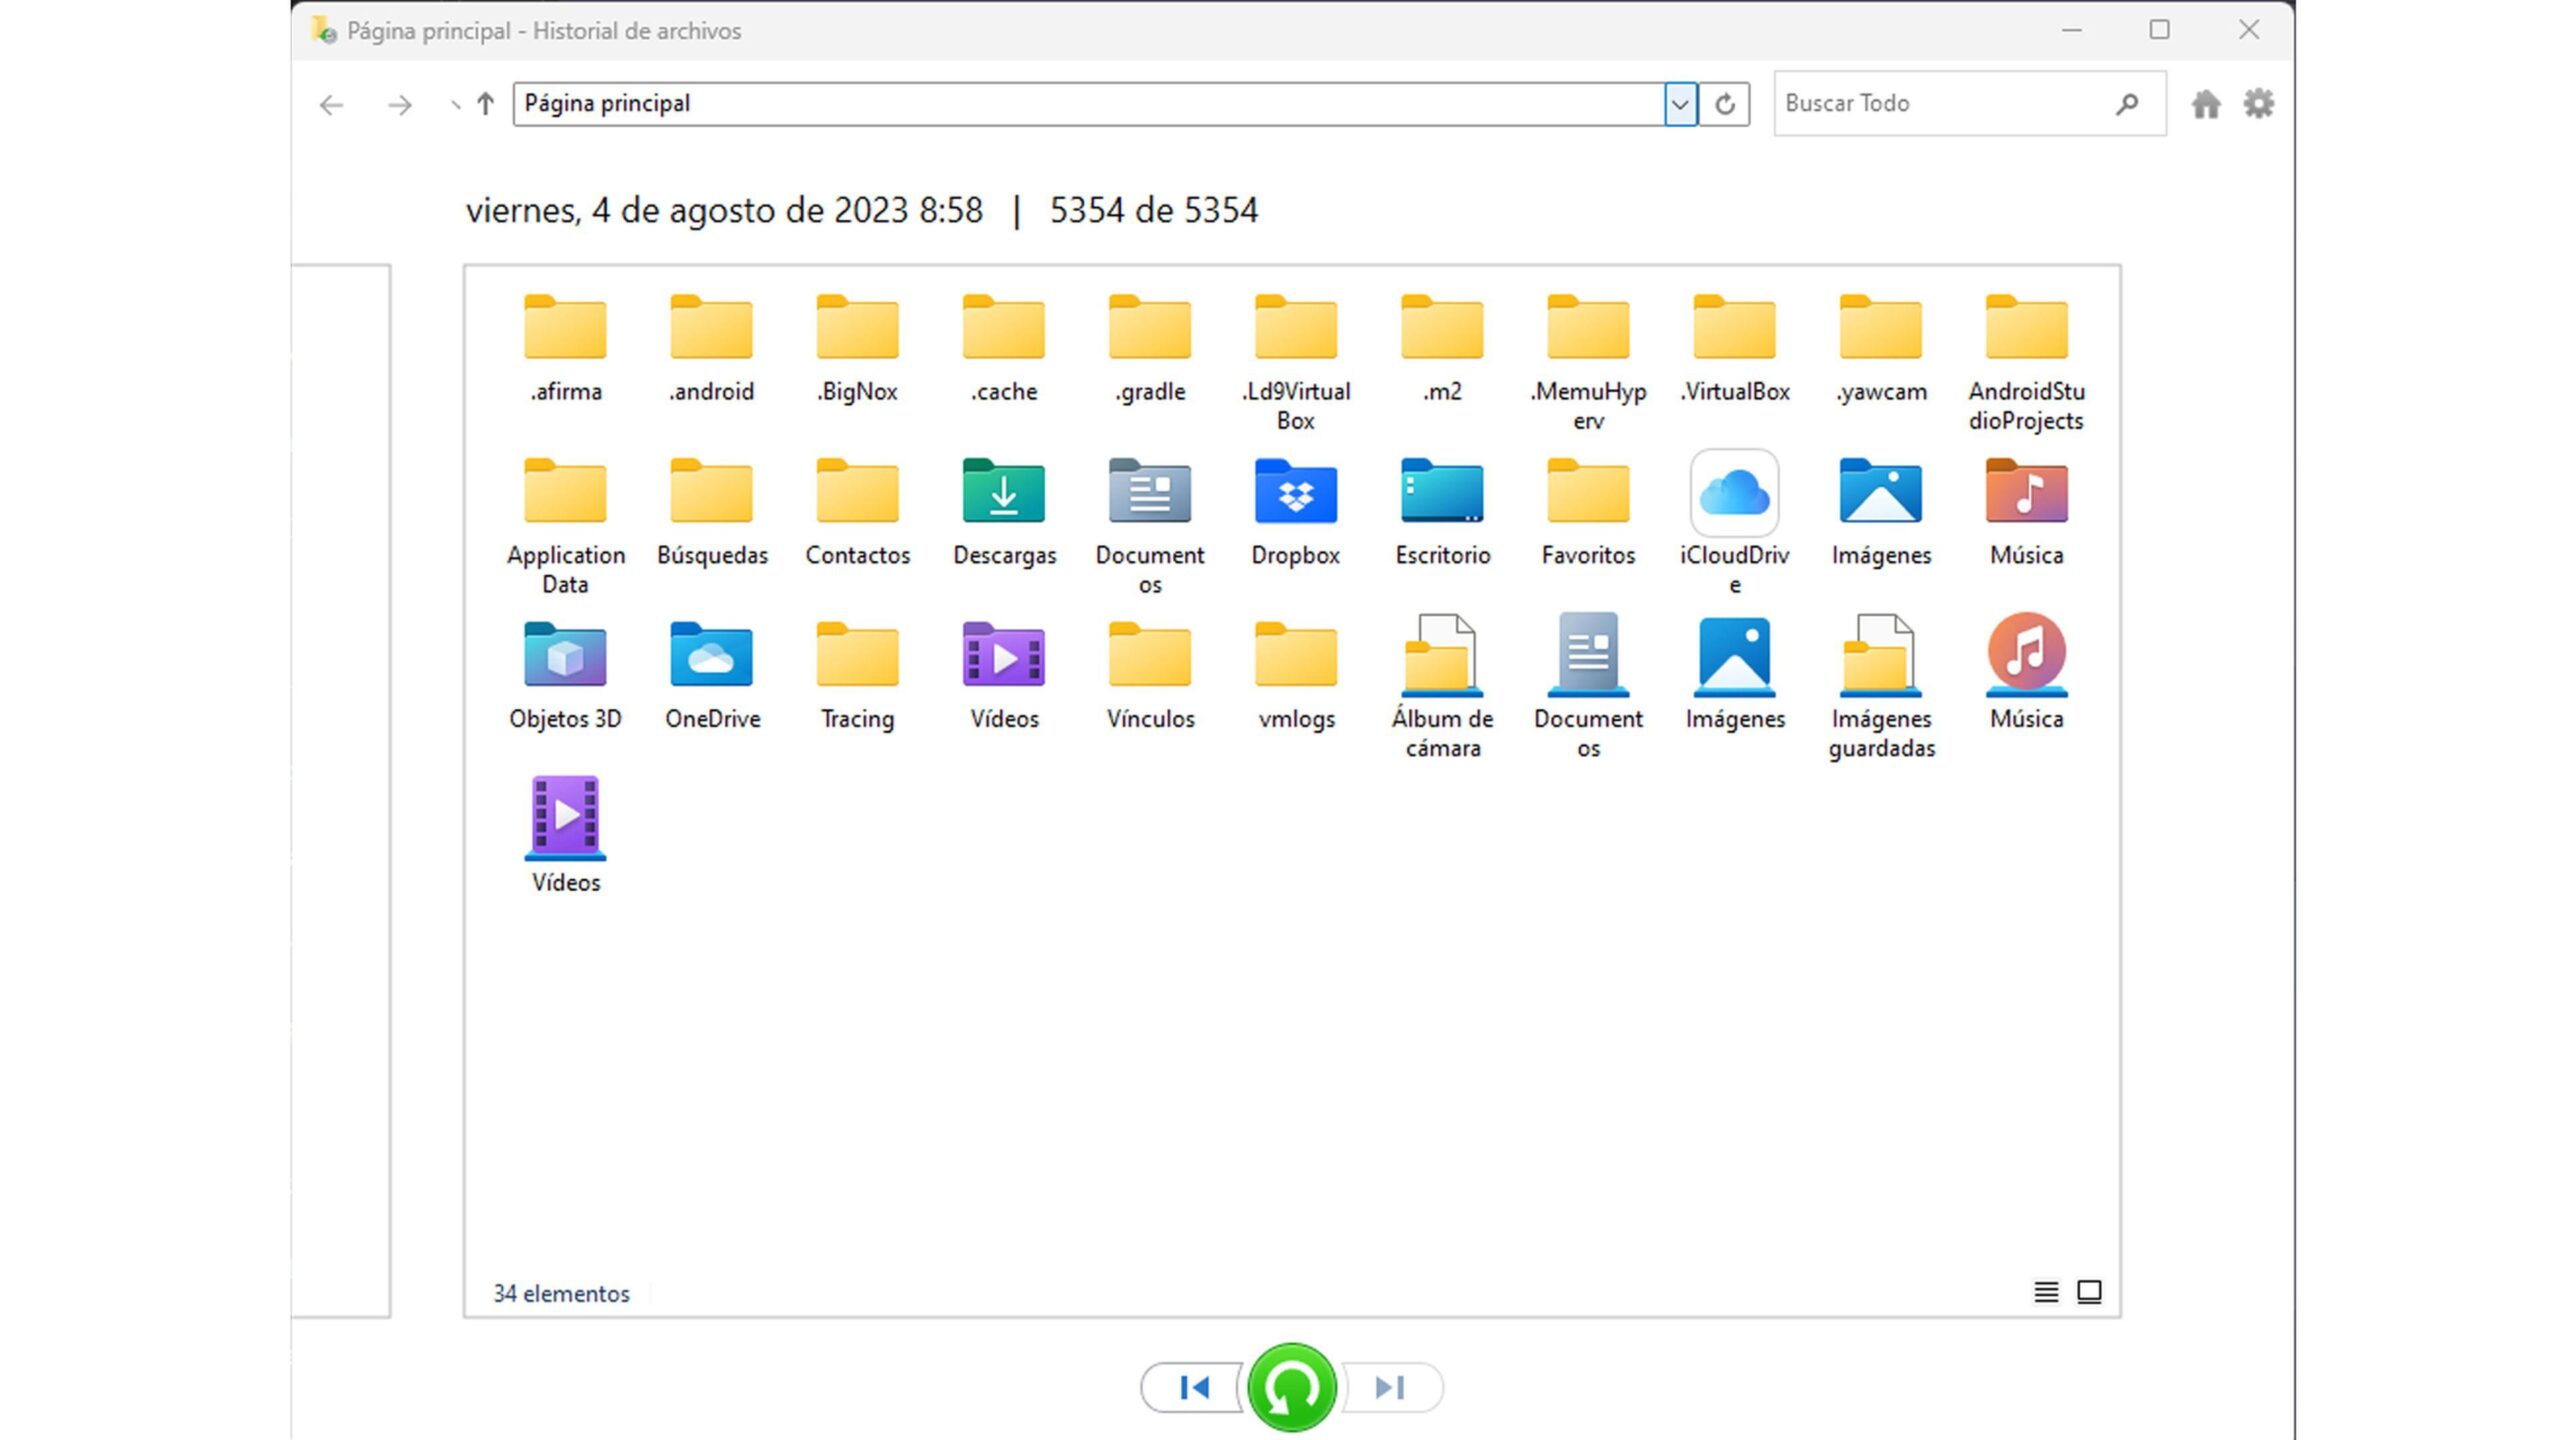
If you need to go back and restore a previous state, File History comes into play . This built-in feature makes regular backups of your files and allows you to recover previous versions by date and time, which is effectively a way to "see" when changes occurred and recover the version you're interested in.
Accessing File History in Windows 11 can be done in several ways. You can open Settings and search for "File History," or press Windows + R , type " control panel ," and then go to System and Security > Back up files using File History . In Windows 11, the entry isn't located where it was in Windows 10, which is why many people think it's gone , but it's not: it's still available and working.
What does it back up? By default, File History focuses on the Documents, Music, Pictures, Videos, and Desktop folders , as well as any OneDrive files available offline. If you want to include other directories, you can add them or move your data to those locations to ensure they're covered by regular backups.
To activate it, follow these steps for continuous protection of your documents: 1) Go to Start > Settings > Update & Security > Backup and click Add a drive to choose an external drive or network folder. 2) When you select the drive, "Automatically back up my files" is enabled; click More options to adjust the frequency and retention. 3) Define how often you want to save changes and how long to keep them. 4) Review the list of included folders and use Add a folder to add others. 5) If there are directories you don't want to include, add them under Exclude these folders . 6) When you're finished, click Back up now . 7) If you later decide to change drives, first click Stop using this drive so you can select another one.
Once you have backups, you can explore versions by date and time . This is very useful when you need to indirectly "see" changes: by browsing through the backups, you'll see when different states of the file existed and you can restore the one that best suits your needs. In practice, this is the most reliable way to review modifications in Windows 11 without setting up a complex audit. For more professional auditing, you can also log and audit file changes when you need traceability.
Important: File History does not create a system image. If you want to save your entire Windows installation, including programs and settings, you'll need to use Backup and Restore ( Windows 7 ) , the other built-in solution for creating operating system images. This combines versioned backups of documents with a complete backup of the operating system.
As a more advanced alternative, there are third-party suites that expand the possibilities. For example, there are comprehensive backup tools that allow incremental and differential backups , image compression, and automatic cleanup of old versions. These options are useful when you need space efficiency and retention flexibility, and want to go beyond what File History offers by default on personal computers.
If your goal is to thoroughly audit access to and changes in files and folders, especially on servers or domain-joined computers, you should consider specialized auditing solutions. Platforms like ADAudit Plus generate reports that show changes in detail, identify who, what, and when, export to formats like CSV or PDF , and even send real-time alerts via email or mobile when critical resources are accessed. This approach is geared toward professional environments where traceability and immediate response are key.
Search and organize by date: filters and options in Explorer
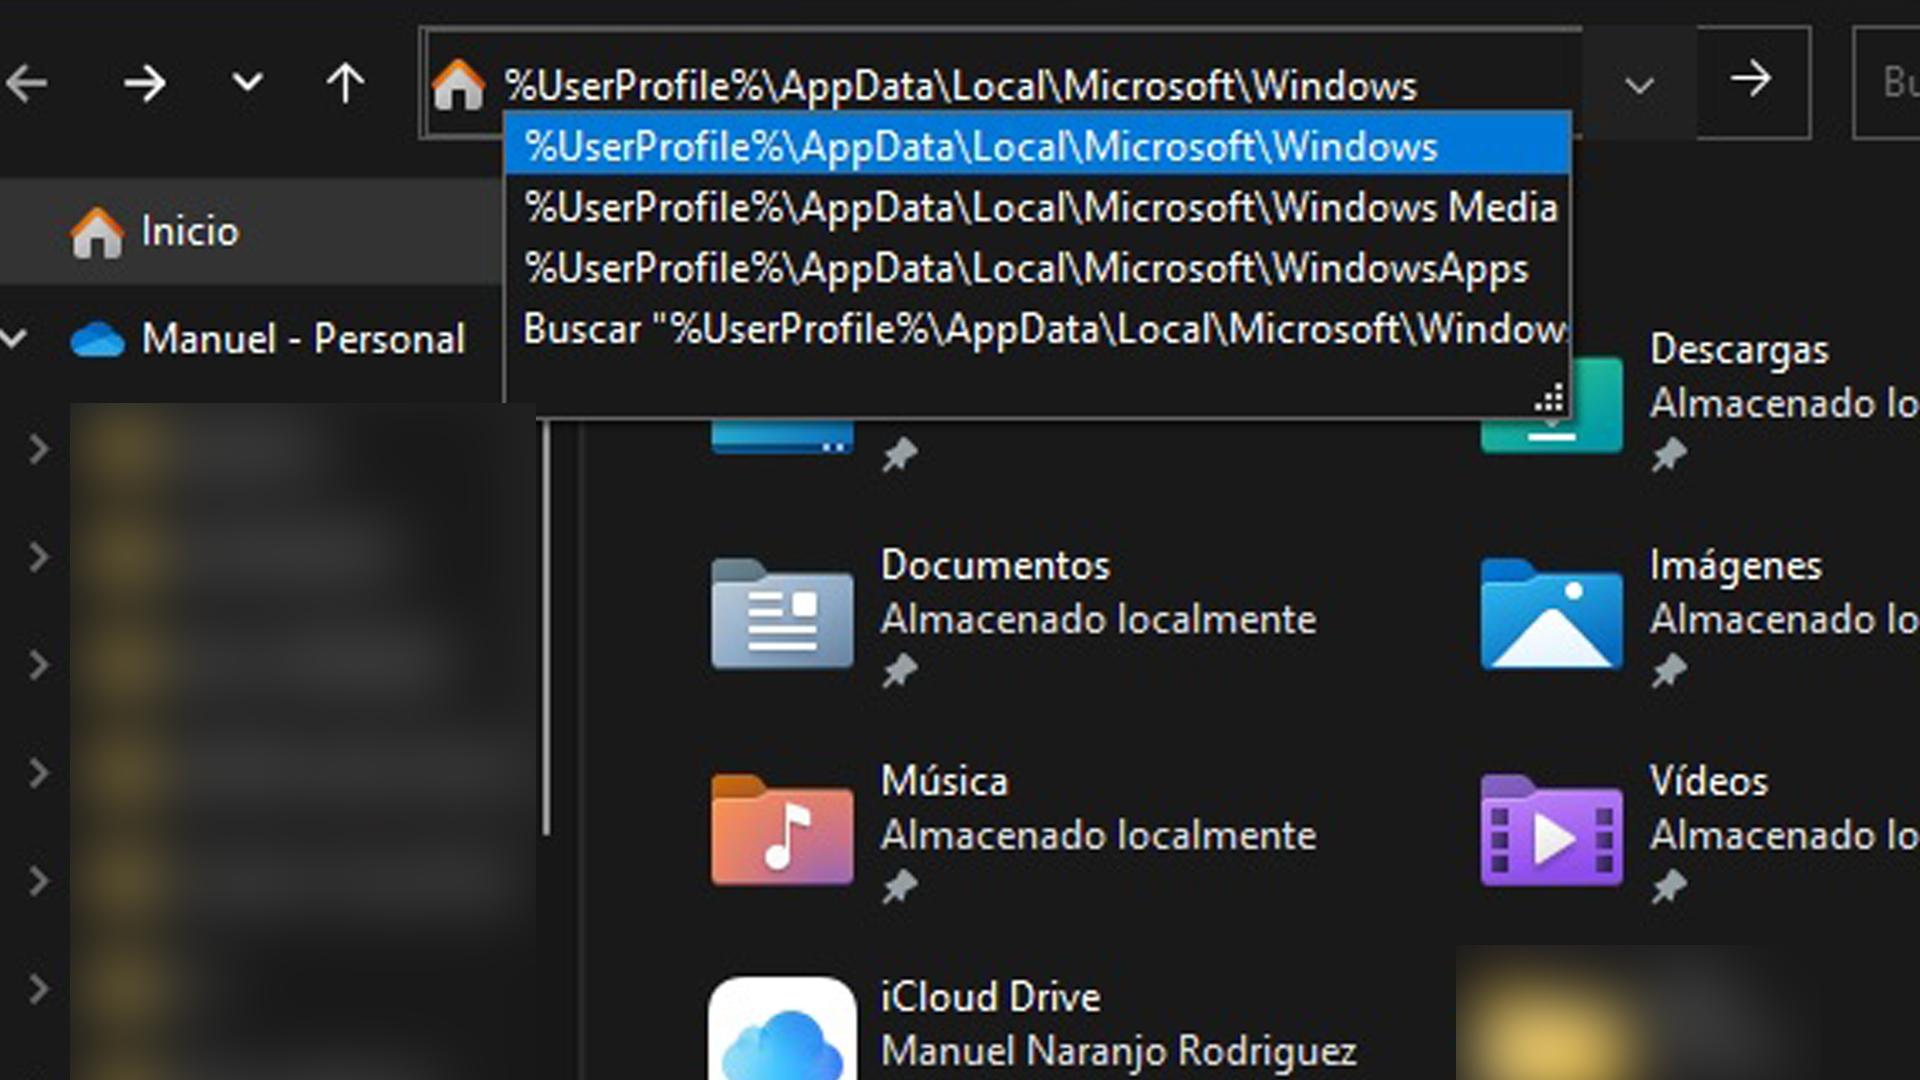
Sometimes you don't need a backup or an audit; you just need to find all the files modified within a certain range . In Windows 11, you can use advanced filters in the Explorer search bar to narrow down your search precisely. Boolean operators help you include or exclude terms, and metadata filters refine your search by date, size, type, and more.
Boolean operators allow you to combine criteria precisely. For example, NOT excludes a word ("dog NOT cat"), OR expands to one or the other ("dog OR cat"), quotation marks enforce the exact order ("monthly report"), and parentheses group terms that can appear in any order ("(contract budget)").
General filters are written as name:value . Among the most useful are date: (today, yesterday, this week, last month, year…), modified: (to limit the search to the last modification), created: (creation date), size: (empty, small, medium, large, gigantic, or an exact size), type: (document, image, music, video…), ext: (extension, for example ext:pdf), folder: (limit to a location), and file: (to force the search to be limited to the file name only).
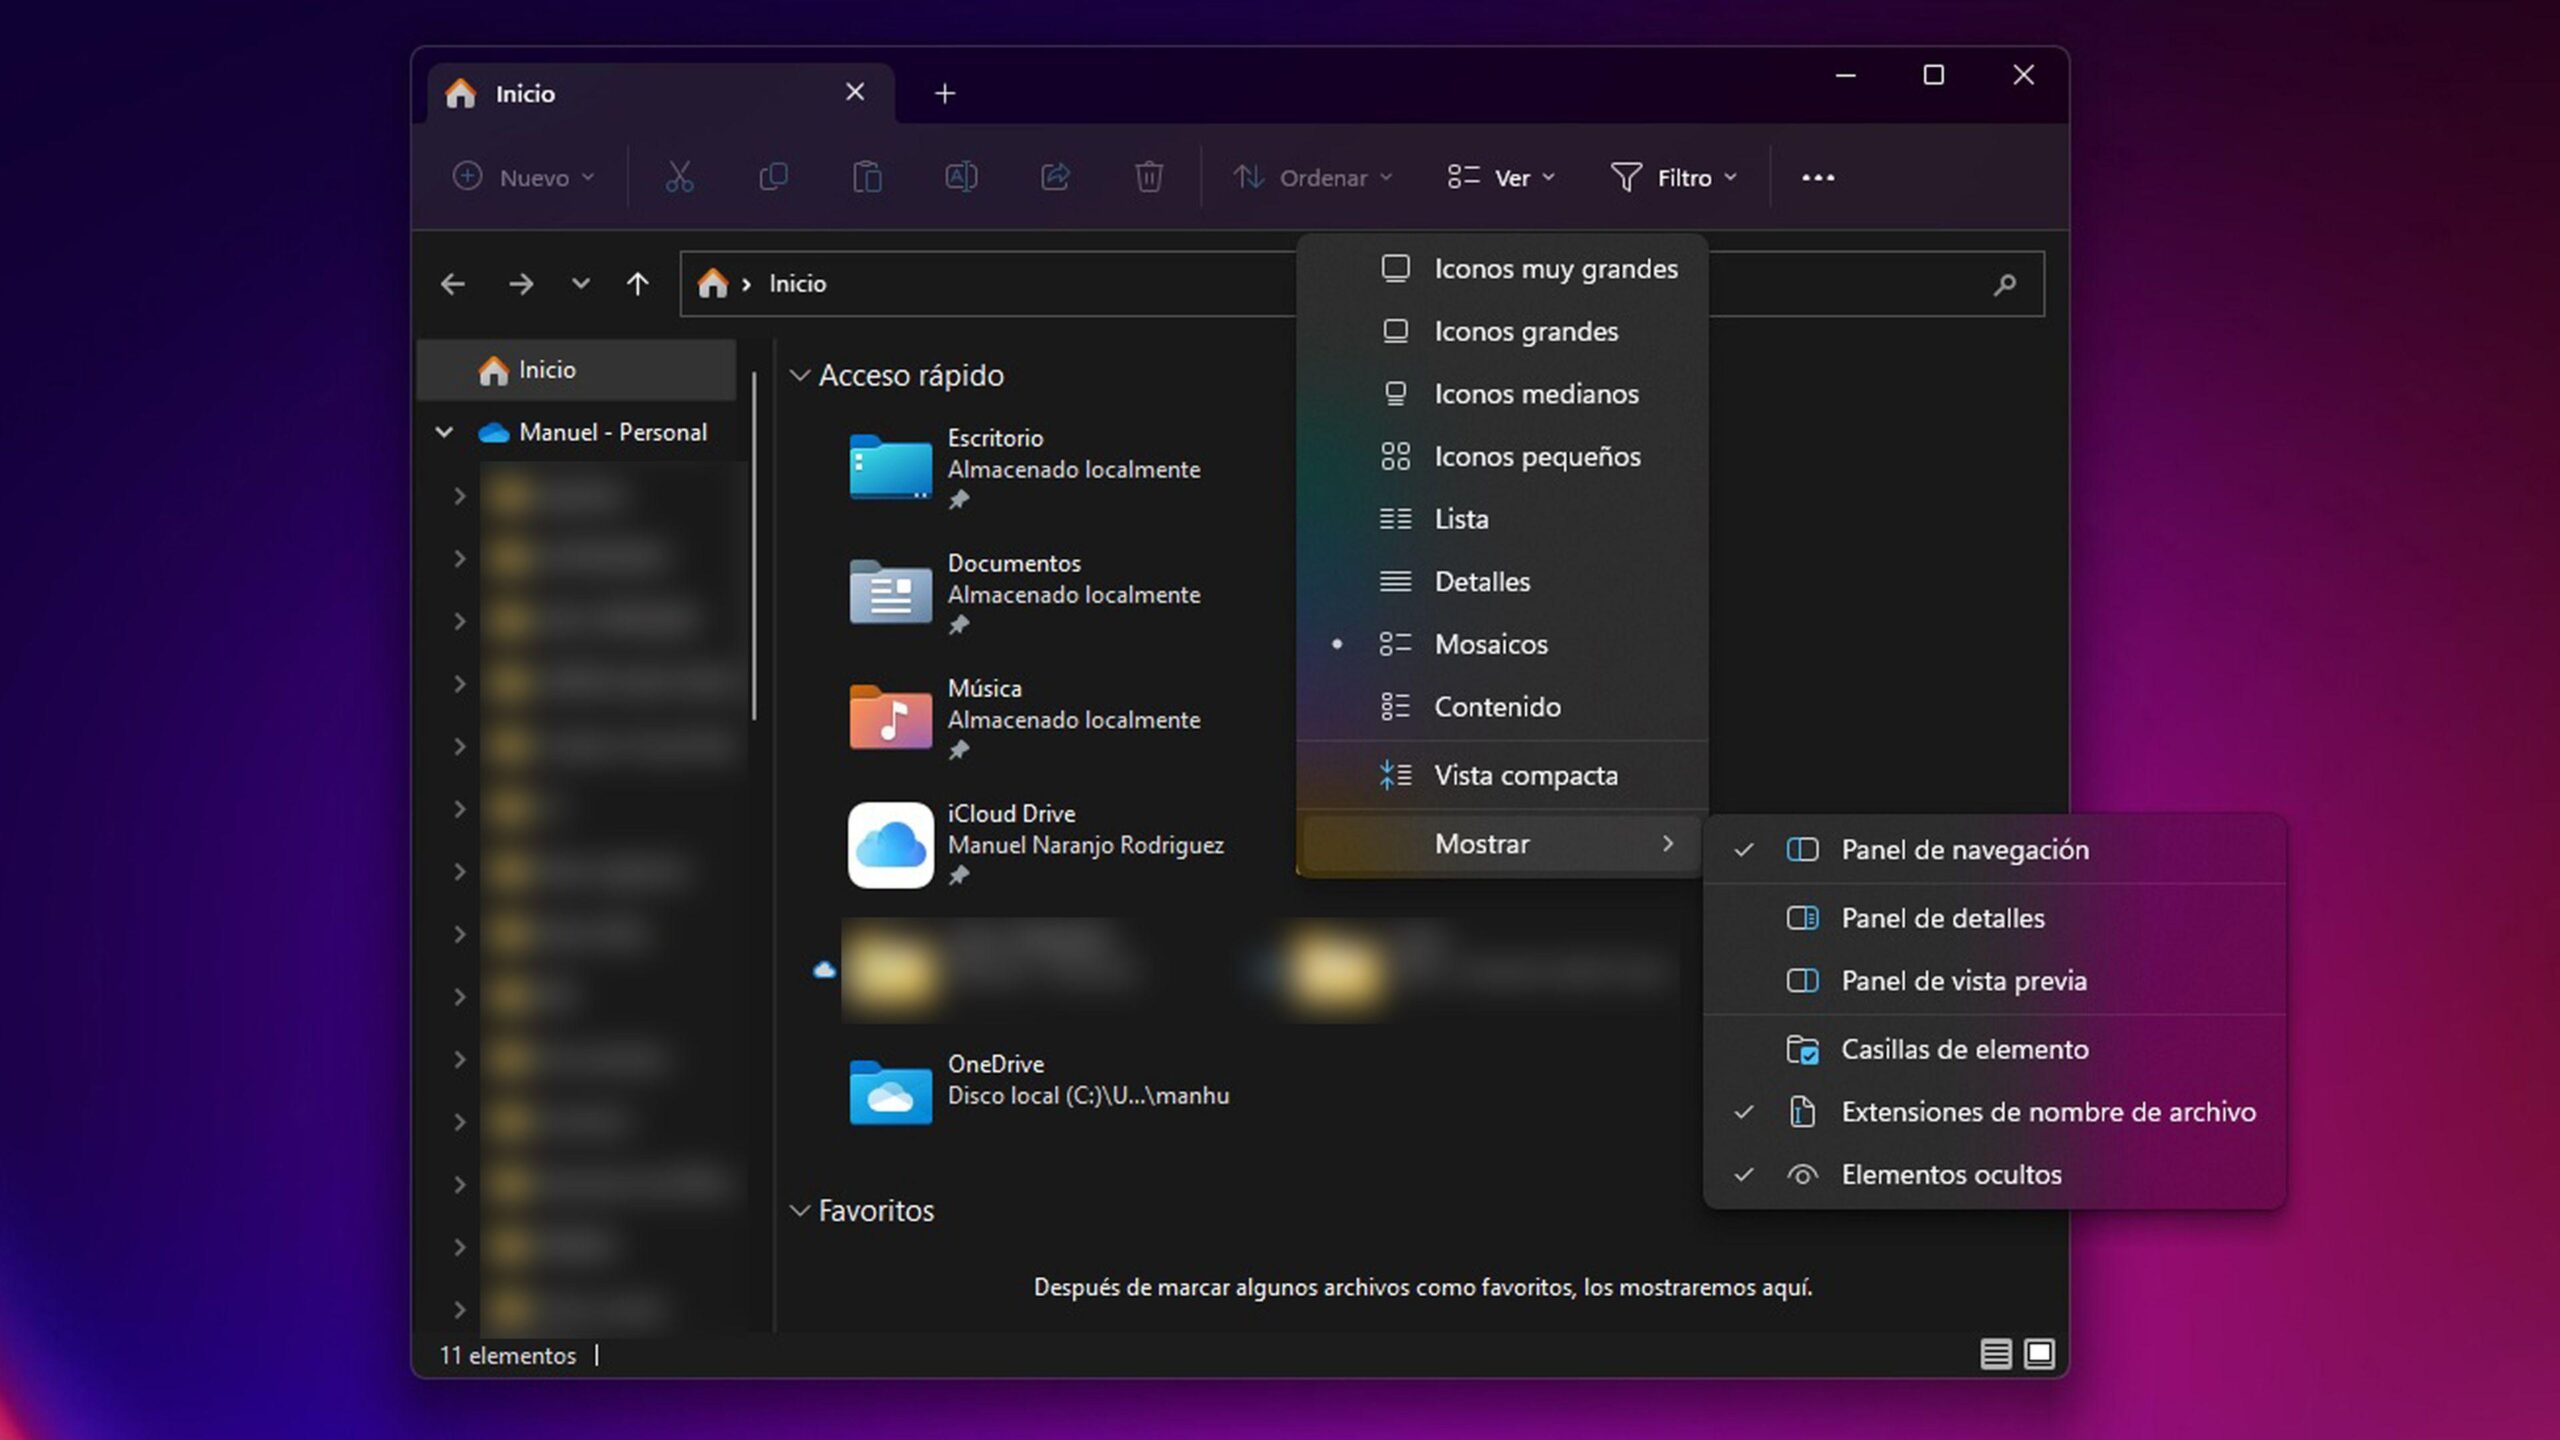
There are also specific filters for file type. In presentations, you can use slides to filter by page number; in Word documents , comments let you search by text within comments; in music and video, you have artist , album , track , genre , duration, and year ; in images, orientation , width, and height . All of this works as long as the files have complete metadata available; if you don't find any files in the searches, check that they are not hidden ( show and hide hidden files ).
Meanwhile, File Explorer opens by default to the Quick Access view , which in Windows 11 22H2 is called the Explorer Home screen. From there, you can easily access your most recent and favorite Office.com files and search both locally and in the cloud. If you prefer the classic view, in the ribbon choose View More > Options > Open File Explorer to and select This PC , then click Apply to set it as the default.
A practical note: although File Explorer shows you when a file was last modified , it doesn't keep a detailed history of all modifications. Some users want an embedded log for each file, but by design, that information can't be stored in every document indefinitely. To meet this need, the realistic option is versioning through backups (File History) or system/server auditing when the context requires it.
Privacy and clearing activity history
If you're concerned about privacy, remember that your activity history is personal and stored on your device. You can stop activity storage at any time in Settings and delete everything saved using the "Delete" buttons under Privacy and security > Activity history . Additionally, the activity view allows you to delete individual items or all activities for a day by right-clicking and choosing your preferred action.
It's a good idea to occasionally check the Accounts section in Settings > Accounts to see which profiles are linked to the device (local, Microsoft, work, or school). From there, you can choose to hide the activity of any account from being displayed, keeping in mind that this doesn't delete the data, it only prevents it from appearing in the timeline or similar views.
When to jump to a full audit
In professional settings, traceability is paramount: you need to know who accessed shared files and folders, what they changed, and at what time. This is where solutions like ADAudit Plus come in, generating granular reports exportable to CSV, PDF, and XML , and triggering immediate alerts when sensitive resources are accessed. If you work with critical data or must comply with regulations, consider combining version control with real-time auditing.
Windows 11 provides several layers of information about what's happened to your files: from the basics (dates in Explorer and advanced searches by "modified" or "created"), to recovering previous versions with File History , to comprehensive control in professional environments with auditing. Understanding the limitations of each tool and combining them effectively is key to always knowing what changed, when, and how to revert if something goes wrong.


Passionate writer about the world of bytes and technology in general. I love sharing my knowledge through writing, and that's what I'll do on this blog, show you all the most interesting things about gadgets, software, hardware, tech trends, and more. My goal is to help you navigate the digital world in a simple and entertaining way.