- Check privacy permissions, enable in BIOS and detection in the Device administrator to rule out basic blockages.
- Update, roll back, or reinstall drivers and, if applicable, download the official driver from the manufacturer's website.
- Use troubleshooters, manufacturer diagnostics, and maintain Windows updated to correct incompatibilities.
- As a last resort, tweak the Registry and perform an offline scan to eliminate advanced causes of the 0xA00F4244 error.
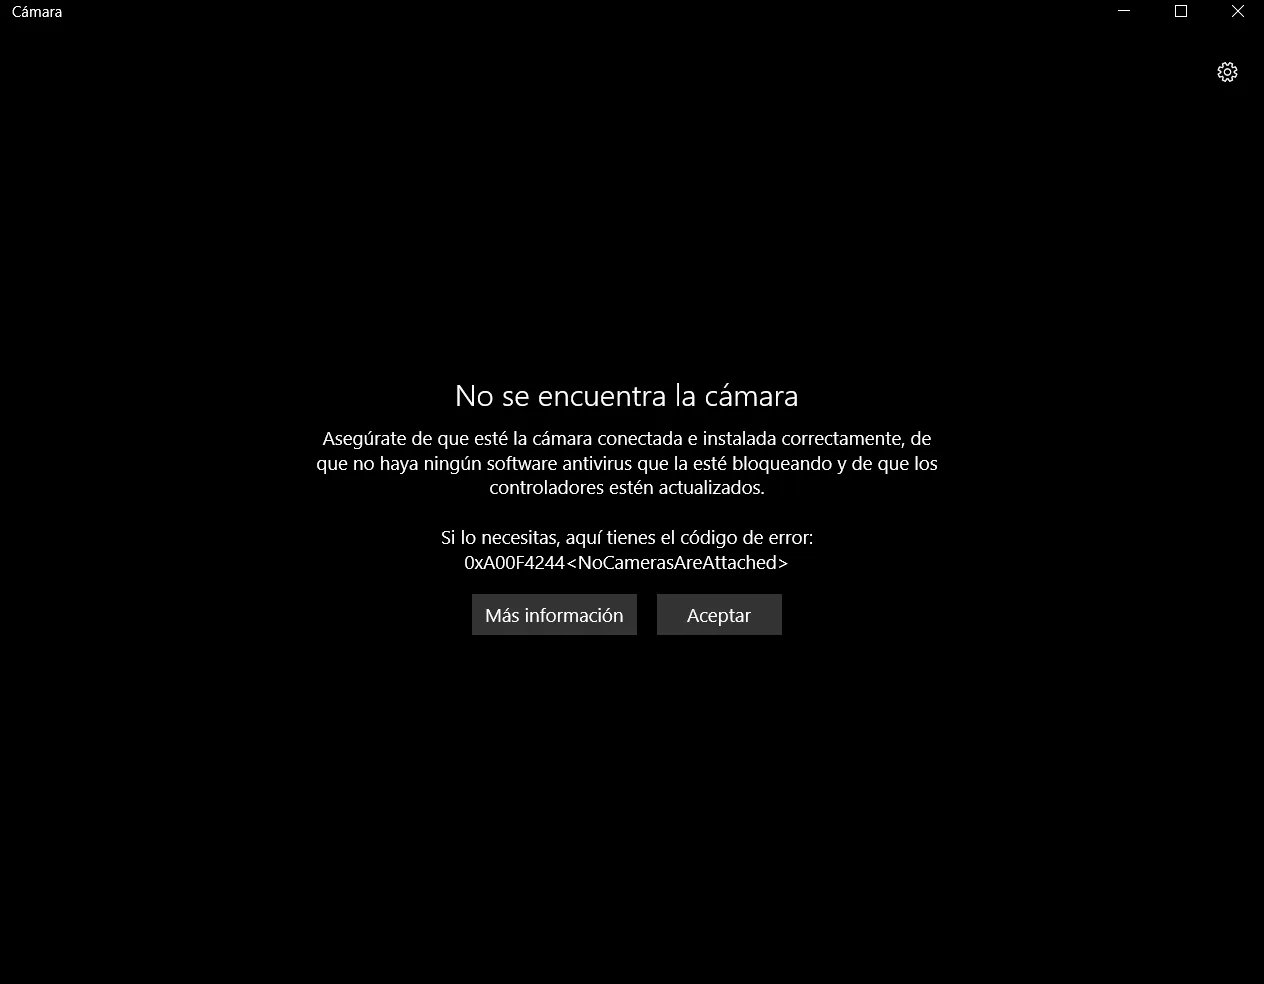
When your camera refuses to work and Windows Hello displays the dreaded error code 0xA00F4244 , your quick login experience and everyday video calls are ruined. This bug can appear in both Windows 10 and Windows 11 and affects both built-in cameras and USB webcams , with messages such as "camera not found" or "device cannot be started."
This guide offers a comprehensive walkthrough, written in clear and accessible Spanish , covering the most common causes and all the proven solutions from leading sources: from checking privacy settings and reinstalling drivers, to enabling the camera in the BIOS of Dell computers, running troubleshooters, and ultimately, modifying the Registry. We also include a couple of real-world examples and a bonus guide on repairing damaged videos if they've become corrupted.
What does error 0xA00F4244 mean and why does it affect Windows Hello?
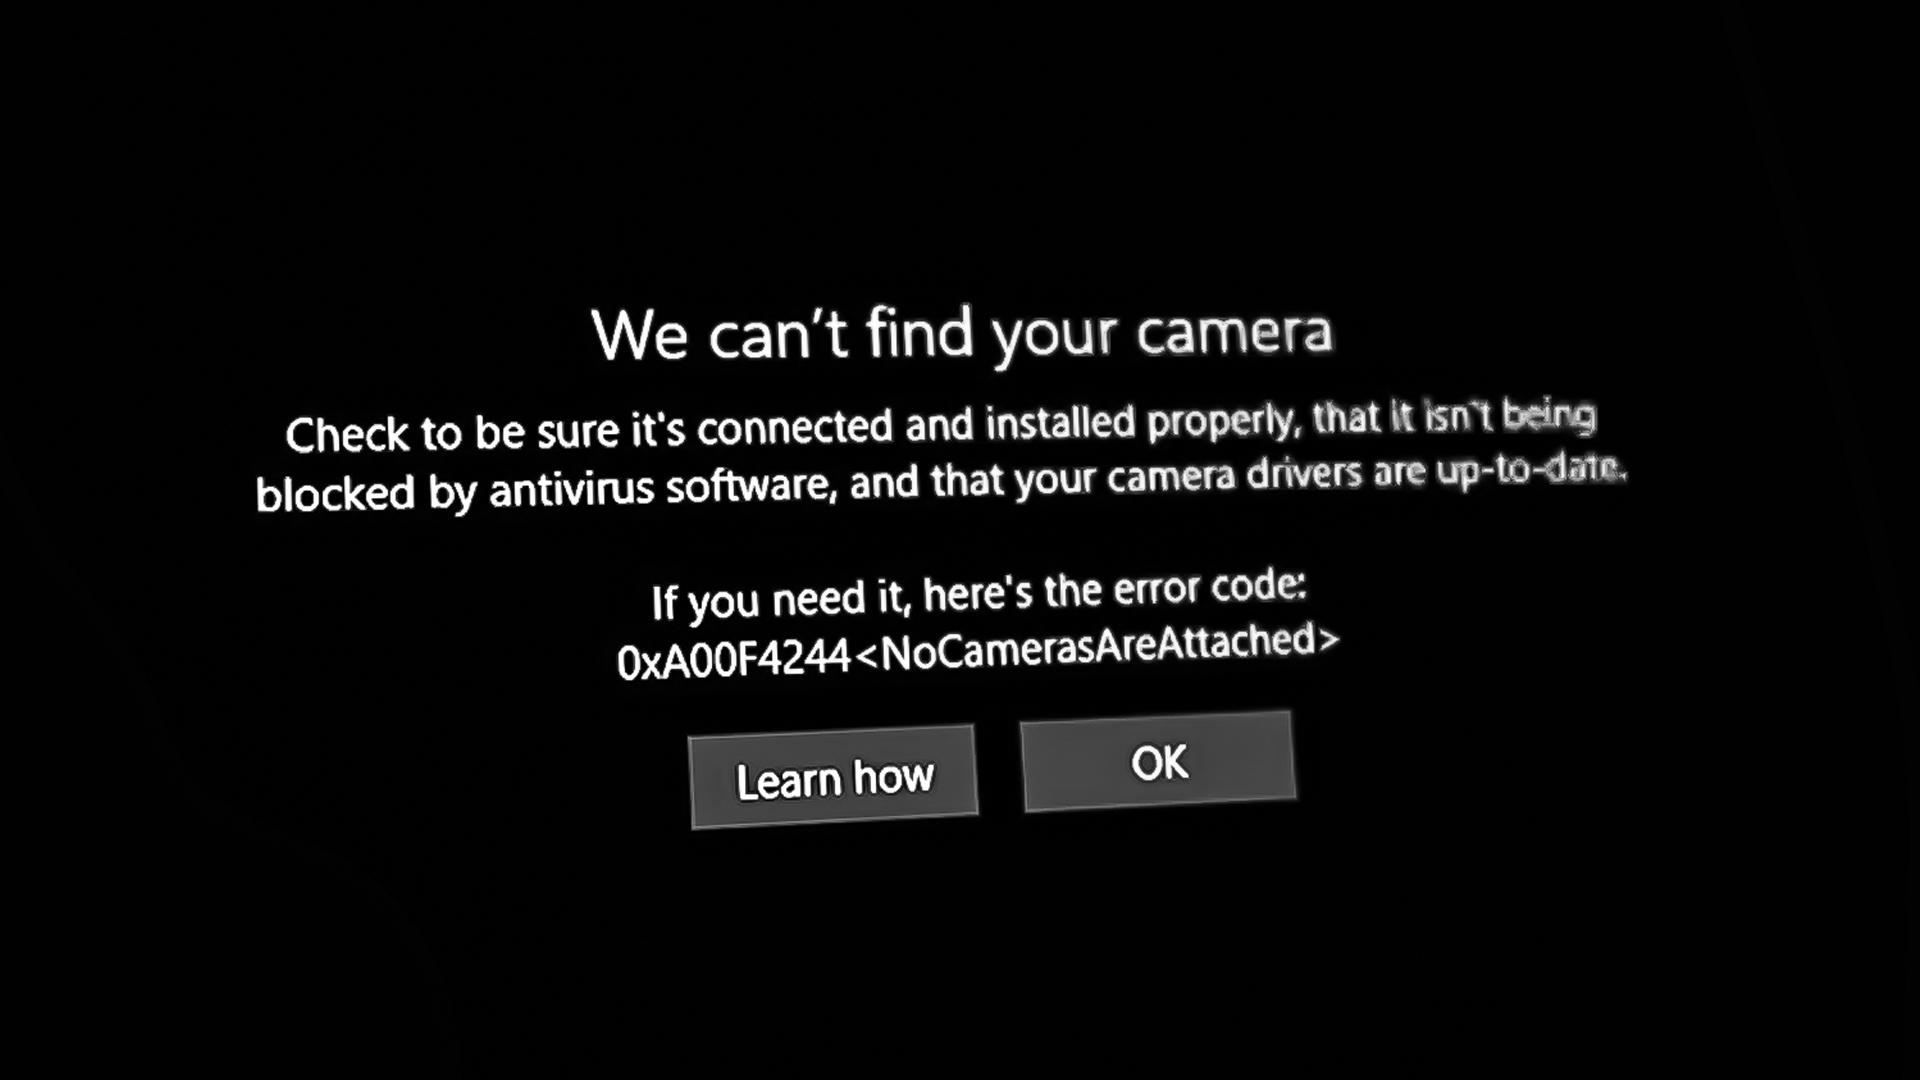
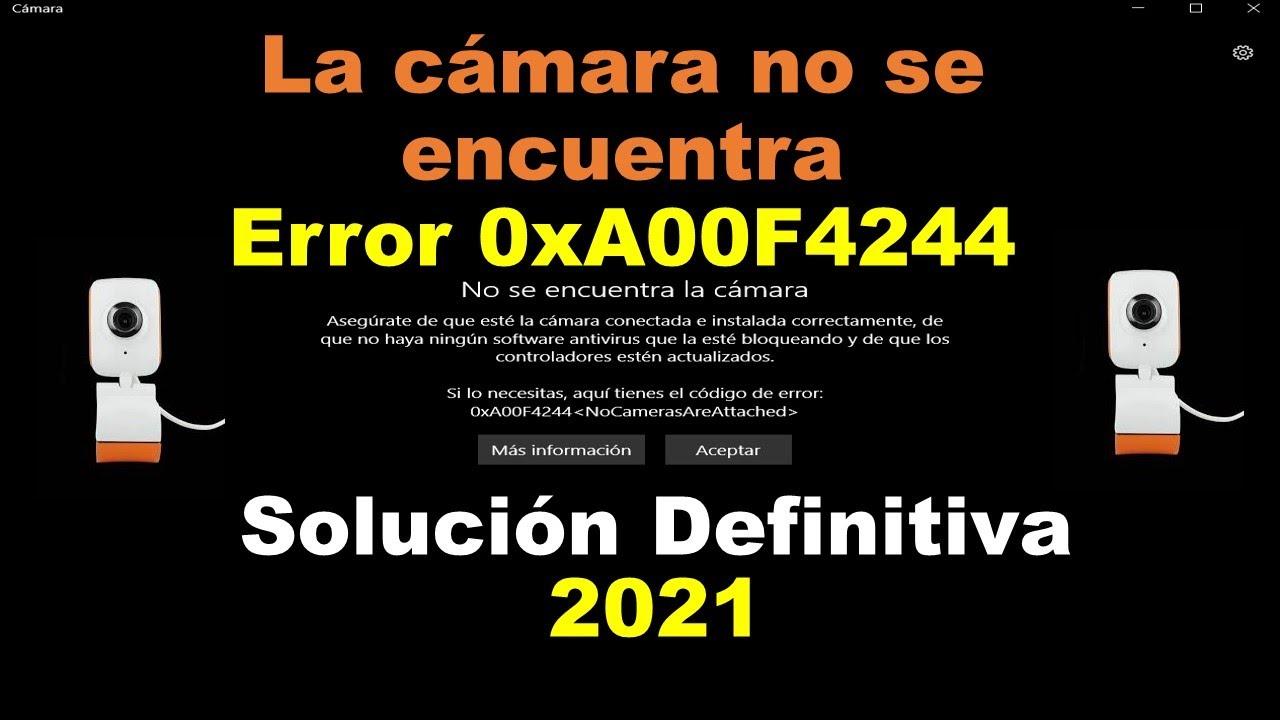
The error code 0xA00F4244 is associated with camera detection or initialization problems in Windows. It often appears alongside the "camera not found" message when you open a video calling app, the Camera app, or Windows Hello itself. In short: the system cannot use the device for some reason.
The usual causes are varied, but they have solutions. Some of the most common include outdated drivers , misconfigured privacy settings, physical or BIOS disabling on laptops , errors after a system update, incorrect camera app installation, application conflicts, and, of course, possible malware infections.
If you've recently updated Windows or changed security settings, apps may have lost permission to access your camera. In Windows 10 and later versions, access for certain applications isn't automatic, so it's a good idea to check your settings to ensure that both the system and your apps have permission to use the camera.
It's also possible that the camera won't even appear in Device Manager. This usually indicates a connection problem (for external webcams), that the device is disabled at the hardware level , or that the system's privacy settings are blocking detection . Don't worry: below you'll find all the steps to address this, point by point.
Step-by-step solutions for Windows Hello camera not working (0xA00F4244)
1) Check connections and device presence
If you're using a USB webcam, make sure it's securely connected to the port and that no cables are loose. Try a different port if available to rule out a faulty connector, and if possible, connect the camera to another computer to verify that the hardware isn't damaged.
Open Device Manager. Press Windows + R, type devmgmt.msc , and confirm. In the window, expand Cameras or Imaging devices . If your webcam appears, right-click it and check if it says Enable device or Disable device. If you see Enable, it means it was disabled, and you should enable it to test again.
2) Check the camera privacy permissions
Go to Home > Settings > Privacy > Camera. In the Camera access on this device section, tap Change if the switch is off and toggle it on. Then, enable Allow camera access for apps on your account.
Further down, open the Choose which Microsoft Store apps can access your camera list and enable camera access for the apps you want. Finally, locate the Allow desktop apps to access your camera option and turn it on. Many video conferencing tools, such as Microsoft Teams , and browsers like Edge, fall into this desktop app category.
If you recently updated to Windows 10, you might need to grant these permissions again. In modern versions of the system, apps typically don't have default access to the camera for security reasons, so checking this setting is usually a quick fix.
3) Update, roll back or reinstall the camera driver
When the error appears after a system or driver update , it's likely due to an incompatibility. You can revert to a previous driver or install a compatible one. Press Windows + R, type devmgmt.msc , and under Cameras or Imaging Devices, locate your webcam. Right-click, select Properties > Driver tab, and if available, use Roll Back Driver . Restart your computer when finished.
If you can't revert the driver or it doesn't solve the problem, reinstall it. In Device Manager, right-click on the camera and choose Uninstall device . Click OK and restart your computer. Windows 10 and Windows 11 automatically detect the camera and install the driver, which resolves most recognition errors.
You can also force a reinstallation from Device Manager itself using the "Scan for hardware changes after restart" option. Alternatively, you can go to the " Update drivers" section in Device Manager in Windows to do it manually if needed.
4) Download the driver from the manufacturer's website
If automatic reinstallation doesn't work, it's a good idea to download the driver directly from the manufacturer. First, you need to identify the camera's manufacturer and model: open Device Manager , expand Cameras, right-click on your webcam, and select Properties. On the General tab, you'll see the Manufacturer field and, sometimes, the exact model of the device—vital information for downloading the correct driver.
With that information, go to the manufacturer's official website and download the latest driver compatible with your version of Windows. Follow the vendor's instructions for installation. This method is especially useful if Windows is installing a generic driver that doesn't take full advantage of all features or doesn't properly recognize the hardware.
5) Enable the camera in the BIOS on Dell laptops
On some Dell laptops, the camera may be disabled in the BIOS for privacy reasons. Restart your computer, and when you see the Dell logo during startup , press F2 to enter the system setup. If Windows starts, restart and repeat the process until you access the BIOS.
Within the menu, go to Built-in Devices and check the Enable Camera box . Apply the changes with Apply Changes, confirm if prompted, and then choose Exit to restart. When you return to Windows, check if the camera is working correctly and if Windows Hello is recognizing your face again.
6) Reset the Camera app
If the Camera app is malfunctioning, resetting it often helps. Press Windows + Q and search for Camera . In the app's search results, right-click and select App settings. First, try Repair within the Reset section. If that doesn't work, select Reset and confirm. When finished, close the window and test your device again.
7) Run Windows troubleshooters
Open Settings with Windows + I, go to Update & Security , and then Troubleshoot. Under Other troubleshooters, run the one for Video playback and follow the instructions. While it might sound strange, sometimes media playback affects codecs and services that impact the camera and can help resolve errors.
From that same panel, you can also launch the Microsoft Store Apps troubleshooter . If the Camera app or similar apps are from the store, this assistant identifies problematic settings and repairs components related to permissions, caches, or dependencies.
8) Diagnostics and tools on Dell computers
If you're using a Dell, take advantage of the official utilities. Run Dell Webcam Diagnostics to check your built-in camera and receive a report after the tests. Then, open the SupportAssist tool from Windows Search, select Full System Analysis, and click Start to run all the recommended tests.
SupportAssist detects outdated drivers, optimizes your computer, and highlights performance issues that may be affecting your camera. While you can deselect tests, it's recommended to run them all for a complete overview. Once finished, apply the suggested actions and try Windows Hello again.
9) Keep Windows up to date
Updating to the latest version of Windows 10 or 11 resolves driver incompatibilities, fixes bugs, and improves the stability of multimedia components. Go to Settings > Windows Update and apply any pending updates. After restarting, test the camera and the app that was giving you the error again.
10) Advanced Tweak: Modify the Windows Registry
If none of the above has worked and you suspect a problem with codecs or encoding standards, there's an advanced setting in the Registry. Before touching anything, open the Registry Editor as administrator, go to File > Export, and create a backup. It's also a good idea to create a restore point.
On 32-bit systems, navigate to the key: HKEY_LOCAL_MACHINE\SOFTWARE\Microsoft\Windows Media Foundation\Platform. On 64-bit systems, use: HKEY_LOCAL_MACHINE\SOFTWARE\WOW6432Node\Microsoft\Windows Media Foundation\Platform. In the right pane, right-click > New > DWORD (32-bit) Value and create the indicated value, set its contents to 0 , and save. Restart your PC and test the camera again.
11) Scan your computer for malware
An infected system can block services or intercept devices. Open Windows Security from the notification area, go to Virus & threat protection , and run an offline scan to force a restart and perform a deep scan. This mode allows you to detect threats that are difficult to remove while Windows is running.
Once you're back on the desktop, go back to Virus & threat protection and enable cloud-based protection . Restart your computer to take effect and check if the camera is now working in the corresponding app and if Windows Hello is detecting your face again without displaying the code 0xA00F4244.
12) If the camera does not appear in Device Manager
When the device is not listed under Cameras or Imaging Devices, focus on physical connections (for USB webcams), the BIOS on compatible laptops, and privacy settings . After these checks, reinstalling drivers from the manufacturer is usually the most effective way to get the system to detect it again.
13) Reset the app, close programs and restart
Before performing any major operations, be sure to close any programs that might be using the camera, including browser tabs with video permissions. After resetting the app or reinstalling drivers, perform a full restart so that Windows reloads services and the driver cleanly.
Real cases, affected brands and additional resources

Case study: Surface Pro 7 with missing camera after update
It's happened to more than one person: on a Surface Pro 7 , the camera worked fine until, after updating drivers to resolve a blue screen issue with the stylus and Microsoft Edge , it stopped being detected. Neither Windows Hello nor the Camera app recognized it, and after a complete device reset, it still didn't appear, and there were no camera-related options in Settings.
In situations like this, the previous steps can help: permissions, Device Manager, reinstalling drivers, Windows Update, and, if necessary, installing drivers from the manufacturer's website. If it still doesn't appear, some users choose to create Windows 10 installation media and perform a clean install, instead of an in-place reset. It's a more drastic measure, but it can completely rebuild the device stack.
When the microphone and camera don't work either
If the microphone is also malfunctioning in addition to the video , consider a shared permissions or driver issue. Check Settings > Privacy for both Camera and Microphone, verify devices in Device Manager, and reinstall drivers if necessary. The troubleshooter and Windows Update are helpful tools in this scenario.
Tools and services on Dell computers
Within the Dell ecosystem, you have several advantages: a BIOS with an Enable Camera option, webcam diagnostics, automatic driver reinstallation after uninstallation, and the SupportAssist suite with a complete system scan. If your computer is out of warranty, you can visit the Dell support website, enter your service tag, and review available offers . These offers are for customers in the United States, Canada, the United Kingdom, France, Germany, and China, and do not apply to server or storage equipment.
Affected families and products
The problem can occur across a wide range of products, from desktops and laptops to all-in-ones. Affected products include: Dell All-in-One , Dell Pro All-in-One, OptiPlex All-in-One, G Series, Alienware, Dell Plus, Dell Pro, Dell Pro Max, Dell Pro Plus, Dell Pro Premium, Inspiron, Latitude, Dell Pro Rugged, Vostro, XPS, legacy laptop models, mobile workstations, and peripherals such as the Dell Speakerphone with Multiport Adapter – MH3021P, Dell Pro Max 16 XE MC16250, Dell Pro Webcam WB5023, Dell Webcam WB3023, and Dell Webcam WB7022.
Downloading the driver from the manufacturer: quick guide
To recap: In Device Manager, locate your camera, open Properties, and note the manufacturer and model . With that information, find the manufacturer's website and download the correct driver for your version of Windows. If you need more detailed step-by-step instructions, see the section on manually updating drivers in the Windows documentation under " Updating drivers from Device Manager ."
Bonus Tip: Repair Damaged MP4 and MOV Videos
If camera malfunctions have resulted in corrupted or unplayable videos, you can repair them without installing anything using EaseUS RepairVideo . It's an online service that supports formats like MP4 and MOV and works directly in your browser.
- Step 1. Open EaseUS Online Video Repair page at: https://repair.easeus.com/es/ and upload the problematic file using the corresponding button or by dragging it to the upload area. This way, you can start the process without having to download any programs.
- Step 2. Enter a valid email address and click on Start the repair so the system can automatically process the video in the cloud. You can continue with other tasks in the meantime.
- Step 3. Wait for the upload and repair to finish. When it's ready, you'll see a preview on the right side of the page, allowing you to check the result before downloading the repaired file.
- Step 4. You will receive a removal code by email. Return to the repair page, click on Download video, enter the code and confirm with OK to get the repaired file on your computer.
With all of the above, you should be able to get your camera working again in Windows, restore Windows Hello login, and keep video calls under control. Between privacy settings, updated drivers, manufacturer diagnostics, troubleshooters, and, only if necessary, a Registry tweak or an offline scan, there's a range of actions that covers virtually every scenario related to error 0xA00F4244.

Passionate writer about the world of bytes and technology in general. I love sharing my knowledge through writing, and that's what I'll do on this blog, show you all the most interesting things about gadgets, software, hardware, tech trends, and more. My goal is to help you navigate the digital world in a simple and entertaining way.