- Inadequate resolution and scaling often cause blurred images. Windows 11.
- Updating drivers and adjusting the refresh rate is essential to improve sharpness.
- Tools like ClearType and advanced settings help fine-tune visual details.
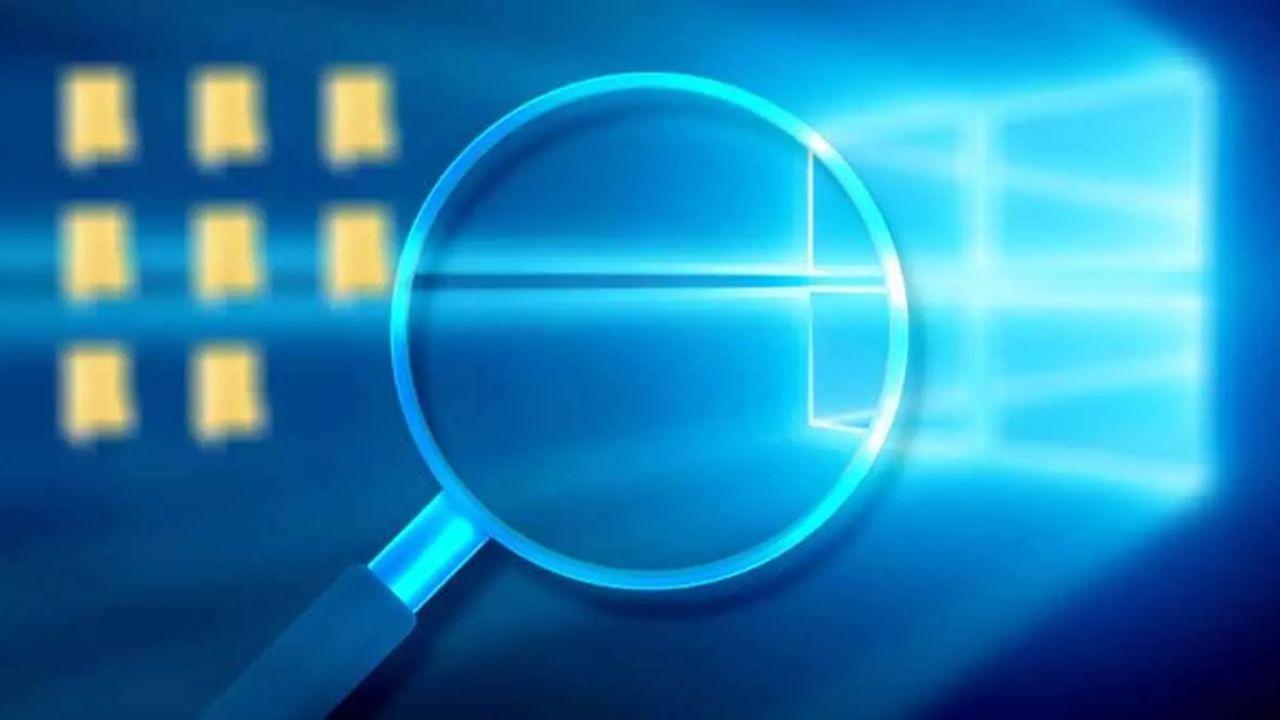
The quality of the image on our computer is key to enjoying a good experience, both at leisure and at work. When the screen is displayed blurry or with incorrect frequency in Windows 11, we can find ourselves with a major nuisance that limits the efficient use of the equipment and can cause visual discomfort or make it difficult to read and view content.
This problem is usually caused by the resolution, scaling, refresh rate, graphics card drivers settings. or even the cable/connection between your monitor and PC. We'll clearly and completely break down all the possible causes and the most effective solutions so you can enjoy maximum clarity and optimal performance on your Windows 11 screen, regardless of your needs or the type of monitor you use.
Why do I see a blurry image or incorrect frame rate in Windows 11?
When the image on your monitor is not clear or the frequency is not adequate, it is usually due to a bad resolution configuration, inappropriate scaling, graphics driver incompatibilities, problems in the monitor configuration or even a failure in the monitor itself. hardware. In most cases, the problem is related to the software or settings, not the monitor itself..
The most common causes include:
- Difference between the resolution set in Windows and the native resolution of the monitor.
- Incorrect screen scaling or zoom settings.
- Inadequate refresh rate for the monitor's capabilities.
- Outdated or corrupt graphics card drivers.
- Cable connection errors (HDMI, DisplayPort, DVI, etc.) or defect in the cable itself.
- Conflicting advanced settings, such as HDR poorly adjusted or ClearType disabled.
Basic checks before going into detail
Before we dive into the settings, it's worth running a couple of simple checks:
- Verify that the video cables are properly connected and are not damaged. Try another cable if you have any concerns.
- Confirm that the monitor is on and on the correct input channel (HDMI, DisplayPort, DVI, etc.).
- Check if your monitor appears blurry even when connected to another device. This way, you'll be able to tell if the problem is with the monitor or the computer.
If the problem persists after these checks, it's time to fix it from Windows 11.
Set the resolution to the monitor's native resolution

One of the most determining factors for sharpness is the screen resolution. If the settings do not match the monitor's native resolutionWindows scales the image to fit the screen, which almost always results in loss of quality and blurriness. To resolve this, you can also check out our tutorials on Solution to blurry screen in Windows 10.
To set it up correctly:
- Right-click on an empty area of the desktop and select "Screen settings".
- In the section «Scale and distribution», search "Screen resolution".
- Select the option that has the label (Recommended) at the end. That's usually your monitor's native resolution.
- If you don't know what it is, you can check it in the monitor specifications or in the OSD menu itself (the monitor's physical menu).
For example, if you have a WQHD (2560 x 1440) monitor and it is set to 1920 x 1080, the image will appear blurry. Always use the highest supported resolution by your monitor to obtain the best sharpness.
Optimize scale and zoom
Another common reason for a blurry image is an incorrect scale setting. Scale determines the relative size of text, icons, and windows., but if you increase it above 100%, the image may lose quality in some cases, especially on high-resolution monitors. To improve the display, you can also use tools such as CapCut for blurring images.
To set the scale correctly:
- En Screen settings, locate the option "Scale".
- Choose the value «100% (Recommended)» to see elements in their natural size and avoid blurring.
- En portable or small high-resolution monitors, you may need to scale it slightly higher (125% or 150%), but check how everything looks before setting it.
If the image still doesn't display correctly after adjusting the resolution, try different scaling values, returning to the recommended value if the situation worsens.
Set the appropriate refresh rate
El refresh rate or frequency (Hz) The monitor refresh rate is the number of times per second the image is refreshed. If you set a frequency not supported by your monitor, the image quality may be affected and the screen may even flicker or display strange artifacts. To improve this, you can also consult the user guide. How to enhance a pixelated image in Photoshop.
- Opens Screen settings and go to the advanced options section (which usually appears at the end of the on-screen menu).
- Sign in «Advanced Screen» and locate "Update frequency".
- Choose the maximum frequency your monitor supports or select "Automatic" if the option exists.
Consult the manufacturer's manual if you have questions about the Hz limit supported by your monitor. Remember that some monitors display good quality up to 60 Hz, but gaming monitors typically perform better at 75 Hz, 120 Hz, or even higher.
Update or reinstall graphics card drivers
Un outdated drivers or improperly installed can cause anything from blurry images to more serious problems such as freezes or artifacts. Graphics card manufacturers (Intel, AMD, NVIDIA) release regular updates that fix bugs and improve compatibility and graphic quality. During this process, you can also consult our guide on programs to enhance images without losing quality.
To update the driver:
- Open the Device administrator (right click on the start button > Device Manager).
- Expand Display adapters and right click on your graphics card.
- Choose Update DriverYou can let Windows automatically search for the driver or download the latest one from the manufacturer's website (recommended for NVIDIA/AMD/Intel).
- In some cases, you may need to uninstall the driver and restart your PC for Windows to reinstall it from scratch.
If you have a dedicated card, you can also visit the official site for additional drivers and tools.
Enable and adjust ClearType to improve blurry text
The system Cleartype Windows softens font edges to make text more legible and sharp on any monitor. Sometimes, due to configuration errors or after an update, it can be disabled and cause text to appear pixelated or blurry. If you'd like to learn how to improve text display, you can also explore methods in our tutorial. rotate or flip images in Photoshop.
To activate and configure ClearType:
- Search for "ClearType" in the Windows search bar and select "Adjust ClearType Text".
- Check the option "Enable ClearType".
- Follow the wizard to choose the text that best displays on your monitor. The process takes just a few minutes and greatly improves readability.
This setting only affects text, but it usually fixes blurry font issues in most applications.
Review advanced settings and HDR
Windows 11 incorporates HDR (high dynamic range) technology to improve color representation and brightness. HDR is only available on compatible monitors and, if activated on unprepared displays, can cause images with strange colors or blurry images. To learn more, you can also visit our section on Fix blur on Samsung TVs.
How to check and adjust:
- Go to Screen settings in the System menu.
- Look for the option «Using HDR color» or Windows HD Color.
- If your monitor is not supported, this section will appear inactive.
- If the option is available, try turning it on or off and see if it improves the visual quality.
In many cases, keeping HDR off improves sharpness if your monitor isn't high-end.
Solutions for specific applications or windows that appear blurry
Sometimes the problem doesn't affect the entire screen, but only certain windows or programs. This is usually due to individual scaling compatibility settings in the application.
In order to solve it:
- Right-click on the problematic application shortcut and select Properties.
- Go to the tab Compatibility.
- Press on "Change high DPI settings".
- Active Use this setting to fix scaling issues. and also «Scaling invalidated at high DPI values». Choose "Application" in the drop-down menu.
- Accept the changes and test if the app is no longer blurry.
This is a very effective tweak if you're only having problems with older or outdated programs.
Review advanced monitor and hardware settings
If, after all these steps, the image still doesn't look right, you might want to look at your monitor's advanced settings:
- Adjust from the monitor's OSD menu sharpness, contrast and correct signal input (HDMI, DisplayPort, etc.).
- Check for a factory reset option. On many gaming monitors, these options can affect sharpness.
- Replace the connecting cable to rule out a physical defect, especially if you notice intermittent flickering or cuts.
If after all these checks the monitor continues to cause problems on several different computers, it's likely a hardware failure, and it's worth considering replacing the monitor, first checking to see if it's still under warranty.
Extra solutions: clean boot and checking external software
Sometimes, third-party applications or background programs can interfere with your graphics settings, especially if you have installed monitor management software, screen mirroring, or other programs. streamingTo prevent conflicts, it is also advisable to consult our guide on .
To rule out conflicts, you can perform a clean boot of Windows:
- press Win + R, writes "Msconfig" and hit Enter.
- In the Services, check “Hide all Microsoft services” and disable the rest.
- On the Startup tab, disable all programs Boot.
- Restart your computer and see if the image improves. If so, reactivate the services one by one to find the one causing the problem.
This technique allows to isolate conflicts caused by drivers or non-essential services. To troubleshoot issues related to updates, it's also helpful to consult our guide on recover deleted videos in CapCut.
What if nothing works? Final thoughts
If after trying all the recommended solutions the screen still appears blurry, it may be physically damaged (burned pixels, damaged panel) or the graphics card may be faulty. Test the monitor and cable on another computer whenever possible to rule out hardware issues.
Also, remember that display technology varies greatly between older and newer monitors. If your display is older, it's normal for its quality to be subpar in Windows 11. If everything you've tried fails and your monitor is still under warranty, contact the manufacturer's support team before seeking a permanent replacement.
Most blurry image and framerate issues in Windows 11 can be resolved by checking your resolution, scaling, refresh rate, and graphics card drivers. It's also a good idea to adjust ClearType for text and consider a clean boot to eliminate interference from external programs. These steps will ensure you enjoy a clear, smooth display on your monitor, regardless of your experience level.

Passionate writer about the world of bytes and technology in general. I love sharing my knowledge through writing, and that's what I'll do on this blog, show you all the most interesting things about gadgets, software, hardware, tech trends, and more. My goal is to help you navigate the digital world in a simple and entertaining way.