- Use the cloud (OneDrive, SharePoint, third parties) to avoid limits and control permissions.
- Image compression and resizing reduce weight without losing clarity on screen.
- Graph allows attaching from 3 to 150 MB with chunk upload sessions.
- Best practices: security, mailbox size, and links instead of large attachments.
Sending large files from Outlook can be a bit of a headache if you don't know the most efficient alternatives: cloud services, compression, shared links, or split uploads. In this guide, I'll explain all the options step by step, with specific tips for the new Outlook, the classic version, Outlook on the web, and business scenarios.
In addition to size limits and blocked file types , you'll see how to resize and compress images from within Outlook itself, how to upload attachments to OneDrive and share them with the correct permissions, and how to handle attachments between 3 and 150 MB via Microsoft Graph with segmented upload sessions.
Size limits in Outlook and what is considered a large file
Outlook treats attachments of around 20 MB as "large ," a threshold frequently cited in documentation and reference guides. In legacy services like Hotmail, the typical limit is 25 MB per message, and in Exchange/Microsoft 365 environments, the administrator can impose even stricter or broader limits.
For technical uploads using the Microsoft Graph API , you can attach files up to 150 MB per message or event using the chunked upload method. For files under 3 MB, it's most efficient to attach them in a single request; for larger files, it's best to split the upload into parts.
It's also important to be aware of the file types that Outlook blocks for security reasons. If you work with uncommon or executable formats, check the "Blocked Attachments in Outlook" list to avoid unwanted attachment rejections or unnecessary alerts.
The new Outlook and the classic version suggest recent files to speed up attachments, whether they're on your computer, OneDrive, SharePoint, or other libraries. This simplifies the workflow, but it doesn't change the rules: if the file is very large, the best option is to share a link instead of attaching it directly.
And beware of the forgotten attachments warning : if you write in US English and mention attachments without inserting them, Outlook may alert you. It's a helpful feature, but limited to that language, so don't rely on it when writing in Spanish.
Option 1: Upload to the cloud and share a link
The cleanest way to bypass the limits is to upload the file to a cloud service and send a link. This works with OneDrive, Dropbox, iCloud, or Google Drive: upload the file, copy the link, and paste it into the email.
In the new Outlook, when attaching a file you can choose between "Send a link" (lightweight, recommended) or "Send a copy" (attaches the entire file). If you use OneDrive/SharePoint, you can also adjust permissions using the arrow to the right of the attachment.
- Attach file from the Message tab and choose the location: Suggested Files, OneDrive/SharePoint or “Browse this PC”.
- Choose Send a link to keep the email smallIf you choose to Send a copy, the attachment's weight will count in full in the message.
- Define permissions as needed: your organization can edit/view, or only recipients can edit/view.
- Troubleshoot access with “Manage Access” if Outlook detects that the recipient cannot view the file (red link with warning icon).
From within the message itself, you can upload a local file to OneDrive before sending it. Select the attachment, open its menu, and choose "Upload to OneDrive," then set permissions (edit, review, view, or even "Cannot be downloaded") and even an expiration date.
In Outlook on the web/Outlook.com you can also attach a link from OneDrive: choose the file in the cloud, add the link, and if necessary, use "Copy link" to paste it elsewhere in the message or in another thread.
If you need to share an entire folder , don't attach it: upload it to OneDrive and share it as a link. It's fast, organized, and saves you from file size and version issues.
Option 2: Compress files or images before sending
Compression (ZIP) reduces the overall size and can help you stay below the limits (for example, 25 MB in Hotmail). It's ideal if you have several photos or documents and want to package them into a single file.
- Select the files or folder with the content you want to compress.
- Use the system compression tool (Windows or macOS) or a ZIP utility to create the compressed file.
- Drag the ZIP to the message or attach it from the file button in Outlook.
Keep in mind two important points : the file you send is not the original (the recipient will have to decompress it) and compression has limits; don't expect 1 GB to magically shrink to less than 25 MB.
If the problem is large photos , Outlook in its classic version can automatically resize them when sending. Attach the images, open File > Info, and check "Resize large images when I send this message."
To insert an image into the message body (without it appearing as an attachment), go to Insert > Images and place it wherever you like. If it's too big or too small, use the corner handles to resize it.
Need exact measurements? Select the image and, on the Format tab, in the Size group, define the height; the width will adjust proportionally. If you want to edit the height and width separately, uncheck the "Lock aspect ratio" option in the corresponding dialog box.
Image compression in Outlook maintains the screen size but lowers the resolution to reduce the message size. Select the image, go to Picture Tools > Format > Compress Pictures, and choose, for example, "Web (150 dpi)" if you're not going to print it.
Option 3: Working with SharePoint libraries in enterprise environments
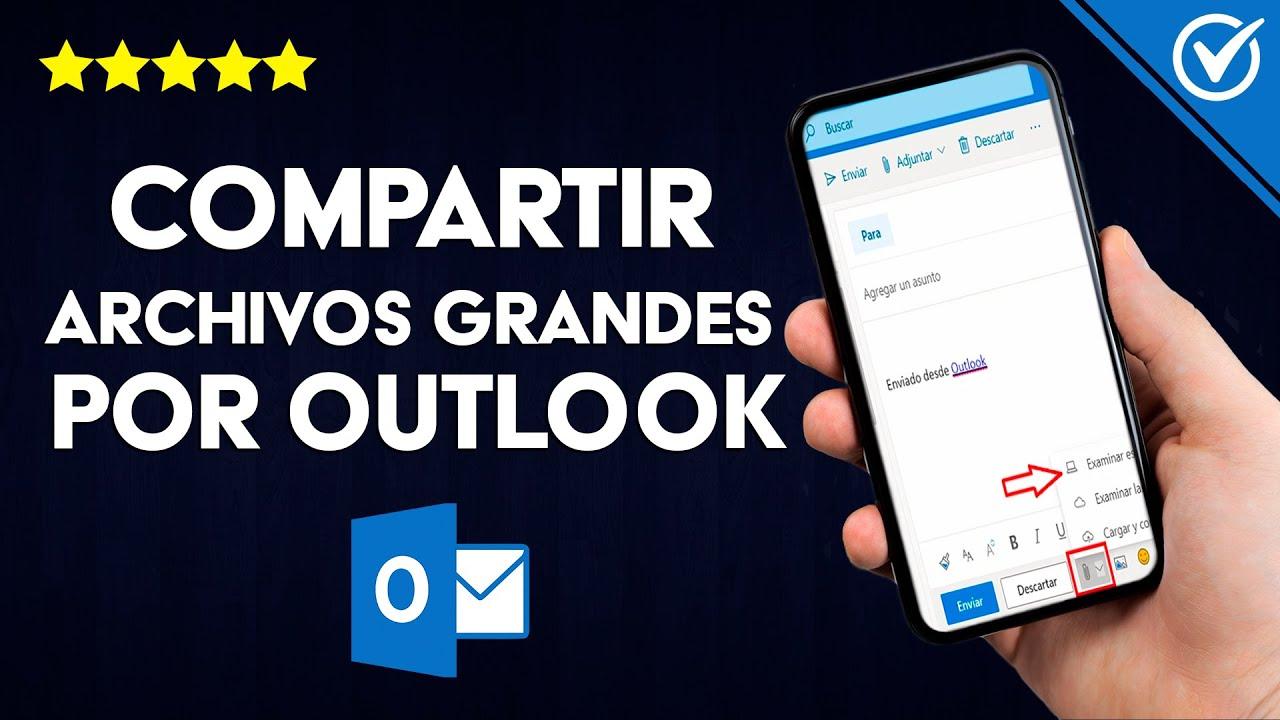
If you use Outlook in an organization with SharePoint , save the file to a SharePoint library and share a link. This is the ideal strategy for live documents and permission-controlled collaboration.
Files hosted on SharePoint/OneDrive allow you to grant your organization read or edit permissions, or reserve them for email recipients. Change permissions from the attachment's menu and, if necessary, revoke access when it's no longer needed.
In the classic version of Outlook , you can upload documents locally and then use "Upload > OneDrive" to move them to the corporate cloud. Afterward, you can configure who can view, edit, or review them, and even block downloads if it's a sensitive document.
For cases where access is restricted by site or computer , use "Manage access" when Outlook highlights the link in red. This ensures that recipients can view the content without having to resend or attach large copies.
Option 4: Attach files from 3 to 150 MB using Microsoft Graph (chunk upload)
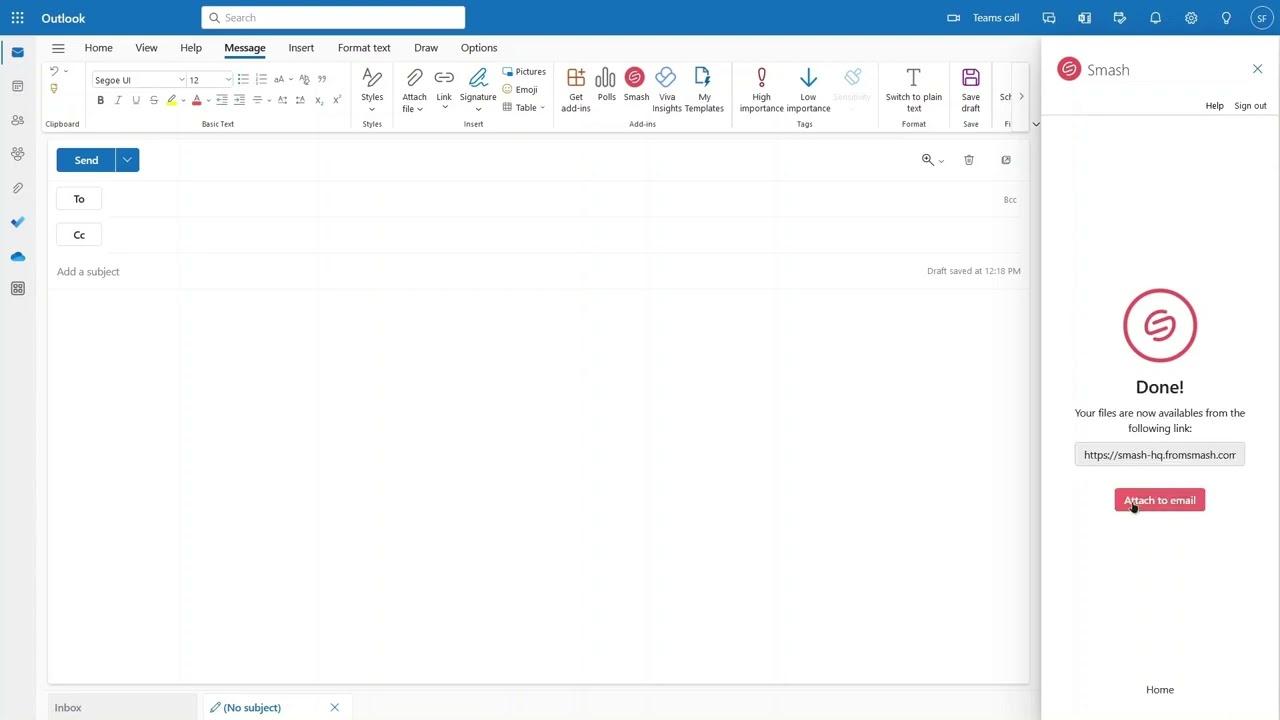
The Microsoft Graph API supports attachments up to 150 MB per message or event. For files under 3 MB, a single request to the navigation bar is sufficient. attachments; above that threshold, you must create an upload session and upload the file in ranges.
Step 1: Create a charging session indicating the file in AttachmentItem. The response returns HTTP 201 Created and an object uploadSession with the uploadUrl (pre-authenticated in the domain https://outlook.office.com) and property nextExpectedRanges (starts at byte 0). Requires permissions Mail.ReadWrite for messages and Calendars.ReadWrite for events.
Step 2: Upload snippets with PUT requests to uploadUrlFor best performance, use chunks smaller than 4 MB. Required headers: Content-Length (fragment size), Content-Range (Format bytes {inicio}-{fin}/{total}) and Content-Type: application/octet-stream. Do not include Authorization because the uploadUrl is already signed. The correct answer returns HTTP 200 OK and updates nextExpectedRanges with the next expected byte.
Step 3: Complete the upload in order according to the expected ranges and before the token expires (expirationDateTime). The last request PUT bring back HTTP 201 Created and a header Location with the attachment URL in https://outlook.office.com, from where you can extract the attachment ID for further operations.
Post-access to the attachment: Use the ID to retrieve metadata with $select or download the raw content with $value. For events, for example, you can get the raw file with a GET to the appeal of the attachment ending in /$value, and for messages, consult properties like lastModifiedDateTime, name, contentType o size without bringing the contentBytes.
If you need to cancel, delete the session with DELETE to the same uploadUrl and you will receive HTTP 204 No Content. Keep in mind the error ErrorAttachmentSizeShouldNotBeLessThanMinimumSize If you try to open a session with a file smaller than 3 MB, in that case, attach with a single POST to the attachment container.
For multiple attachments in the same message, choose the method per file: a single POST if it is less than 3 MB or upload session if it is between 3 and 150 MB, attaching them separately before sending.
These strategies cover all common scenarios : from classic Outlook limits to chunked uploads with Graph, secure cloud link sharing, and intelligent image compression. Choose the option that best suits the file size, sensitivity, and context (personal or business) to send smoothly and without issues.

Passionate writer about the world of bytes and technology in general. I love sharing my knowledge through writing, and that's what I'll do on this blog, show you all the most interesting things about gadgets, software, hardware, tech trends, and more. My goal is to help you navigate the digital world in a simple and entertaining way.