- The classic Hackintosh loses its relevance due to the transition to Apple Silicon and the lack of future support for x86.
- Patch Mac For older systems, using macOS in Docker or virtual machines are valid options for testing and development.
- Performance and compatibility depend heavily on the hardware; unofficial solutions have clear limitations.
- Buying a Mac Mini remains the only 100% stable and supported option for using macOS long-term.

If you've spent hours scouring forums and watching videos trying to set up a Hackintosh to run macOS without an Apple computer , you've probably come across countless incomplete guides, steps that skip over important things, and requirements you didn't even know existed. And to top it all off, many of these guides assume you already have a Mac, or a developer account, or both, which complicates things even further.
Furthermore, the landscape has completely changed with Apple's switch to its Apple Silicon processors (M1, M2, M3, M4…). This means that the classic Hackintosh, based on Intel or AMD hardware, is nearing its end. In this context, it makes perfect sense to look for real, current alternatives for using macOS without having to buy a new Mac for over a thousand euros.
Why Hackintosh is on a dead end (and makes less and less sense)
Before looking at practical alternatives, it's worth understanding why the classic Hackintosh is declining . It's not just that it's complex: it's that, technically and in terms of future development, it has increasingly less potential.
To begin with, building a "macOS-compatible" PC involves meticulously selecting each component: motherboard, processor, graphics card, Wi-Fi, audio—everything has to match what Apple has used in its own Intel-based Macs. Even then, we often end up with only partial functionality : glitchy sound, non-functional Wi-Fi, unusual USB ports, unstable sleep mode, and so on.
Furthermore, macOS support for Intel processors has been frozen. Apple has stopped releasing new versions of macOS for many of its own Intel Macs, so if you build a Hackintosh today, the most you can hope for are relatively recent versions that are already outdated . And the new editions designed for Apple Silicon are not natively executable on x86.
This means that the Hackintosh scene, as we knew it, is nearing its end. While it may still run on macOS Ventura, Sonoma, or similar versions on some computers, in the medium term it will become increasingly difficult to maintain a minimally updated and stable Hackintosh.
To make matters worse, since it's not an official method, security and maintenance issues arise: you depend on third-party patches for fixes, you have to rely on modified images, and if something breaks, you'll spend hours searching forums for solutions. Understanding this from the outset will help you decide whether you really want to get involved in this mess or opt for cleaner, more sustainable options.
Upgrading an old Mac to modern macOS with patches
One of the most interesting alternatives to Hackintosh, if you already have an older Mac, is to force the installation of modern versions of macOS on officially unsupported machines . Instead of building a PC from scratch, you take advantage of your existing Apple machine and "rejuvenate" it.
A few years ago, guides for installing macOS Ventura on Macs, which Apple had discontinued, became popular. This same approach has been adapted for more recent versions like macOS Sonoma and macOS Sequoia (macOS 15) , allowing iMacs, MacBooks, and Mac minis from 2012, 2013, and 2014 to remain functional.
The trick is to use patching tools that modify the macOS installer to "accept" computers that are no longer on the official support list. In many cases, all you need to do is prepare a patched installation USB drive , boot from it, apply a few startup adjustments , and let the macOS wizard work its magic, just as if it were a supported Mac.
The most surprising thing is that, on many models, the system works very solidly : smooth animations, good battery management, compatibility with recent apps… For example, there are 2013 models running macOS Sequoia without any problems, even though Apple stopped updating them a long time ago.
However, it's best not to idealize it: although the experience is usually very close to that of a compatible Mac, there may be minor details that don't work perfectly (some Continuity features, advanced gestures, occasionally erratic AirDrop, etc.). If macOS is slow, you'll find solutions for slow macOS . But for most users who want to "stretch" their Mac for office work, light development, or general use, it's a very powerful alternative to the classic Hackintosh.
macOS inside Docker: a container to test the system on any PC
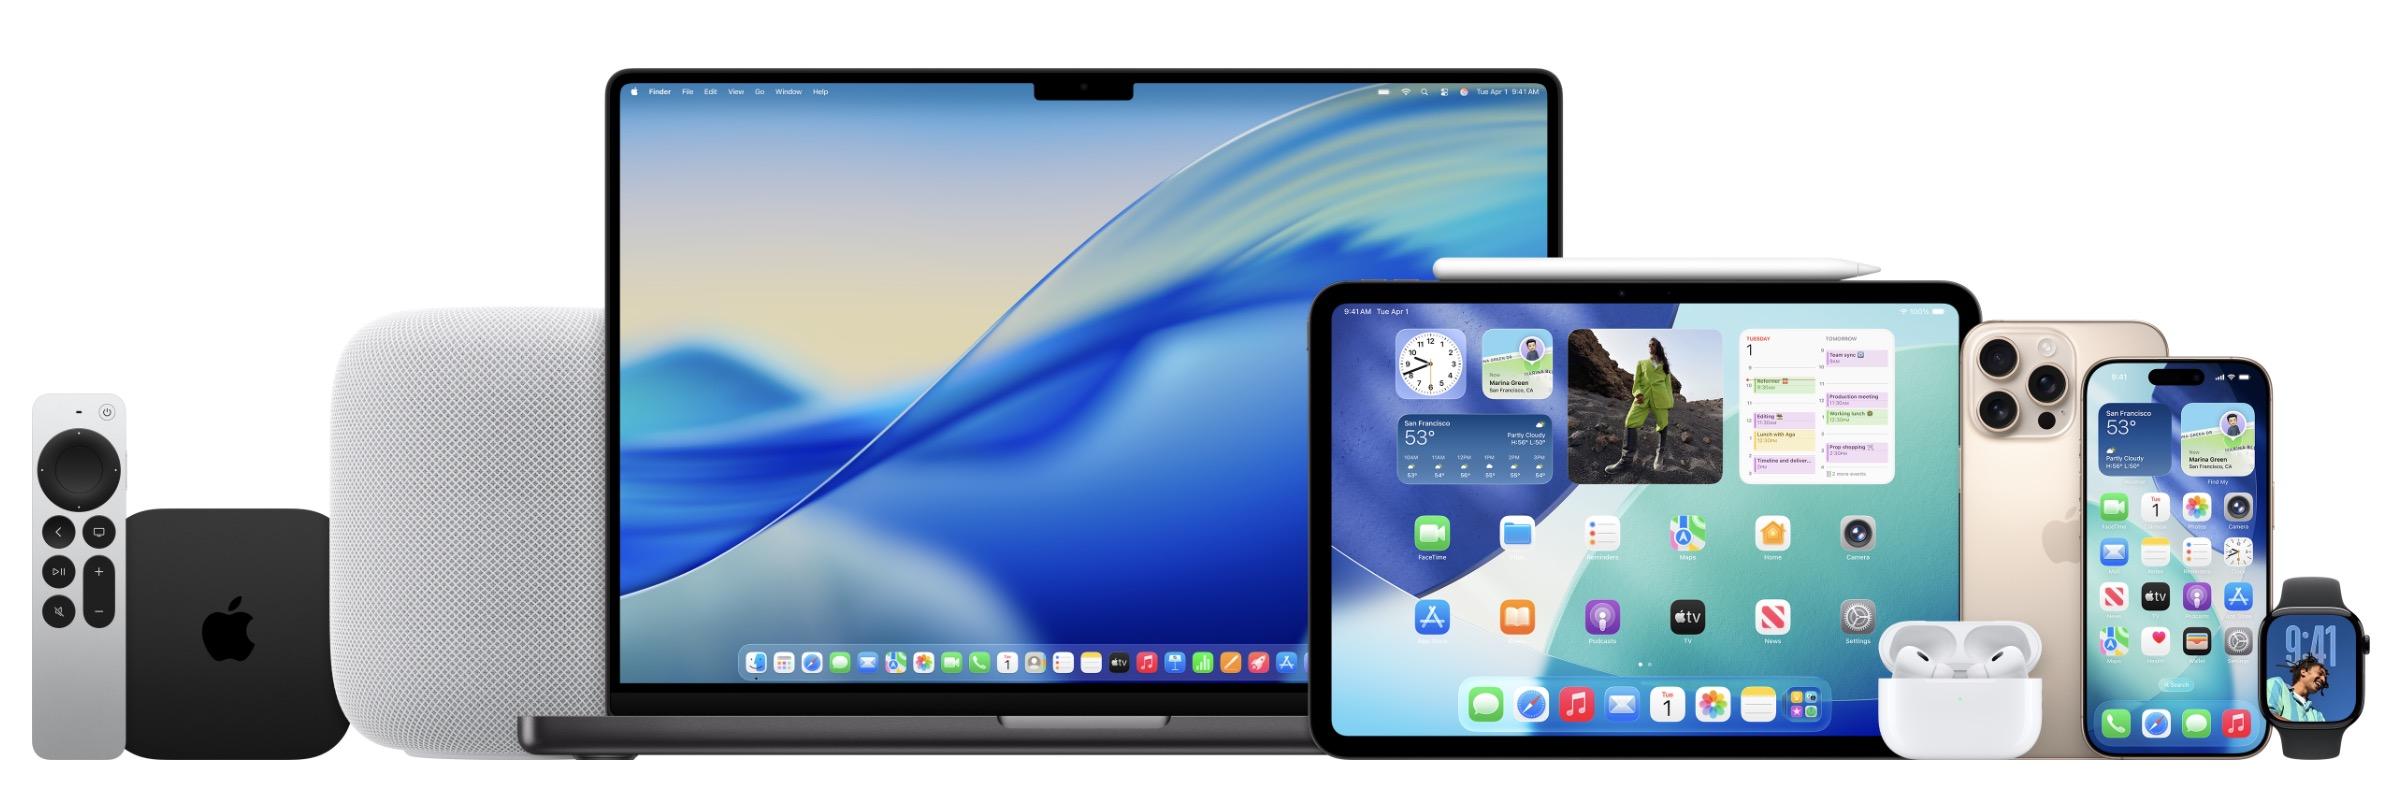
One of the most intriguing ideas to emerge in recent years is using macOS as a container within Docker through projects like dochurr/macos. Instead of a traditional virtual machine, a macOS instance is deployed "packaged" within a Docker image running on top of KVM.
This approach is particularly striking considering that Apple has completed its migration to Apple Silicon (ARM/aarch64 architecture). The method relies on hardware virtualization on x86 CPUs (Intel or AMD) using KVM, so in the long run, it could have limitations if Apple further restricts access to binaries or licenses, but currently it's a very functional option for many scenarios.
The great advantage is that we don't need to set up a complete Hackintosh, or struggle with boot managers, or download suspicious ISOs (it's always a good idea to verify hashes ): we just need to have Docker installed, make sure that virtualization is enabled in the PC's BIOS/UEFI and launch a simple docker run or docker compose to start up a macOS 15 (Sequoia) environment or other supported versions.
The basic requirements for using this system are:
- Hardware: Intel or AMD processor with virtualization support (Intel VT-x or AMD-V).
- Software: Docker Desktop on Windows or macOS, or Docker Engine on Linux.
- BIOS / UEFI: Virtualization enabled in the motherboard settings.
Example command: docker run -it --rm -p 8006:8006 --device=/dev/kvm --cap-add NET_ADMIN --stop-timeout 120 dockurr/macos
Alternatively, you can configure a Docker Compose file where you define the macOS service, select the version (for example, "13" for Ventura), expose the necessary ports (8006 for the web console, 5900 for VNC, etc.), and add the required KVM and network capabilities. In the environment section of this service, you can adjust installation parameters and guest system behavior.
Once the container is running, we can connect from the browser using the host computer's IP address (or 127.0.0.1 if working locally) and port 8006. The first thing that should appear is the macOS recovery environment, from which we will have to format the virtual disk using Disk Utility, selecting APFS or the appropriate format depending on the chosen macOS version.
After preparing the disk, we return to the recovery menu and select the "Reinstall macOS" option. From there, the process is very similar to that of a real Mac: we follow the wizard, choose the newly formatted drive, and let the installation complete. Depending on the computer's processing power and system load, it can take between half an hour and a little over an hour.
In real-world testing, minor bugs typical of unofficial environments were found, such as a blank desktop background after installation. These are usually resolved with simple adjustments, such as manually changing the desktop background in System Preferences, leaving the system fully usable for basic tasks and development.
macOS performance and limitations in Docker
It's important to keep in mind that we're emulating/virtualizing macOS in an environment not designed by Apple for this purpose, but KVM's performance is surprisingly decent. For development (especially if you want to test Xcode or macOS-specific tools ) or office applications, the experience is usually smooth as long as the host machine is reasonably powerful.
However, there are clear limitations: we won't get full 3D graphics acceleration , so demanding video editors, games, or GPU-intensive programs aren't a good idea. Furthermore, in the current implementation, iCloud login is severely limited or completely blocked, and simulated video memory is scarce, which may hinder some visual effects or heavy animations.
The project developer is already working on improvements to allow logging in with an iCloud account and to increase the allocated VRAM from environment parameters, but, in the short term, it's best to assume that this option is intended more as a testing and development environment than as a replacement for a production Mac.
On the plus side, Docker's isolated nature means that everything that happens inside the container is separate from the rest of the system. If something breaks, the container is deleted and recreated, leaving no trace on the host PC, which reduces security risks and simplifies environment management.
macOS virtual machines on Windows: try it without changing your computer
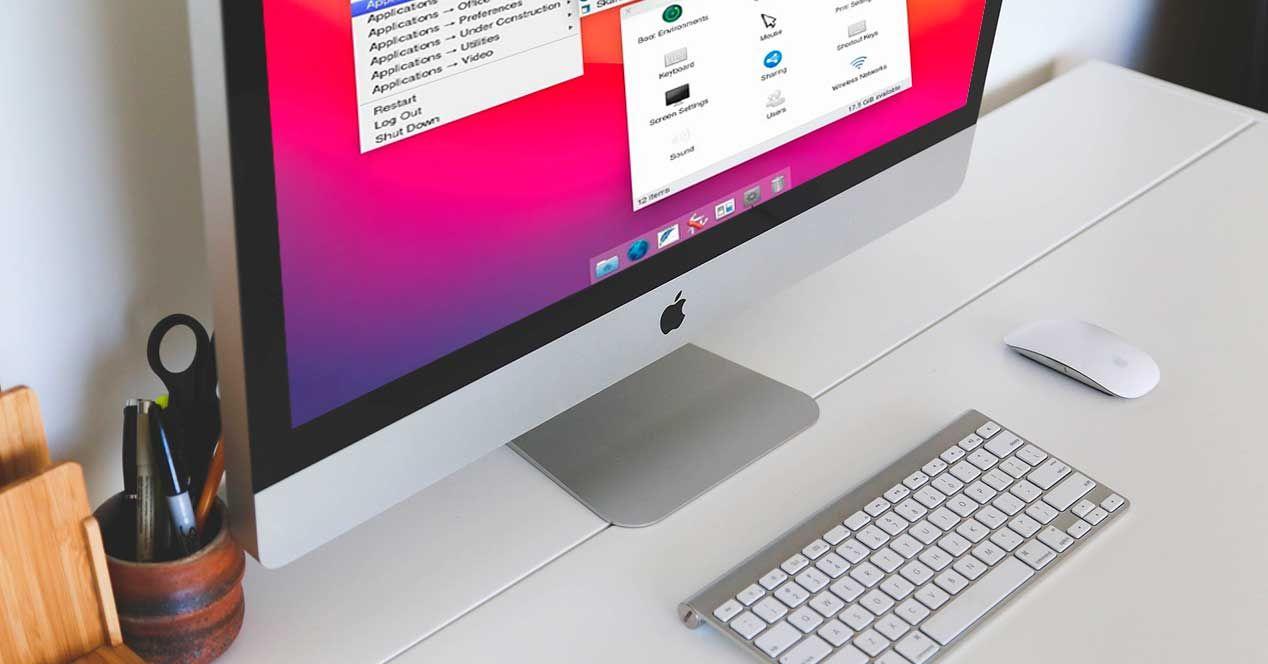
Another popular alternative for those who want to use macOS without abandoning Windows is to set up a macOS virtual machine (VM) . With this solution, you can continue using your regular Windows system while simultaneously running macOS in a window or full screen.
This approach is ideal if you're thinking of buying a Mac but aren't sure if you'll get along with it, or if you need to use a specific program that's only available on macOS . It's also very useful for developers who want to test their applications on various systems without needing multiple physical computers.
From the user's perspective, a VM functions like a "computer within your computer." The guest system (macOS) uses CPU, RAM, and disk resources from the host PC, but it's encapsulated within a file or set of files. This means that if something goes wrong, you can always delete the virtual machine and start from scratch without affecting the rest of the system.
Advantages of using macOS in a virtual machine
The main advantage of this approach is that it allows you to have multiple operating systems on the same PC without reinstalling anything. You can continue using Windows for everyday tasks and launch macOS only when needed, without touching partitions, modifying the boot process, or risking important data.
Another key advantage is that you can run macOS-exclusive applications : editors, utilities, development tools, or even professional software that only exists within the Apple ecosystem. If you're a programmer, you can compile, test, and debug your code under conditions very similar to those of a real Mac.
In terms of security, a virtual machine acts as a kind of capsule: if you download something suspicious or the guest system gets infected, the problem is contained. Malware shouldn't affect the host system as long as you don't share folders or resources without control. In the worst-case scenario, you can delete the VM and create a clean one in a few minutes.
Furthermore, when you decide to stop using that VM, simply deleting its files will free up disk space . You won't need to uninstall anything from your main system other than the virtualization software itself if you no longer need it.
Disadvantages of virtualized macOS
It's not all sunshine and roses. Virtualizing a system as resource-intensive as macOS means that performance will be worse than on native hardware . Although modern processors hold their own, the lack of full 3D graphics acceleration and certain driver limitations mean the experience isn't comparable to that of a real Mac.
If your PC is underpowered, running a macOS VM can be a real ordeal. You'll need a significant amount of RAM (ideally 16 GB on the host to allocate 8 GB or more to the VM) and a good multi-core processor. Otherwise, you'll experience slowdowns in both Windows and macOS , sped-up fans, and frustratingly slow response times.
There's also a cost of complexity: installing a virtual machine isn't as simple as downloading an app. Although many virtualization programs attempt to simplify the process, it's still necessary to understand concepts like virtual disks, resource allocation, boot types, installation ISO images, and so on. For someone without a technical background, it can seem like a somewhat intimidating process at first.
Furthermore, if the system doesn't meet certain requirements (virtualization enabled in BIOS , sufficient RAM, fast storage ), additional problems may arise : restarts, installation errors, blue screens within the VM, or constant crashes. The experience can be good, but it's heavily dependent on the initial hardware.
Most used programs for virtualizing macOS
To set up a macOS VM, you'll need virtualization software. The process is usually similar: you install the virtualization software, obtain a macOS ISO image , and create the virtual machine from scratch. Several tools come into play here, some simpler than others.
VirtualBox
VirtualBox is probably the most popular free option for getting started in the world of virtual machines. It works on Windows, macOS, and Linux, and allows you to create VMs of almost any system: from Linux distributions to Windows versions, including macOS (with the appropriate configuration).
One of its biggest advantages is that there are countless tutorials online showing step-by-step how to set up a VM, which options to select, how to troubleshoot common errors, and so on. For those without much experience, this makes all the difference compared to other, more technical solutions.
VMware
VMware (in its free or commercial versions, depending on the product) is on par with VirtualBox in popularity, although it is generally considered more powerful and flexible . It also allows virtualization of macOS and other systems, offering many advanced options for networking, snapshots, host integration, and more.
The less appealing aspect is that it can be a bit more complex to configure if you want to fine-tune very specific details. However, once properly configured, it offers very solid performance and stability for intensive use, making it a favorite choice in professional environments.
QEMU
QEMU is an extremely versatile tool that, when combined with KVM on Linux, offers outstanding performance. Its greatest strength is its smooth operation, thanks to running guest system code directly on the host hardware whenever possible, thus reducing overhead.
However, the downside is clear: it's primarily command -line controlled and requires a higher level of technical expertise. Configuring QEMU for macOS involves a solid understanding of CPU parameters, virtual devices, drivers, and many other options that aren't readily accessible with a mouse click. It's a very powerful solution, but not the most beginner- friendly.
Xen
Xen is an open-source hypervisor specifically designed for demanding users and environments requiring high-performance, high-security virtual machines . It's known for maximizing resource utilization, but also for demanding significantly more system administration skills.
Companies like Intel have collaborated to enable Xen to leverage certain hardware extensions, resulting in very efficient performance, but running macOS on top of Xen is more of a "virtualization geek" task than something a home user can do. Even so, if you fit the profile and need maximum control , it's another option in the arsenal.
Create a macOS virtual machine on Windows with VirtualBox
If you want something relatively affordable, VirtualBox is the most logical choice. The general process would be: have Windows installed, download VirtualBox, and obtain an ISO image of the macOS you intend to use. With that in hand, the basic steps to create the VM would be as follows.
First, install VirtualBox and open it. On the main screen, click "New" and fill in details such as the VM name, the folder where you'll save its files, the operating system type, and the version. Then, configure the RAM you'll allocate to the virtual machine: at least 8 GB is recommended for macOS to be usable, provided your PC has at least 16 GB to avoid overloading Windows.
Next, you define the size of the virtual hard drive. While you can technically manage with 20 GB for gaming, nowadays it's wise to allocate at least 80 GB if you plan to install applications, save projects, or work with some extra space. VirtualBox will guide you through creating this disk in VDI format or a similar format.
Once the VM is created, you can go to "Settings" to adjust parameters: number of CPU cores assigned, network features, USB support, video, etc. This is also where you'll specify the macOS ISO image that the machine will use to boot for the first time, simulating an installer from DVD/USB.
When you launch the VM, the macOS setup wizard will appear. From here, the process is similar to that of a real Mac: you choose your language, format the virtual disk using Disk Utility, install the system, wait for it to finish, and complete the initial setup (user account, time zone, basic preferences). When finished, you'll have a functional macOS desktop within a Windows window.
This same pattern can be replicated for other distributions and systems (Linux, other versions of Windows), and if at any point you no longer want that VM, you just have to remove it from VirtualBox and delete the associated files.
Preconfigured virtual machines (.OVA) for other systems
While you'll almost always have to create the VM from scratch for macOS, other systems like Ubuntu or Fedora offer the option of downloading pre-made .OVA images . These templates include the basic configuration and the mounted virtual disk, so you only need to import them.
The process in VirtualBox is very simple: open the program, go to "File > Import Virtualized Service", select the .OVA file you downloaded, and in the wizard, check options such as "Reset the MAC address of all network adapters". After clicking "Import", in a few minutes you'll have the virtual machine ready to start with a single click.
For macOS, as we mentioned, things are more complicated due to licensing and technical restrictions, so you'll usually have to configure the VM yourself. However, it's worth noting that the .OVA format can save a lot of time when dealing with other operating systems.
Classic Hackintosh hardware and its limitations
If you're still tempted to attempt a traditional Hackintosh, it's worth reviewing what kind of hardware is theoretically considered "compatible" and what its limitations are. In practice, something appearing on a list doesn't guarantee it will work perfectly in your setup , but it does reduce the risk of serious incompatibilities.
Projects like Dortania maintain lists of processors, chipsets, and graphics cards that Apple has used in its Intel-based Macs and which, therefore, should be reasonably compatible with macOS if replicated in a standard PC. Even so, Apple itself doesn't publish any official guidance on the matter: it doesn't support or endorse these builds, so everything is based on trial and error and community documentation.
Intel and AMD processors commonly found in Hackintosh
In the CPU field, for years the most used have been the 6th to 9th generation Intel Core processors, which Apple also integrated into its Intel Macs:
- Skylake (6th gen, 2015): compatible with OS X 10.11 El Capitan.
- Kaby Lake (7th gen, 2016): compatible with macOS 10.12 Sierra.
- Coffee Lake (8th gen, 2017): compatible with macOS 10.13 High Sierra.
- Comet Lake (9th gen, 2018): compatible with macOS 10.15 Catalina.
- Ice Lake (portable, 2019): also associated with macOS Catalina.
On the AMD side, Ryzen processors from the 1000 to 5000 series have proven capable of running up to macOS High Sierra through specific projects, although support has never been as seamless as on Intel. Many patches have been added over time, but there's always a sense of lagging behind Apple's original platform.
In any case, all these combinations are tied to macOS versions designed for x86. As Apple stops updating these branches and focuses solely on Apple Silicon, any Intel or AMD-based Hackintosh will be stuck on an outdated version, with no realistic possibility of installing recent macOS versions designed exclusively for ARM.
Graphics cards: lots of AMD, little or no NVIDIA
Regarding GPUs, Apple has long relied almost exclusively on AMD graphics cards in its Intel-based Macs, a trend that has carried over to the Hackintosh scene. There is native support for many Radeon RX 400, 500, 5000, and 6000 series cards , as well as several Radeon Pro and Vega lines, in some cases even extending to macOS Ventura.
However, there are important exceptions within AMD: models like the RX 6750 XT, RX 6700 XT, RX 6500 XT, and RX 6400 are not officially supported on macOS, so trying to use them in a Hackintosh is a recipe for trouble . With the RX 7000 series, things are even worse: they lack support entirely.
With NVIDIA, the situation is even worse. Beyond a few Titan Maxwell and GTX 7 cards compatible up to macOS Big Sur, modern cards (GTX 9, 10, 16, RTX 20, 30, 40) lack updated drivers. Apple stopped including support for newer generations of NVIDIA cards years ago and doesn't seem likely to change its mind, which effectively rules them out completely for a modern Hackintosh.
Typical BIOS settings for a Hackintosh
Those still determined to build a Hackintosh should also tinker with the BIOS/UEFI . Each motherboard has its own menus, but there are certain almost universal settings to avoid conflicts with macOS and bootloaders like OpenCore or Clover.
A typical example on Gigabyte motherboards would be to restore the default values (Load Optimized Defaults) if the motherboard was previously used, activate the RAM's XMP profile so that it works at its proper frequency, and disable Fast Boot , an option closely linked to Windows that can cause boot problems.
Other common options include disabling LAN PXE Boot (network booting that will not be used), forcing storage boot mode to UEFI (macOS does not support Legacy BIOS), disabling certain TPM/Trusted Computing or Vt-d security features if they cause problems with I/O address translation, and enabling specific USB parameters such as XHCI Hand-off.
These options may have different names depending on the manufacturer (ASUS, MSI, ASRock, etc.) or be located in different menus, so you often need to consult the motherboard manual or specific guides. If an option is missing, simply assume that the motherboard doesn't support it, and proceed with the remaining available settings.
The Hackintosh “sentence” in the Apple Silicon era
The main reason all of the above is faltering is Apple's transition to its own ARM-based chips . Since the arrival of the M1, through the M2, M3, and M4, Apple has made macOS increasingly dependent on this specific hardware, shrinking the ecosystem.
M processors use a RISC instruction set very different from the traditional CISC of Intel and AMD. In practical terms: a macOS compiled and optimized solely for Apple Silicon cannot run directly on an x86 PC without resorting to very complex and inefficient emulations.
To make matters worse, the latest M processors don't even offer support for dedicated AMD graphics cards, integrating all the graphics power into the SoC itself. This reinforces Apple's control over compatible hardware and virtually eliminates the possibility of building anything remotely equivalent using standard consumer components.
Technically, a macOS emulator for ARM running on x86 could appear in the future (similar to what's done with Android on PCs), but the potential user base is very small and the legal and technical barriers are enormous. For now, everything suggests that the Hackintosh we knew has a set expiration date and that new versions of macOS will live exclusively on Apple devices.
Given this situation, sensible alternatives include recycling an old Mac with patches, using macOS in Docker or a VM for specific tests, or upgrading to a Mac Mini or similar if you need stability and official support; if you're coming from Windows, see tips for Windows users switching to macOS . Each option has its trade-offs, but by combining several of them, you can continue working with macOS without committing to new hardware at the first sign of a switch.


Passionate writer about the world of bytes and technology in general. I love sharing my knowledge through writing, and that's what I'll do on this blog, show you all the most interesting things about gadgets, software, hardware, tech trends, and more. My goal is to help you navigate the digital world in a simple and entertaining way.