- DaVinci Resolve Studio offers a professional color correction system with advanced color space management and powerful creative tools.
- There are two main workflows: manual work with Color Space Transform and DaVinci YRGB Color Managed mode, each with advantages depending on the project.
- The cinematic look is best integrated by creating a large workspace and applying Film Look Creator or LUTs to well-placed nodes within the pipeline.
- There is no single correct method: professional workflows share common foundations, but are adapted to each colorist, camera, and type of production.
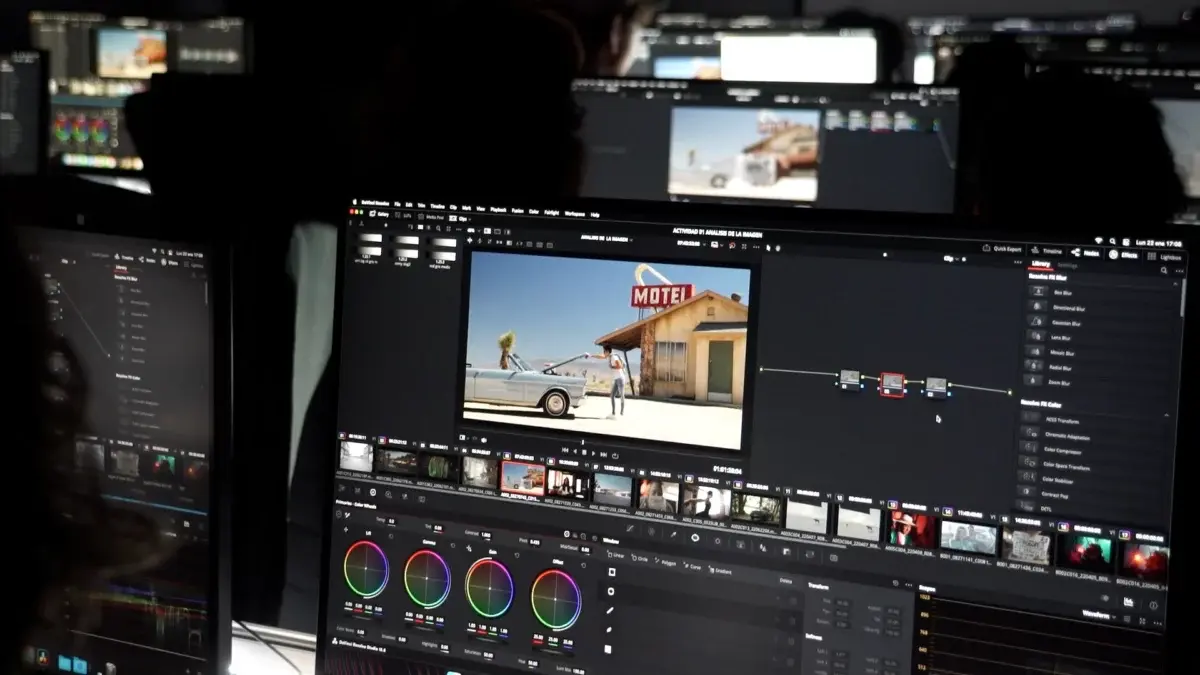
If you're interested in achieving professional color grading for your videos in DaVinci Resolve , you've come to the right place. Color grading is no longer just for big studios: with a decent computer and a bit of practice, you can achieve impressive results, whether you're shooting with a Blackmagic camera in Braw or recording with your phone.
DaVinci Resolve has become the industry standard for color correction and cinematic color grading . The Studio version, moreover, unlocks a wealth of powerful creative tools: a neural engine, advanced noise reduction, and compatibility with Dolby Vision, Dolby Atmos, and HDR10+. Let's explore how to leverage all of this without getting overwhelmed, and above all, by understanding what happens to color at each stage of the workflow.
DaVinci Resolve Studio and its advantages for color correction
The paid version of the program, DaVinci Resolve Studio , is designed for those who want to go beyond editing and fully immerse themselves in a professional color workflow. In addition to removing some limitations of the free version, it unlocks features that make a real difference when you start refining your look.
Among its technical capabilities, Studio offers a working resolution of up to 32K , frequencies of up to 120 f/s and compatibility with multiple GPUs, something key if you are going to work with heavy projects, digital cinema cameras or timelines with a lot of color correction and effects.
It also integrates comprehensive tools for immersive audio and HDR streams , with support for rendering in Dolby Atmos, Dolby Vision, and HDR10+. This is especially useful if you work for platforms that require these standards or if you simply want your project to be future-proof.
One of the strengths of the Studio version is the DaVinci Neural Engine , the neural engine that powers features such as facial recognition, automatic color adjustment, advanced speed distortion, automatic color balance, and various smart tools that save a lot of time.
Furthermore, Studio includes temporal and spatial noise reduction , lens distortion correction, motion effects, high-quality image deinterlacing, advanced file management, network workflows, a remote API, and compatibility with rendering and encoding plugins. In short: it's an environment designed for serious post-production work.
Why DaVinci Resolve is ideal for learning color grading
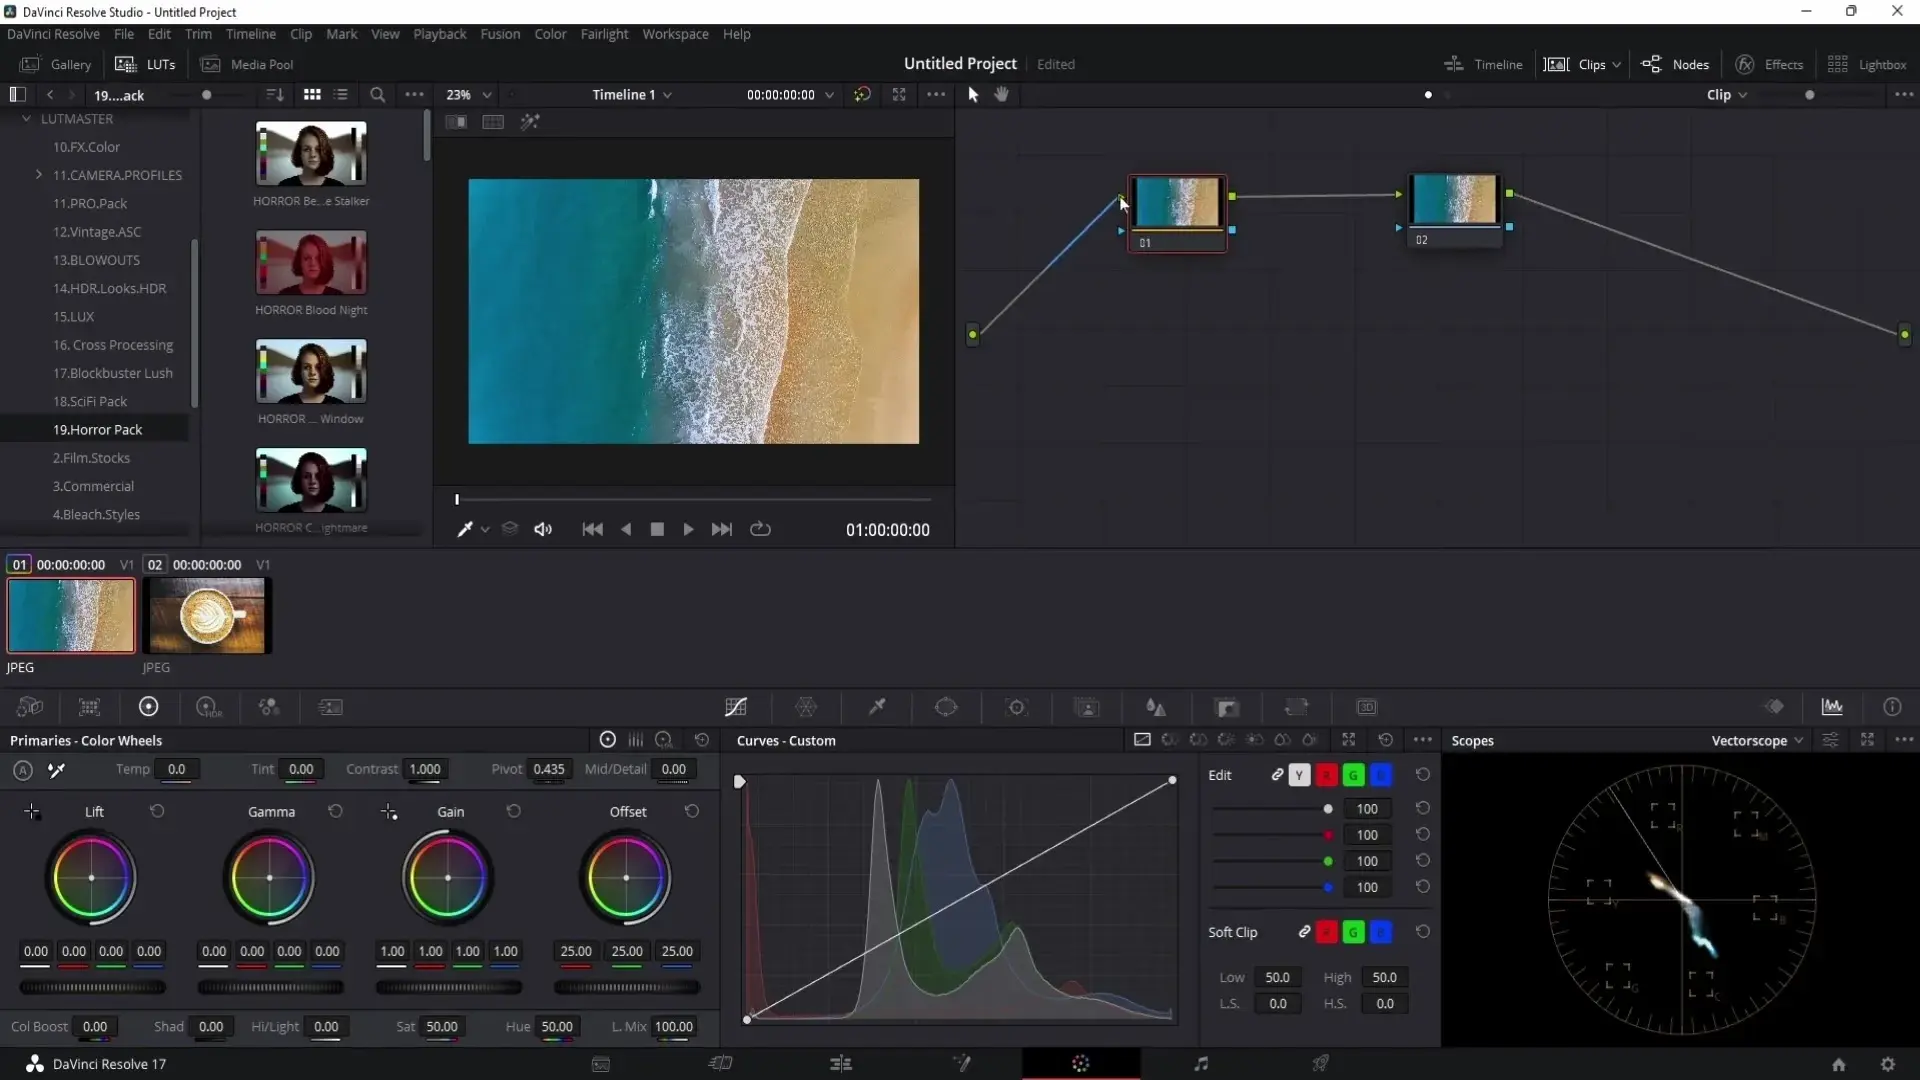
The world of color grading is constantly changing: new cameras, new logarithmic curves , more powerful tools, and techniques appear almost daily. Amidst all this noise, DaVinci Resolve remains a pillar because it offers a highly consistent yet flexible color system.
The idea here is to condense into a logical workflow what great colorists have been refining for years: clear methods, best practices, and a solid foundation that you can adapt to your style. We're not going to just theorize; we're going to bring all of this down to earth so you can apply it with any camera.
We'll talk about how to work with video shot on mobile phones ( Android or iPhone ), how to take advantage of the logarithmic curves of professional cameras, what to do with action cameras and their profiles, how to process RAW files, and how to unify all that chaos into a manageable project within DaVinci Resolve.
The goal is for you to stop seeing color grading as a black box and understand when one method or another is appropriate, what Resolve does for you automatically, and at what points it's worthwhile to take control to refine the result.
How to work with color in DaVinci Resolve: two approaches
When you decide that your project's color grading will be done in DaVinci Resolve, you basically have two ways to manage color space in your workflow:
- Working by manually transforming the color space.
- Use DaVinci's automatic color management (Color Managed).
The fundamental difference is how much control you want over the conversion between color spaces and how much you delegate to Resolve's own color management engine . Both approaches are valid; neither is absolutely "best," and in fact, many colorists use both depending on the project.
When you import footage into the timeline, you can have clips from multiple cameras, each with its own color grading, color space, and gamma curve . If you don't unify all of that somehow, your color grading becomes chaotic: one shot reacts to adjustments one way, the next another, and it's very difficult to maintain visual consistency throughout the project.
Manual Color Space Transform or DaVinci Color Managed?
The million-dollar question is: which color management system is best for each project? The honest answer is that it depends. Each method has its pros and cons, and it's wise to understand them to avoid struggling with the software.
The CST (Color Space Transform) node -based workflow is usually slower to set up because you have to manually specify the starting color space and gamma curve, and the one you want to transform into. In return, it gives you extremely fine control over all those transformations.
The DaVinci YRGB Color Managed system is much more straightforward: you tell Resolve how you want to process color in your project, and it takes care of translating each clip to the workspace by reading camera metadata whenever possible. It's an elegant, fast, and very convenient workflow when all your footage shares similar characteristics.
As a very brief rule, many colorists tend to adopt something similar to this criterion: use manual mode with CST when they have many different camera sources or need to closely monitor each conversion, and resort to DaVinci Color Managed when the project is more homogeneous and they don't want to complicate their lives.
To illustrate the two approaches, we will use as a basis a clip recorded in BRAW with a Blackmagic camera , a common material in professional work and which also takes great advantage of the Resolve ecosystem.
Project setup with Color Space Transform (manual mode)
The first approach is to work with the classic DaVinci YRGB color system and use CST nodes to clearly control the before and after of color correction. The idea is to process the image in a large, comfortable color space and then convert it to the output color space we need.
In the project settings, under the Color Management tab, select DaVinci YRGB for Color Science . Then, for the timeline, a good starting point is to use Timeline Color Space in DaVinci Wide Gamut/Intermediate and Output Color Space in Rec.709 Gamma 2.4, which is the standard for SDR.
This combination allows you to work in a much wider color space (DaVinci Wide Gamut) and a more generous dynamic range during grading, reducing the risk of unwanted clipping and saturation when pushing the image in primaries and secondaries. At the end of the process, the image is adjusted to a Rec.709 Gamma 2.4 intended for standard display.
In the LUTs tab, it is recommended to select Tetrahedral mode in the 3D lookup table interpolation section , which usually offers a smoother and more accurate interpolation of the LUTs you use, avoiding artifacts in complicated color transitions.
Once the project is set up, on the Color page we add two key nodes, each with a Color Space Transform effect. The first CST converts from the camera space to the workspace ; the second CST translates from the workspace to the final output space.
In a Blackmagic BRAW clip, the first CST would be set to the camera's native color space and gamma as the input, and DaVinci Wide Gamut/DaVinci Intermediate as the destination. That will be the environment in which you'll actually do the color grading.
The second CST, located at the end of the basic correction chain, will transform from DaVinci Wide Gamut/Intermediate to the Rec.709 Gamma 2.4 output space . Between these two nodes is where you'll work all the color magic: primaries, contrast, saturation, curves, skin corrections, and any secondary treatments.
Node structure for the mode with CST
Between the first and second CSTs, it's advisable to build a clear node structure. Typically, you start with primary corrections in serial nodes (exposure, white balance, overall contrast, global saturation) to roughly adjust the image.
From there, nodes are added for secondary corrections, which can run in parallel if you want to isolate skin tones, clean up skies, work on backgrounds, or add more localized touches of color without affecting the rest. Placing these corrections in parallel helps maintain better control and prevents them from "cluttering" each other.
Think of this CST workflow as a modular process: one node handles the transfer from the camera to the workspace, several intermediate nodes refine the image, and a final CST node adapts everything to the delivery standard. While it may seem complex at first, knowing exactly what each link in the chain does provides enormous peace of mind.
DaVinci YRGB Color Managed mode (no manual CST)
If you prefer a workflow where the program does some of the work for you, you can opt for the DaVinci YRGB Color Managed system . Here, the philosophy is different: you tell Resolve what you expect in the input, how you want to process the color, and what the output should be, and it takes care of the conversions.
To do this, in the project settings, under Color Management, select DaVinci YRGB Color Managed in Color Science. It's important to disable automatic mode and select Custom in Color Processing Mode to have more control over the process.
In Input Color Space, you can set, for example, Rec.709 (Scene) if most of your footage is in that color space, while for Timeline Color Space you again use DaVinci Wide Gamut/Intermediate as your wide working color space. In Output Color Space, again, use Rec.709 Gamma 2.4 for standard delivery.
With this configuration, Resolve handles transforming clips from their input space to the working space and, at the end of the pipeline, converts them back to the output space . The difference is that you don't need to manually place CSTs on the nodes; the color management system handles this in the background.
Once the project is set to Color Managed mode, the node structure is simplified : you create your chain of primaries and secondary colors without having to explicitly specify color spaces. The workflow is virtually the same as before, but with fewer pieces to configure.
Advantages and limitations of Color Managed mode
The biggest draw of the DaVinci YRGB Color Managed system is its speed: in projects where you've shot with a single camera or a well-defined set of compatible cameras, it takes a lot of friction out of the process and lets you start color grading almost immediately.
Furthermore, because it relies on metadata, Resolve is usually quite capable of accurately interpreting footage from cameras like Blackmagic, ARRI, some Sony models, etc. This can save you time manually identifying color spaces and gamma curves.
On the other hand, you lose some of the pinpoint control that the CST workflow provides. If you mix many sources or use cameras that don't clearly display metadata, you might have to force input configurations or even prefer to revert to the CST node method to avoid relying so heavily on the program's automatic decisions.
In any case, it is perfectly feasible to build a professional pipeline with DaVinci Color Managed, and many colorists use it daily, especially in repetitive productions or those with very clear delivery requirements.
Where does the “movie look” fit into the color flow?
Once you've mastered how color transforms, the age-old question arises: when do you apply the cinematic look to your project ? Do you use purchased LUTs, Resolve's built-in tools, or build your own creative system?
Many people jump straight into loading a LUT and call it a day, but that's sometimes like applying a random filter without understanding what it's doing underneath. If the LUT isn't designed for your workspace or doesn't fit your conversion workflow , you can ruin the dynamic range or create colors that are impossible to correct later.
The Studio version of DaVinci Resolve offers a powerful tool called Film Look Creator . With it, you can design your own look, using a more transparent logic than a mysterious LUT downloaded from the internet, and precisely adapt it to your workflow.
The great advantage of building your look with Film Look Creator is that you know exactly when it's applied, what color space it's working in, and how it affects the image . This allows you to integrate it with the other nodes in a much more controlled and reproducible way.
In a manual CST workflow, it's common practice to place the Film Look Creator node just before the second CST that brings the image to the output color space . This way, you take advantage of the full color depth of the wide working space and only then remap everything to Rec.709 (or whatever is appropriate for your delivery).
In the Color Managed workflow, the approach is similar: you place Film Look Creator after you have made your primaries and secondaries, that is, when you already have the image technically clean and balanced, and the creative node is dedicated to giving the final "film" character.
Controlled use of LUTs in DaVinci Resolve
If you've already invested in a LUT package and want to use them, that's perfectly fine: they can be integrated into a professional workflow as long as you know where to place them and what they're designed for . The key is not to use them as a magic bullet that fixes everything.
For working with artistic LUTs, the manual CST method is usually more convenient because it allows you to configure the CST output space just before the node with the LUT, thus adapting it to the environment that this LUT expects to receive.
A very common trick is to configure the second CST not for Rec.709 Gamma 2.4, but for Cineon Log . Cineon is a very standard logarithmic curve derived from the conversion between film negative and digital, designed to preserve the maximum information with the minimum loss.
By moving your image from the workspace to Cineon Log, you're creating a very friendly environment for many look LUTs, which are specifically designed to work with logarithmic cine-type curve footage . This reduces banding, clipping, and other artifacts when applying the LUT.
After that second CST to Cineon Log, you add another serial node with the LUT you want to use. DaVinci Resolve already includes some carefully selected LUTs, designed to give good results when combined with a well-configured color transformation.
The LUT should not be the first step or the last patch in the workflow, but one more piece within a logical chain: technical correction of the image, conversion to a suitable space for the LUT, application of the look LUT and, if necessary, small fine adjustments afterwards to finish exposure, skin tones or contrast.
There is no single “correct” workflow
Something important to keep in mind is that, in color grading, there's no single recipe that works for everyone . If you analyze how great colorists like Darren Mostyn, Waqas Qazi, Cullen Kelly, and others work, you'll see that each one has their own style and way of structuring nodes and managing color.
What does exist are commonalities: working in a wide color space, maintaining a clear separation between technical and creative corrections , respecting consistency between shots, controlling exposure well, and not blindly depending on other people's LUTs.
Many professionals have spent months, even years, refining their workflows to arrive at something that works quickly, is reproducible, and allows them to maintain quality over long projects . Your goal isn't to copy anyone exactly, but to understand the fundamentals and then adapt the framework to your needs.
DaVinci Resolve gives you more than enough tools for that: a highly flexible node system, advanced color management, remote color grading options, networking capabilities, and integration with dedicated hardware . Everything is set up so you can get started easily and add complexity only when you need it.
And if you want to equip yourself with cameras, monitors (and learn how to adjust the screen's color temperature) , or control surfaces that fit well with this environment, you can always use recommended suppliers and affiliate links. It doesn't cost you any more, and in return, a small portion goes to creators who invest time in explaining these workflows and helping you take your projects to the next level.
Mastering color correction in DaVinci Resolve is about understanding how images are transformed between color spaces, deciding whether a manual CST workflow or a Color Managed system is more beneficial, and learning how to place your creative tools (Film Look Creator, LUTs, child nodes) in the right place in the pipeline. When you fit all these pieces together and combine them with real-world practice, your videos begin to have that coherence, depth, and "flavor" we associate with professional color grading and a cinematic look.


Passionate writer about the world of bytes and technology in general. I love sharing my knowledge through writing, and that's what I'll do on this blog, show you all the most interesting things about gadgets, software, hardware, tech trends, and more. My goal is to help you navigate the digital world in a simple and entertaining way.
Table of Contents
- 1 DaVinci Resolve Studio and its advantages for color correction
- 2 Why DaVinci Resolve is ideal for learning color grading
- 3 How to work with color in DaVinci Resolve: two approaches
- 4 Manual Color Space Transform or DaVinci Color Managed?
- 5 Project setup with Color Space Transform (manual mode)
- 6 Node structure for the mode with CST
- 7 DaVinci YRGB Color Managed mode (no manual CST)
- 8 Advantages and limitations of Color Managed mode
- 9 Where does the “movie look” fit into the color flow?
- 10 Controlled use of LUTs in DaVinci Resolve
- 11 There is no single “correct” workflow