- GPU and memory overclocking with MSI Afterburner improves FPS and smoothness if power, temperature, and stability are well controlled.
- Each graphics card has a unique headroom, so it is essential to increase frequencies gradually and validate with benchmarks and long stress tests.
- Cooling, power limits, and a good power supply are just as important as extra MHz for maintaining sustained performance.
- Features like OC Scanner and Afterburner profiles make it easy to achieve safe and convenient overclocking on both desktops and PCs. portable.
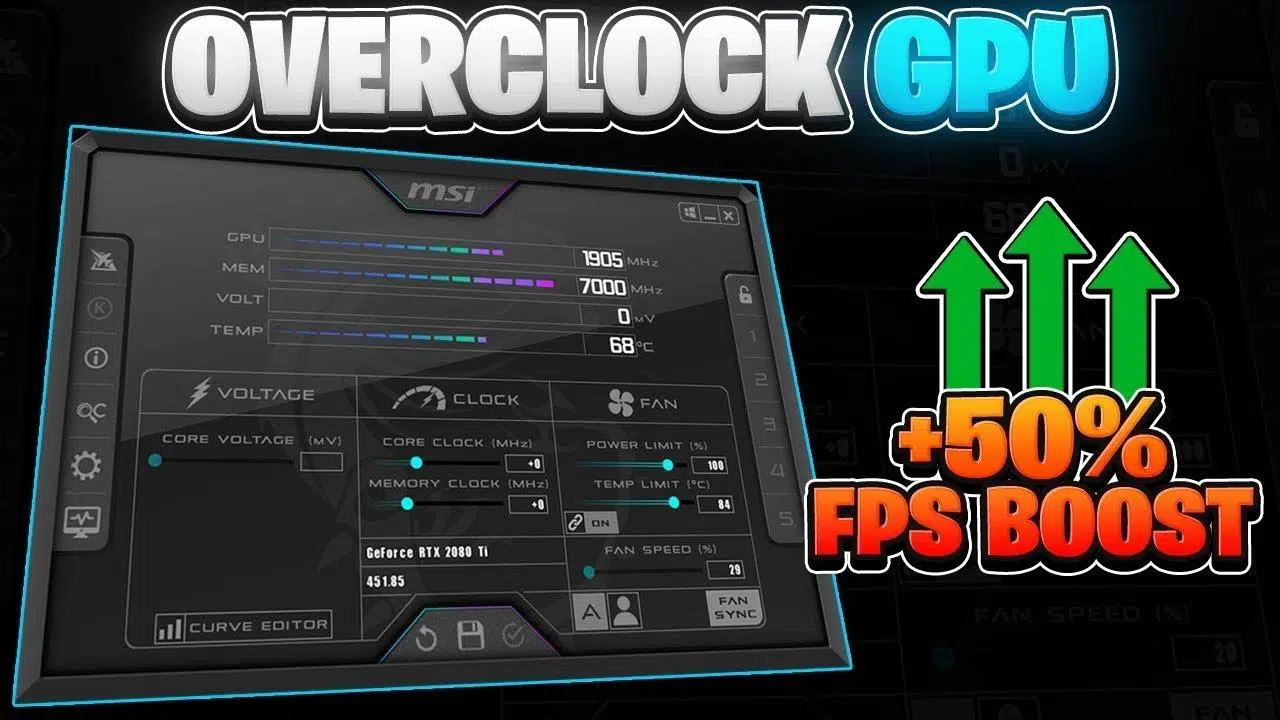
If you have an RTX 3060 in a Legion laptop, an RTX 2070 desktop, or virtually any modern graphics card, you've probably wondered how to squeeze out a few extra FPS in games like CS2, competitive shooters, or demanding AAA titles . The most direct way to achieve this, without changing your hardware , is to overclock the GPU and memory using a tried-and-tested tool: MSI Afterburner.
The goal of this guide isn't to break records or fry your graphics card with excessive voltage, but rather to explain how to achieve safe, stable, and moderate overclocking that improves the smoothness of your games while keeping temperature, noise, and the lifespan of your equipment under control. We'll break down all the concepts used in the best guides in the industry and integrate them into a single, long, clear, and very practical article.
What exactly is GPU overclocking?
When we talk about GPU overclocking, we're referring to increasing the operating frequency of the graphics chip and its video memory beyond what the card manufacturer specifies. Each card comes from the factory with base and boost clock speeds designed to be stable in any reasonable environment, but the silicon itself usually allows for a bit more overclocking.
For example, an enthusiast-level graphics card like a Titan Xp might come configured with a core boost clock of around 1582 MHz and an effective memory clock of 5505 MHz . However, with good airflow and a decent power supply, it's possible to push those values much higher and get the GPU to process more operations per second, resulting in higher FPS and smoother gameplay in almost all games.
This extra frequency not only improves the frame rate, but also allows you to increase graphics settings that you would otherwise have to reduce. In titles like Nier: Automata, The Witcher 3, or Assassin's Creed Odyssey , a fine overclock can make the difference between having to lower shadows, textures, or resolution, and being able to enjoy everything at its best while maintaining a frame rate of 60 FPS or higher.
Furthermore, many productivity tasks, such as GPU rendering or accelerated video encoding, also benefit from this boost. Ultimately, you're forcing your card to perform like a slightly higher-end model within the same family.
The typical analogy is that of a long-distance runner accelerating to sprint: for a while they'll go faster than normal, but that extra effort generates more heat, higher power consumption, and more physical stress . The GPU works the same way: increasing frequencies and, in some cases, the power limit, raises temperatures, fan noise, and the risk of instability, so it's vital to do it sensibly.
The three pillars of safe overclocking: design, power, and cooling
To understand how far you can push your graphics card, there are three key factors that take precedence over everything else: chip design, power consumption, and cooling capacity . Beyond that, every graphics card is unique, even within the same model.
First, the chip architecture: all GPUs in the same family share the same design, but due to how the silicon is manufactured (lithography, position on the wafer, slight chemical variations), some chips perform somewhat better than others. This explains why two RTX 2070s with the same cooler can have different overclocking margins even using the same settings in MSI Afterburner.
Second, power consumption: higher frequency and voltage mean the chip draws more power and generates more heat . This extra power must come from a stable power supply (for example, a well-built 750W Gold, like the Deepcool in the example) and pass through a PCB and VRMs designed to handle it without problems.
Third, cooling: the higher your GPU temperature rises, the less headroom you'll have for sustained frequency. Even if you achieve high peaks of 1950-2000 MHz, if the card overheats and starts throttling (lowering frequencies to protect itself) after a few seconds, the average performance may be the same or even worse than without overclocking.
Therefore, a good heatsink (whether from a well-designed laptop or a custom graphics card with multiple fans), a case with decent airflow, and, in the case of the processor, an AIO radiator like a 240mm Corsair H100i, help the entire system remain stable and allow turbo frequencies to be sustained without drops and without needing to run the fans at 100% making unbearable noise.
MSI Afterburner: the reference tool
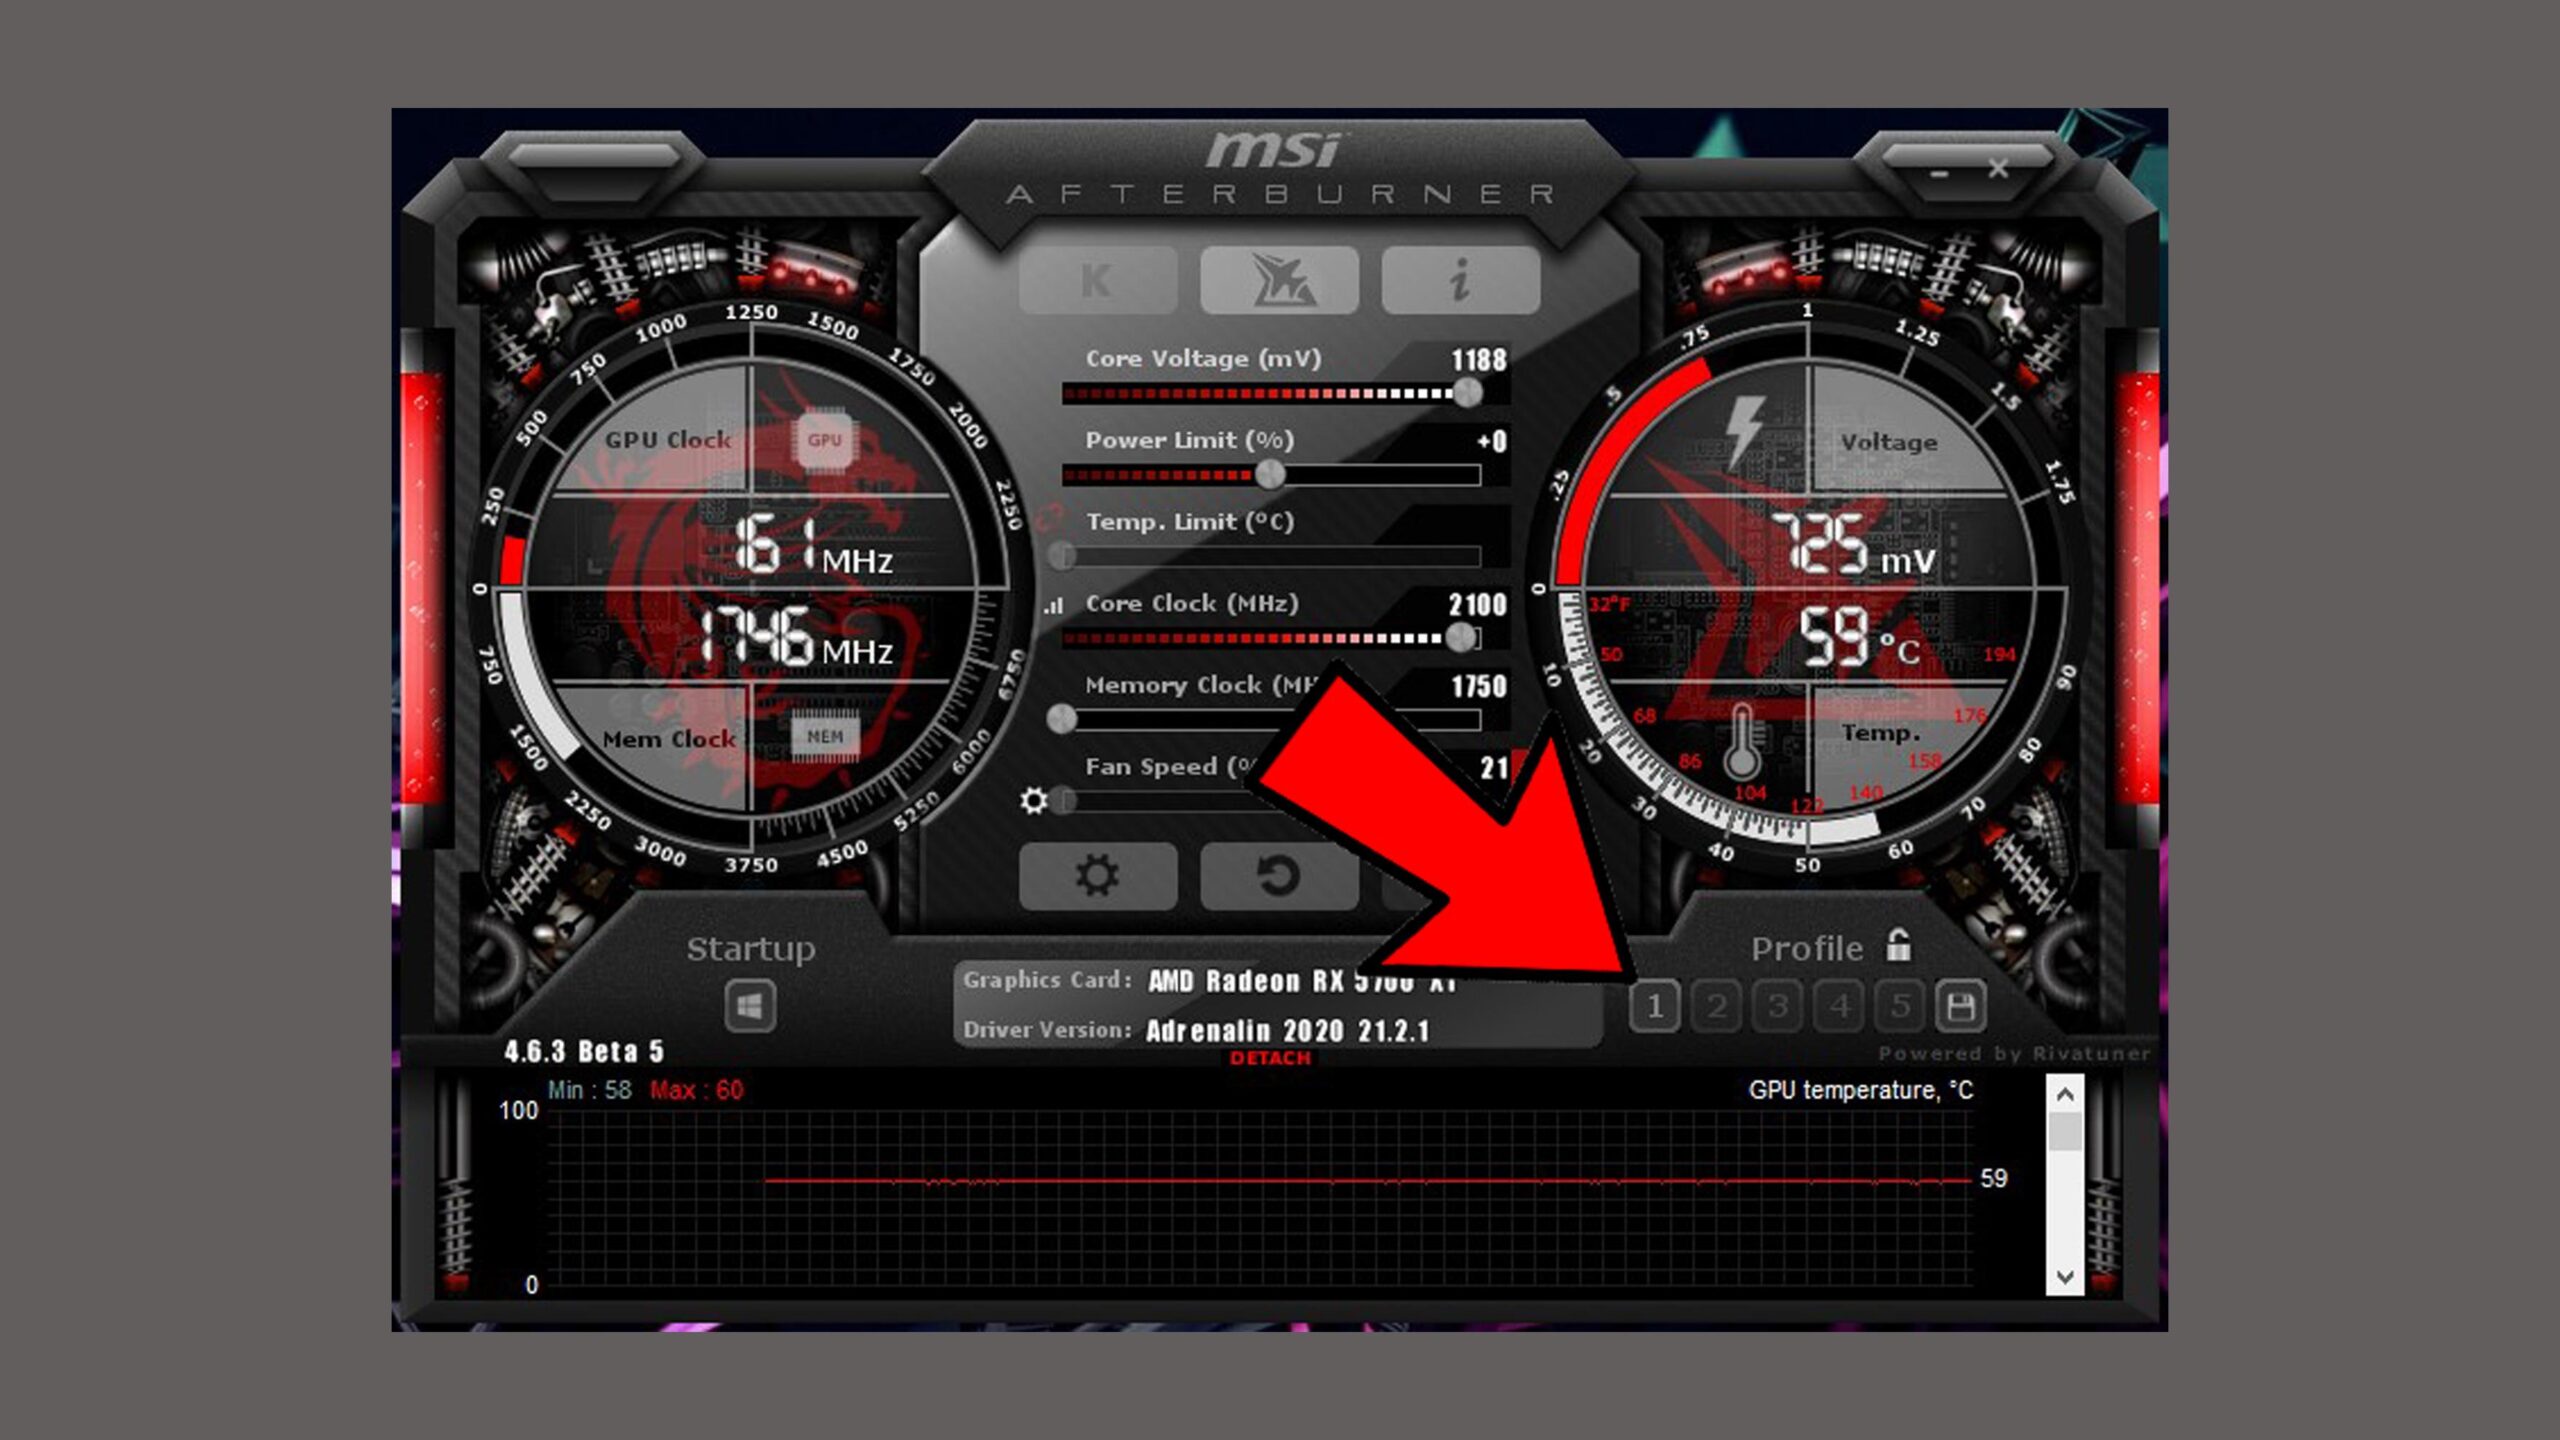
Afterburner's interface is somewhat reminiscent of a race car's dashboard: two large dials on the left and right, and in the middle, a series of sliders that control the main overclocking parameters. On the left dial, you'll see the current GPU clock and memory clock, including the base clock, the maximum theoretical boost clock, and the frequency being used in real time.
On the right-hand side, you'll see the GPU voltage and current temperature . It's important to monitor how these values rise when you put the card under load, as they provide a clear indication of whether your cooling system is adequate for what you're trying to do.
Between the two spheres are the six fundamental controls: Core Voltage, Power Limit, Temp Limit, Core Clock, Memory Clock, and Fan Speed . These allow you to adjust the power headroom, target temperature, extra MHz above the base clock, and fan curve. Each has its own function, and not all are equally safe to adjust.
Getting to know the basic controls of MSI Afterburner
The first dial is Core Voltage , which allows you to increase the GPU voltage by a percentage. On many modern graphics cards, this control is locked or limited for safety reasons, and although it can be enabled in advanced options, it's the last thing you should touch. More voltage means significantly more heat and stress on the chip and VRMs, and in practice, it usually provides only small gains compared to what can be achieved by increasing the clock speed and power limit.
Next is Power Limit , perhaps the most useful and easiest-to-understand control: it's the maximum percentage of power the GPU can consume relative to its base design. Increasing it to the card's maximum (often +10% or +20%) allows the graphics card to use more power to sustain higher frequencies for longer, which is crucial to prevent the boost clock from dropping as soon as the temperature rises.
The third slider is Temp Limit . Here you define the target or maximum temperature you're willing the GPU to reach. If you link it to the power limit, the card will try to maintain that balance by consuming more or less power depending on how well it can cool itself. If you separate them, you can allow more power but maintain a more conservative temperature, ideal if you don't want the fans to spin up or your case to turn into an oven.
The two most important dials for pure performance are Core Clock and Memory Clock . The former adds (or subtracts, in downclocking) MHz to the core frequency; the latter does the same for the VRAM. On many graphics cards, it's the Core Clock increase that has the biggest impact on FPS in modern games, although in titles that are very texture-dependent, memory also plays a significant role.
Finally, Fan Speed lets you leave fan management in automatic mode, set a fixed speed, or define a more aggressive or gentler manual curve. Auto mode is usually quite well-tuned for everyday use, but if you're fine-tuning your overclock, you might want to force a more demanding curve to maintain slightly lower temperatures, even at the expense of noise.
Essential preliminary step: measuring factory performance
Before touching a single MHz, it's essential to know how your system performs right out of the box. This means running a benchmark with the GPU at stock frequencies and noting average, minimum, and maximum FPS, as well as temperatures and approximate power consumption.
Tools like 3DMark or Unigine Valley are ideal for this: both simulate graphically demanding scenes that push both the chip and the memory to their limits, and allow you to repeat the tests under the same conditions. This way you can objectively compare whether your overclock actually provides an improvement or just adds noise and heat.
Other utilities like MSI Kombustor or FurMark are also useful for constant stress testing, but their load can be more aggressive than what a real game represents; they are great for detecting instabilities, although they are not always the best indicator of the performance you will get in your favorite title.
While you're running these tests, keep Afterburner's hardware monitor (or GPU-Z- type tools ) open in historical graph mode, because it will allow you to see the evolution of temperature, frequency, voltage, and usage over several minutes, not just a single snapshot.
How to safely overclock your GPU step by step
With your reference noted, you can start experimenting. The general recipe for safe overclocking with MSI Afterburner is based on gradually increasing the clock speed, testing, observing, and repeating. There are no magic shortcuts or universal values, because each chip is unique, even within the same model.
The first step is to increase the power limit to the maximum allowed by your graphics card and also raise the temperature limit slightly above the default value, provided your cooling system is adequate. This allows the GPU's automatic boost to function properly without prematurely entering thermal or power throttling.
Next, start with the GPU: increase the Core Clock by a moderate initial increment, for example, +40 or +50 MHz , apply the changes using the Afterburner check button, and run a short stress test with a benchmark or a demanding game for a few minutes. If everything goes well, without graphical artifacts or crashes, add another 10-20 MHz and repeat.
As you approach the limit, you'll notice clear symptoms: driver crashes, blue screens, restarts, or visual glitches (colored pixels, broken textures, strange lines). At that point, take a step back, lower the overclock by about 10 MHz from the last stable value, and consider that margin your safe overclock for the GPU.
The logic with memory is similar, but a slightly higher percentage is usually acceptable. A general rule is that many modern VRAM modules support between 10% and 15% extra frequency compared to the factory setting, although some models offer more and others barely increase. Increase the Memory Clock in 50 MHz increments and test; if a specific game starts showing artifacts while the rest don't, you might need to reduce the frequency a bit to ensure stability across the entire game library.
How cooling and noise affect your overclocking
One often overlooked aspect is that boasting about 2000 MHz peaks isn't very useful if the card only maintains that figure for a few seconds before overheating. This is very clear with cards like an RTX 2060 Founders Edition with a more basic cooler: adding 100 MHz can produce impressive peaks of almost 1935 MHz, but the temperature quickly rises, the fan struggles, and the actual average frequency drops even below the stock speed.
In these cases, overclocking ends up being counterproductive: you increase power consumption, noise, and temperature, but in sustained FPS you perform the same or worse than without any adjustments . The solution lies in improving the cooling system (more airflow in the case, a better heatsink, and good thermal paste) or accepting a more moderate overclock that the card can handle during long gaming sessions.
However, when you use a GPU with a more aggressive custom design, featuring three fans and a large heatsink , the situation changes. An RTX 2070 with a good PCB and good cooling can maintain a consistent speed of around 2 GHz at just 60°C, leaving plenty of headroom to overclock a few MHz without the temperature skyrocketing.
This is where the fan curve comes into play: if you increase the fan speed too much to keep the graphics card cool, you can end up with a PC that sounds like a jet engine. It's best to find a balance between acceptable temperature and tolerable noise . Often, sacrificing 20-30 MHz in frequency in exchange for a slower fan speed is worthwhile and makes the system much more pleasant to use.
Remember that stability isn't just about avoiding crashes; it also means that the turbo frequency remains stable over time without constant sawtooth patterns caused by throttling. Monitor the frequency and temperature graphs for at least 30-60 minutes of actual gameplay to ensure consistent performance.
OC Scanner and automatic overclocking with MSI Afterburner
If your GPU is a relatively modern NVIDIA (GTX 10X0, 16X0, or RTX 20X0 series and later), MSI Afterburner includes a feature called OC Scanner , based on NVIDIA Scanner technology. This tool does much of the trial-and-error work for you, generating a custom frequency/voltage curve for your chip.
The process is simple: you press the OC button in the Afterburner interface, a special window opens, you first run a quick test to check the GPU's status, and then you start the scan . The program gradually increases the frequency at different voltage points and subjects the card to automatic stability tests.
After several minutes (usually between 10 and 30), OC Scanner calculates the highest curve that remains stable for your specific chip and sends it back to Afterburner. You'll see the Core Clock field change to display the text "Curve" instead of a fixed value, indicating that you're using this dynamic setting.
Ideally, you should save this result to one of Afterburner's available profiles (1 to 5) and still run your own benchmarks and favorite games to ensure that no problems appear in your actual use. The automatic scan is quite conservative, but it doesn't hurt to do an additional check.
Overclocking laptops: limited margin and extreme caution.
Most laptop GPUs can also be overclocked with MSI Afterburner, including many models with RTX 3060s like the Legion 5 Pro and other gaming laptops . The problem is that these machines have much smaller chassis, more restricted airflow, and the stock fans are often already working at a very low speed.
When you increase the frequency of a laptop, the generated heat is concentrated in a very small space, making it easy to reach the thermal limits of the design . This results in more constant noise, potential thermal throttling, and in the worst-case scenario, emergency shutdowns of the device if dangerous temperatures are reached.
Even so, it's possible to squeeze out some extra performance with modest adjustments: increases of +25 or +50 MHz in the GPU and +50 MHz in memory can have an impact on minimum FPS in games like Far Cry Primal, raising it, for example, from 44 to more than 50 FPS, which is already noticeable in terms of smoothness, without needing to push the system to its limits.
Keep in mind that many laptops aren't designed for intensive overclocking and can become unstable even with small changes. If you notice frequent freezes, fans running at 100% nonstop, or temperatures constantly hovering around 90-95°C, it's best to take a step back, check the thermal paste, clean dust, and optimize software before pushing the MHz even further.
Optimize the software before thinking about more MHz
Overclocking is only part of the picture. If your operating system, drivers, and background programs are a mess, you won't get the full benefit of that extra frequency you're fighting for on your GPU.
It's a good idea to make sure your graphics card drivers are up to date , disable applications that run unnecessarily at startup, keep resource-intensive antivirus programs or disk-hogging suites to a minimum, and clean up junk files and unused programs. Dedicated optimization tools can help you put unnecessary processes to rest while you're gaming, freeing up CPU, RAM, and disk space for what really matters.
This type of optimization often improves the feeling of smoothness as much as, or even more than, a few extra MHz, especially on systems where the GPU isn't the only bottleneck. After fine-tuning this aspect, overclocking the graphics card becomes the icing on the cake, not the only option.
Graphics cards already overclocked from the factory
If you don't feel like doing manual testing or simply want a straightforward solution, you can buy factory-overclocked graphics cards , such as EVGA FTW3, MSI Lightning, ASUS Strix, and similar models. These cards come with higher turbo frequencies than the reference design.
For example, while a basic RTX 2080 Ti might have a boost clock of around 1635 MHz , a top-of-the-range version like the Lightning Z can come out of the box at around 1770 MHz, with additional headroom to keep going up thanks to its better PCB, more robust power phases, and much more powerful heatsinks.
The advantage is that the manufacturer has done much of the silicon selection and thermal design work for you, and the factory settings are usually well-tested in terms of stability and reliability . Even so, you can use MSI Afterburner to fine-tune things further or to create custom fan profiles, power limits, or even a slight undervolt if you're looking for less noise while maintaining performance.
What you need to get started: checklist
Before you jump in, it's a good idea to go over a short checklist. For a reasonable and safe GPU overclock, you need, at a minimum, a reliable overclocking tool, a suite of stress tests, and a well-ventilated system . With that, you're ready to experiment without too many surprises.
As a core tool, MSI Afterburner is the most comprehensive and compatible option. If for any reason it doesn't suit you, EVGA Precision X1 is a decent alternative within the NVIDIA ecosystem, although it requires registration, and for AMD Ryzen CPUs there's Ryzen Master, which focuses more on processors than graphics cards.
As for stress tests, it's advisable to combine several: 3DMark offers detailed tests with metrics and automation (although the full version is paid), while Unigine Valley or Superposition render complex scenes like forests or urban environments that put the CPU/GPU combo to the test under conditions quite similar to a real game.
The idea is to run these tests multiple times, for extended periods (sometimes hours), to detect problems that don't always appear within five minutes. It's relatively common for an overclock to seem stable at first, but end up crashing the driver or the game after an hour of intense use, so patience is a key virtue in this field.
Finally, make sure your power supply has sufficient power and certification for what you're going to do (for example, a 750W Gold from a recognized brand is perfect for a system with a Ryzen 5 5600X and RTX 2070) and that your case and cooling system aren't already on the verge of collapse.
If you take a prudent approach, measure carefully before and after, monitor temperatures , and don't obsess over squeezing every last MHz, overclocking with MSI Afterburner becomes a fairly safe and entertaining way to learn about your hardware and get a little extra power out of it, whether it's a humble RTX 2060 or a top-of-the-range GPU with triple fans.

Passionate writer about the world of bytes and technology in general. I love sharing my knowledge through writing, and that's what I'll do on this blog, show you all the most interesting things about gadgets, software, hardware, tech trends, and more. My goal is to help you navigate the digital world in a simple and entertaining way.