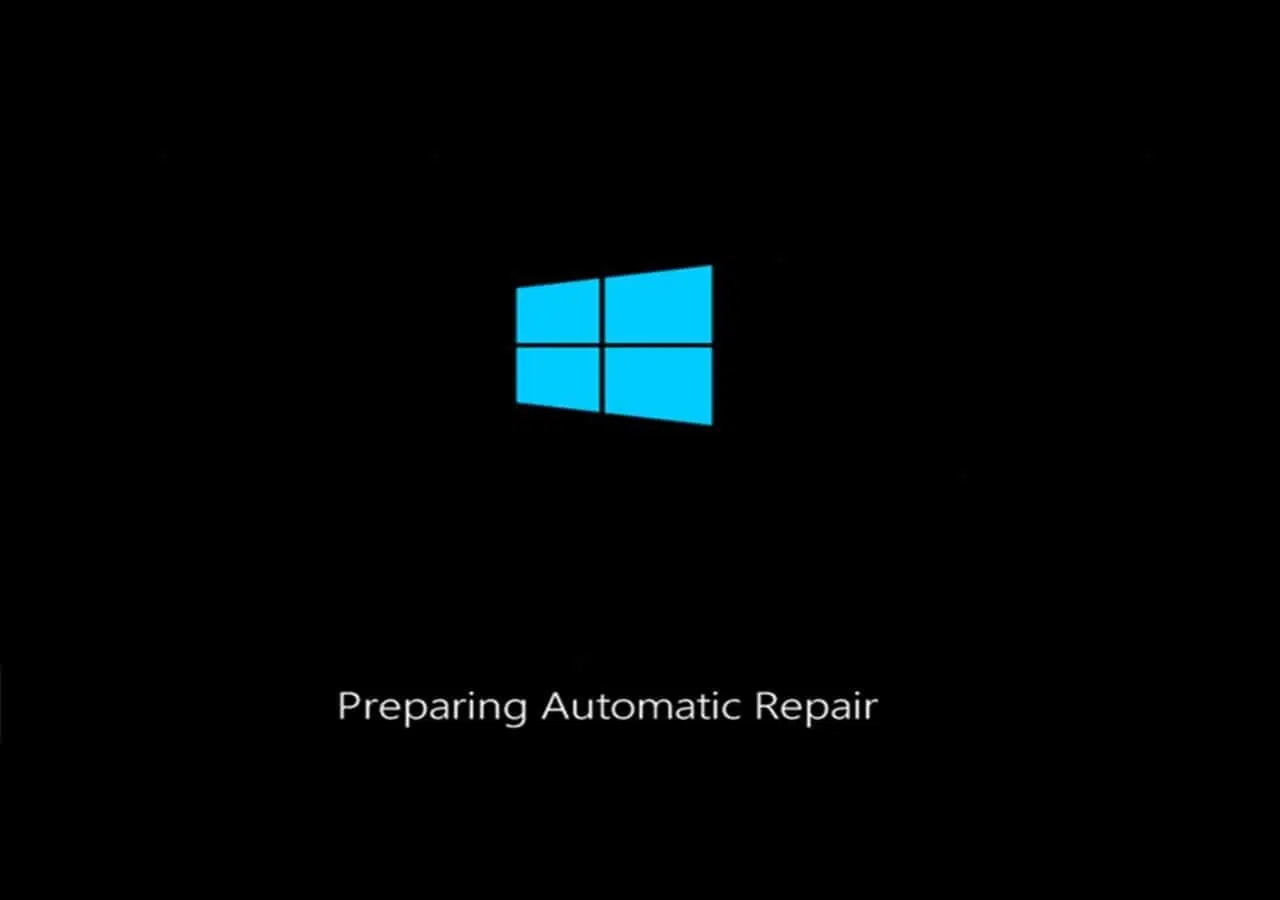
When Windows displays the "Preparing Automatic Repair" message and starts restarting repeatedly, the experience can be frustrating. Sometimes, after a recent update or a sudden shutdown, this process, which is supposed to fix the startup problems, gets stuck in a loop. The good news is that there are clear steps to recover your data and get your system working again , without needing to be an expert.
This guide will show you why the loop appears, how to recognize its symptoms, what causes it, and, most importantly, how to fix it using different strategies. We'll start by backing up your files , continue with quick repairs from the Windows Recovery Environment (WinRE), and finish with advanced options such as repairing the boot manager, restoring the registry, or reinstalling Windows while keeping your data.
What does “Preparing auto repair” mean and how does it manifest itself?
Automatic Repair is a built-in Windows feature designed to diagnose and fix startup problems without user intervention. When two consecutive startup failures occur, it attempts to resolve the issue automatically. The loop occurs when this repair fails to complete , and the computer restarts repeatedly.
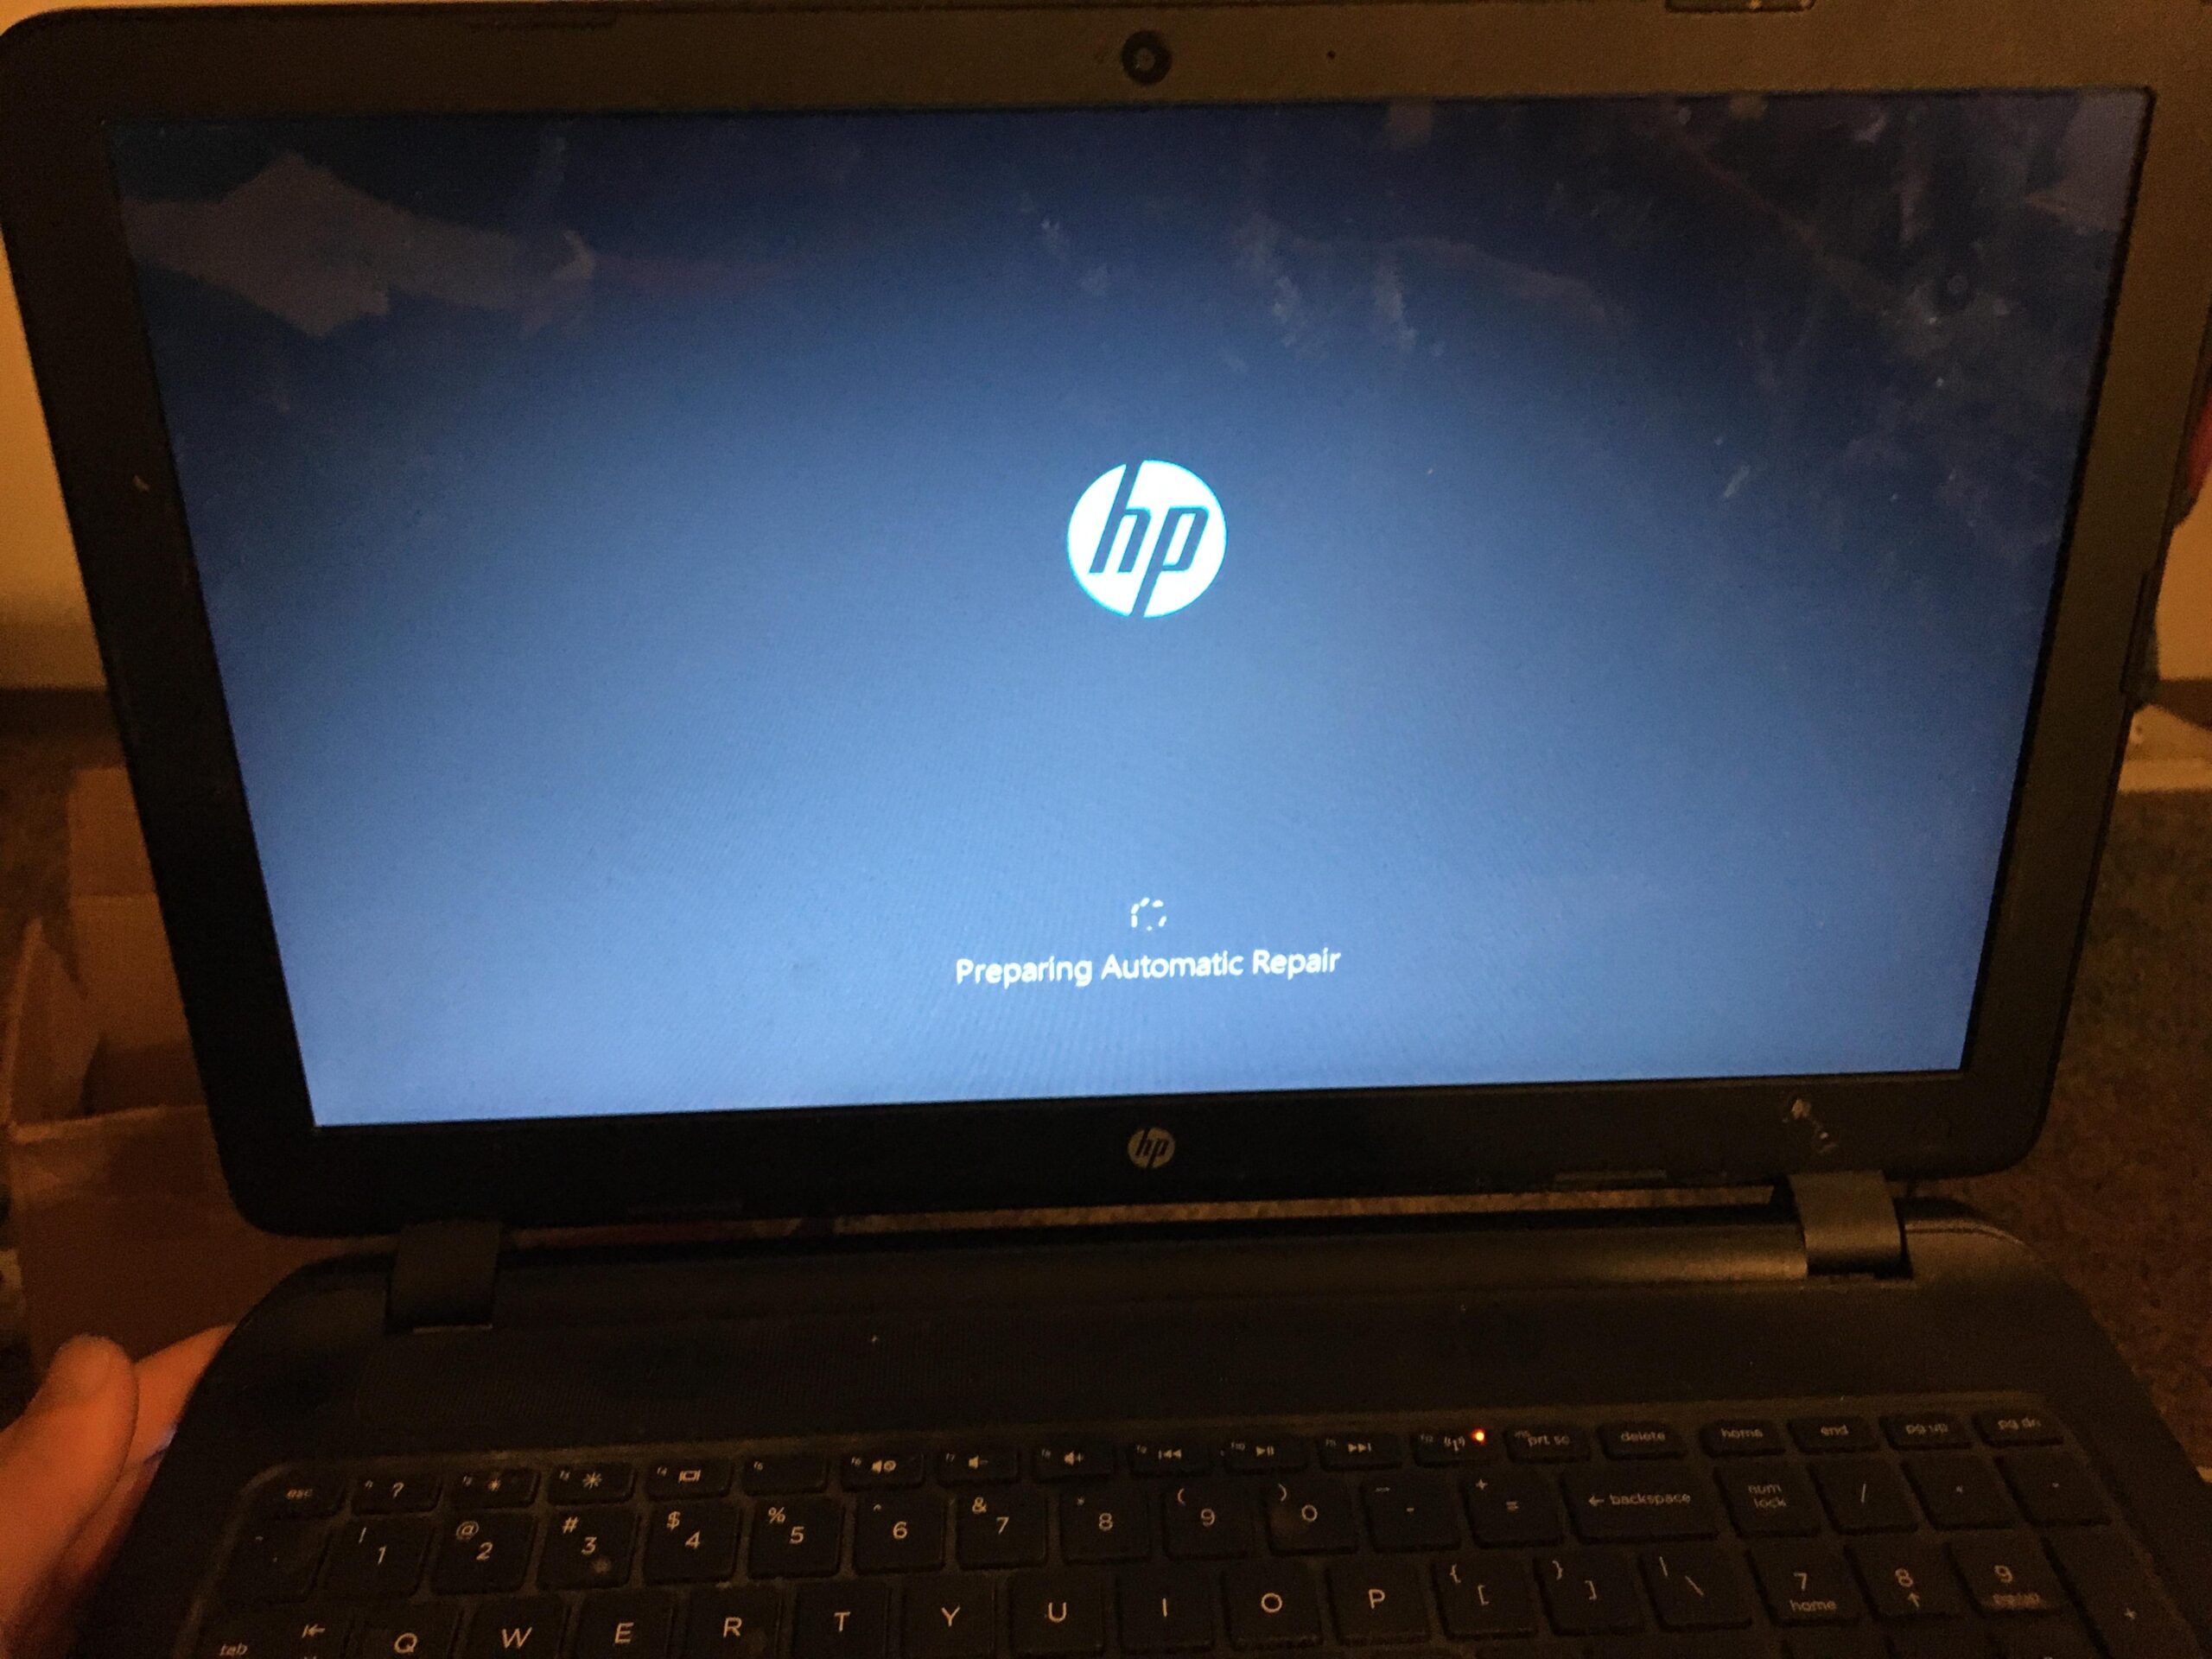
The most common signs of this problem include multiple screens and messages that don't advance or return to the home screen. Recognizing these symptoms helps in choosing the right solution in each case.
- Black screen with “Preparing automatic repair” or “Diagnosing your PC”.
- “Preparing automatic repair” message ends in a black screen with no progress.
- Blue screen with “Your PC didn’t start correctly” or “Automatic Repair couldn’t repair your PC”; when you press Restart, the system returns to the loop.
If you've been waiting for hours, take note: experts and support recommend not exceeding 2–3 hours of waiting; if it doesn't progress within that time, it won't . In that case, you should move on to the solutions you'll see below.
Common causes of the self-repair loop
This error tends to occur more frequently in Windows 11/10/8.1/8 and often coincides with recent system changes. Understanding the cause guides the repair and prevents it from happening again.
- Windows Update interrupted or faulty.
- Missing or corrupted system files.
- Windows registry problems (corrupted or inconsistent keys).
- Corrupted BOOTMGR/BCD (boot loader/store).
- Controllers hardware problematic (disk, motherboard, graphics) or outdated firmware.
- Power outages and forced shutdowns that leave the system in an inconsistent state.
- Other less common causes, such as bad sectors or an incompatible disk.
Automatic repair is triggered to resolve the above, but if it fails, it enters an endless cycle. Therefore, before tinkering with the system, the wisest course of action is to back up your data.
First things first: Recover your data if Windows won't boot
When faced with boot loops, black screens, or blue screens, the priority is to back up your files. You have two options: use recovery software with bootable media or physically remove the disk and copy it to another computer.
Method 1. Recovery Software with Bootable USB
Bootable recovery programs allow you to start a broken PC from a USB drive and scan the disk to recover documents, photos, and other files. The advantage is that you're not dependent on the corrupted Windows installation and you can save the data to an external drive.
- On a working PC, install recovery software with the option to create a bootable USB and run it. Choose the option for “PC won't boot” or similar.
- Insert a blank USB flash drive (8 GB or larger) and create the bootable USB. Caution: It will be formatted; Make a copy if the USB has important data.
- Connect that USB to the affected PC and enter the BIOS/UEFI (e.g., by pressing F2, Delete, or Esc upon startup). Change the boot order to boot from "Removable Devices." Save with F10 and reboot.
- When the USB environment loads, select the internal drive and perform a thorough scan. Preview and recover to a safe destination (another USB drive or external drive). Do not save to the damaged disk to avoid overwriting..
This method is quick and easy. If you're not comfortable with the BIOS , the following method avoids touching the boot configuration. However, you will need another computer and, sometimes, a SATA-to-USB adapter.
Method 2. Remove the disk and copy the data to another computer
If you can open the computer, remove the hard drive, and connect it as an external drive to another working machine, it's a straightforward solution for recovering files. It works with both HDDs and SSDs.
- Turn off the problematic PC and unplug it. Carefully open the casing.
- Disconnect the cables from the drive and remove the drive. Handle hardware with caution to avoid damage.
- Connect the drive to another computer using a cable or adapter suitable or install it as a secondary disk.
- Enter in the File Browser and access the contents of the disk on the previous computer.
- Copy your folders and documents to a safe destination (another internal drive or an external drive).
Once your data is safe, you can focus on fixing the system without fear of losing anything. Let's look at the most effective methods.
How to enter the Windows Recovery Environment (WinRE)
WinRE is the "operations center" for repairing Windows when it won't boot. The easiest way to access it is through forced shutdowns: interrupt the boot process two or three times by holding down the power button for 5–10 seconds when the loading screens appear. On the third attempt, Windows should open WinRE.
On many computers, you can also enter recovery mode using dedicated keys: for example, F9 or F12 for recovery, or F8/Shift+F8 on older models. If none of this works, create a Windows installation USB drive using the official tool and boot from it to select "Repair your computer."
Remember this rule of thumb: if the "Automatic Repair Preparation" takes more than 2–3 hours, stop the process and force WinRE as described above. From there, you'll have access to Startup Repair, System Restore, Command Prompt , Startup Settings (Safe Mode) , and more.
Quick repairs from WinRE
Once you're on the "Choose an option" screen, go to Troubleshoot and then Advanced options. Try these options in this approximate order to maximize your chances and minimize your risk.
1) Startup Repair
Select Startup Repair and let Windows diagnose and fix common startup problems. If it works, your computer will restart normally . If not, return to WinRE.
2) System Restore
If the problem started suddenly after an update, driver, or program update, System Restore can revert your system to a previous state without affecting your personal files. Choose a restore point from before the problem occurred and let the process complete.
3) Continue with Windows
In some isolated cases, after opening WinRE and clicking Continue, the system manages to complete the boot process. If it boots, take the opportunity to update Windows, BIOS/UEFI, and drivers to prevent future problems.
4) Disconnect peripherals and restart
Keyboards, mice, external hard drives, printers, SD cards, or even additional monitors can block the boot process. Turn off your computer, disconnect everything, and turn it back on . If you manage to boot into Windows, update your components and drivers as soon as possible.
Enter Safe Mode and clean up
Safe Mode starts Windows with the bare minimum, ideal for uninstalling problematic software, removing malware , or updating drivers. From WinRE, go to Troubleshoot > Advanced options > Startup Settings and click Restart.
In the menu, choose Safe Mode (F4) or Safe Mode with Networking (F5) if you need internet access. Once inside, uninstall recently installed apps , repair or update drivers from Device Manager , and run your antivirus scan.
After cleaning, restart normally. If the loop persists, proceed to command -line tools and boot manager repair. These are very effective steps against corrupted files and structures.
Key commands: disk, system files, and boot
From Advanced Options > Command Prompt, you can launch utilities that repair the disk, system files, and boot store. Run these commands with the correct partition (usually C:).
1) Check and repair disk with CHKDSK
To locate bad sectors and logical errors: chkdsk C: /r . Accept the schedule for the scan if prompted and let it finish. This can take a while on large disks.
2) Repair system files with SFC
Open Command Prompt and run: sfc /scannow . If you are in a recovery environment and Windows is not detected, use offline path parameters (example): sfc /scannow /offbootdir=C:\ /offwindir=C:\Windows . This restores critical corrupted files.
3) Rebuild BCD and MBR with BOOTREC
When the boot manager is corrupted, rewrite it with this sequence, pressing Enter after each line: bootrec /fixmbr , bootrec /fixboot , bootrec /scanos , bootrec /rebuildbcd . If /fixboot gives an access denied error, boot from an installation USB drive and repeat the commands.
4) Restore Registry from RegBack
In some cases, restoring Registry backups can resolve corrupted keys that prevent startup. Classic command: `copy C:\Windows\System32\config\regback\* C:\Windows\System32\config\` and confirm to overwrite. Note: In recent versions, RegBack may be empty ; if so, skip this step.
5) Disable automatic boot repair
If you think the system might boot but WinRE is interrupting the process, temporarily disable recovery: `bcdedit /set {default} recoveryenabled no` . If that doesn't work, try `bcdedit /set {current} recoveryenabled no` . Reboot to see if the loop stops.
Using a Windows installation USB/DVD
If you can't access WinRE, create an official installation media using the Microsoft tool on another PC (you'll need 8 GB). Download the tool , create the USB drive, and boot the affected computer from it. On the initial screen, don't click "Install now": choose "Repair your computer" to access WinRE and apply the repairs mentioned earlier.
If nothing else works, you can also reinstall Windows on the same partition using that USB drive. The wizard will move the previous installation to C:\Windows.old so you can recover your files afterward. Read the screens carefully and confirm the correct drive (usually C:).
Reset or reinstall Windows
When repairs fail, Reset this PC is the last resort. From WinRE, go to Troubleshoot > Reset this PC and choose between “Keep my files” or “Remove everything.” The first keeps your documents but removes apps and settings ; the second erases everything and restores Windows to its factory settings.
When finished, the system will boot clean. Be sure to install all updates, drivers, and, if offered by your manufacturer, support tools for your model. Updating BIOS/UEFI, Windows, and drivers reduces the risk of returning to the loop.
Quick FAQ
How long should "Preparing automatic repair" take? Typically, from 5 minutes to a little over an hour, depending on the disk and the number of errors. If 2–3 hours pass without progress, proceed with WinRE.
How to quickly break out of the loop? Force a shutdown during startup (twice) to boot into WinRE on the third attempt. From there, try Startup Repair, System Restore, Safe Mode, and, if necessary, Reset this PC. This is the path recommended by support.
How do I access Startup Settings if I only have a DVD/USB drive? Boot from the media, choose your language/keyboard, and click "Repair your computer." Under Troubleshoot > Advanced options, go to Startup Settings and click Restart. When your computer starts up, you can choose Safe Mode using F4/F5.
Preventive measures to avoid returning to the loop
Prevention is better than cure. With a few routines and good practices, you'll greatly reduce the likelihood of your computer going into Automatic Repair mode again. These recommendations will save you time and headaches.
- Periodic maintenance: disk cleanup, error checking and basic optimization.
- Security patches: Install quality and security updates regularly.
- Active antivirus and updated against malware that corrupts the system.
- Frequent backups of data and system images.
- Monitor the hardware: Strange noises on the disk, crashes, or SMART with alerts.
- Do not interrupt installations nor shutdowns in progress; avoid power outages.
- Install software wisely; be wary of unnecessary or suspicious programs.
- Manufacturer's website For drivers and utilities: download official versions.
- Control the use of resourcesIf you're short on resources, consider upgrading your RAM or SSD.
With the steps in this guide, you can save your data, diagnose the problem methodically, and apply the appropriate solution for your situation, from quick fixes to advanced measures. Don't let the "Preparing automatic repair" message catch you off guard: with WinRE, CHKDSK/SFC, boot rebuild, and, if necessary, a system reset, you can restore normal operation and prevent the problem from recurring.

Passionate writer about the world of bytes and technology in general. I love sharing my knowledge through writing, and that's what I'll do on this blog, show you all the most interesting things about gadgets, software, hardware, tech trends, and more. My goal is to help you navigate the digital world in a simple and entertaining way.
Table of Contents
- 1 What does “Preparing auto repair” mean and how does it manifest itself?
- 2 Common causes of the self-repair loop
- 3 First things first: Recover your data if Windows won't boot
- 4 How to enter the Windows Recovery Environment (WinRE)
- 5 Quick repairs from WinRE
- 6 Enter Safe Mode and clean up
- 7 Key commands: disk, system files, and boot
- 8 Using a Windows installation USB/DVD
- 9 Reset or reinstall Windows
- 10 Quick FAQ
- 11 Preventive measures to avoid returning to the loop