- The kernel write cache and the vm.dirty_* parameters have a decisive influence on the perceived speed of copying in Linux.
- Adjusting memory settings and taking advantage of pre-compression reduces the time it takes to copy large files on slow disks.
- The SCP command allows for safe and efficient transfers, with options such as -C, -lo, and -P to optimize performance and bandwidth control.
- Choosing between SCP and SFTP, and combining console and graphical tools, provides flexibility to move files quickly in different environments.
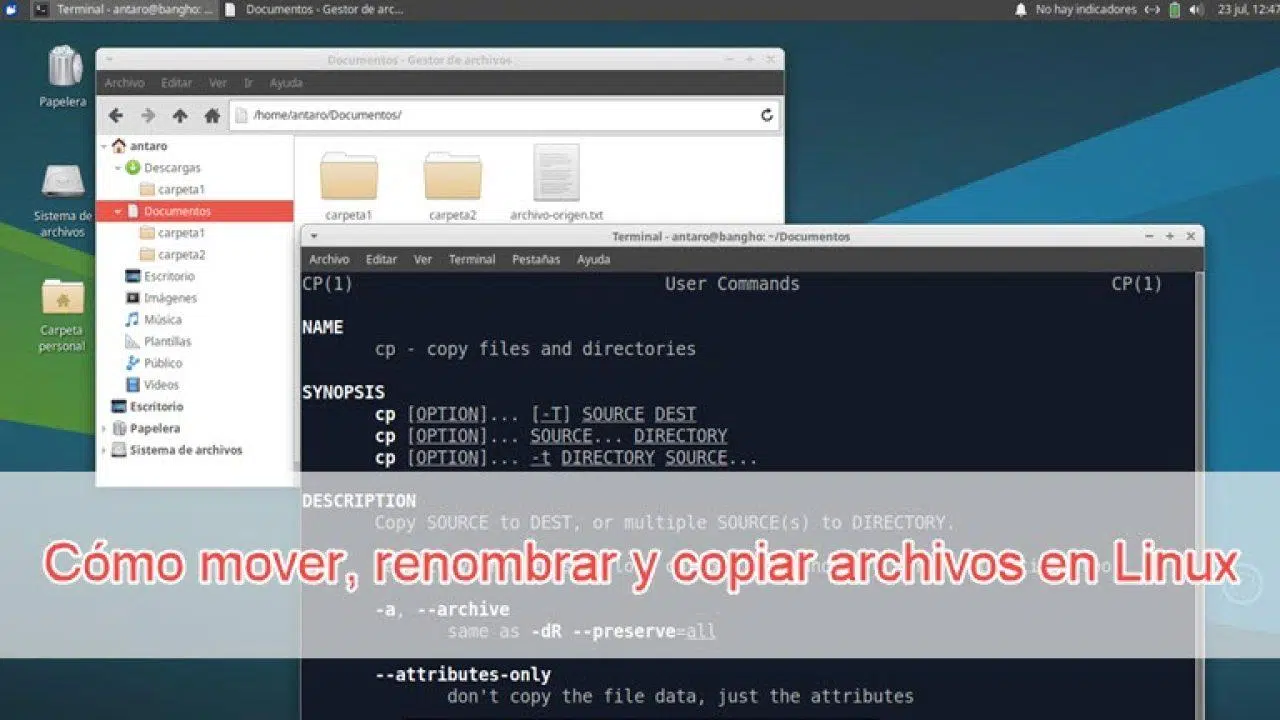
If you use Linux daily, you've probably experienced the frustration of staring at an endlessly slow progress bar while copying large files , whether to a USB drive, another server over the network, or between internal drives. Meanwhile, on the same hardware, you boot into Windows and everything flies at 60-80 MB/s. It's a frustrating feeling and gives the impression that Linux is "slow" at moving data.
The reality is much more nuanced: the system works differently, the kernel uses aggressive write caches, there are conservative default settings , and the file system type, copying method, and even connection encryption also play a role. Understanding what's happening "under the hood" allows you to fine-tune the system and get much closer to the performance you see on other systems.
Why do file copies in Linux seem so slow?
One of the most common complaints is the enormous difference in speed between Linux and Windows when copying large amounts of data (or even terabytes) to an external USB drive . Some users report real-world examples: on Windows, the same external drive achieves a stable 60-80 MB/s, while on Linux, the copy starts strong but quickly drops to 2-10 MB/s, making transferring several terabytes a matter of days, not hours.
In other scenarios, for example, when transferring a 1-3 GB video collection between two Linux servers, speeds of around 20 MB/s are seen with rsync compared to 100 MB/s using Samba from a Windows machine as an intermediary. At first glance, this seems counterintuitive: rsync is efficient, uses SSH, and in theory should be the fastest option.
All of this creates the impression that there's a persistent kernel bug that makes it impossible to use Linux for large backups. In reality, these situations are caused by a combination of factors: write caching, memory subsystem parameters, USB characteristics, file system type, and the tools used . By fine-tuning each component, we can significantly improve performance.
Furthermore, it's crucial to understand that in Linux, the speed displayed in the copy dialog or the progress bar doesn't always reflect what's actually happening on the disk. First, the data is copied to RAM, then it's transferred to the device in bursts , causing spikes, pauses, and that annoying feeling of "it's frozen."

The kernel write cache: the apparent real culprit
Linux relies heavily on RAM to buffer disk operations. When you copy data to a slow drive, such as a USB hard drive or flash drive , the system doesn't immediately write everything to the device. It first stores it in the cache (dirty memory) and, when certain conditions are met, begins writing that data in the background.
This creates a deceptive effect: the copy starts at full speed, the progress bar rises very quickly, and then suddenly the graphical interface seems to freeze for minutes. In reality, the cache has filled up, and now the kernel is intermittently emptying that memory into the USB device , while simultaneously trying to keep the computer usable for other tasks.
If you use a disk monitor (such as the KDE Plasma widgets), you'll clearly see this behavior: very high write spikes followed by "empty" spaces where almost nothing is written . These gaps between bursts are precisely what result in long wait times and a feeling of overall sluggishness.
Furthermore, this relates to another common issue: when you finish copying and want to "safely eject" the USB drive, the system tells you to wait because data is still being written. This isn't an error; it means that some of the content is still in the cache and hasn't yet been physically transferred to the device . If you disconnect at that point, you risk corrupting files.
One of the keys to speeding up transfers is reducing those useless gaps between write bursts and making the kernel empty the cache before it fills up, in a more continuous and predictable way . Several parameters of the virtual memory subsystem come into play here.
Adjust vm.dirty_* and other parameters for slow USB drives
When copying to a USB drive, especially if it's formatted in NTFS or FAT, understanding certain kernel values and knowing how to enable write caching on external drives can make a significant difference. Two very important parameters are `vm.dirty_bytes` and `vm.dirty_background_bytes` , which define how large the write cache can grow before the system starts flushing it to the disk.
Using commands such as:
echo $((120*1024*1024)) > /proc/sys/vm/dirty_bytes
echo $((60*1024*1024)) > /proc/sys/vm/dirty_background_bytes
We're telling the kernel that when the data awaiting writing reaches those sizes (for example, 120 MB and 60 MB), it shouldn't wait to saturate memory and should start transferring it sooner . This reduces the gaps between bursts seen in the disk monitor and makes the transfer smoother.
This adjustment is especially noticeable on NTFS-formatted USB drives, although it's not a silver bullet: the device's physical limitations still apply . What it does achieve is preventing those full-speed boot-and-stop cycles that degrade the experience and skew speed statistics.
For drives with native Linux file systems like EXT4, you can go a step further and adjust the write process activation times, defined by `vm.dirty_writeback_centisecs` and `vm.dirty_expire_centisecs` . By default, these values are usually designed to avoid impacting the system, but they can be adjusted.
For example:
sysctl -w vm.dirty_writeback_centisecs=30
sysctl -w vm.dirty_expire_centisecs=500
This reduces the frequency with which the kernel actively flushes the dirty cache to disk, further narrowing the gap between write bursts . In practical terms, the I/O graph appears fuller and less choppy, and large copies complete faster.
If you want these changes to be permanent and not lost upon restarting, you can add to the file /etc/sysctl.conf entries such as:
vm.dirty_bytes=125829120
vm.dirty_background_bytes=62914560
vm.dirty_writeback_centisecs=30
vm.dirty_expire_centisecs=500
This way your system will always start with these more aggressive write parameters, which on machines that often copy data to USB or slow disks translates into a much less frustrating experience.
Impact of kernel improvements on I/O operations
The kernel community has spent years refining the I/O subsystem so that, even in extreme scenarios (massive copies to slow disks, systems with little RAM, etc.), the entire desktop doesn't freeze or applications like the browser don't crash . Recent kernel versions have introduced mechanisms specifically to prevent write processes from consuming too much memory and CPU.
Among other things, work has been done to limit the number of memory pages that can remain in a "dirty" state at any one time and to prioritize the transfer of that memory to the disk. This is especially noticeable when you're copying to a device formatted in FAT32 or NTFS and, at the same time, want to continue using the system smoothly.
In previous kernels, it was common for the graphical environment to freeze for several seconds when moving several gigabytes to a cheap USB drive . With newer versions and reasonable memory configuration, this effect is greatly reduced, making the copying process less disruptive.
Furthermore, the Linux ecosystem is constantly seeing the emergence of tools and utilities for analyzing the performance of cache memory, CPU, and disk subsystems, such as perf c2c , which allows users to see cache usage patterns on modern processors and detect bottlenecks. Although these tools are geared more towards developers and advanced administrators, they help to further refine the experience in high-performance environments.
All this work is complemented by specific optimizations for platforms like ARM and by increasingly better support for diverse hardware. In short, although there is still room for improvement, the state of I/O performance in Linux is far from being a simple "unfixed bug ." Rather, it's a balance between raw performance, stability, and system responsiveness.
Practical strategies for speeding up very large copies
Beyond tweaking kernel parameters, there are several practical tricks that any user can apply to drastically reduce the transfer time of large amounts of data , both in local copies and over the network.
One of the most effective methods, especially when dealing with thousands of medium or large files, is to compress the data at the source first and then move a single large file to the slower drive. For example, if you want to back up your media library (Plex, photos, videos, etc.), you can create a compressed tar archive:
tar -czf backup-plex.tar.gz /ruta/a/tu/mediateca
Once created, copy the tar.gz file to the USB drive or remote server. One user who was experiencing perpetually slow copying to a USB HDD discovered that this approach (compress, move, and decompress at the destination) resulted in a massive time saving compared to using rsync to move directories one by one.
This works especially well if your source disk is fast (for example, an internal NVMe drive) and the bottleneck is on the destination disk or the network. Compressing on the fast disk is usually much faster than continuously writing to the slow one, so moving a single large file reduces the overhead of thousands of file openings and closings and substantially improves effective throughput.
In the realm of network transfers between Linux machines, you can also gain a lot by playing with "on-the-fly" compression using tools like scp or rsync , opting to transfer files with Snapdrop , or even changing the SSH encryption algorithm to a lighter one when the CPU is the limiting factor and not the network.
Copying over a network with SCP: syntax and key options
When you need to move data between servers (or between your PC and a server), the scp command is one of the simplest and most common methods. SCP relies on SSH to establish an encrypted point-to-point connection, so files travel securely without the need to set up additional services like FTP.
The basic syntax is very similar to the command cp From Unix, you just add the destination user and host. For example, to upload a local file to a remote server:
scp archivo-local.tar usuario@servidor:/ruta/de/destino/
This command will copy file-local.tar to the specified path on the remote host , prompting you for the user's password (or using your SSH key if you have one configured). To do the reverse, to copy a file from the server to your machine:
scp usuario@servidor:/ruta/remota/archivo.tgz archivo-en-local.tgz
In this case, the file file.tgz will be downloaded from the server and saved as file-in-local.tgz on your machine. If you want to copy entire directories with all their contents, you must include the recursive option:
scp -r carpeta/ usuario@servidor:/ruta/destino/
This simple syntax is one of the reasons why many administrators prefer SCP over more complex alternatives when they only need to move data without additional complications . Furthermore, since it uses SSH, you don't have to start extra services or expose new ports to the internet.
Make network transfers faster with SCP (-C, -c, -l, -P…)
The scp command offers a number of options that, when used correctly, can greatly improve both performance and control over bandwidth and connection security. The most useful for speeding up transfers are the following.
The option -C It activates on-the-fly data compression. On relatively slow links (for example, a remote connection of just a few Mbps), compressing data before sending it can make a difference of an order of magnitude. There are measured cases with a file of about 93 MB where the copy time without compression was around 1661 seconds, while with -C it dropped to about 162 seconds, about ten times faster.
However, compression only helps if the data isn't already compressed. ZIP, RAR, ISO, JPEG images, etc., barely improve with -C and may even worsen slightly due to the extra CPU usage. For large text files, uncompressed databases, logs, or binaries, it can be an excellent tool.
The -c option lets you choose the SSH encryption algorithm to use during the transfer. By default, it's usually AES-128, which offers a good balance between security and performance. However, if for compatibility reasons you want to use something different, you could specify, for example:
scp -c 3des archivo usuario@servidor:/ruta/
You must be careful not to confuse -c (cipher) with -C (compression), as they do completely different things. Changing the cipher rarely speeds things up dramatically on modern machines, but on older or very CPU-limited hardware it can have an impact.
To avoid overloading the network when making very large copies, you have the `-l` option , which limits the bandwidth used by `scp` in kilobits per second. For example:
scp -l 400 archivo usuario@servidor:/ruta/
It establishes a theoretical maximum of about 50 KB/s (remember that 8 bits = 1 byte). This is useful when you automate nightly backups or have other services that you don't want to run out of bandwidth while you're running a large backup.
When the SSH server is listening on a non-standard port, you can specify this with -P (uppercase, because lowercase -p is already used for something else). For example, if the service is on port 2249:
scp -P 2249 archivo usuario@servidor:/ruta/
Finally, there are other useful options such as -p to preserve modification times and permissions, -v to view debugging information (estimated speed, SSH debug messages, etc.) or -q to hide the progress meter and non-critical messages, which is useful in scripts where you don't want noise in the output.
Secure backups via proxy and advanced SSH configurations
In many companies, access to remote servers goes through an HTTP proxy or similar. By default, scp doesn't communicate with the proxy itself , but the SSH client can be configured to use tools like Corkscrew to tunnel the connection.
The typical workflow would be to create a file ~/.ssh/config with the necessary directives for SSH to connect to the proxy (for example, in 10.0.96.6:8080) and authenticate by passing through a file ~/.ssh/proxyauth containing the username and password in plain text. After that, scp calls work transparently, as if the proxy didn't exist, as long as the corkscrew binary is installed.
In environments where you frequently switch between the corporate network (with a proxy) and unrestricted public networks, constantly editing the configuration is inconvenient. This is where the -F option of scp comes in handy, allowing you to use an alternative SSH configuration file:
scp -F ~/.ssh/config-empresa archivo usuario@servidor:/ruta/
This way, you can have different configuration files depending on the environment, maintaining the same scp syntax and without going crazy changing parameters over and over again.
Choose between SCP and SFTP depending on your needs
Both SCP and SFTP use the same foundation: the SSH protocol for encryption and authentication . However, they don't behave the same way, nor are they designed for exactly the same purpose, and it's important to understand this to choose the right tool for each situation.
SCP shines for its simplicity: the syntax is almost identical to cpIt is designed purely and simply for copy files from one place to another And it doesn't get bogged down in any other details. It's lightweight and very efficient for large sequential transfers, with minimal overhead and no extra protocol layers.
SFTP, on the other hand, is a much more complete subsystem. It allows you to browse directories, list contents, change permissions, delete files, etc. , with an experience similar to FTP but with the security of SSH. Many graphical tools (such as "FTP-like" clients) rely on SFTP to provide a familiar interface for less technical users.
The cost of that extra functionality is that SFTP tends to consume more resources and can be slightly slower than SCP for large linear transfers, especially when working with many small files. Even so, for interactive use or when you want a "remote browser," SFTP is usually the more convenient option.
As a general rule: if you simply need to transfer large files securely and quickly , SCP is usually the best option. However, if you want to manage the remote directory structure, change permissions, or prefer an FTP-like interface, SFTP is a better fit.
Publish a website or move projects with SCP
The use of scp is not limited to occasional copies of a couple of files. Many developers use it daily to deploy websites, upload application versions, or synchronize projects between their local machine and a VPS or dedicated server.
Imagine you have your static website ready in /home/usuario/mi-web/ and a server that you access as root on the IP 123.45.67.89To upload all the content to the directory where Apache or Nginx serves the website (/var/www/html/ (in many cases), you could run:
scp -r /home/usuario/mi-web/* [email protected]:/var/www/html/
The -r flag causes all subdirectories and files to be copied, preserving the structure. If you are using private key authentication instead of a password, you can add -i to specify the key path.
scp -i /ruta/a/tu_clave.pem -r /home/usuario/mi-web/* [email protected]:/var/www/html/
After the transfer, simply log in to the server via SSH and verify that the files are in the correct location using something like:
ssh [email protected]
ls -l /var/www/html/
and verify that the web server has permissions to read them. With the domain pointing to the VPS's IP address via DNS, your site will be live in seconds . This combination of SSH and SCP provides granular control over the server and eliminates reliance on inflexible control panels or FTP clients.
Graphical alternatives in Windows: WinSCP and pscp
If you work from Windows but your servers are Linux, you're not tied to the command line either. Tools like WinSCP offer a user-friendly graphical interface for transferring files using SCP or SFTP, with file explorer-style panels that make drag-and-drop easy.
On the other hand, the popular SSH client PuTTY includes pscp , a console utility very similar to scp that you can use in scripts or from the Windows command prompt. The syntax is similar, making it easy to transfer your usual Linux commands to that environment.
In both cases, the principle is the same: take advantage of SSH encryption to move data securely , whether you're on Linux, macOS, or Windows, without having to enable less secure services like classic FTP.
Taken together, understanding how the kernel write cache works, adjusting a few parameters of vm.dirty_*, choosing the right copy tool (scp, rsync, SFTP, pre-compression), and, when necessary, using graphical solutions like WinSCP, allows you to go from endless and seemingly blocked copies to a much smoother, more predictable workflow that is closer to the real maximum performance of your hardware and network.


Passionate writer about the world of bytes and technology in general. I love sharing my knowledge through writing, and that's what I'll do on this blog, show you all the most interesting things about gadgets, software, hardware, tech trends, and more. My goal is to help you navigate the digital world in a simple and entertaining way.