- Different hardware options depending on the workload, from Raspberry Pi to Intel processors with UHD 770 for efficient transcoding.
- Flexible installation methods including direct scripts for lightweight systems or Docker containers for more robust and scalable environments.
- Importance of file organization and metadata management to achieve a visual interface similar to commercial streaming platforms.
- Implementation of security using reverse proxies and SSL certificates to allow remote access without exposing the server to risks.

Have you ever felt like your movies and TV shows are scattered across a thousand hard drives, and that when you want to watch something, you end up wasting more time searching for the file than actually enjoying the film? Setting up your own media center is basically going from having a boring folder full of strange names like MKV_rip_1080p_x264 to having a spectacular Netflix-style interface, but with the difference that you're the absolute owner of the whole setup.
In this sense, Jellyfin presents itself as the ideal option for those who want to avoid monthly subscriptions and data tracking. Unlike other alternatives, it's an open-source and completely free project , meaning there are no fine print terms or features locked behind a paywall. Whether you want to repurpose an old computer, a Raspberry Pi, or build a NAS server from scratch, here's the complete roadmap to achieve it.

Choosing the hardware: from the simplest to the most powerful
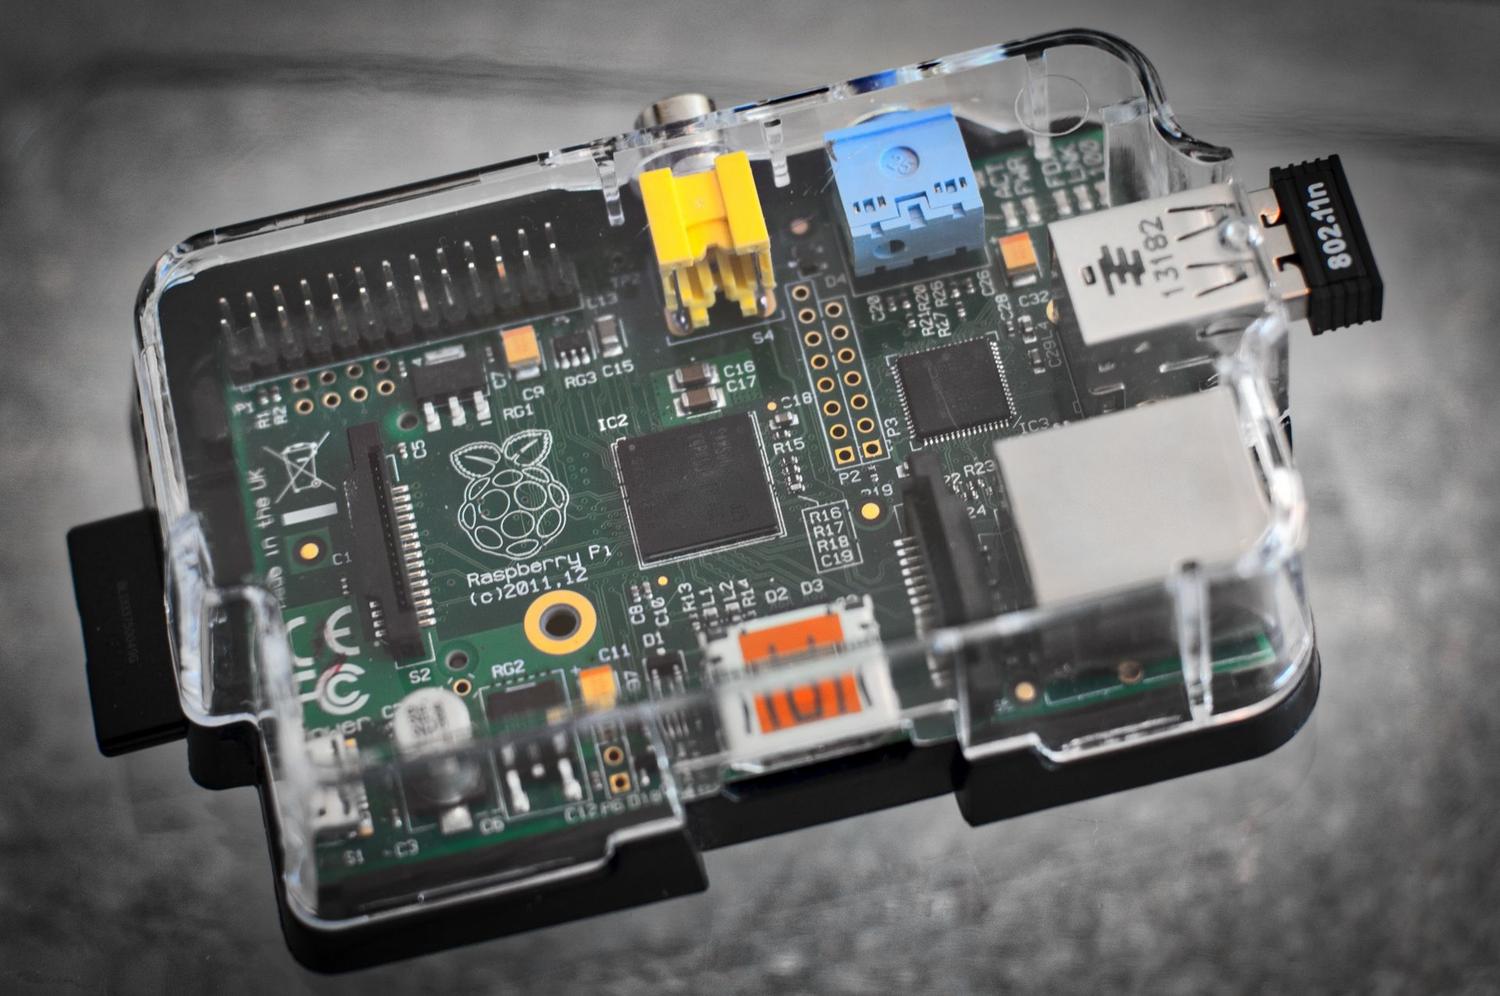
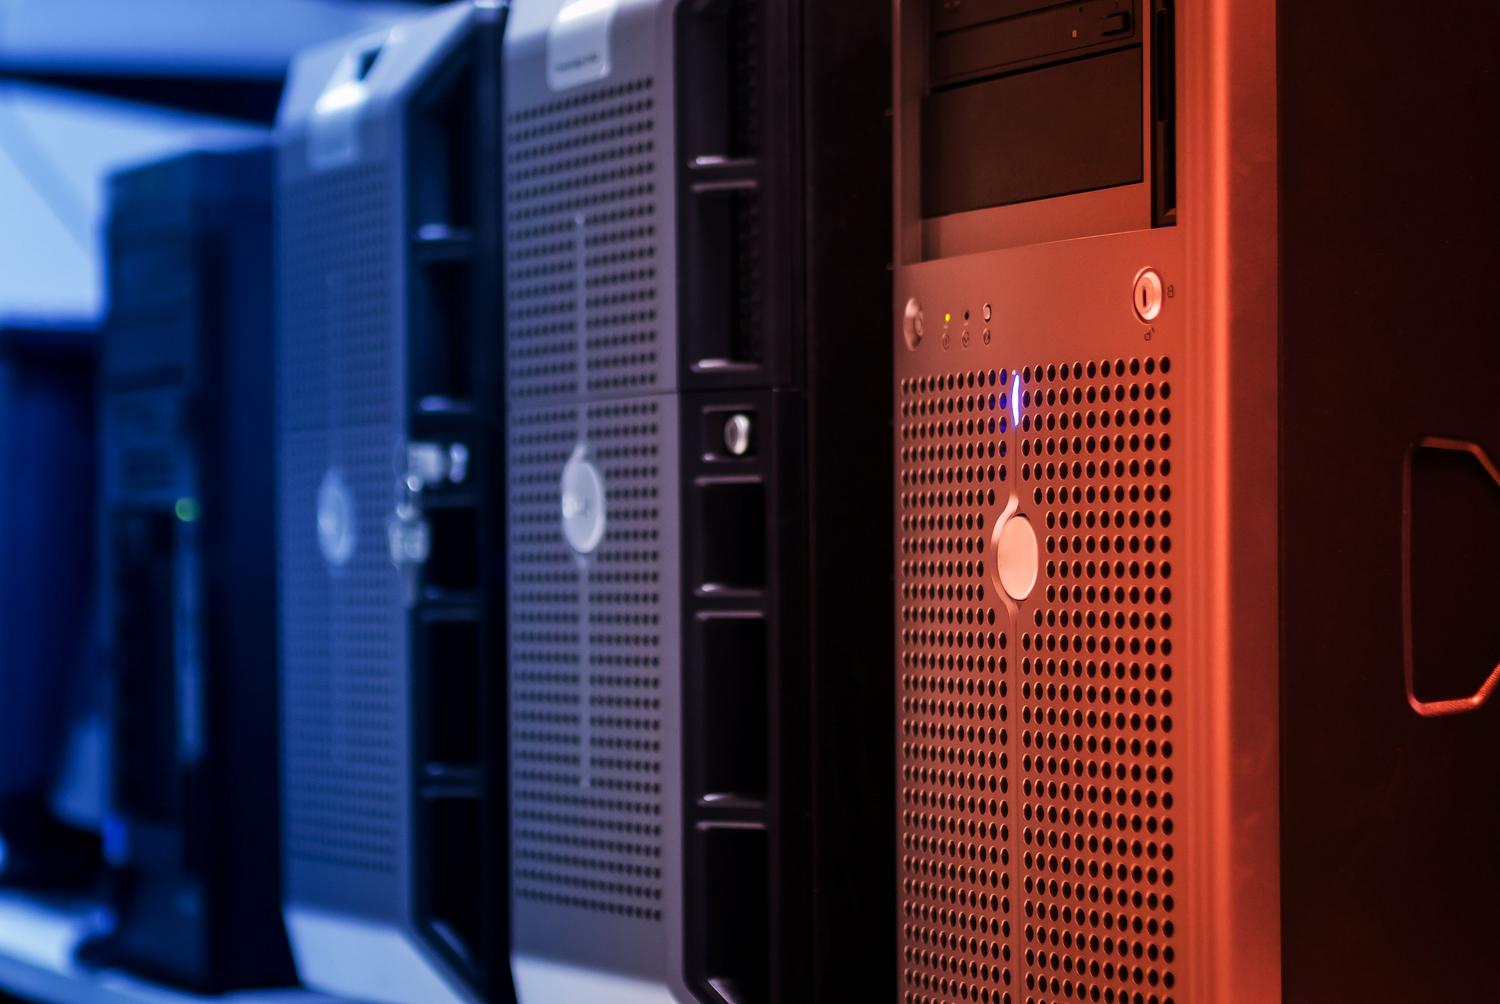
Depending on your budget and quality requirements, you have several options. If you're looking for something lightweight and affordable, a Raspberry Pi 4 or higher is a great choice, provided you install a 64-bit system, as Jellyfin doesn't work well with 32-bit systems. For those who prefer high performance, a processor like the Intel Core i5-14600K is a gem, primarily due to its UHD 770 graphics, which make the transcoding process incredibly smooth.
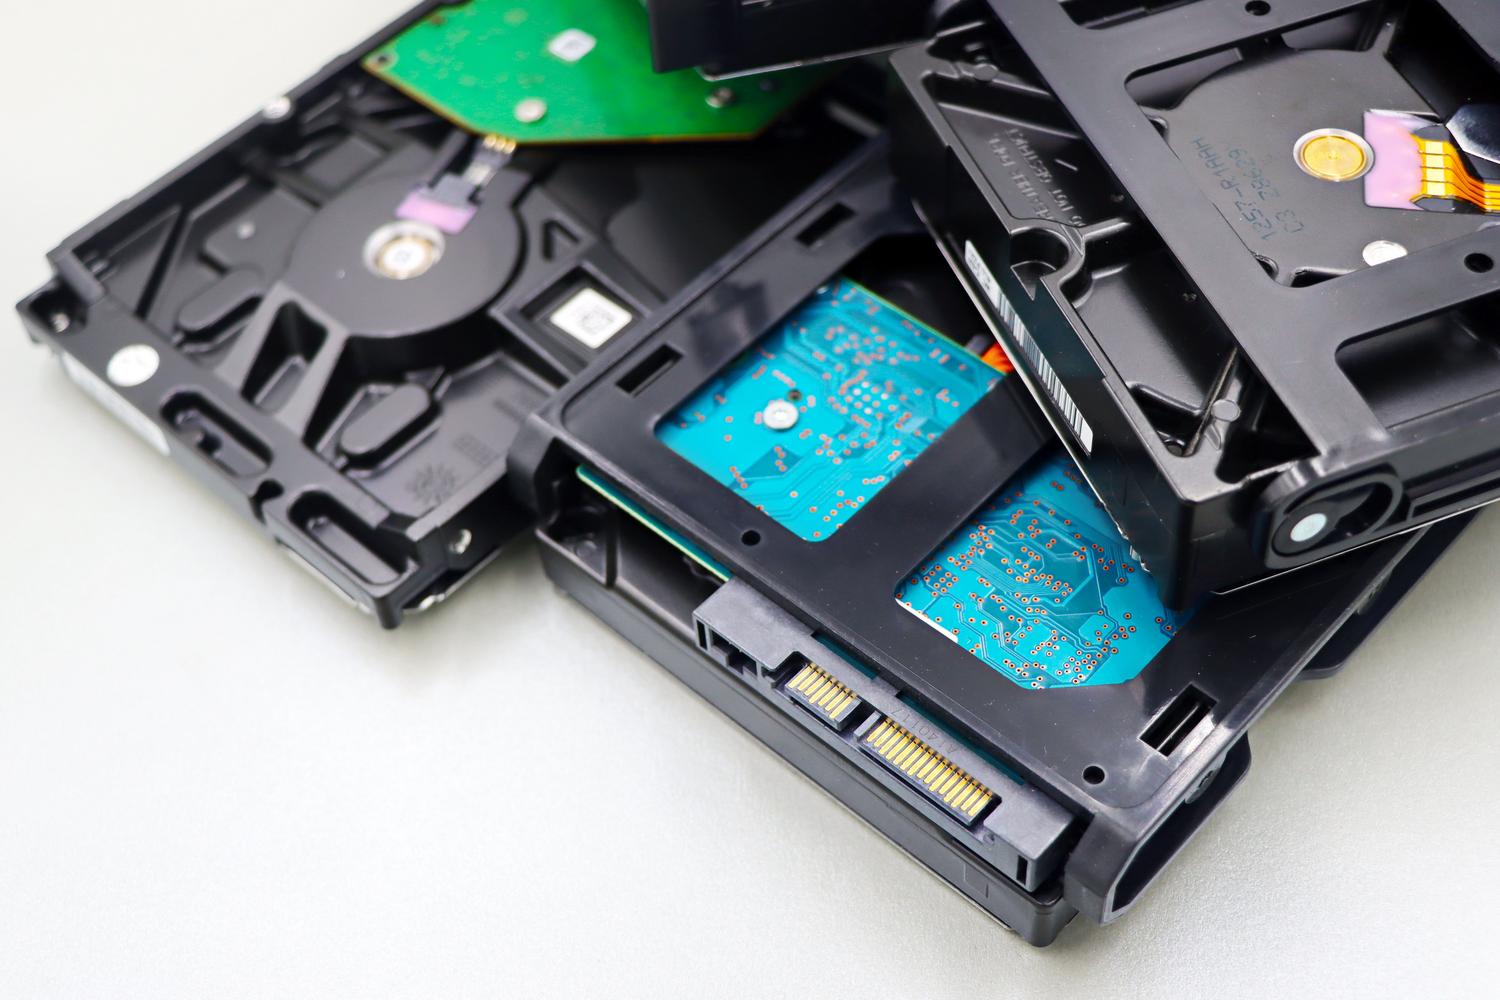
Regarding storage, if you're building a PC, cases like the Fractal Design R5 are highly recommended because they allow you to install a large number of hard drives without any hassle. For the operating system, if you want a hassle-free experience, Ubuntu Server 24.04 LTS is the safest bet thanks to its extensive documentation, although Debian remains the king of stability for purists.

Key concepts: The dreaded transcoding and storage
Before getting into the installation, it's important to understand what transcoding is . Basically, it's when the server has to convert the video in real time because your TV or mobile device doesn't support the original format. This consumes a lot of resources, especially with 4K content and HDR-to-SDR tone mapping. To prevent the server from overheating, the ideal solution is to use hardware acceleration with Intel or NVIDIA GPUs.
To organize your files, don't do it haphazardly. To prevent Jellyfin from getting bogged down searching for cover art, create separate folders for each movie title and organize TV series by season. This ensures that metadata is downloaded correctly and your library looks professional from the start, similar to how it's done in a comprehensive Kodi guide for organizing your library.

Step-by-step installation guide for Raspberry Pi
If you've decided on the small but powerful Raspberry Pi, the first thing to do is use Raspberry Pi Imager to flash the 64-bit OS Lite to a microSD card. A time-saving trick is to press Ctrl+Shift+X before flashing to configure the user, Wi-Fi, and, most importantly, enable SSH access . This way, you can control everything from your main PC without having to connect a monitor or keyboard to the board.
Once it's up and running, it's vital to assign a static IP address so the server doesn't change location every time the router restarts. To install Jellyfin, you can use the official script with the curl command, which will detect your system and handle the setup. Finally, access it through your web browser by entering the Pi's IP address followed by port 8096 to launch the setup wizard.

Advanced Docker setup on Ubuntu Server
For those seeking something more robust and easier to update, the combination of Ubuntu and Docker is unbeatable. First, update your system and deploy Docker Engine along with the Compose plugin. It's highly recommended to add your user to the docker group to avoid having to type `sudo` in every command, making management much more efficient, similar to creating a home server using Docker Desktop.
The magic happens when you create the docker-compose.yml file . This is where you define where the configuration, cache, and media folders will be stored. Don't forget to check your UID and GID with the `id` command so that file permissions don't cause you headaches later. Once you launch the container with `docker-compose up -d`, Jellyfin will be running in the background, consuming only what it needs.

Remote access and security: Taking your server to the world
If you want to watch your shows while at work or at a friend's house, you need to configure external access. The safest way is to use a reverse proxy like Caddy , which automatically manages SSL certificates so you can browse over HTTPS. Avoid opening port 8096 directly on your router at all costs, as that leaves the door wide open to anyone.
To ensure everything runs smoothly, create a DNS A record pointing to your public IP address and configure Caddy to redirect traffic to the Jellyfin container. Additionally, within the Jellyfin control panel, you must add the proxy's IP address in the Known Proxies section so the server can properly manage network headers and identify connecting devices.
Building your own media server allows you to centralize all your digital content in one place, eliminating reliance on external services and ensuring complete privacy. Whether you opt for the simplicity of a Raspberry Pi or the power of a bare metal server with Docker, the key lies in good file organization and a secure network configuration using proxies to enjoy your library from anywhere in your home or the world.


Passionate writer about the world of bytes and technology in general. I love sharing my knowledge through writing, and that's what I'll do on this blog, show you all the most interesting things about gadgets, software, hardware, tech trends, and more. My goal is to help you navigate the digital world in a simple and entertaining way.