- Windows 11 It allows you to create and retrieve Snap Groups to restore your layout with one click.
- Enable “Remember window locations” and “Minimize on disconnection” for external monitors.
- Snap Layouts, shortcuts, and virtual desktops multiply productivity without losing order.
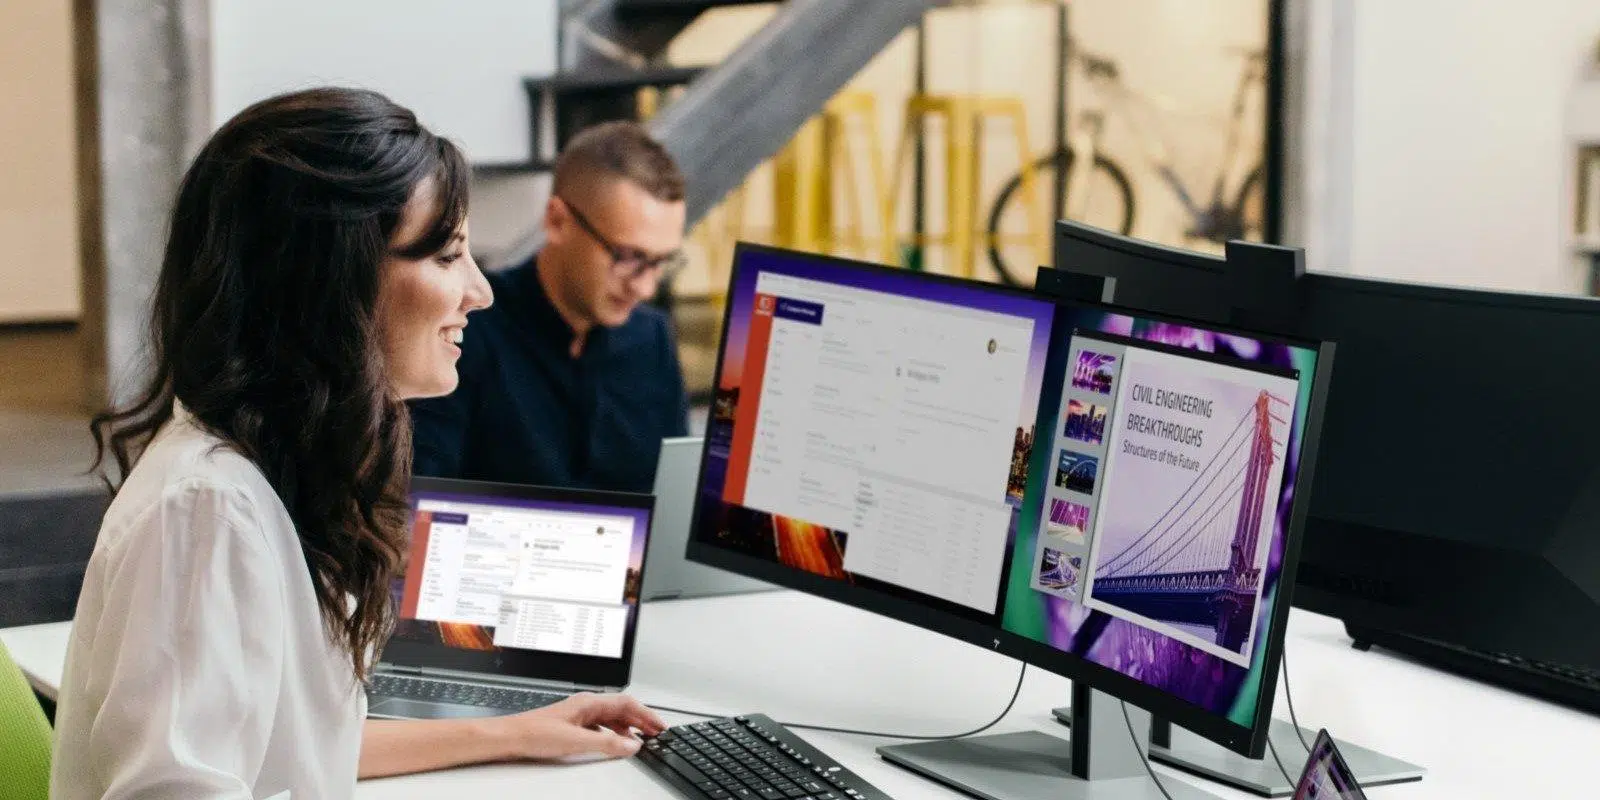
Managing multiple windows simultaneously is one of those things that, once you get the hang of it, you can't live without. Windows 11 makes working in parallel much easier with docking layouts, window groups, and options to remember where everything was, even when you unplug and plug back into a monitor.
If your goal is to preserve your app layout so you can instantly resume it, you've come to the right place. We'll explore how to save and restore your split-screen arrangement in Windows 11, how to configure it for multiple monitors, essential shortcuts, settings you shouldn't forget, and even some third-party tools that give you even more control.
What does “saving” a split-screen layout mean in Windows 11?
When we talk about saving window layouts, we're referring to two key Windows 11 features: Snap Layouts and Snap Groups, which allow you to create predefined layouts and return to them from the taskbar; and system options that remember window locations when you connect or disconnect external monitors. This way, your desktop "remembers" where each window went, saving you from having to rearrange everything every time.
The ideal workflow is as follows: you create a Snap layout (for example, two apps in a 50/50 split or four quadrants), fill each slot with the corresponding app, and Windows generates a Snap Group . This group becomes accessible when you hover over the icon of any of those apps in the taskbar, so you can restore the entire set with a single click. It's fast, visual, and very stable.
Furthermore, if you use external monitors with a laptop, Windows 11 includes a feature to minimize windows when a monitor is disconnected and restore them when it's reconnected. This, combined with Snap Groups, gives you a convenient way to "save" your workstation exactly as you left it, without losing the window layout.
Activate Snap and prepare the designs: Snap Layouts, Snap Assist, and Snap Groups
First, make sure snapping is enabled. Go to Start > Settings > System > Multitasking and turn on "Snap windows." Open the dropdown menu and check all available boxes to enable suggestions, automatic adjustments, and floating layouts when appropriate. For more details on creating a split screen in Windows 11 , see [link to relevant documentation] . The more features you enable, the smoother the window snapping will be.
With Snap enabled, you have three main ways to create a split screen in Windows 11: hover over a window's maximize button to bring up Snap Layouts ; press Windows + Z to open the layout chooser with your keyboard; or simply drag windows to edges and corners until you see a preview of how they will fit. The assistant, Snap Assist, will show you which apps you can place in each space, making the process very intuitive.
The available layouts range from the classic 50/50 to more versatile grids: 50:50 (two equal columns), 80:20 (large main column and narrow secondary column), three columns , 50:25:25 (wide left column and two panels on the right), 25:25:25:25 (four equal quadrants), and three unequal columns (the central one being larger). Windows adapts these options to your screen's resolution and orientation, including landscape or portrait view.
Once you've filled all the positions in a layout, Windows will create a Snap Group . From then on, when you hover over the icon of any of those applications pinned to the taskbar, you'll see thumbnails of the group and can restore it all at once. It's the native way to "save" and retrieve layouts with zero hassle.
How to preserve the layout when using external monitors
The other piece of the puzzle is how it works with additional displays. Go to Start > Settings > System > Display > Multiple displays . Here you'll find two critical options: "Remember window locations based on monitor connection" and "Minimize windows when a monitor is disconnected ." Enable these so that when you undock the monitor, everything minimizes correctly, and when you redock the display, Windows restores the windows to their original positions.
If you change the physical order of your monitors (for example, by moving the secondary monitor to the left), you can rearrange them in System > Display by dragging each rectangle to its correct position. Click "Apply" and verify that the cursor moves from one monitor to another as expected. This step prevents unexpected mouse jumps and window misalignments.
Are you missing a screen? Try using the "Detect" option on multiple displays . Is your monitor wireless? Go to Start > Settings > System > Display > Multiple displays and click "Connect". If you can't remember which display is which, click " Identify" to have Windows show a large number on each panel, so you'll know what you're moving.
Methods for splitting the screen: dragging, shortcuts, and corners
The simplest way is to drag the window by its title bar to the left or right until you see a preview of how it will be docked . Release to pin it to half the screen, and then choose the app that will occupy the other half. It's quick, convenient, and straightforward.
If you prefer the keyboard, select a window and press Windows + Left Arrow to dock it to the left or Windows + Right Arrow to dock it to the right. With successive combinations of Windows + Up/Down Arrow, you can position it in corners to create a four-window grid. These shortcuts let you work at full speed without taking your hands off the keyboard.
For four-window layouts, drag each window to a corner or use combinations like Windows + Left Arrow and then Windows + Up Arrow for the top-left corner. Repeat this logic for the remaining corners. In Windows 10, this technique was called "Corner Snap"; in Windows 11, it's integrated with Snap Layouts, offering a more visual and flexible experience.
Remember that you can resize the divider between windows by dragging the line that separates them; the other panels will adjust dynamically if you have the "Resize adjacent docked windows" option enabled in Multitasking. This way you fine-tune the space according to what you need to see in each app.
Projection options and display modes
With monitors connected, press Windows + P to choose how the signal is distributed: “PC screen only,” “Duplicate,” “Extend,” or “Second screen only.” Extend is the best mode for productivity because it allows you to move windows freely between screens and maintain different layouts on each. Choosing the right mode here makes all the difference.
If you're coming from Windows 10, the settings path is similar: Start > Settings > System > Display , with the same options for orientation, scaling, and monitor arrangement. The big improvement in Windows 11 is the Snap Layouts selector and Snap Groups , which put your favorite layouts just a click away. It's exactly what you've been missing for saving your layouts.
Essential keyboard shortcuts to move like lightning
Master these shortcuts to gain speed: Windows + Left/Right Arrow to snap to half screen; Windows + Up Arrow to maximize; Windows + Down Arrow to restore/minimize. Windows + Z opens Snap Layouts; Windows + Tab displays Task View; and Alt + Tab switches between open windows. The more you use them, the less you'll rely on your mouse.
If you work with virtual desktops, try Windows + Ctrl + D to create a new one and Windows + Ctrl + Left/Right Arrow to switch between them. This way, you can keep one desktop for your office layout and another for browsing or design, without mixing them up. It's both mental and visual organization.
Fine-tuning and troubleshooting with Snap
It all starts with keeping your system up to date. Go to Start > Settings > Windows Update and check for updates; many Snap improvements and graphical fixes arrive this way. Up-to-date GPU and display drivers also help keep your layouts running smoothly. More stability, fewer surprises.
If the layouts don't appear when you hover over the maximize button, confirm that you have enabled the " Show docked layouts when hovering over the maximize button " option in Multitasking . And in taskbars, Windows 11 can display the layouts that an app is part of when you hover over its icon. Both of these settings enhance the Snap experience.
Do you notice that the windows are misaligned or fit in odd sizes? Check Scale and Resolution in System > Display . Inconsistent scaling across different monitors can affect how the screen is distributed. Adjust to recommended values and test again to achieve consistent and readable layouts.
If Snap gets in the way of a particular workflow, you can temporarily disable it in Multitasking . You can also leave Snap active but uncheck specific behaviors, such as automatically adjusting the size when docking or resizing adjacent windows when resizing. Feel free to experiment and customize until you find your sweet spot.
Tricks with multiple screens: identify, detect, and rearrange
Windows 11 detects each monitor and numbers it for easy identification. In System > Display, click "Identify" to see a large number next to each panel. If you've connected a monitor and it doesn't appear, use Multiple displays > Detect ; for wireless displays, use Multiple displays > Connect . With these basics, you'll be all set.
To physically arrange the flow between monitors, drag the rectangles to their actual positions (for example, 2 to the left of 1 if it's on your left). Click "Apply" and try moving the cursor between screens to confirm. This step avoids counterintuitive gestures and helps ensure the layouts are placed on the correct monitor. A minute well spent.
If you're using a laptop and docking station, enable the option to minimize windows when disconnecting and the option to remember locations when reconnecting. You'll see that when you return to your desk, the windows will automatically reappear in their usual places without you having to struggle with them again. Now that's a real pleasure to get back to work.
Use cases and best practices for getting the most out of layouts
With a large or high-resolution screen (QHD or 4K), you can easily use a four-quadrant layout . It's perfect for comparing documents, monitoring email and chat while you work, and simultaneously using a viewer or browser. More information at a glance, fewer context switches.
If you work with data, you might find an 80/20 layout more suitable: a large main spreadsheet and support in a narrow panel (documentation, PDF viewer , or player). For development or design, a three-column layout is incredibly convenient: a large central editor, a preview on one side, and a console or inspector on the other. Find your perfect mix and turn it into a Snap Group.
Don't forget virtual desktops: you can have one with your office layout and another with your creative tools, each with its own Snap groups ready in the taskbar . Along with keyboard shortcuts and monitor location memory, you'll have a workstation that respects your organizational style.
And if you work a lot with Edge, keep in mind that the browser's "split screen" (Split View) in workspaces may not sync across devices. Workspaces replicate tabs, but not always the split view . This isn't Windows or Snap's fault; Edge simply doesn't yet fully save this state across all devices. Consider this a current limitation of the browser.
Third-party applications to save layouts and restore them on the fly
If total customization is your thing, there are some very powerful tools. AquaSnap lets you create and change tiles as you please, with advanced anchoring, window stretching, shortcuts, and a very precise zoning system. It has both free and paid versions, and it's ideal if you're looking for granular control of your tiles without leaving the Windows ecosystem. Lightweight, efficient, and highly configurable.
Another alternative is ViewSplit , which offers 10 customizable layouts, the ability to save up to 6 profiles, and a " last layout memory " function for one-click recall. It also assists with automatic zone adjustment when dragging and supports splitting into up to 6 windows. A simple option for office workflows and classic multitasking.
If you use multiple monitors, DisplayFusion is a classic: taskbars for each screen, extra buttons in the title bars, and " Window Position Profiles " for saving and loading complete layouts. It also supports scripts and macros for automation. A must-have for large setups that completely changes the way you manage windows.

Passionate writer about the world of bytes and technology in general. I love sharing my knowledge through writing, and that's what I'll do on this blog, show you all the most interesting things about gadgets, software, hardware, tech trends, and more. My goal is to help you navigate the digital world in a simple and entertaining way.
Table of Contents
- 1 What does “saving” a split-screen layout mean in Windows 11?
- 2 Activate Snap and prepare the designs: Snap Layouts, Snap Assist, and Snap Groups
- 3 How to preserve the layout when using external monitors
- 4 Methods for splitting the screen: dragging, shortcuts, and corners
- 5 Projection options and display modes
- 6 Essential keyboard shortcuts to move like lightning
- 7 Fine-tuning and troubleshooting with Snap
- 8 Tricks with multiple screens: identify, detect, and rearrange
- 9 Use cases and best practices for getting the most out of layouts
- 10 Third-party applications to save layouts and restore them on the fly