- GRUB2 allows you to flexibly choose which kernel version to boot by default, using menu indices or the exact entry name.
- Living with linux-generic, HWE, and edge branches requires controlling GRUB to avoid instabilities when installing newer kernels.
- Editing /etc/default/grub and regenerating the configuration with update-grub is the basis for fixing or restoring the default kernel.
- Uninstalling conflicting kernels and maintaining at least one stable branch ensures that the system remains bootable and secure.

Choosing which kernel version boots by default in Linux It's not just a quirk of meticulous administrators: in many cases, it's the difference between having a stable system and suffering crashes, incompatibilities with graphics drivers, or failures in recent hardware. This is especially true in Ubuntu and other Debian-based distributions, where generic branches, HWE, and other distributions coexist. experimental versionsControlling GRUB2 is almost mandatory.
When you install multiple cores in parallel, GRUB2 always tries to boot the most modern kernel available.That's fine most of the time, but if you've been forced to revert to a previous version due to a bug or a faulty driver, you'll need to tell GRUB which entry to use as the default. In this article, we'll look in detail and without beating around the bush how to do this safely and permanently, what nuances you should be aware of with the new HWE branches, and how to combine it with other useful GRUB2-related tricks.
Which kernel versions does Ubuntu support and why are you interested in changing them?
Ubuntu maintains several kernel lines in paralleldesigned for different scenarios. Understanding what you have installed is the first step before touching anything in GRUB2, because it will determine which entries you see in the boot menu and which ones you want to use as defaults.
On one hand there is the classical branch linux-genericThis is the kernel that usually comes pre-installed on servers and systems where stability is paramount. These are long-life, thoroughly tested kernels, and in LTS versions like Ubuntu 22.04, they typically correspond to series such as 5.15.x. Their philosophy is clear: fewer surprises, fewer breakdowns after an update.
Ubuntu desktop computers also offer HWE (Hardware Enablement) kernelsThese branches are installed, for example, with commands like sudo apt install linux-generic-hwe-22.04 and they target newer kernel versions, such as the 6.5.x series in the case of Ubuntu 22.04 LTS, with the aim of supporting modern hardware that did not exist when the original LTS was released.
If you need to go one step further, there is also the variant hwe-edge, designed as "vanguard" branch o bleeding edgeIt is installed with commands like sudo apt install linux-generic-hwe-22.04-edge It often includes even newer kernels (for example, 6.7.x in Ubuntu 22.04 itself). It offers support for very recent hardware, but at the cost of increasing the likelihood of encountering bugs, instabilities, or strange behavior.
Although the system only runs one kernel at a time.Images of ancient cores are preserved in /boot It's like a life insurance policy. If an update renders your computer unusable, being able to boot into an older version can save the day. The problem is that once you install a newer kernel, Ubuntu will tend to boot into it every time, and uninstalling it without being able to boot into another kernel can be a real pain.

Temporarily select a different kernel from the GRUB2 menu
Before we start editing files, it's worth remembering that GRUB2 already allows you to manually choose another kernel at boot.If you have physical access to the computer and a connected keyboard, you often don't need anything else to try a preview version.
In Ubuntu, when turning on the machine, You can display the GRUB2 menu by holding down the Shift key. during the initial boot phase. In traditional BIOS systems it works well; in UEFI it's usually enough for GRUB to display the default menu, but the idea is the same: to see the list of systems and options.
In that menu you will usually see a first entry of the type Ubuntu, which is the one that boots the last installed kernel, followed by a submenu called Advanced options for Ubuntu (Advanced options). Within this submenu are listed all available kernel versions, each with its normal mode and recovery mode.
If you're having problems with the latest kernel, The usual thing to do is to go into "Advanced options for Ubuntu" and choose an older version (for example, Ubuntu, with Linux 5.15.0-94-generic) instead of the latest 6.x. Once it has booted successfully with that version, you can uninstall the conflicting kernels and regenerate the configuration with sudo update-grub.
Of course, this manual solution has a catch: It only works if you can interact with GRUBOn servers without a keyboard, remote machines, or environments where you don't see the boot console, you need a persistent method that tells GRUB which input to always use, without asking you at every startup.
List all kernels that GRUB2 knows
In order to reliably set a default kernel, First you need to know which menu entries GRUB2 actually has configuredIt is not enough to simply look at the installed packages, because the positions in the menu can change when kernels are added or removed.
GRUB2 generates its main menu in the file /boot/grub/grub.cfgAlthough it's not recommended to edit it manually (it gets overwritten when you run update-grubYes, you can read it to extract information. A very practical command to list the entries is:
grep -Ei 'submenu|menuentry ' /boot/grub/grub.cfg | sed -re «s/(.? )'(+)'.*/\1 \2/»
This command It will return a list of all entries and submenus. that appear at startup, something similar to:
menuentry Ubuntu

submenu Advanced options for Ubuntu

 menuentry Ubuntu, with Linux 6.7.0-15-generic

 menuentry Ubuntu, with Linux 6.7.0-15-generic (recovery mode)

 menuentry Ubuntu, with Linux 5.15.0-94-generic

 menuentry Ubuntu, with Linux 5.15.0-94-generic (recovery mode)

 menuentry Ubuntu, with Linux 5.15.0-92-generic

 menuentry Ubuntu, with Linux 5.15.0-92-generic (recovery mode)

menuentry Memory test (memtest86+.elf)

menuentry Memory test (memtest86+.bin, serial console)

menuentry MS-DOS 5.x/6.x/Win3.1 (on /dev/sdf1)
The first entry is usually "Ubuntu" with the most modern kernelAnd within the "Advanced options" submenu, all installed versions appear, ordered from newest to oldest. In our example, if you want to always boot with Ubuntu, with Linux 5.15.0-94-genericThat entry would be in the advanced submenu, not the main menu.

Set a specific kernel by position in the menu (GRUB_DEFAULT indexes)
A classic form of specify which kernel GRUB2 wants to boot by default It involves indicating the index (position) of the entry, or even a "submenu > entry" combination when the desired version is within "Advanced options for Ubuntu".
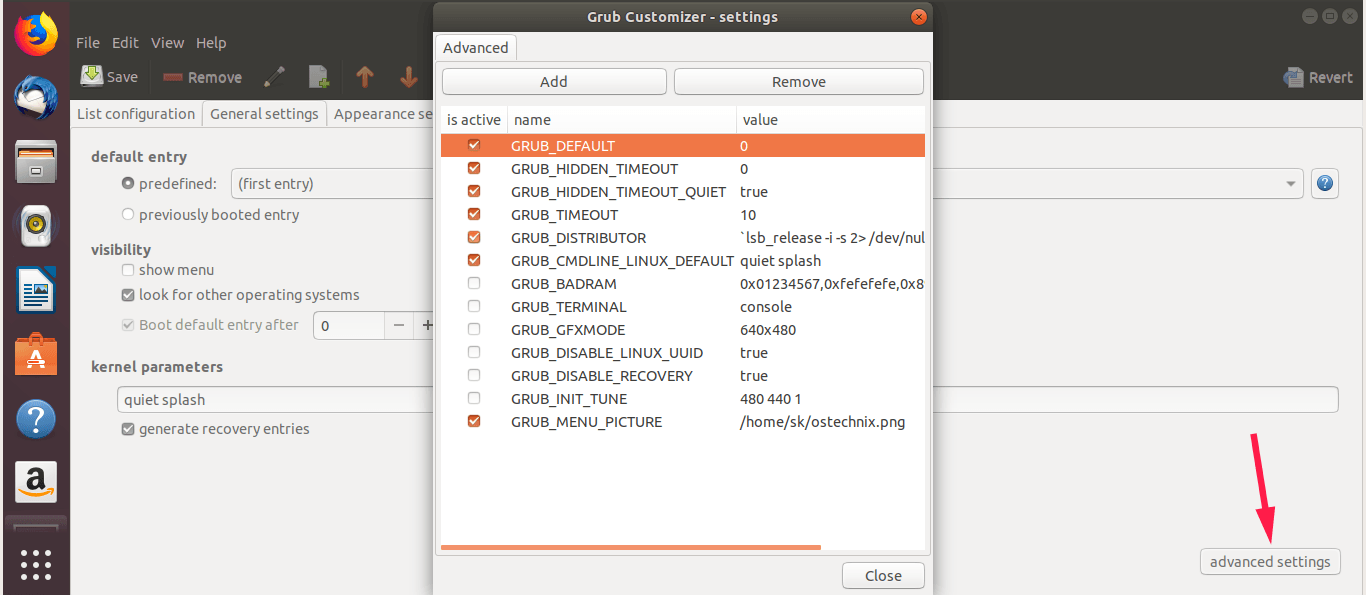
The file that controls this is / Etc / default / grubBefore making any changes, it's highly recommended to create a quick backup in case you need to easily revert to a previous state. You can do this with:
sudo cp / etc / default / grub /etc/default/grub.bak
Next, edit it with your favorite editor, for example with Nano:
sudo nano /etc/default/grub
Inside you'll see a line like this GRUB_DEFAULT=0, which indicates that the first entry in the main menu (index zero) will be used. If your desired kernel is within the "Advanced options" submenuYou can tell GRUB to enter that submenu and select a specific position using the notation submenú>entrada.
Following the previous example, if "Advanced options for Ubuntu" were option 1 in the main menu and within that submenu "Ubuntu, with Linux 5.15.0-94-generic" were the third option (counting from zero and skipping recovery modes), you could write something like:
GRUB_DEFAULT="1>3"
The logic is simple, but you have to pay attention to the indices.The first level refers to the submenu's position in the main menu, and the second to the entry's position within that submenu. Also, remember that "recovery mode" entries are usually staggered, so normal options use odd numbers and recovery options use even numbers.
Once you have changed GRUB_DEFAULT, save the file (in Nano, Ctrl + A and then Ctrl + X) and applies the changes by regenerating the GRUB configuration with:
sudo update-grub
Behind this, restart the system with sudo reboot and, once it boots, it checks which kernel has been loaded with:
uname -a
The result should show you, for example, Linux ... 5.15.0-94-generic ... indicating that you are now using the version you set using the indexes in GRUB_DEFAULT.
Use the menu entry name instead of indexes ("saved" mode)
The index method has a major problem: The positions change when you install or uninstall kernelsThat means a kernel update can make your 1>3 Stop targeting the correct kernel, which is exactly what you want to avoid if you're looking for long-term stability.
GRUB2 offers a much more robust alternative: Use the exact name of the menu entry as the default itemIn this way, as long as that entry exists in grub.cfgIt will continue to be selected even if new versions are added above or below it in the list.
The general idea is this: first You locate the full name of the menu item you want, as it appears in /boot/grub/grub.cfg (for example Ubuntu, with Linux 6.8.0-60-generic), and then you configure GRUB to use it as saved_entry default.
To find the exact name, you can open the configuration file with an editor or viewer, for example:
sudo nano /boot/grub/grub.cfg
Once inside, Use Ctrl+W in Nano to search for the string corresponding to the kernel version that interests you (for example, "6.8.0-60-generic"). Along the lines of menuentry You'll see the full title, something like:
menuentry 'Ubuntu, with Linux 6.8.0-60-generic' ...
Now, instead of playing with indices, You can tell GRUB to use that name as the saved selection.The typical procedure involves executing commands such as the following:
sudo grub-set-default «Ubuntu, with Linux 6.8.0-60-generic»
This command defines the specified entry as the one to be considered the "saved default". To confirm that it has been applied correctly, you can check the GRUB environment file:
sudo grub-editenv list
You should see a line like this:
saved_entry=Ubuntu, with Linux 6.8.0-60-generic
It is also possible that, depending on the previous configuration, the GRUB_DEFAULT=saved option is being used en /etc/default/grubwhich tells GRUB to always use the last saved_entry established. In any case, while the saved_entry If it matches your desired kernel, you will continue to boot that version automatically.
After applying these changes, regenerate the configuration file with sudo update-grubRestart the system and confirm again with uname -a that you started with the version defined as default.

Changing the kernel in Ubuntu to a specific version (installing and downgrading)
In many cases you don't just want to choose a pre-installed kernel, but switch from your current version to a specific oneThis is either because your application requires it, because a driver only supports a certain series, or because a recent update has broken half your system.
The first step should always be know which kernel you are currently runningTo do this you can use commands such as:
uname -r
O well:
uname -a
that will return something like this:
Linux web 6.8.0-85-generic #85~22.04.1-Ubuntu SMP PREEMPT_DYNAMIC ... x86_64 GNU/Linux
Once you know where you are, the next step is see which kernels are available in the repositoriesIn Ubuntu/Debian environments, this is usually done by querying the packages linux-image from the repository, filtering by the version you're interested in. Once you've located the specific version, you can install it directly with apt or compile it yourself (see How to search for configurations in `make menuconfig`), as you prefer.
For example, if you want to go down from 6.8.0-85-generic a 6.8.0-60-genericYou would install the corresponding package with the appropriate command, confirming with "S" when apt It will ask you if you wish to continue with the installation. After the process is complete, You will then have that kernel version available for bootingHowever, GRUB will continue to choose the newest one until you change the settings as explained.
After installing the desired kernel, restart the computer to be able to assign it as default using one of the methods above (by index or by name), whichever is more convenient and robust for your case.
Set a specific kernel from the "Advanced options" submenu as the default
In distributions like Ubuntu 22 and 24, when a kernel version lower than the current one is added, That version is not set as the main entry.but is added to the submenu Advanced options for UbuntuTherefore, even if you install a version 6.8.0-60 below a 6.8.0-85, upon restarting you will still boot with version 85.
For GRUB2 automatically selects the version you want from the submenuYou need to know its exact position. Again, the command that lists the menuentry y submenu It helps you see the structure and numerical order that GRUB will use.
Imagine that after running the listing command you discover that your target kernel (for example, "Ubuntu, with Linux 6.8.0-60-generic") appears in the fourth position of the "Advanced options" submenu, and that this submenu is the first one after the main entry. In that case, the index combination, starting from zero, would be the 1> 2 (submenu in position 1, entry in position 2 within that submenu).
In the File /etc/default/grubYou would then change the line:
GRUB_DEFAULT=0
per:
GRUB_DEFAULT="1>2"
After saving the changes and running sudo update-grub, The next time you boot, that specific kernel will be automatically selected. within "Advanced options", without needing to manually enter the submenu each time.
After the restart you can verify that everything went well with uname -r o uname -a, verifying that the active kernel version is the one you have set through GRUB_DEFAULT.

Uninstall HWE and edge kernels and revert to the stable branch
Once you have achieved boot the system with a stable kernel from the linux-generic branch (for example, a 5.15.x series on Ubuntu 22.04 LTS), the next logical step if the HWE or edge kernels have given you problems is to clean those branches of the system.
To uninstall HWE metapackages, you can use apt purge with a wildcard that covers the entire branch, something like:
sudo apt purge linux-generic-hwe-22.04*
After removing those metapackages, you'll probably want to Also delete images of modern kernels that you no longer need.If, for example, you want to get rid of all kernels higher than 6.x in favor of the 5.x series, you could use a command like this:
sudo apt purge linux-image-6*
This type of purge removes kernel image packages whose name begins with "linux-image-6", so it's advisable to carefully review what you're about to uninstall before confirming. Don't forget that You must maintain at least one stable, functional branch, normally linux-genericbecause without it the system could run out of bootable kernels.
After any kernel cleanup, it is essential Update the GRUB configuration to stop referencing entries that no longer exist.Otherwise, you might encounter menu options that point to deleted kernels. To regenerate the configuration file, use:
sudo update-grub
If you want to ensure that the generic branch remains installed, you can force its installation with:
sudo apt install linux-generic
In most cases it will tell you that it is already installed, but this way you verify that the metapackage exists and that you will continue to receive security updates and fixes on that stable series.
As a final step, if you had changed GRUB_DEFAULT to an index or a specific name to survive the problems with HWE/edge, You can return it to its default value (usually 0) editing again /etc/default/grub:
sudo nano /etc/default/grub
And leaving the line as:
GRUB_DEFAULT="0"
Then save, run sudo update-grub and restart with sudo reboot so that the system boots normally with the latest kernel from the branch linux-generic that you have installed.
Ultimately, controlling which kernel boots using GRUB2 becomes a fundamental tool for any Ubuntu, Debian, or derivative user who doesn't want to be at the mercy of the latest update. By combining the installation of specific versions, the use of "Advanced options", selection by index or by menu name, and the cleaning of problematic branchesYou can adapt the system core to your real needs: rock-solid stability on servers, maximum compatibility on modern equipment, or a calculated mix of both in desktop environments where you don't want to risk your day-to-day use on an experimental kernel.
Passionate writer about the world of bytes and technology in general. I love sharing my knowledge through writing, and that's what I'll do on this blog, show you all the most interesting things about gadgets, software, hardware, tech trends, and more. My goal is to help you navigate the digital world in a simple and entertaining way.