- Docker Desktop on Windows relies on virtualization (Hyper-V or WSL2) to provide a kernel Linux and run containers.
- WSL2 allows you to install Docker Engine directly within a Linux distro, avoiding Docker Desktop when a GUI is not needed.
- In Windows Pro/Enterprise, Hyper-V can be used as an alternative backend for Docker Desktop and other virtual machines.
- Without virtualization support hardware The options for using Docker Desktop are reduced to remote solutions or other equipment.
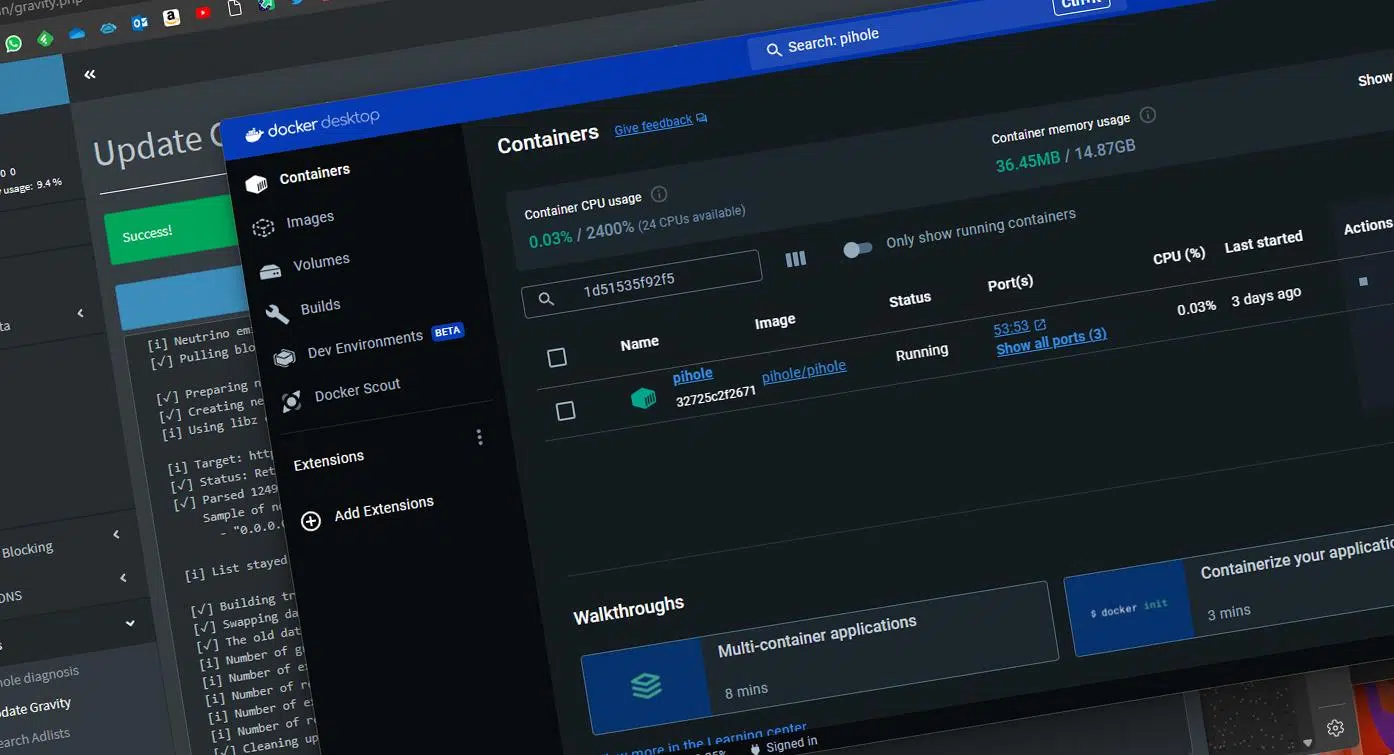
Installing and using Docker Desktop on Windows when you don't have active hardware virtualization (or your CPU or BIOS doesn't even support it ) might seem like an impossible mission, especially if you've watched dozens of tutorials that assume you have Hyper-V or WSL2 up and running. But there are more nuances: Windows containers, Linux containers, WSL2, Hyper-V, classic virtual machines… and each combination has its own limitations.
In this guide, we'll calmly but directly break down what you can and can't do with Docker Desktop without hardware virtualization , what real alternatives you have for running containers on Windows, how to leverage WSL2 and "pure" Docker Engine to avoid Docker Desktop when necessary, and what tricks you can apply to develop with containers comfortably using VS Code, even on modest machines.
Containers, Docker Desktop, and Docker Engine: Key Concepts
Before discussing virtualization requirements, it's essential to understand some basic concepts , as they determine what you can do on your machine:
A container isn't exactly a virtual machine : it shares the kernel with the host system and isolates processes, libraries, and the file system. That's why Linux containers use the host's Linux kernel, and Windows containers use the host's Windows kernel, unless you add a virtualization layer.
Docker Engine is the "real" Docker engine, the service that creates, manages, and runs containers. It runs natively on Linux, is command -line managed , and is completely free with no usage limits, designed for both development and production environments.
Docker Desktop is a desktop application that includes Docker Engine plus a graphical interface, Kubernetes integration, development tools, a resource panel, easy configuration, and more. On Windows and macOS, it always relies on some form of virtualization to provide a Linux environment where the containers will run.
The main difference between Linux and Windows is that, in Linux, Docker Engine can run directly on the kernel without a virtual machine, while in Windows and macOS Docker Desktop uses a hidden Linux VM, either relying on WSL2 or Hyper-V, which implies needing hardware-level virtualization.
Finally, Windows containers can run in two modes: process isolation (sharing the host's Windows kernel) or Hyper-V-like isolation (each container runs within a mini-VM). In practice, for most modern scenarios with Docker Desktop on Windows, virtualization is ultimately used in one form or another.
Can Windows containers be run without Hyper-V?

The typical question is whether it's possible to run "pure" Windows containers without Hyper-V , using only the host Windows kernel in process isolation mode, thus avoiding hardware virtualization. In theory, process isolation allows exactly that: using the same kernel without a hypervisor.
The practical problem is that most scenarios supported by Docker Desktop and modern versions of Windows are designed to run with Hyper-V and/or WSL2 enabled. Even when using Windows containers, Docker Desktop relies heavily on Microsoft's virtualization infrastructure.
Trying to run Windows containers without any virtualization leads you into a dead end with many restrictions: you depend on very specific versions of Windows Server or Windows 10/11, you need specific features enabled, and even then, the experience is fragile, complex to configure, and far from what standard Docker Desktop offers.
Furthermore, projects like running Docker for Windows on Wine in Linux run up against a rather harsh reality: Docker Desktop and the Docker engine in Windows expect to be able to communicate with virtualization layers and very specific system APIs. Wine doesn't reliably implement all of that, so this idea is more of a theoretical experiment than a usable solution.
Practical conclusion at this point: if your goal is to run Windows containers on a modern Windows host , sooner or later you'll need virtualization (Hyper-V or WSL2) for a functional and supported experience. Without it, everything becomes very limited workarounds.
Options if you need Docker on Windows without relying on Docker Desktop

If, for whatever reason, you want or need to avoid Docker Desktop on a Windows host , you have several reasonable alternatives depending on your hardware and the version of Windows you are using.
The most traditional option is to create a Linux virtual machine using tools like VMware Workstation, Oracle VirtualBox, or Microsoft's own Hyper-V, install a Linux distribution there, and then set up Docker Engine within it. However, all these solutions still require hardware virtualization to be enabled in the BIOS.
VMware and VirtualBox work well, but they belong to companies with questionable business practices and a certain cost overrun. Even so, they are very mature solutions, with user-friendly management interfaces and tons of documentation and tutorials available online.
Hyper-V comes integrated with Windows (Pro editions and higher), is free, and very robust. It allows you to create lightweight virtual machines where you can deploy Linux and, within it, Docker Engine. It's a very attractive option if you already have Windows Pro or Enterprise and want a fairly "official" environment without installing third-party software.
The simplest alternative for most home users and developers today is to use WSL2 (Windows Subsystem for Linux 2) and run Docker Engine directly within the Linux distribution. This way, you can completely forget about Docker Desktop if you wish, work from the Linux command line, and continue using your Windows tools.
Installing and preparing WSL2 on Windows 10 and Windows 11
WSL2 has become the recommended method by Microsoft and Docker for working with Linux containers on Windows, both Windows 10 and Windows 11. It offers a real Linux kernel packaged in a small, optimized VM and integrates very well with the system.
First, check that your version of Windows is compatible. Press WIN+R, writes winver and check the data:
- Windows 10 It must be, at a minimum, version 1903 with build 18362.1049 or higher.
- Windows 11 It is compatible with all current versions.
Next, check if hardware virtualization is enabled . Open Task Manager , go to the Performance tab , select CPU , and look at the information block: it should say “Virtualization: Enabled”.
If it appears as disabled and your CPU supports virtualization , you'll need to enter your motherboard's UEFI/BIOS and enable the virtualization options ( Intel VT-x, AMD-V, or similar). If your processor is very old or the manufacturer has blocked it, this will be your physical limitations.
To enable WSL2 features on Windows, press WIN+R, writes optionalfeatures And in the features window, check these two entries:
Virtual Machine PlatformWindows Subsystem for Linux
Let Windows download and install the necessary components ; it will prompt you to restart when finished. Do so, because without this restart WSL2 will not be applied correctly.
When the system restarts, open a Command Prompt with administrator privileges (search for “Command Prompt” in the Start menu > right-click > Run as administrator) and run:
wsl --set-default-version 2
Then update the WSL2 kernel to the latest available version with:
wsl --update --web-download
To see which Linux distributions you can install , check the list of available online:
wsl --list --online
The general recommendation for beginners is to use a recent Ubuntu LTS release , because most documentation and examples are based on it. For example, to install Ubuntu 24.04 LTS:
wsl --install --web-download --distribution Ubuntu-24.04
When the distro installation is complete, a terminal window will automatically open asking you to create a username and password for that Linux system. Choose strong credentials; ideally, they shouldn't match your Windows account.
If you want to optimize the space occupied by the distro's virtual disk , you can configure it as "sparse" (dynamic) from the Windows command prompt:
wsl --manage Ubuntu-24.04 --set-sparse true
From this point on you have a complete Linux environment running “inside” WindowsYou can access it at any time by running wsl from CMD, PowerShell or using Windows Terminal, which will also create profiles for each installed distro.
Install Docker Engine on WSL2 without Docker Desktop
With your Linux distribution running under WSL2, the next step is to install Docker Engine directly , bypassing the additional Docker Desktop layer. This provides near-native performance and, in many cases, simplifies things if you don't need the graphical interface.
Boot your Ubuntu system in WSL2 and first update the package list to ensure everything is up to date:
sudo apt-get update
Install the basic dependencies to work with HTTPS repositories and manage third-party GPG keys:
sudo apt-get install ca-certificates curl
Create the directory where you will save the GPG key for the official Docker repository and download the key:
sudo install -m 0755 -d /etc/apt/keyrings
sudo curl -fsSL https://download.docker.com/linux/ubuntu/gpg -o /etc/apt/keyrings/docker.asc
sudo chmod a+r /etc/apt/keyrings/docker.asc
Add the official Docker repository for Ubuntu using your system's architecture and codename:
echo "deb [arch=$(dpkg --print-architecture) signed-by=/etc/apt/keyrings/docker.asc] https://download.docker.com/linux/ubuntu \
$(. /etc/os-release && echo "$VERSION_CODENAME") stable" | \
sudo tee /etc/apt/sources.list.d/docker.list > /dev/null
Update the repositories again now that you've added the Docker source and install the engine with its tools:
sudo apt-get update
sudo apt-get install docker-ce docker-ce-cli containerd.io docker-buildx-plugin docker-compose-plugin
To avoid always having to use sudo with Docker commandsAdd your Linux user to the group docker:
sudo usermod -aG docker $USER
Log out of the distro and log back in (or close the WSL window and reopen it) for the group changes to take effect. If everything went well, you should be able to run:
docker info
docker run --rm hello-world
If you see the Docker welcome message, you already have your Linux container environment running on WSL2 , completely independent of Docker Desktop and with very low resource consumption.
Use Docker Desktop with WSL2 backend instead of Hyper-V
If you prefer a more "desktop-like" experience, with a graphical interface and wizards , you can still use Docker Desktop but specify that it uses WSL2 as the backend instead of Hyper-V. This is especially useful on Windows 10 Home, where full Hyper-V is not available.
Download Docker Desktop from the official Docker website and run the installer. During the process, if your system supports both, it will ask if you want to use WSL2 or Hyper-V. In most development scenarios, the recommendation is to select WSL2.
Once installed, launch Docker Desktop from the Start menu . When the Docker icon appears in the system tray (it might be in the hidden icons menu), right-click it and go to Settings.
In the General section of the configuration, make sure the “Use the WSL 2 based engine” checkbox is active , because this tells Docker Desktop to rely on WSL2 to run Linux containers.
In Settings > Resources > WSL Integration , you'll see a list of installed WSL2 distributions. Enable integration for the ones where you want to use Docker (for example, your Ubuntu 24.04). From then on, you'll be able to launch containers from that distribution using the Docker Engine managed by Docker Desktop.
To confirm that everything is in order, open a terminal in your WSL distro and run:
docker --version
docker run hello-world
If the test container runs smoothly, you have Docker Desktop working with a WSL2 backend , which allows you to combine a graphical interface, easy image management, and the reasonably good performance of WSL2.
Hyper-V as a virtualization alternative for Docker Desktop
On systems with Windows 10/11 Pro or Enterprise and available hardware virtualization , another option is to let Docker Desktop use Hyper-V directly as the virtualization engine for your internal Linux virtual machine.
Hyper-V is Microsoft's native hypervisor , available in both Windows Server and professional editions of desktop Windows. For Docker, it acts as a host for a lightweight VM on which the Docker Engine and the entire container stack run.
To enable Hyper-V, return to the Windows Features panel (Control Panel > Programs > Programs and Features > Turn Windows features on or off) and check the Hyper-V box . If prompted, have the ISO file ready or let Windows download the components.
After restarting, download and install Docker Desktop for Windows . During the wizard, uncheck the option to use WSL2 as the backend and leave the option to use Hyper-V enabled. The installer will create the Docker VM on Hyper-V and configure the necessary services.
When you restart and launch Docker Desktop , log in with your Docker account (free for personal and small business use) and complete the short welcome questionnaire. If you encounter engine startup errors , check that Hyper-V is properly enabled and that you are not inside another virtual machine without nested virtualization.
From the Docker Desktop interface, you can view your containers' CPU and memory usage , download images from the Hub, launch containers from the integrated search, and generally experiment with minimal command-line interaction. However, the trade-off is a mandatory reliance on Hyper-V hardware virtualization.
Docker Desktop requirements on Windows and limitations without virtualization
By design, Docker Desktop on Windows requires virtualization to be enabled , whether to use Hyper-V or to run the small WSL2 environment with its Linux kernel. This requirement isn't arbitrary: Linux containers need a Linux kernel, and on Windows, you can only provide that through a virtual machine.
Typical minimum requirements for installing Docker Desktop on Windows 10 include:
- 64-bit CPU with SLAT and enabled hardware virtualization support.
- At least 4 GB of RAM so that the system and the containers can breathe.
- Windows 10 Home, Pro or Enterprise, or equivalent Windows 11.
- 20 GB or more of disk space for the tool itself, the images, and the volumes.
- Hyper-V or WSL2 activated according to the Windows edition.
In Windows 10 Home, you can only use Docker Desktop with a WSL2 backend , as full Hyper-V is not supported. In Pro and Enterprise, you have a choice, but currently, WSL2 is generally the most flexible and best-integrated option for development.
If you don't have hardware virtualization available or enabled , the situation becomes more complicated: Docker Desktop won't start correctly, and even if you try workarounds, you'll be working against the tool's default design. In that case, the solution is usually to use another machine, a remote Linux server, or at the very least, a cloud-based VM.
Integrate Docker and WSL2 with Visual Studio Code and remote containers
Once you have containers running (either with Docker Engine in WSL2 or with Docker Desktop) , the most convenient way to develop is usually with Visual Studio Code and its extensions for remote environments.
The first step is to install the “WSL” extension in VS Code . This extension allows you to open folders located on your Linux distribution (for example, Ubuntu in WSL2) directly in VS Code, without the hassle of dealing with paths, permissions, or incompatible binaries.
Also install the “Dev Containers” extension . With it, you can open your project inside a Docker container and make that container your complete development environment: dependencies, Python version, Node, .NET, etc., all encapsulated.
Finally, add the “Docker” extension to VS Code to manage images, containers, logs, and deployments from within the editor interface, using side panels and contextual commands.
A typical workflow would be to clone a project onto your WSL2 distro , for example:
git clone https://github.com/<usuario>/mi-proyecto.git
cd mi-proyecto
From there, you launch VS Code by pointing to the project folder with:
code .
In the VS Code command palette (Ctrl+Shift+P), select “Dev Containers: Reopen in Container” so that the project reopens within a Docker container defined by a configuration .devcontainerIf it doesn't exist, the extension will suggest templates based on the type of project (Python, Node, .NET, etc.).
Once the container is built and running, you'll have a clean and reproducible development environment , with which you can debug, run tests, launch the development server, and open it in the Windows browser as if it were a local app.
Common problems and how to solve them
If you ever tried preview versions of Docker for WSLYou may have a Docker context called wsl which is already obsolete and can generate errors such as “open //./pipe/docker_wsl: The system cannot find the file specified”.
To check the available contexts, run :
docker context ls
If you see one called wslYou can delete it with complete peace of mind. using:
docker context rm wsl
Another common headache is figuring out where Docker stores data when working with WSL2 . You'll usually see something like:
\wsl$\docker-desktop\wsl$\docker-desktop-data
To explore them from Windows File Explorer , open a terminal in your WSL distro and run:
explorer.exe .
If you navigate to the route \\wsl\<Distro>\mnt\wsl (substituting <Distro> by their real name, for example Ubuntu-24.04), you should be able to see the folders where Docker Desktop stores image layers and volumes.
When Docker Desktop refuses to start or gets "stuck" , it is almost always related to one of these points: virtualization disabled in BIOS, corrupted Hyper-V services, outdated WSL2, or conflicts with another virtualization tool that also wants to control VT-x/AMD-V.
What to do if your hardware doesn't support hardware virtualization
If, after reviewing the BIOS and documentation, you discover that your computer does not actually support hardware virtualization , the possibilities are considerably reduced, and Docker Desktop, in particular, will not be a viable option on Windows.
In that case, reasonable solutions involve using another machine or the cloud : a small Linux server on your local network, an instance with a cheap cloud provider, or even a newer laptop that does offer VT-x/AMD-V. From your Windows machine, you could connect via SSH and use Docker Engine there.
You can also pursue software virtualization with outdated tools or experimental configurations , but performance will be poor and stability questionable. It might suffice for a very basic learning environment, but for anything even remotely serious, it's best not to rely on such solutions.
In practical terms, if your GPU is decent but your CPU doesn't support virtualization , you can continue working with local development tools and reserve Docker and containers for a remote environment. It's not as convenient, but at least you'll have a compatible and maintainable environment.
Setting up a reasonable Docker Desktop environment without active hardware virtualization on Windows is severely limited by the tool's design and the need for a Linux kernel in a VM ; however, by combining WSL2, native Docker Engine on Linux, integration with Visual Studio Code, and, when hardware allows, Hyper-V or WSL2 as a Docker Desktop backend, you can have a powerful, flexible, and fairly lightweight container environment even on home computers, provided you accept that hardware virtualization is no longer optional but practically a starting requirement.

Passionate writer about the world of bytes and technology in general. I love sharing my knowledge through writing, and that's what I'll do on this blog, show you all the most interesting things about gadgets, software, hardware, tech trends, and more. My goal is to help you navigate the digital world in a simple and entertaining way.