- It is essential to select the root of the physical device in Disk Utility and not just the volume to avoid internal errors.
- The partitioning scheme must be GUID Partition Map for APFS to function correctly.
- APFS is the optimized standard for SSDs, while HFS+ and exFAT are reserved for mechanical drives or Windows compatibility.
- The Terminal allows you to perform deep wipes and remove corrupted containers that the graphical interface cannot handle.
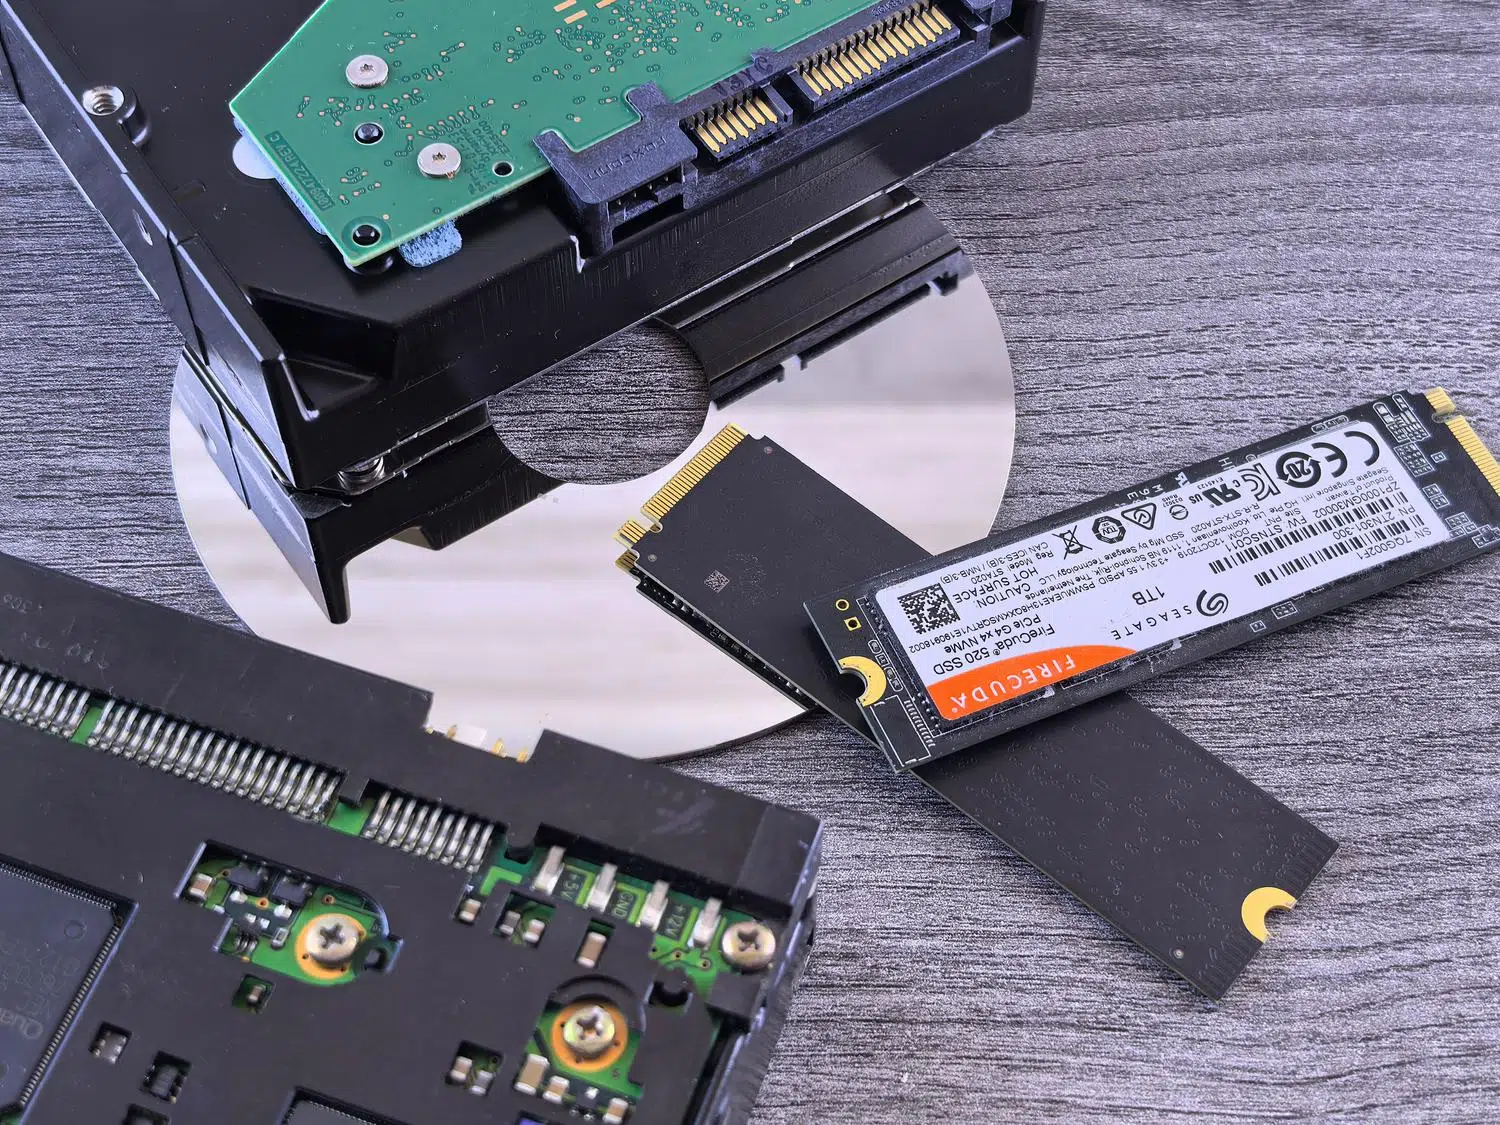
If you've encountered the annoying message asking you to format your hard drive using the APFS structure before installing macOS, don't worry. It's a very common hurdle, especially when attempting a clean install or rescuing a Mac that's stuck during the formatting process. Essentially, Apple has changed how it manages files to take full advantage of SSD speeds, and if the disk doesn't have the correct format, the installer simply refuses to proceed.
The key to solving this isn't to just randomly hit the delete button, but to understand that there's a hierarchy: first comes the physical device , then the partition scheme, and finally the file system. If you try to erase only the internal volume, you'll very likely get an internal status error or the system will keep telling you that the format isn't compatible. Let's see how to get the disk perfectly clean so the installation runs smoothly.

What exactly is APFS and why is it mandatory?
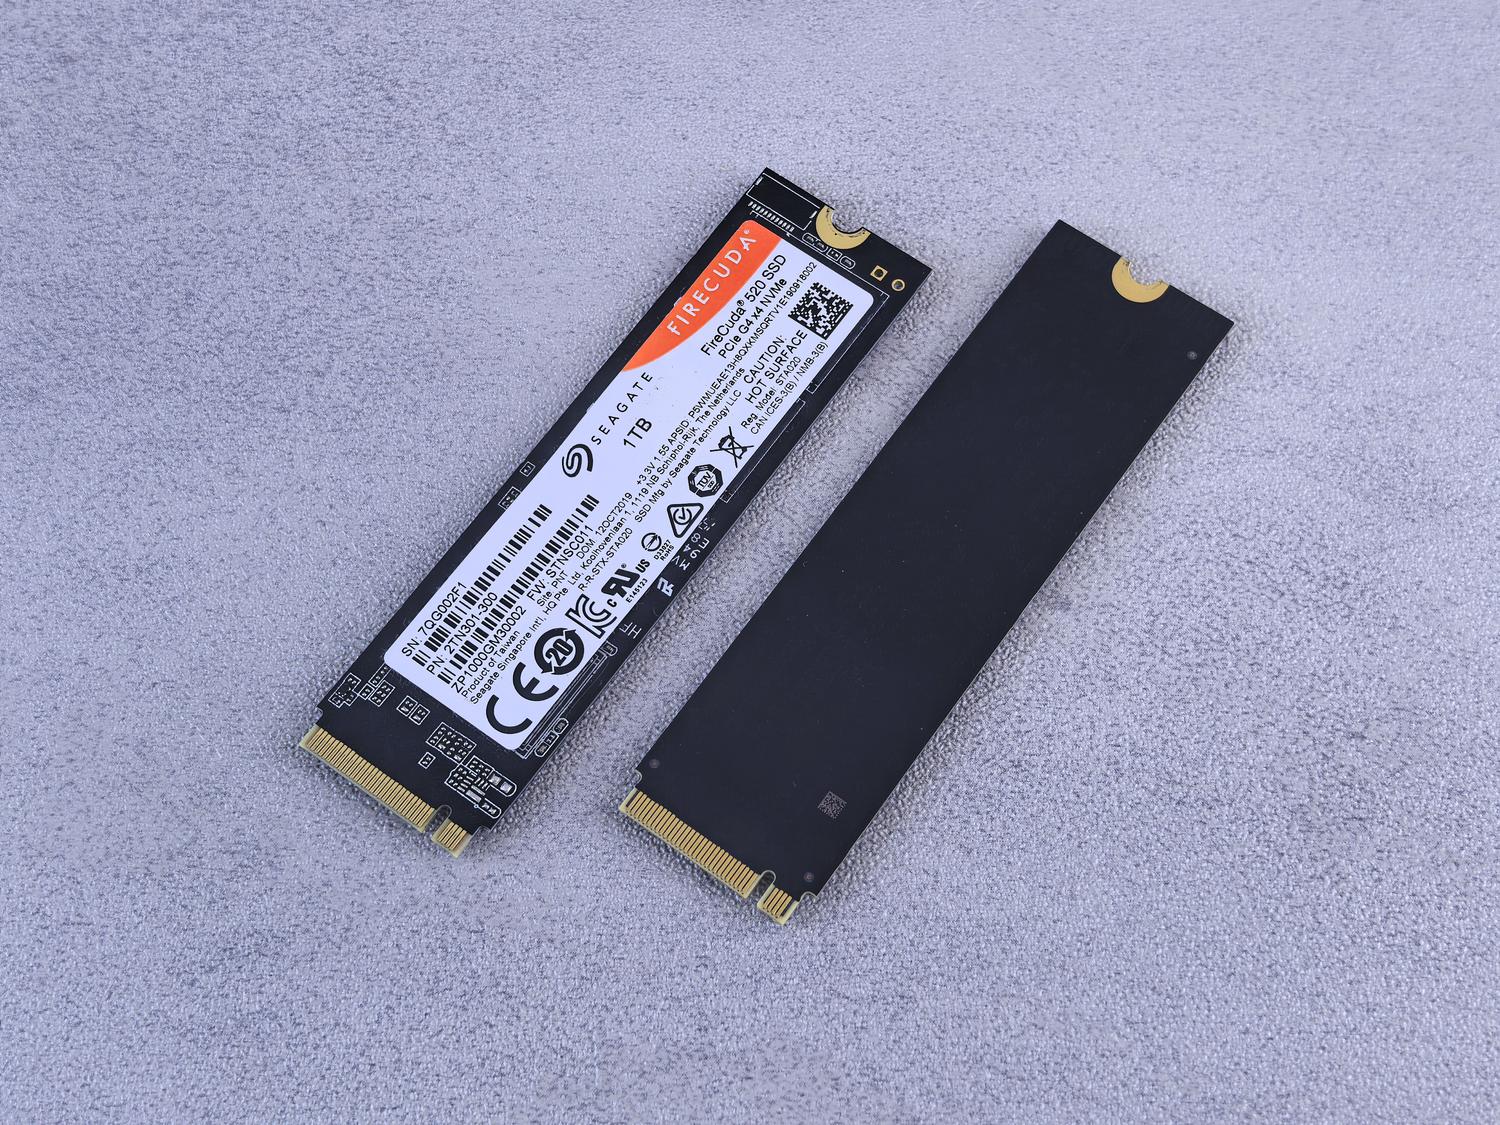
The Apple File System (APFS) was released to replace the older Mac OS Extended (HFS+). It's specifically designed for solid-state drives (SSDs) and flash drives, optimizing data writing and enabling features like snapshots and native encryption. On modern Macs, especially those with Apple chips or the T2 security chip, the macOS installer requires this format; if you try to use HFS+, the system will display a warning indicating that the computer requires installation on APFS volumes only.

The definitive guide to formatting correctly
To avoid errors like the infamous Internal State Error or container creation failures, the most important thing is to change the Disk Utility view. By default, macOS hides the disk root, and simply deleting the visible partition is usually not enough to correct structural errors.
- Open the Disk Utility from the applications menu or recovery mode.
- Go to menu Display and select Show all devicesThis is vital, because now you will see the physical disk (the root) and not just the volume.
- Select the root drive (the one that usually has the manufacturer's name, such as APPLE SSD).
- Click on the Delete and configure the parameters like this: the name you want, the format APFS and, very importantly, the scheme GUID Partition Map.
If you're using an older 5400 RPM hard disk drive (HDD), be aware that APFS can make booting extremely slow. In those specific cases, and if your system allows it, Mac OS Extended (Journaled) remains a faster option, although for the internal hard drive of a modern Mac, APFS is the only way.
Advanced solutions through the Terminal
Sometimes, the graphical interface falls short or throws inexplicable errors. When this happens, Terminal is our best ally for repairing damaged APFS structures from the Mac terminal and forcing a disk cleanup. A thorough process involves not only deleting, but also removing any previous containers that might be causing conflicts.
First, we run diskutil list to identify our unit's identifier (for example, disk0If the disk is giving persistent problems, we can try unmounting it with diskutil unmountDisk disk0 and, in extreme cases, use diskutil zeroDisk disk0 to write zeros to the entire drive and remove any trace of corrupt partitions.
To format directly using commands, the safest approach is to erase the entire disk: diskutil eraseDisk APFS NombreDisco GPT disk0If you need to revert to an older format for compatibility with older equipment, you can use the command diskutil apfs deleteContainer followed by diskutil eraseDisk HFS+ NombreDisco GPT disk0.
Key differences between disk formats on Mac
Not all formats are suitable for the same purpose, and choosing the wrong one is a recipe for disaster. Here's a breakdown to help you avoid mistakes:
- APFS: The top choice for SSD drives and modern macOSIt is the only one compatible with the latest versions of the operating system for the boot disk.
- Mac OS Plus (HFS+): Ideal for mechanical hard drives or to share files with very old Macs that do not recognize the APFS system.
- exFAT: The perfect solution if you need the disk to be read and written on both Mac and Windows without installing extra software.
- FAT32 (MS-DOS): Useful only for small USB drives or very basic devices (like car radios or old TVs), as it does not support files larger than 4 GB.

Common error management and recovery
It's common to see the message "Disk could not be unmounted" when trying to erase a disk . This usually happens because an application or Spotlight itself is analyzing the drive. The solution is to close everything and, if you're in recovery mode, try manually ejecting the volumes before erasing the root directory.
If you realize you've accidentally formatted a disk containing important data, tools like Disk Drill or step-by-step APFS data recovery methods can scan the drive. The likelihood of recovering data from a formatted disk depends on how much you wrote to it after the erase; the less you used it, the higher the chances of retrieving your information.
For those using Apple Silicon- based systems , the erasing process is simpler thanks to the Erasing Assistant available in the recovery options, which automates the cleaning of the volume group and leaves the Mac ready for a clean installation without technical complications.
Having the disk configured with the GUID partition table and the APFS file system is essential for a successful macOS installation. Whether through Disk Utility by selecting the physical device or using precise commands in Terminal, ensuring the correct structure will prevent container failures and allow the operating system to deploy successfully on the SSD.


Passionate writer about the world of bytes and technology in general. I love sharing my knowledge through writing, and that's what I'll do on this blog, show you all the most interesting things about gadgets, software, hardware, tech trends, and more. My goal is to help you navigate the digital world in a simple and entertaining way.