- ViveTool allows you to unlock hidden and experimental features of Windows without having to be an Insider.
- Each function is identified by a unique ID and its activation/deactivation is reversible and safe if precautions are taken.
- There are console and GUI versions, adapting to both beginner and advanced users.

Have you ever wanted to try out new Windows features before anyone else without risking your system's stability with beta versions? Activating experimental features with ViveTool is the solution many enthusiasts and developers are using to unlock hidden operating system features without joining the Insider program or compromising their PC's performance. This tool, while it may sound complex at first, has become a valuable ally for those looking to customize Windows and get the most out of its capabilities.
In this article, you'll discover exactly what ViveTool is, what it's for, how it works, and the steps to take to get the most out of its experimental features in both Windows 10 and Windows 11. I'll also give you security tips, important warnings, and key details for enabling or disabling these features without fear of damaging your system.
What is ViveTool and what is it used for?

ViveTool is an open-source tool that allows Windows users to access and activate hidden or experimental features within the operating system. Unlike other utilities that modify the registry or tamper with sensitive settings, ViveTool interacts directly with the Windows Feature Store , a system component where Microsoft stores and manages new features that will eventually be released to the general public.
What's interesting about ViveTool is that it doesn't add or remove anything external : it simply changes the state of functions that are already present, even if they're hidden. This provides a fairly safe way, all things considered, to test new possibilities before they're officially released.
Some of its most common applications are:
- Enable features still in testing on Windows 10 and Windows 11 (improved menus, new task managers, visual changes, etc.).
- Access A/B configurations that Microsoft enables only for some Insiders.
- Disable features that you don't need or that might be annoying (depending on the version of Windows).
ViveTool originated as a project by Albacore , a well-known software researcher, and its development and code are publicly hosted on GitHub. You can download both the command -line version and a community-developed graphical interface.
How experimental features work in Windows
Windows internally manages its new features through a Feature Store. This is where Microsoft decides which features are activated, which ones remain in testing, and which users can try them first. Typically, these experimental features are first available to Insider members, who test new builds and report bugs. However, being in the Insider Channel carries certain stability and security risks, as these are still beta versions.
Each experimental feature in Windows has a unique identifier (ID) , usually a long, 8-digit number. These IDs are the key to ViveTool's functionality . When you run ViveTool with a specific ID, you can toggle a feature between enabled, disabled, or hidden states, depending on how Microsoft has implemented it on your system.
These identifiers are often made public by experts or leakers such as Albacore, FireCube, and others, and are often found on specialized forums, social media, or in current Windows news.
ViveTool: Main features and available versions
ViveTool is available mainly in two variants:
- Command line version (CMD o Bus Terminal): The original and preferred by advanced users. It allows greater flexibility and is compatible with the vast majority of Windows systems (10 and 11, on x86 and ARM architectures).
- Version with graphical user interface (GUI): developed by third parties. It is simpler for starters, although it is usually less updated and some features may be missing compared to the console version.
Both versions allow you to list, activate, or deactivate hidden features for your Windows edition, although the graphical version makes it much easier to find specific IDs and avoid errors when typing commands.
As for updates, ViveTool is constantly under development. Its most recent versions (such as 0.3.4) already offer support even for experimental builds of Windows 11, such as 24H2, and its distribution remains free and open via GitHub.
Is it safe to use ViveTool?
One of the biggest concerns for those discovering ViveTool for the first time is security. The tool itself is safe as long as it's downloaded from its official source on GitHub and you use verified commands for IDs that exist in your version of Windows.
However, it's important to note that the features you activate may not be stable . Since many of them are in the testing phase or under development for future versions, they can cause errors, slowdowns, or unpredictable system failures.
Therefore, experts recommend:
- Use ViveTool preferably in Virtual machines or secondary equipment.
- Always create a restore point before activating an experimental feature.
- Do not activate IDs at random or for versions of Windows that do not correspond.
The great advantage is that, since ViveTool doesn't install or remove anything, disabling a feature is as simple as running it again with the reverse command . This way, if something goes wrong, you can restore the system to its previous state.
How to install ViveTool on Windows
Installing ViveTool is a very simple process and only takes a few minutes:
- Access the ViveTool repository on GitHub or its official website . Find the latest version available and download the ZIP file appropriate for your operating system.
- Extract the contents of the ZIP into a folder with a short and simple name, such as C:\vivetool. It is recommended to place it at the root of the disk.
- For the command line version, you don't need to install anything else: you'll just have the executable files in that folder.
- If you prefer to use the graphical version (GUI), locate the installer in the "Assets" section on GitHub, download it, and run the setup.exe file following the instructions. Once installed, you'll be able to use the interface without any complications.
Not sure which version to use? The GUI is recommended for beginners or those who aren't comfortable with the command line , while the classic version offers more power for those who already know the ins and outs of Windows.
Using ViveTool to enable experimental features: step by step
The process for enabling or disabling hidden features varies slightly depending on the version of ViveTool you're using. Here are both methods explained from scratch:
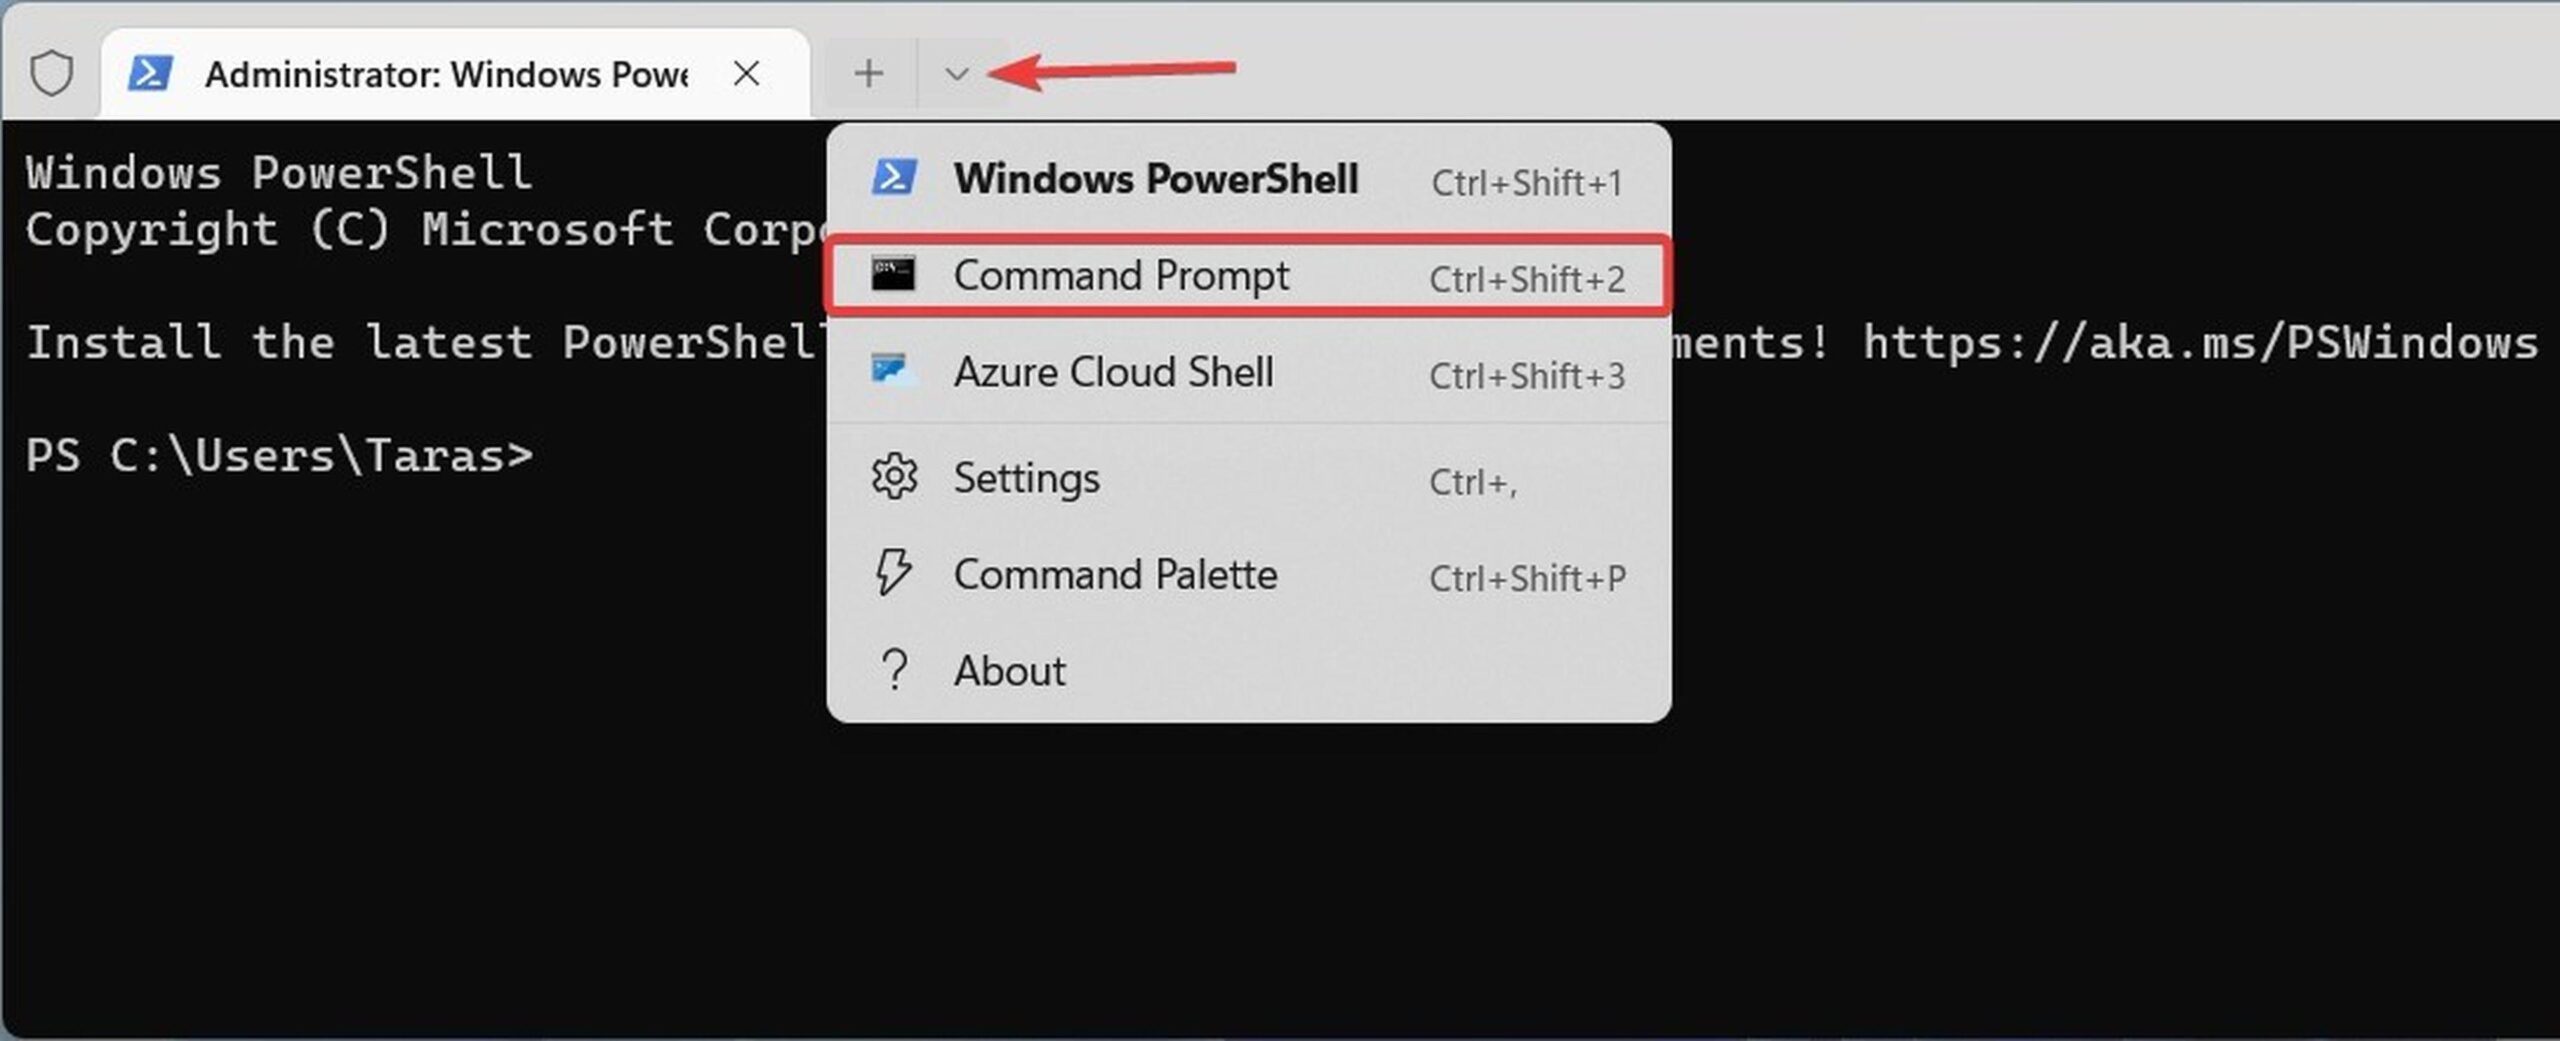
Command console (CMD or Windows Terminal)
- Open the 'Symbol of the system' as administrator (right click on the start menu and choose 'Run as administrator').
- Navigate to the folder where you unzipped ViveTool with the command:
cd C:\vivetool - Activate a function by executing:
vivetool /enable /id:FUNCTION_ID
For example, to activate a grouped menu feature with ID 46045587:
vivetool /enable /id:46045587 - If you want to disable it later, run:
vivetool /disable /id:46045587
To find out what IDs are available, check specialized websites, followers like Albacore on X (formerly Twitter), or use the GUI version to list them easily.
ViveTool Graphical Interface (GUI)
- Install and open the GUI application from the downloaded setup.exe file.
- Select your version of Windows from the drop-down menu in the upper left corner.
- Let the app load and display the list of available features (it may take a few minutes).
- Find the feature you want to activate or enter the ID directly in 'Manually change a feature'.
- To activate, select 'Activate feature' or the corresponding option; to deactivate, do the same but with the deactivate option.
- Check the success message and restart your computer if necessary to apply the changes.
You can repeat these steps as many times as you like to test different features . If you experience any problems, simply disable the feature using the same method.

Precautions and best practices when using ViveTool
While unlocking features early can be very appealing, using ViveTool involves certain risks . Many advanced users and specialized websites recommend the following:
- Never enable unconfirmed IDs for your exact edition of Windows. If a feature doesn't exist or is for another build, it can cause crashes or leave the system unstable.
- Working on virtual machines or test equipment where possible.
- Make a backup or create a restore point before any major changes.
- Consult reliable sources for codes and descriptions of experimental functions.
Remember that experimental features may affect performance, display bugs, or even disappear in future updates. Microsoft tests different variants of new features and sometimes removes them if they don't deliver the expected results.
Practical examples and use cases of ViveTool
A typical use of ViveTool is to activate new visual or management options in Windows 11 before they reach the stable channel. For example, it was once possible to activate the new task manager integrated with Fluent Design using the following commands:
- vivetool addconfig 35908098 2
- vivetool addconfig 37204171 2
- vivetool addconfig 36898195 2
The final number (2) usually indicates the status to be activated. Updated lists of these IDs can be found on expert profiles, forums, and specialized websites such as MuyComputer or technology news channels.
Other features that have been enabled by ViveTool include:
- New context menus or tabbed file explorers.
- App grouping options, redesigned taskbars, interface changes, and advanced privacy settings.
- Exclusive features in certain Insider builds that aren't yet available to most users.
The key is to closely monitor the developments of each Windows Build and keep an eye on code leaked by the community.
Differences between ViveTool and other tools for experimental features
There are other third-party utilities to modify the Windows experience ( regedit , group policies, personalization programs…), but ViveTool is very specific and powerful when it comes to touching the 'Feature Store' and bringing to light features in testing before their general release.
Its advantage over traditional hacks is that it doesn't require modifying the registry or installing anything from sources other than Microsoft , which reduces risks and makes it easier to revert changes if problems arise. However, caution and common sense are always recommended before activating anything.
For those looking for even more customization, ViveTool can be combined with other applications (for example, to modify the visual appearance, taskbar, menus, etc.), but always be aware that experimental features may not be final and may even disappear without prior notice.
Mastering ViveTool provides advanced control and a boost of innovation compared to those who wait for official updates, although it does involve assuming a bit more risk.
Trying out the latest Windows features before anyone else can be a lot of fun and very useful, especially for those who want to stay ahead of the curve and understand where the operating system is headed. With ViveTool, your PC becomes a true testing ground where you can unlock the hidden potential of Windows with just a few commands or a couple of clicks. Of course, always use common sense, keep security in mind, and be open to experimenting.

Passionate writer about the world of bytes and technology in general. I love sharing my knowledge through writing, and that's what I'll do on this blog, show you all the most interesting things about gadgets, software, hardware, tech trends, and more. My goal is to help you navigate the digital world in a simple and entertaining way.
Table of Contents
- 1 What is ViveTool and what is it used for?
- 2 How experimental features work in Windows
- 3 ViveTool: Main features and available versions
- 4 Is it safe to use ViveTool?
- 5 How to install ViveTool on Windows
- 6 Using ViveTool to enable experimental features: step by step
- 7 Precautions and best practices when using ViveTool
- 8 Practical examples and use cases of ViveTool
- 9 Differences between ViveTool and other tools for experimental features