- Documenting your Windows system involves detailing the version, software, backups, images, and recovery media.
- System images, WIM files, and custom ISOs allow you to quickly and controllably restore or deploy Windows.
- Native tools like DISM and WinRE can be combined with third-party solutions to simplify backups and restores.
- Live, centralized documentation facilitates the maintenance and deployment of multiple teams in professional environments.
If you work with a computer daily, having your Windows system well-documented and protected is almost as important as its speed. It's not just about jotting down a few things in a document , but about ensuring everything is so clear and so well-backed up that you can recover your computer or replicate its configuration without any major issues if something goes wrong.
Furthermore, when multiple people are involved (support team, other developers, IT department, even clients), good documentation of your Windows system and its backups makes it much easier to speak the same language. And if you ever need to reinstall, clone, or restore your Windows, you'll be glad you had everything properly arranged beforehand.
What does “documenting your own Windows system” really mean?
When we talk about documenting a Windows system, we don't just describe the operating system version. Documentation involves explaining precisely how the system is set up and how it's recovered : which version of Windows you're using, what software it includes, how to create a backup, how to generate a bootable image or ISO, and so on.
In professional settings, the term "living documentation" is often used; that is, a set of documents that is updated as the system and tools change . This fits perfectly with Windows, since the system is frequently updated, installed software changes, and security policies become increasingly stringent over time.
Good documentation for your Windows system should blend two worlds: on the one hand, the purely technical (commands, paths, tools, versions) and, on the other, the practical side: what you do on a daily basis to avoid losing data, how you restore your PC if it stops booting, or how you clone an installation to other computers.
It's also a good idea to document which tools you use to manage the documentation itself. Some people use internal wikis, Git repositories, note-taking tools, or collaborative documentation systems , especially when dealing with more complex or distributed system architectures. The important thing is that what you define for your Windows environment is easily accessible and understandable.
Finally, it's worth noting that not everyone enjoys writing documentation. Even so, dedicating time to documenting your Windows system saves you hours of trouble when a new technician joins the team, when you need to reformat, or when a critical failure occurs.
Backups and system imaging: the foundation of any strategy
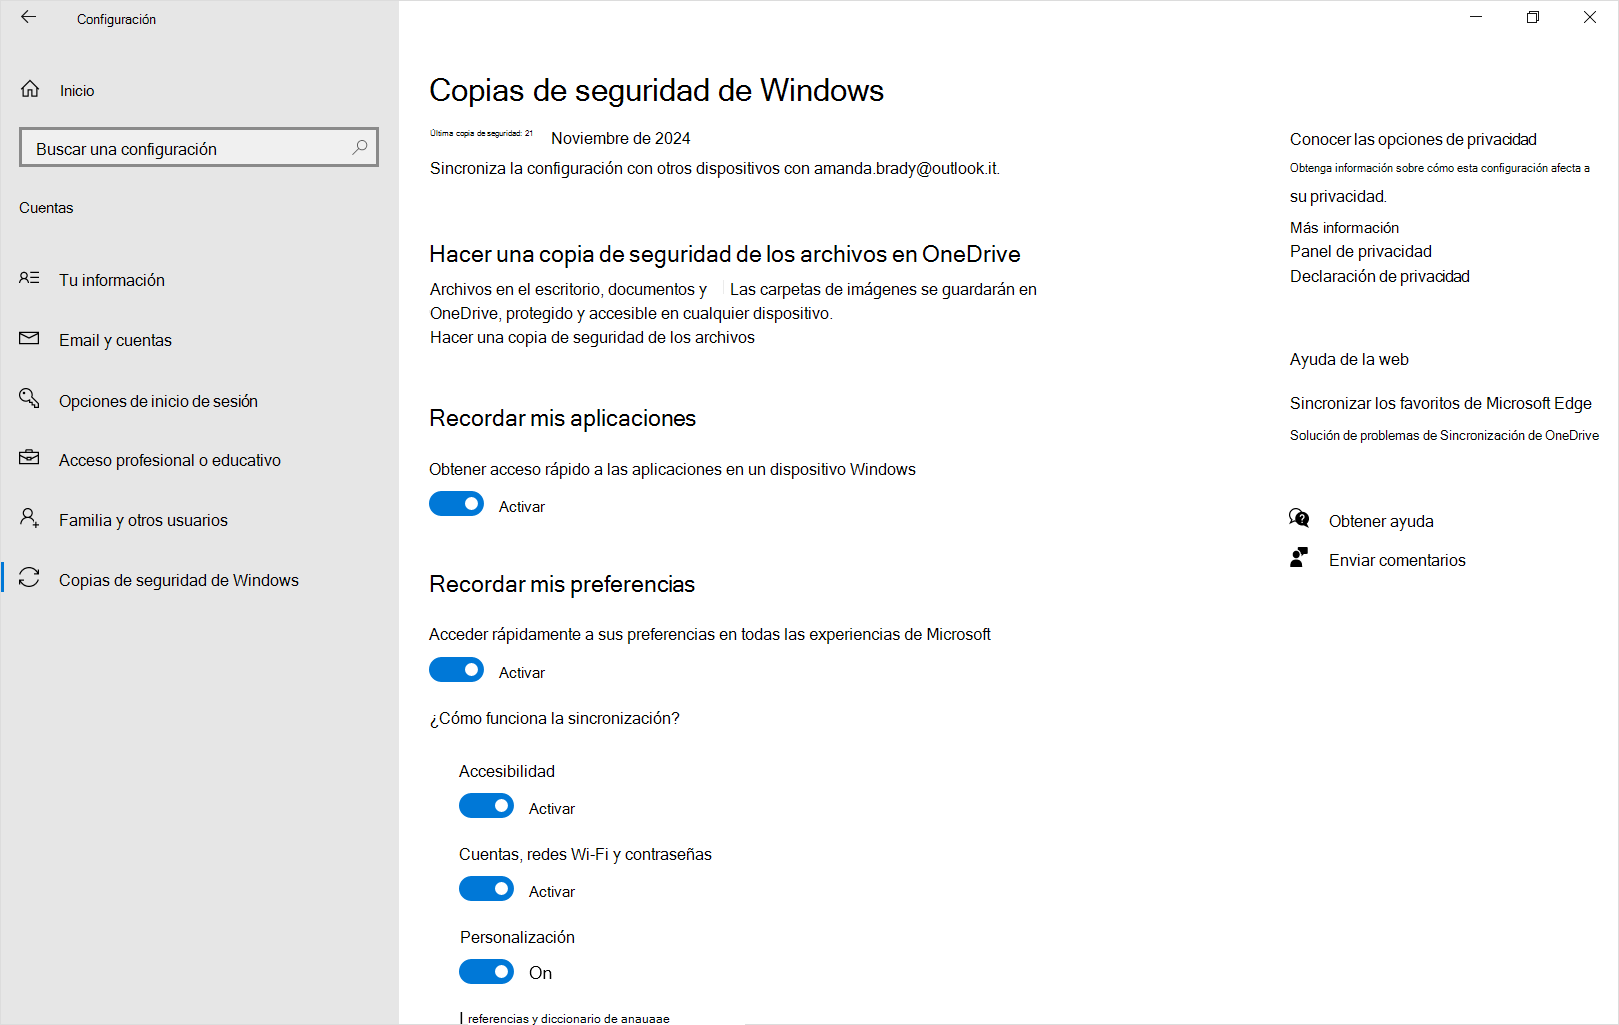
The first thing you should document is your backups. It's not enough to say "I back up occasionally"; it's essential to detail what type of backup you make, what tool you use, where it's stored, and how often . In Windows, the key concept is the " system image ."
A Windows system image is a complete snapshot of your computer's state at a specific point in time: it includes the operating system, settings, installed programs, and your personal files on the partitions you've chosen to protect . If your system ever becomes unusable, you can restore it to that state using the Windows Recovery Environment (WinRE).
To use this option when things go wrong, you'll need two well-documented items: a bootable device (usually a USB drive) that allows you to access WinRE , and a drive (internal, external, or network) where the system image is stored. If your PC has multiple local drives, you can use a secondary one; if there's only one drive, you'll need to use an external USB drive with plenty of space.
Your documentation should clearly specify the approximate size of the image, the disk or folder where it's saved, and how often you refresh it. Windows updates frequently, so it's recommended to create the image periodically to ensure your backup doesn't become outdated with security patches and performance improvements.
If you work with laptops, desktops, all-in-ones, or mini PCs of different models, include them in your notes as well. Knowing which hardware families share backup and restore procedures greatly helps standardize processes and prevents each model from being a world of its own when it comes to system recovery.
ISO, WIM, WinRE, WinPE: clarifying key concepts for good documentation
To properly document how you protect and deploy your Windows system, it's a good idea to write down some fundamental concepts. Although they may seem like unfamiliar terms, they are commonplace in system administration and appear in most technical guides.
An ISO file is a disk image, usually derived from a CD or DVD, encapsulated in a single file. In the context of Windows, an ISO typically contains all the operating system installation files , ready to be copied to a bootable USB drive or DVD. From that drive, you can install or repair Windows on different computers.
In contrast, a WIM (Windows Imaging Format) file is the image format Microsoft uses to capture and deploy Windows installations. When people talk about "capturing a system," they usually mean generating a WIM file using tools like DISM . This WIM file can then be included on custom installation media or used in deployment tools.
WinRE (Windows Recovery Environment) is the recovery environment that runs when you use a recovery drive or when the system fails to boot completely. From WinRE, you can restore a system image, access advanced tools, or open a command prompt to run commands like DISM.
WinPE (Windows Preinstallation Environment) is a lightweight Windows environment designed primarily for installation and repair. Many backup tools create a custom WinPE boot medium from which you can restore images, repair partitions, or clone disks without the main system being booted.
Additionally, in corporate environments, Windows Deployment Services (WDS) is used, a Windows Server role that allows for network deployment of images. If you are documenting a large fleet of computers, it is very useful to clearly indicate whether you are using WDS or other deployment solutions , or if you are using simpler methods for a single machine.
Documenting the creation of a system image using native tools
Windows includes utilities for creating a recovery drive and a system image, and it's a good idea to provide step-by-step instructions on how to use them. In practice, this procedure involves two main actions: creating a recovery drive and creating/updating the system image.
The recovery drive is created from within Windows itself by searching for the "recovery drive" option in the Start menu. When you launch the wizard, you can choose to include system files on that drive , allowing you not only to access WinRE but also to reinstall Windows from there if needed.
In your documentation, clearly specify the minimum USB drive size you typically use (for example, 2 GB for basic environments, although larger drives are more common) and whether that device is reserved solely for recovery. The more detail you provide (usual drive letter, volume label, physical location), the fewer questions you'll have when you need to use it.
The system image is created on a secondary local drive or an external disk with a capacity greater than the system's used space. It's important to note in your notes which partition is the system partition, how much space it occupies, and what percentage of free space you have left on the disk where the image is saved , to avoid errors due to insufficient space.
Although Microsoft has phased out some of the classic system image tools, the concept remains the same: to have a complete and recoverable copy of Windows at a specific point in time . Documenting how often you refresh that image (monthly, quarterly, after major updates) is key to making your plan work.
Create and document an ISO from your current Windows installation
In many cases, a backup isn't enough; what's needed is to create a bootable ISO of your current installation so you can reinstall or deploy that same environment on other computers. This process typically involves using DISM, recovery media, and a tool to package the resulting folder into an ISO image.
The more technical part involves using DISM from within the recovery environment. The process is as follows: prepare a recovery or installation medium, boot from it, capture the current Windows installation in a WIM file, and then integrate it into a set of installation files to finally generate a bootable ISO.
Your documentation should clearly indicate which media you're using (installation USB or recovery drive), how you access the command prompt (for example, with Shift + F10 on the installation screen or via Troubleshoot > Advanced options > Command Prompt), and which partition your Windows installation is on in that environment. Drive letters often change in WinRE, so noting this will prevent any surprises.
The key command for capturing with DISM has a structure similar to:
dism /Capture-Image /CaptureDir:C:\ /ImageFile:D:\windows10\install.wim /Name:windows10 /Description:custom-image
In your notes, you should explain what each parameter means, which directory is being captured, where the WIM file is saved, and what name you give it. Also, mention that the process may take a while and that you shouldn't turn off your PC while it's running , because interrupting the capture could render the file unusable.
An important detail to document, especially if you'll be using that image on other machines, is the use of Sysprep to "generalize" the system before capturing it. Sysprep removes machine-specific identifiers (such as the SID) , so the resulting image can be deployed on different machines without identity conflicts. If you've recently cloned, it's also a good idea to check if your PC won't boot after cloning the disk to avoid any surprises.
For years, there were limitations when Windows distributed modern applications (like Calculator, Photos, or Cortana) to user accounts and then attempted to sysprepe the installation. It's worth noting in the documentation whether you've verified that your current version of Windows handles these cases well , or if you follow any specific guidelines to avoid problems with pre-installed apps.
Convert your captured installation into a bootable ISO
Once you have your custom WIM file, the next step is to convert it into a bootable ISO. This part often seems tedious, but it's actually quite straightforward. Your documentation should clearly outline the standard procedure you follow so you don't have to improvise every time.
The typical procedure is to copy the contents of an official Windows 10/11 installation disc (or its mounted ISO) to a working folder on your hard drive, for example D:\iso-files, and then replace the original install.wim file in the Sources folder with your custom WIM . To do this, simply copy your WIM and overwrite the existing one.
Next, you need to package that folder into a bootable ISO. The option most aligned with classic Microsoft documentation is to use the Windows ADK (Assessment and Deployment Kit) and, within it, the oscdimg tool. In your notes, it's a good idea to include the generic command you use to generate the ISO , adapting the paths to your environment.
Although the official oscdimg command is relatively long and has many parameters, simply copying it into your documentation and explaining its function in a straightforward manner is sufficient. You can also mention alternatives such as graphical utilities like Folder2ISO for creating the ISO from the folder, if you prefer something less cryptic than the command line.
One important point to highlight in the documentation is that tools like Rufus don't generate the ISO: Rufus can transform an existing ISO into a bootable USB drive , but it can't capture the system and create the ISO from scratch. This distinction avoids misunderstandings when someone new joins the team.
Once the ISO is created, it's good practice to test it in a virtual machine before using it in production. Note in your documentation which hypervisor you use (Hyper-V, VirtualBox, VMware, etc.) and what basic parameters you configure for the test , so that anyone can replicate the test.
Use of third-party tools: AOMEI Backupper and alternatives
If the entire process described above seems complicated (and that's understandable), you can opt to document a workflow using third-party tools. A widely used example in the Windows world is AOMEI Backupper Standard , which automates much of what Windows does manually.
These types of utilities allow you to create complete backups of the system, the disk, partitions, or specific files, and also generate WinPE boot media with their own recovery environment. What's interesting for your documentation is that the workflow is usually quite visual and guided , which simplifies the learning curve for other colleagues. You can also document other options for cloning your disk without complications if you prefer alternatives.
If you decide to adopt this approach, you should specify in your documentation which edition you're using, which versions of Windows it works on, and what types of storage devices it supports (internal drives, external drives, USB, NAS, cloud, etc.). Detailing the common destination paths and the types of tasks you create (full, incremental, differential) helps maintain consistency.
Another advantage worth documenting is the automation features: you can schedule daily, weekly, or monthly backups, or even set up rotation strategies that delete older images after a certain period. Clearly outline your retention policies to avoid surprises regarding storage space or a lack of restore points.
These tools often include universal restore options, allowing you to recover a system image on different hardware with less hassle. If you work with many different machines, noting that you're using this type of feature greatly simplifies deployment instructions , especially when migrating systems between machines with different drivers; for example, many guides explain how to clone to a smaller SSD during the migration process.
Mass deployment and centralized backups for businesses
When you go from a few PCs to dozens or hundreds, the situation changes. In these cases, it makes sense to document centralized backup and deployment solutions that allow you to manage multiple machines from a single console.
There is software specifically designed for this scenario, capable of creating system, disk, or partition backups for groups of Windows computers, storing them in destinations such as local disks, NAS devices, or network shares, and scheduling tasks to run automatically. The idea is that you don't have to go machine by machine running manual backups.
Your documentation should outline how computers are added to the central console, what policies apply to each group (e.g., office PCs, development computers, servers), and where each type of backup is stored. Specifying whether you use full, incremental, or differential backups helps in understanding disk space consumption and your available restore window.
Another key element is describing how to perform a mass or targeted restore: for example, when a batch of computers needs to be restored to a specific state after a failed update. If there's a function to deploy or restore images to multiple clients across the network, it's advisable to explain the procedure step by step , even if only in general terms.
Also keep in mind that many of these solutions offer specific editions for technicians or companies that need to protect an unlimited number of computers. If your organization has opted for a "Technician" edition or similar, explain this and highlight its advantages , such as the use of portable USB backup drives without requiring local installation on each PC.
Best practices for keeping documentation up-to-date and useful
Beyond the tools themselves, what makes the difference is how you maintain your documentation over time. A perfect but outdated document is of little use when a major Windows update arrives or you change your backup tool.
A sensible recommendation is to take advantage of every significant change you make to the system to update the associated documentation. If you install new base software, change your backup strategy, or adopt a different deployment solution , take a few minutes to reflect those changes. This prevents the document from becoming outdated.
Standardizing the format also helps: you can use an internal wiki, a Git repository, a documentation manager, or even a simple set of well-versioned documents. The important thing is to clearly define who can edit, how changes are reviewed, and where the "official" version of Windows procedures is stored .
Regarding the content, each procedure is detailed enough for someone with intermediate Windows knowledge to follow without asking basic questions. It includes commands, path screenshots, scheduled task names, and configuration examples , but avoids unnecessary duplication.
Finally, don't forget to include visible warnings about critical points: for example, emphasize that a DISM capture should not be interrupted, that certain actions will erase data, or that certain images should not be used on different hardware without first performing a Sysprep or a universal restore. These warnings prevent costly mistakes when someone rushes through the procedure.
Although it may seem like a lot of work, having your Windows system well documented, with its backups, images, custom ISOs and associated tools, makes all the difference the day something breaks or when you need to deploy identical configurations on multiple computers without losing time or data.


Table of Contents
- 1 What does “documenting your own Windows system” really mean?
- 2 Backups and system imaging: the foundation of any strategy
- 3 ISO, WIM, WinRE, WinPE: clarifying key concepts for good documentation
- 4 Documenting the creation of a system image using native tools
- 5 Create and document an ISO from your current Windows installation
- 6 Convert your captured installation into a bootable ISO
- 7 Use of third-party tools: AOMEI Backupper and alternatives
- 8 Mass deployment and centralized backups for businesses
- 9 Best practices for keeping documentation up-to-date and useful