- Zombie processes in macOS are terminated child processes that remain listed due to failures of the parent process, and they typically do not consume CPU.
- A “zombie Mac” within a botnet is different: it is an infected computer that participates in DDoS attacks or other malicious activities.
- Tools such as Activity Monitor, ps, top, lsof, and pmset allow the detection of anomalous processes and strange system behaviors.
- Reviewing suspicious processes, cleaning up zombies, and using Apple diagnostics helps keep your Mac stable, secure, and performing well.
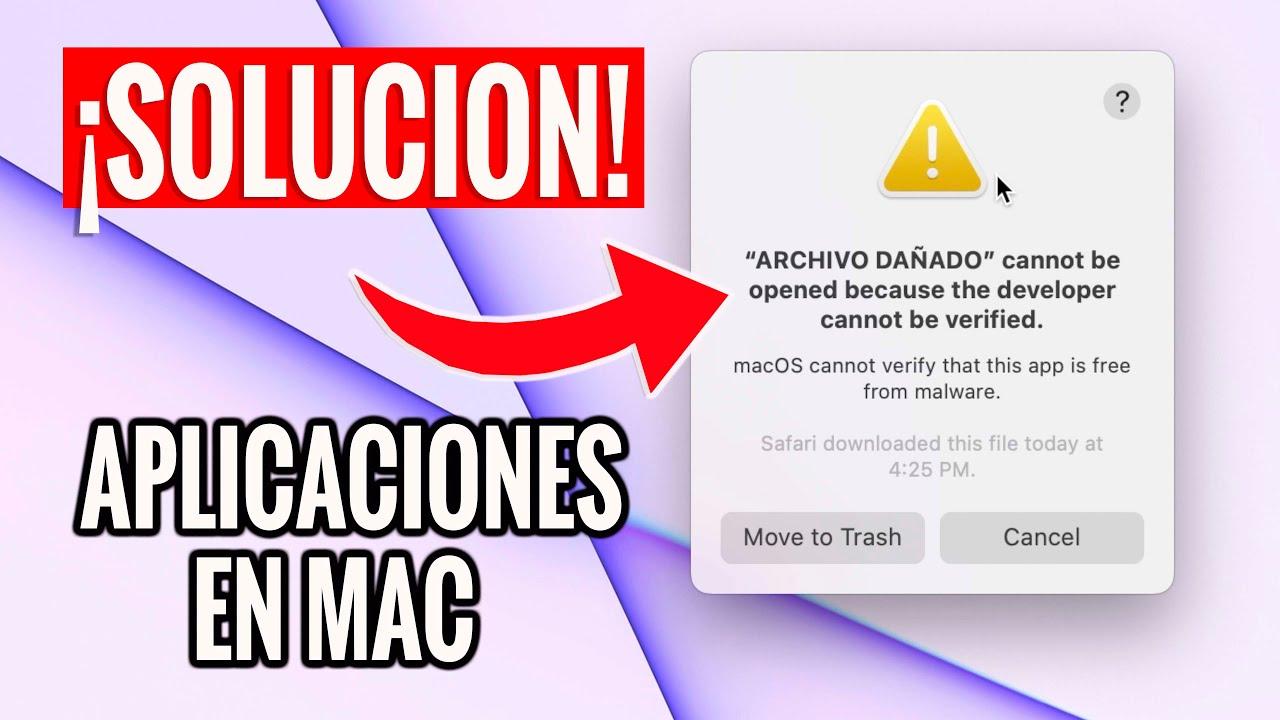
If you notice your Mac is running slower than usual, the fan is running at full speed for no apparent reason, or the battery drains rapidly even with the lid closed, it's quite likely that there are unusual processes consuming resources in the background . These include so-called zombie processes and, in the worst-case scenario, processes associated with malware or even botnets.
Although macOS is a fairly secure system, it's not untouchable. There are documented cases of Apple computers becoming part of a "zombie" network used to launch DDoS attacks , especially when pirated applications like iWork or Photoshop are installed. Furthermore, since macOS is a UNIX-based system, it also inherits the technical concept of a zombie process , which has nothing to do with viruses, but is still important to understand and know how to detect.
What exactly is a zombie process in macOS (and in UNIX-like systems)?
In UNIX and UNIX-based systems, such as macOS, each time a program runs, at least one parent process is created, and often one or more child processes that handle specific tasks . Each process has an identifier (PID), an owner, CPU usage, memory usage, execution time, etc.
When a child process finishes its work, it sends an exit signal to the parent process (an exit call) indicating that it has completed its task. Normally, the parent process receives this information by calling wait (or variants), reads the exit status, and the operating system removes the child process entry from the process table.
However, sometimes the parent process doesn't handle this output information well. If the parent process fails to read the state of the child process that has already finished , the child process appears as terminated but continues to occupy an entry in the process table. This "ghost" entry, which no longer does anything but remains listed, is called a zombie process.
Think of it like a construction worker who's no longer getting paid, isn't doing anything, but is still sitting on the site taking up space . A zombie process is already "dead": it's not executing code or using CPU, but its basic information (PID, exit status, some metadata) remains in memory until the parent process retrieves it or the system cleans it up.
From a performance standpoint, a couple of zombie processes aren't a serious problem . But if an application is poorly programmed and leaves zombies unkilled, you can end up killing many of them, which can unnecessarily consume memory and hinder the system's process management.
Difference between a zombie process and a “zombie” Mac in a botnet
It is important to distinguish between two concepts that are often confused: a zombie process is an internal technical feature of the operating system; a zombie Mac is a computer controlled by a third party to carry out attacks, usually remotely.
In the past, Trojans were detected in pirated versions of iWork'09 and Photoshop CS4 that installed a component called iWorkServices (or iworkserv) on the Mac . This process turned the computer into part of a botnet used to carry out distributed denial-of-service (DDoS) attacks against specific targets.
In this context, your computer becomes a "zombie" within a network of infected computers: someone could be using your Mac to attack servers on the internet without your knowledge. Although antivirus and security tools today detect these specific Trojans quite easily, if you have installed pirated software, it is still advisable to scan your system.
Therefore, while zombie processes are not executing anything or attacking you , a zombie Mac within a botnet is performing illegitimate activity, consuming resources, and exposing you to legal and security problems.
The interesting thing is that, both to detect malware that turns your Mac into a zombie, and to locate "classic" UNIX zombie processes, you will use very similar tools: Activity Monitor and Terminal commands.
How to detect if your Mac is part of a botnet (iWorkServices case and similar)
If you have ever installed unofficial versions of iWork'09, Photoshop CS4, or other pirated software, it is important to check your system for the suspicious process associated with the old botnet, or other processes rarely present in clean installations.
To do this, you can use Terminal. Open Spotlight, type Terminal , and press Enter. Once inside, use this basic command to check if the iWorkServices (iworkserv) process is running:
sudo ps aux | grep -i iworkserv | grep -v "grep"
The command lists all processes and filters by the suspicious name. If the execution returns no entries, you can breathe relatively easy : in principle, you don't have that process running. If, on the other hand, a match appears, it's very likely that there are remnants of the old threat or something similar.
The next step is to check if that process has any open files or connections. You can use:
sudo lsof -i -P | grep -i iworkserv
If you see open files or network connections associated with that process, it's almost certain that you're infected or that remnants of an infection remain. To locate the files on your disk, use:
sudo find / -iname "iworkserv*" -print
This search will reveal the path to all files whose names begin with "iworkserv," allowing you to confirm the presence of the malicious component. At the time, it was recommended to use a free tool from a security provider (such as SecureMac) to automatically remove the Trojan; nowadays, it's more practical to use an updated antivirus program or contact Apple's official support if you have any doubts.
Activity Monitor: Your first window into macOS processes
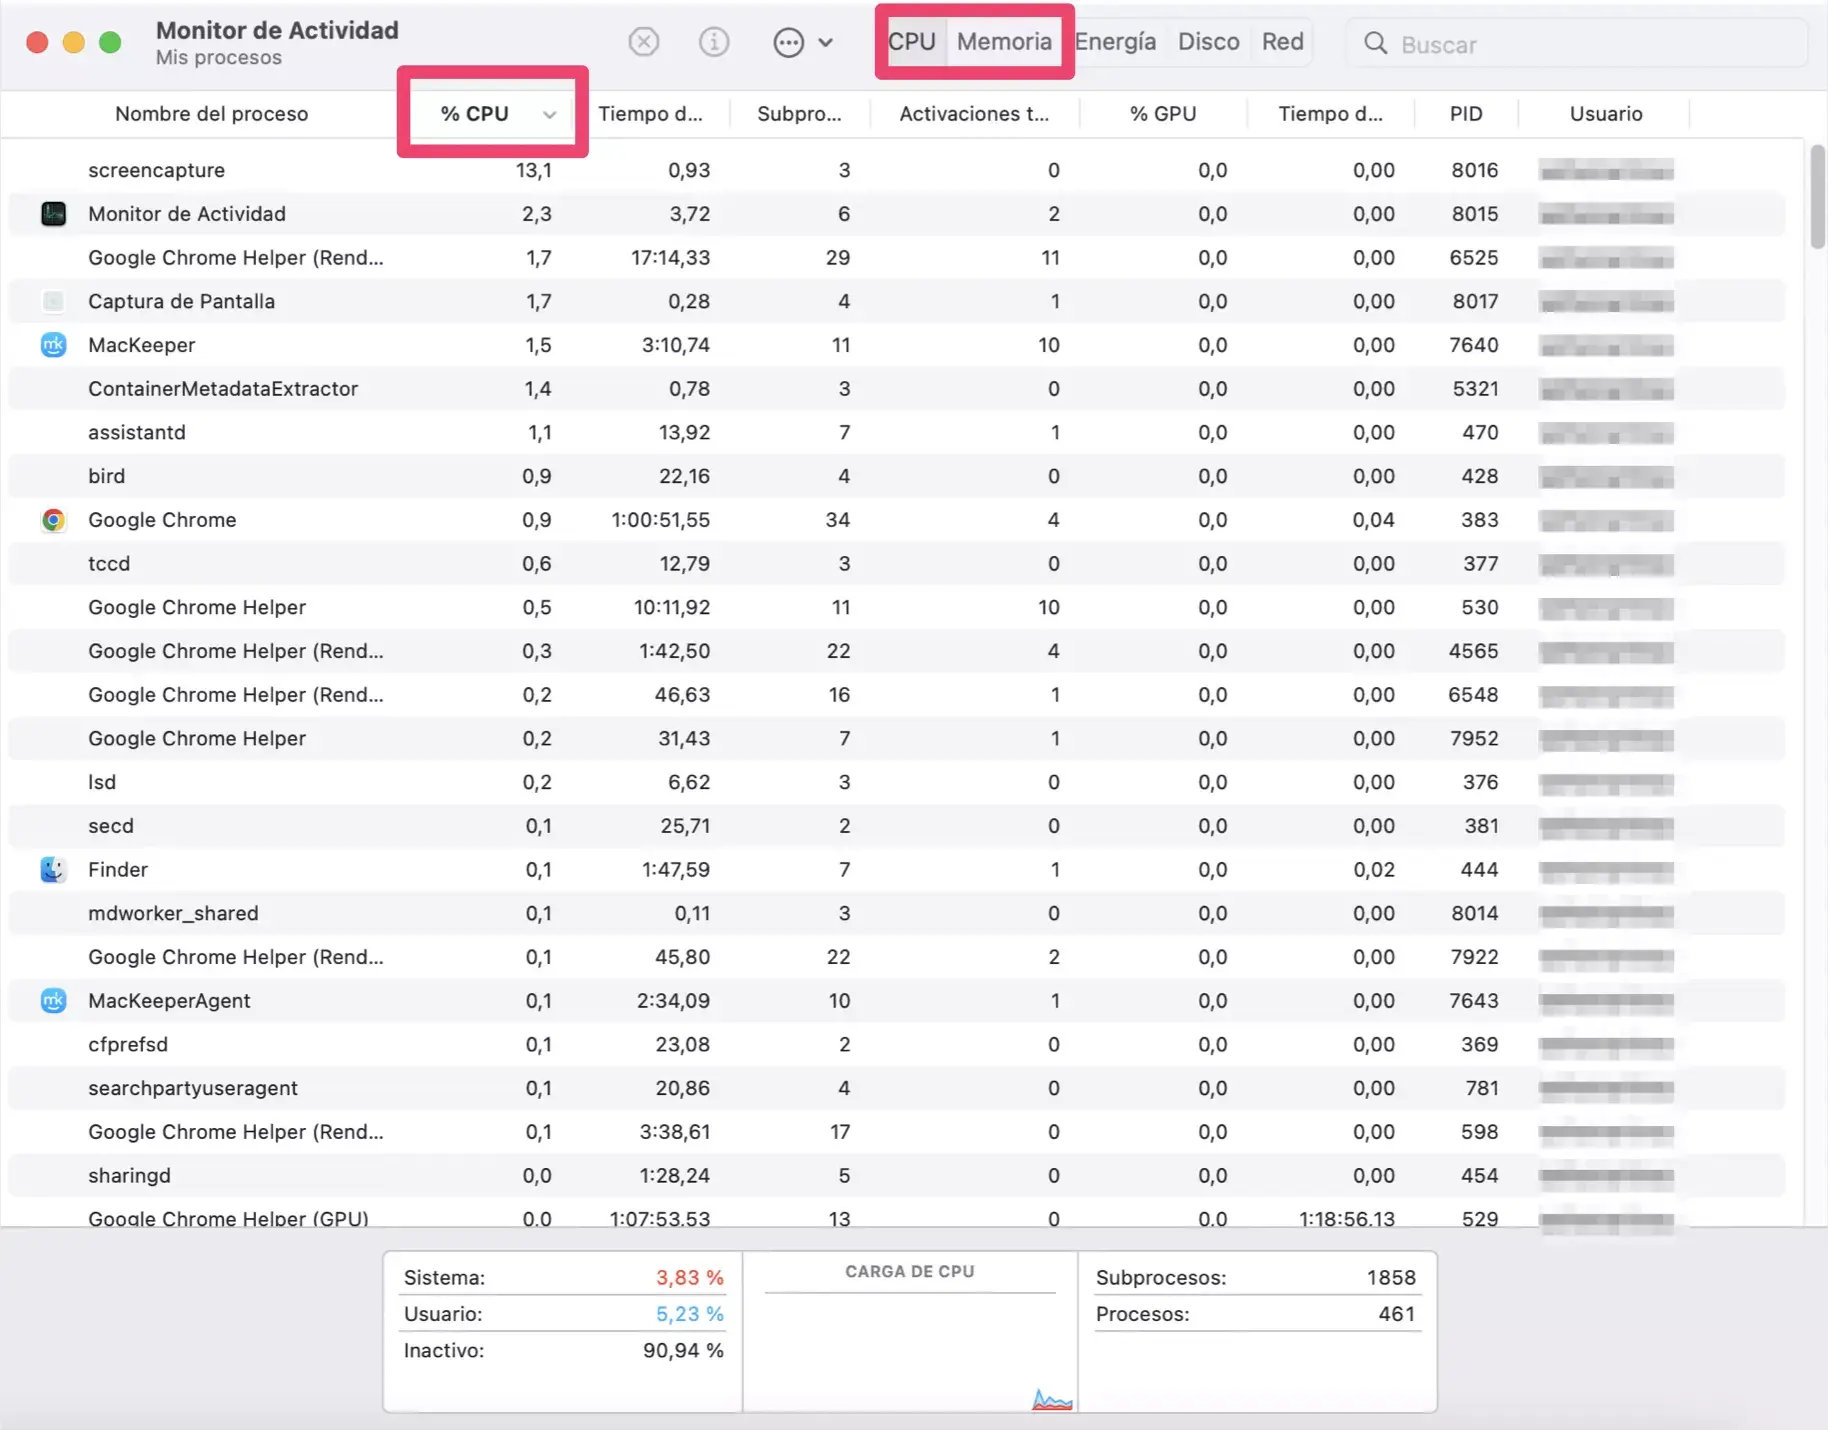
Before diving into Terminal, it's a good idea to familiarize yourself with Activity Monitor, the macOS graphical utility that lets you see what's running on your computer at any given time. You'll find it in Applications > Utilities > Activity Monitor.
When you open it, you'll see a list of processes with columns such as PID, name, user, CPU %, CPU time, threads, memory, GPU usage , and other data. You can sort by any column by clicking on the corresponding header, which helps you quickly identify what's consuming the most resources.
At the top, you have several tabs: CPU, Memory, Power, Disk, and Network. Each one shows you specific information: which processes are using the most CPU, how much RAM is being used , which apps are draining the battery or disk, or which processes are generating network traffic.
To the left of those tabs, you'll see three key buttons: Stop, Get Info, and the Sample/Diagnostic menu . The Stop button is essentially a user-friendly interface for sending kill signals to a process, just like you would from the Terminal. You select a process and press Stop to close it.
If you choose "Get Information," a window opens with details of the process: memory used, statistics, open files, active ports, etc. From that same window, you can generate a "sample" that captures the internal state of the process, with call stacks and frameworks in use, useful for debugging deadlocks or unusual behavior.
Terminal commands for analyzing processes in macOS
For users who want to go a little further, the Terminal offers several classic UNIX tools to analyze what is running on the system and how it behaves, and if you need to control priorities, see practical examples of using nice and renice.
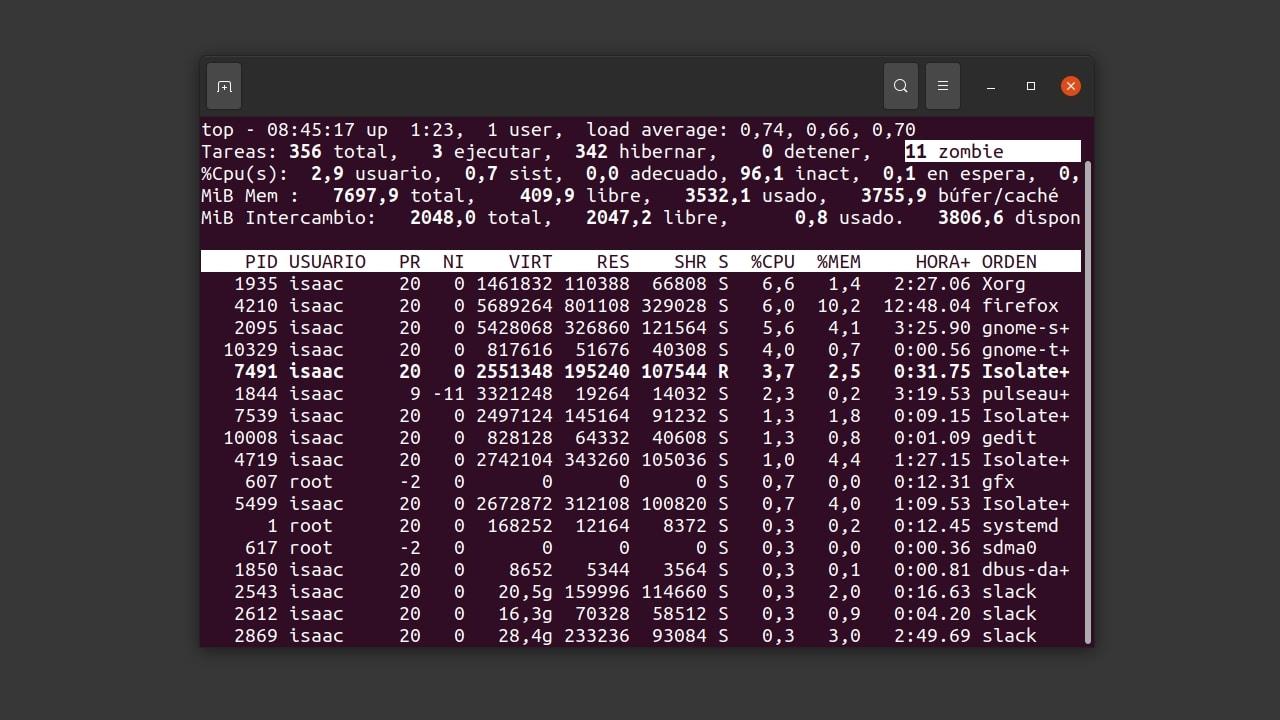
The most well-known command is topThis displays the most active processes in real time, similar to a text-based Activity Monitor. Simply type:
top
and press Enter. You'll see a regularly updated table with processes sorted by CPU usage, along with system statistics. If you want to learn about all its options, you can consult its manual with:
man top
Another very practical use is psThis allows you to export a list of all active processes to a file or display them on the screen. For example, if you want to save a snapshot of the processes to a text file on your Desktop, you can use:
ps -A > /Users/TU_USUARIO/Desktop/procesos.txt
Replacing YOUR_USERNAME with your actual system username. This text file can be analyzed manually or uploaded to online services (like the classic Triviaware) that describe each process and help you identify legitimate programs and potentially malicious processes.
How to find and analyze zombie processes from the Terminal
Locating zombie processes on macOS is fairly straightforward using standard commands. Zombie processes are marked with the status "Z" in the output of `ps`, so you can filter them out like this:
ps aux | grep Z
This command will display process lines whose status contains the letter Z , which stands for "zombie". Note that the grep command line itself may also appear; the important thing is to identify the entries whose status actually indicates a zombie process.
If you find one or more, remember that they are not consuming CPU or performing active work; they are simply occupying an entry in the process table because the parent process has not picked up its exit state.
Typically, SIGKILL is used to terminate live processes (for example, with kill -9 PID), but in the case of zombies this doesn't work: You can't "kill" something that is technically already deadThe key is to act on the parent process.
How to try to eliminate zombie processes (without making too much of a mess)
Theoretically, the most elegant way to clean up zombies is to send a signal to the parent process to retrieve the state of its dead children. Many UNIX systems use the following method:
kill -s SIGCHLD PID_DEL_PADRE
Replace PID_DEL_PADRE with the identifier of the process listed as the parent in the ps output. This signal invites the parent process to execute the wait routine and clean up any pending zombie children.
In practice, however, if the application is poorly programmed and doesn't handle these signals properly, the most effective solution is usually to terminate the parent process . When the parent process terminates, the operating system reassigns its children (including zombies) to the init process (or its equivalent on macOS), which will automatically collect and clean them up.
While this solution is effective, some common sense should be applied: it's not advisable to kill critical system processes because this could cause instability, unexpected logouts, or restarts. Before killing anything, make sure you know what that process does (using Activity Monitor, consulting documentation, or using process analysis services).
How to detect suspicious processes and strange behavior in macOS
Beyond zombies, what might concern you is strange computer behavior: the battery drains rapidly with the lid closed, the fan won't stop, the laptop gets hot in your backpack, etc. In many cases, these symptoms indicate that some process is preventing proper sleep or is continuously using the CPU.
On modern Mac laptops, it's relatively common to see indexing processes (like those related to Spotlight or Photos) consuming CPU while the computer is on. The problem arises when this continues even with the lid closed or during times when the system should be asleep.
To investigate what happens at those times, you can use the command pmset -g log in the Terminal, which displays logs related to power management, system sleep, and wake-up. Analyzing these logs allows you to detect which process or service is preventing or causing sleep. continuous wake-ups that drain the battery.
If you're having trouble understanding the log, a simpler way to troubleshoot the problem is to check Activity Monitor, sorting by power consumption and CPU usage, especially right after opening the lid or when you notice the computer is warm. Any process that keeps running in these views is suspicious and should be investigated.
Use Apple diagnostics to rule out hardware problems
Sometimes, unusual behavior that we attribute to rogue or zombie processes can actually be caused by a hardware problem (faulty battery, fan, temperature sensors, etc.). To rule out these causes, you can use Apple Diagnostics, which is included with Macs.
First, it's a good idea to install the latest macOS updates . Then, shut down your Mac completely. If it's unresponsive, press and hold the power button (or Touch ID on modern laptops) for about 10 seconds until it shuts down.
Disconnect all external devices except your keyboard, mouse, display, power cord, and Ethernet connection (if applicable). Place your Mac on a firm, flat, and well-ventilated surface for optimal testing.
From here, the procedure changes slightly depending on whether you have a Mac with an Apple chip (M1, M2, etc.) or a Mac with an Intel processor. In both cases, the system will guide you step by step on screen, prompting you to choose a Wi-Fi network if necessary or allowing you to run offline diagnostics if you don't have internet access.
In recent versions of the system (for example, macOS internally named Tahoe 26 and later), the diagnostic tool itself will ask you to select which type of test you want to run : screen, keyboard, trackpad, etc. In earlier versions, these tests are more automatic and less configurable.
When the diagnostic process is complete, you'll see one or more reference codes. You can look up these codes on Apple's official Support page to find out exactly what they mean. If you can't resolve the issue with this information, it's recommended that you visit an Apple Store, an Authorized Service Provider, or an independent repairer , taking the codes with you, as they will greatly help in narrowing down the problem.
Advanced process management: views, columns, and extra diagnostics
Returning to Activity Monitor, there are several "hidden" options that allow you to have much finer control over what is happening on the system and, incidentally, help you hunt down zombie or suspicious processes.
In the View > Columns menu, you can enable and disable many additional columns beyond those that appear by default: number of wake-ups, priority, open ports, GPU usage, etc. By adjusting these columns to your needs, it's easier to identify unusual processes.
From the same View menu, you can also change the list's update frequency , filter by process type (user processes only, system processes, current user's windows, etc.), or clear the CPU history. This is useful if you're going to observe system behavior for a few minutes and want to start from scratch.
In the Window menu, you'll find shortcuts to floating graphs showing CPU history, instant CPU usage, and GPU history . These graphs can be docked to a corner, allowing you to see at a glance if there are spikes in activity at times when you shouldn't have anything resource-intensive open.
Finally, the Activity Monitor Dock icon can be set as a live indicator of CPU usage or system load, giving you a constant visual clue as to whether processes are pulling the machine even when the application isn't in the foreground.
DNS, network processes and their indirect relationship with anomalous processes
Although clearing your Mac's DNS cache won't eliminate zombie processes or malware, it can be helpful when you encounter problems accessing certain websites or suspect something is amiss with domain name resolutions.
The DNS cache is essentially a local list where the system stores the latest domain name-to-IP address translations. This way, when you revisit a website, macOS doesn't have to query the external DNS server again , which greatly speeds up browsing. However, if a site has changed servers, IP addresses, or if there's been a problem with DNS resolution, this cache can become outdated and cause intermittent issues.
In macOS Big Sur and earlier versions, you can manually clear the DNS cache by opening Terminal and using:
sudo dscacheutil -flushcache; sudo killall -HUP mDNSResponder
The system will ask for your administrator password. When you run it, the internal cache is cleared and the mDNSResponder service restarts. Keep in mind that some websites may take a little longer to load for a while , because your Mac will have to rebuild its resolution cache from scratch.
In earlier versions of the system, the command changes slightly. For example, in macOS Sierra, the following is commonly used:
sudo killall -HUP mDNSResponder; say DNS cache has been flushed
And this format is common in OS X El Capitan and Yosemite:
sudo dscacheutil -flushcache; sudo killall -HUP mDNSResponder; say cache flushed
There are also third-party applications, such as some maintenance suites like CleanMyMac X, that include a graphical option to clear the DNS cache without using Terminal . These tools can be convenient, but it's always best to download them from trusted sources and, if possible, sources certified by Apple.
In any case, clearing the DNS cache is something you should only do when it makes sense: after a website migration, a server IP change, or when you detect persistent resolution problems . It's not an operation that should be repeated routinely, nor will it, on its own, solve issues with zombie processes or excessive CPU usage.
By combining all of the above—Activity Monitor, commands like ps, top, lsof, pmset logs, and, to a lesser extent, DNS management—you'll have a fairly complete view of what's running on your Mac at any given time, what's behaving abnormally, and how to fix it. Understanding the difference between harmless zombie processes, poorly programmed processes that leave traces, and a truly "zombie" Mac within a botnet is key to avoiding over-alarming but also to remaining vigilant.


Passionate writer about the world of bytes and technology in general. I love sharing my knowledge through writing, and that's what I'll do on this blog, show you all the most interesting things about gadgets, software, hardware, tech trends, and more. My goal is to help you navigate the digital world in a simple and entertaining way.