- Adjust critical parameters such as brightness, contrast, and sharpness to avoid visual artifacts.
- Elimination of artificial processing and activation of specific modes according to the type of content.
- Optimizing connectivity and sound to create a complete multimedia center.
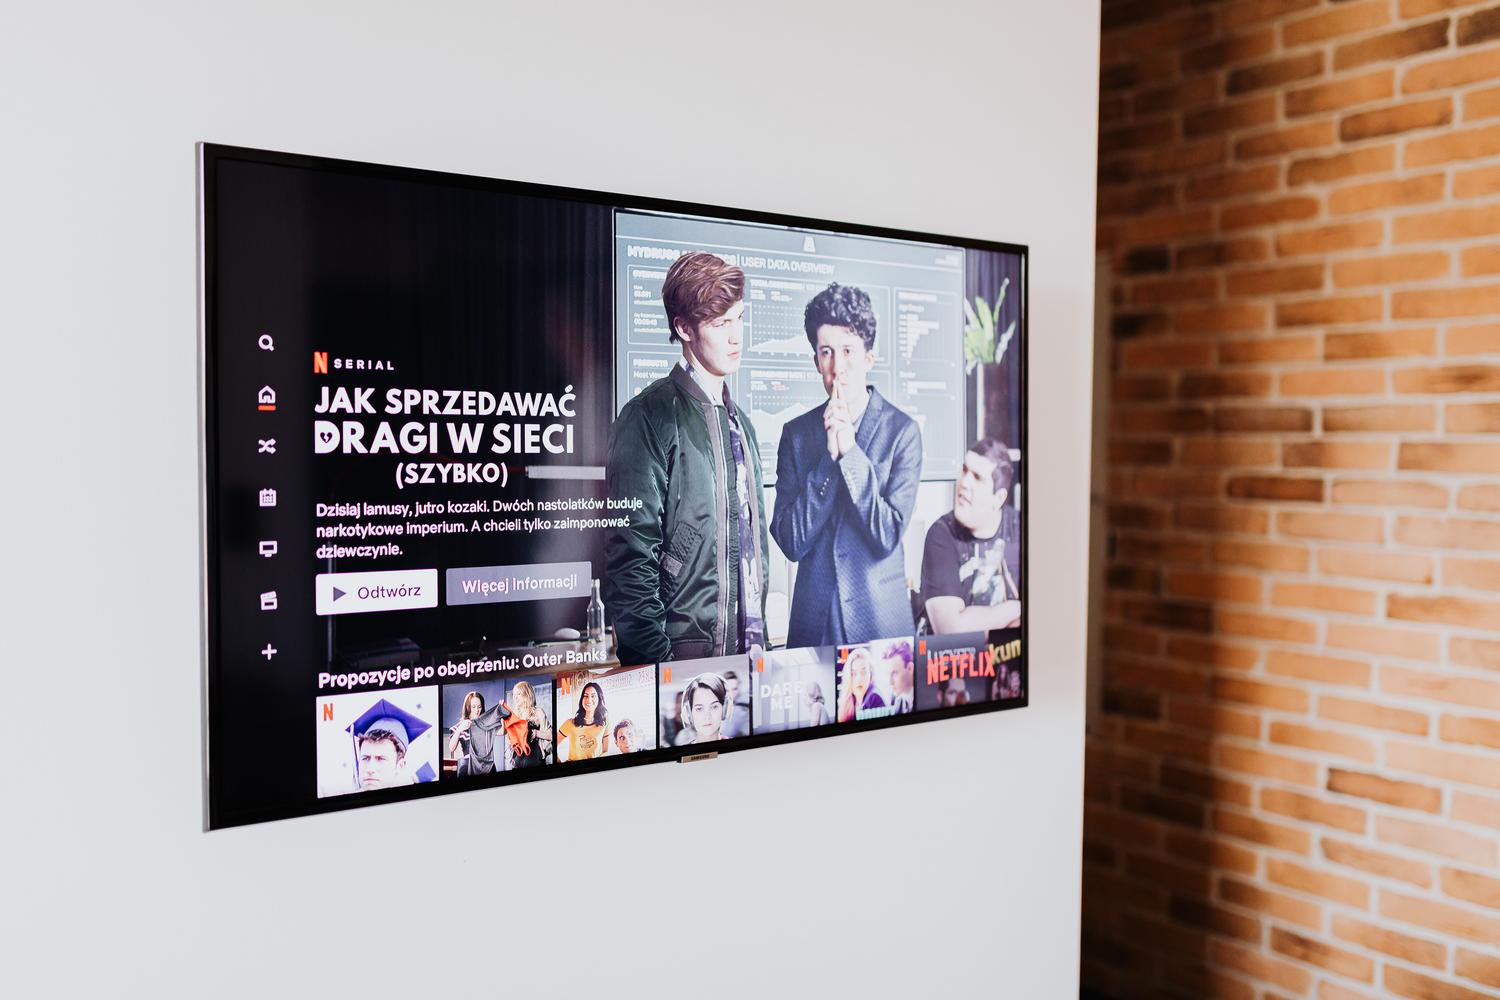
You've probably experienced this: you get a new TV, take it out of the box, plug it in, and start enjoying it straight from the factory. The problem is that manufacturers often configure screens to shine brightly in stores under powerful fluorescent lights, which means the image in your living room looks artificial, oversaturated, or even tiring to the eyes.
The good news is that even if you're not an electronics expert, you can completely transform your viewing experience with a few tweaks. Whether you have an OLED, QLED, or conventional LED panel, there are tricks and technical adjustments that will allow you to watch movies and play console games exactly as they were designed, getting the most out of your home's technology.

The first step: Cleanse the image of artifice
The first thing we need to do is remove the "makeup" from the TV. Many screens come with enhancement options enabled that, paradoxically, worsen the quality. The clearest example is motion smoothing, also known as the soap opera effect . Depending on the brand, you'll find it labeled as TruMotion, MotionFlow, or Auto Motion Plus. Disabling it is essential because movies are filmed at 24 frames per second, and adding artificial frames disrupts the original cinematic rhythm.
Another critical point is artificial sharpening. If you increase this value too much, white halos will appear around objects, or a very annoying "jagged edge" effect will develop. Ideally, you should aim for a middle ground or even leave it at 0 if the content is native 4K, thus preventing the image from looking processed and maintaining natural edges.

Detailed color and brightness calibration
To avoid getting lost in the menus, the easiest thing to do is start by choosing the right picture mode. Forget "Dynamic" or "Vivid." The safest bet is Filmmaker Mode or Cinema Mode , as these adjust the white point to the D65 standard, which is natural daylight. At first, you might notice the image is a little yellowish, but that's normal; your brain needs some time to adjust to the excessive blue light from mobile phones and standard screens.
- Backlight vs. Brightness: Don't confuse them. Backlight (or pixel brightness in OLED) controls the overall intensity. Brightness, on the other hand, regulates the level of blacks. Excessive brightness will make blacks look gray and washed out, so it's recommended to adjust it. between 40% and 50%.
- The contrast: This setting defines the whites. If you go too far, you'll lose detail in the clouds or on white shirts (clipping). Ideally, you should move it between the 85% and 95% until you recover the fine textures.
- Saturation and Hue: To ensure realistic colors, pay attention to skin tones. If they appear radioactive, lower the saturation. The dye should typically remain in neutral value (0) to prevent faces from appearing green or purple.
Specific settings for Gaming and PC
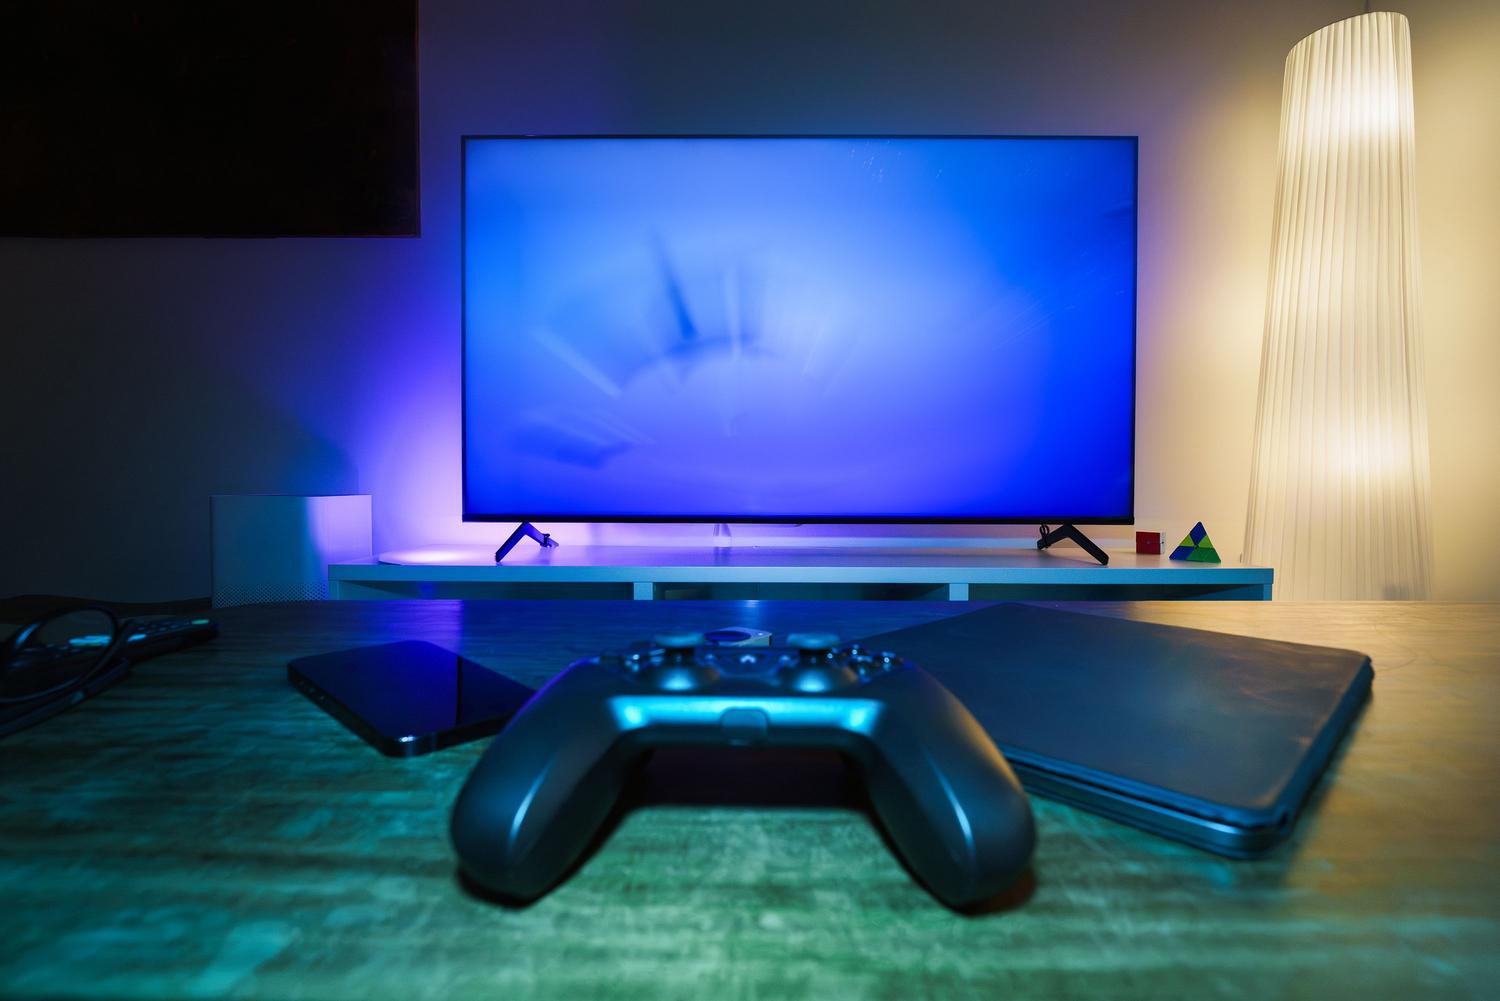
If you use your Smart TV to play games on a PS5 or Xbox Series X, image processing is your enemy because it generates input lag (the delay between pressing a button and the action occurring). The solution is to activate Game Mode , which disables slow filters. For an extra improvement, a very effective trick is to rename the HDMI input to "PC," which forces the TV to use full 4:4:4 chroma and eliminates artificial processing.
On modern TVs, it's vital to enable VRR (Variable Refresh Rate) and ALLM (All-in-One Light Mode) to prevent image tearing. If your TV supports HDR, look for the HGiG option in the tone mapping settings; this allows the console to manage the lighting instead of the TV, preventing bright areas from being overexposed and dark areas from becoming black, detailless patches.

Sound optimization and smart connectivity
Audio is often the weak point due to the small size of the speakers. To improve this, select the audio mode according to the content: Dialogue Mode for news or series where voice is the priority, and Cinema Mode for a more immersive experience. If you're up for manual equalization, try slightly boosting the frequencies between 2 and 4 kHz to improve vocal clarity , thus avoiding the need to adjust the distorted sound on Smart TVs.
Regarding the "Smart" features, to avoid interruptions in 4K streaming, it's best to use an Ethernet cable instead of Wi-Fi. If you prefer wireless, make sure to connect the TV to your router's 5 GHz band. Don't forget to update the system firmware, as manufacturers often release patches that optimize performance and fix image errors.
Use of external tools and accessories
For those seeking absolute perfection, there are test patterns like AVSHD 709 that can be downloaded to a USB drive. These allow you to verify whether the pure black of an OLED screen is truly black or if there's a residual gray cast. If your budget allows, investing in a soundbar with HDMI eARC is the ultimate leap in quality, enabling technologies like Dolby Atmos to unleash their full sonic potential.
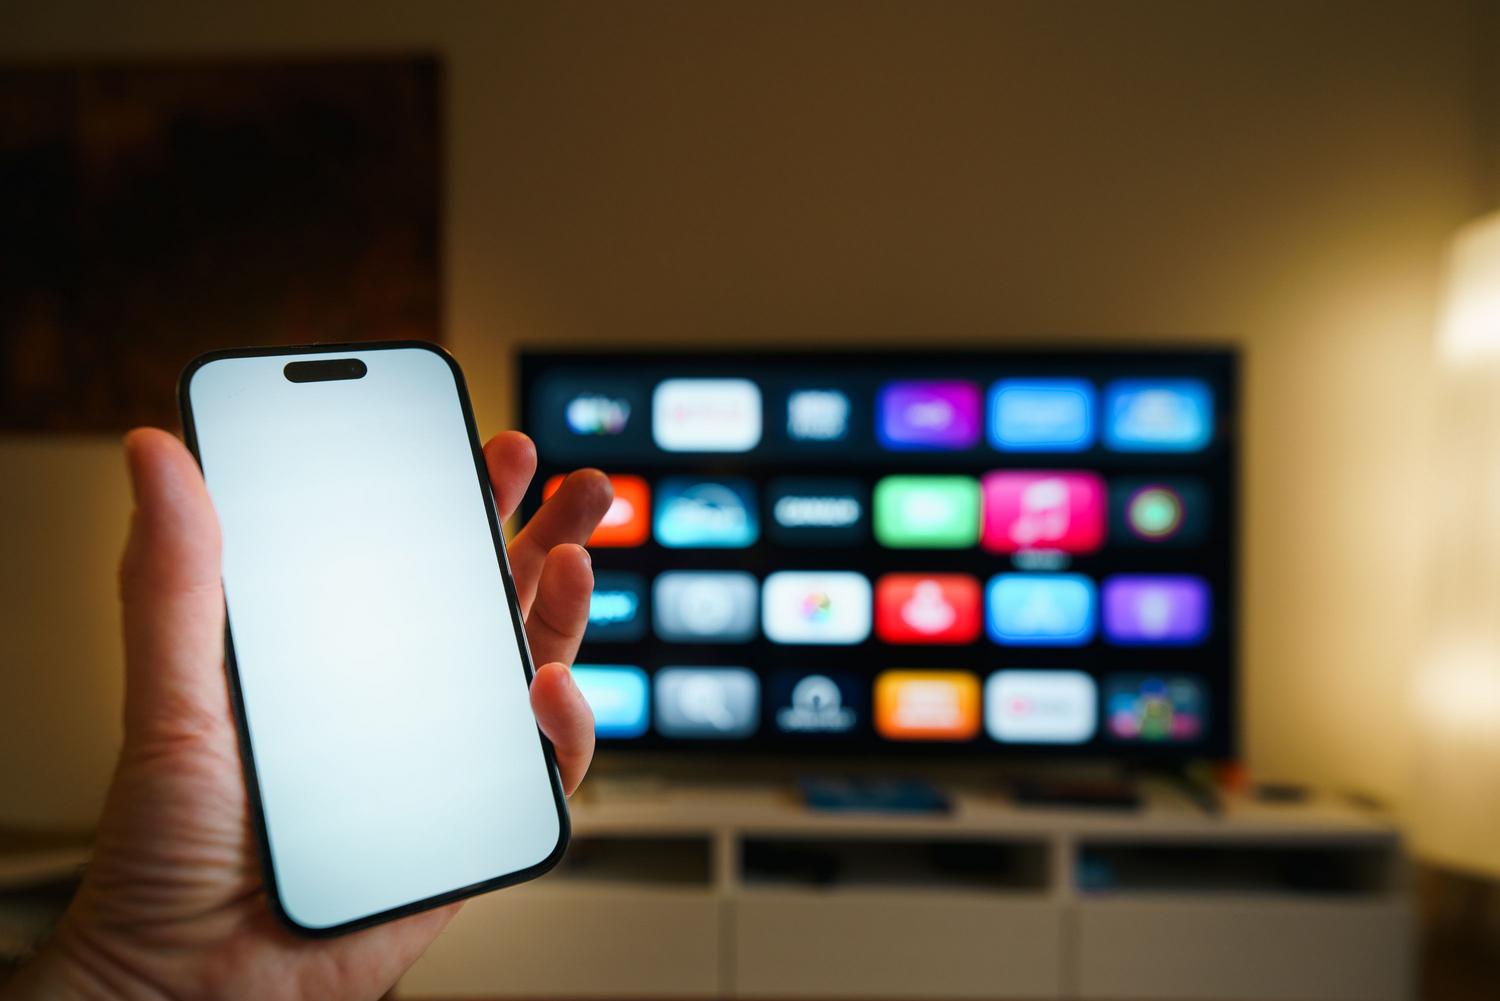
To manage all of this without struggling with the remote, you can install official apps like LG ThinQ or Samsung SmartThings on your phone. These tools allow you to use your smartphone as a keyboard or advanced remote control , making it easier to navigate complex calibration menus and manage profiles for children or different users in the house.
Properly adjusting a Smart TV involves disabling artificial enhancements, selecting natural picture modes like Cinema or Filmmaker, and calibrating brightness and contrast according to the room's lighting. By also optimizing wired connectivity and improving audio with specific modes or external hardware, you transform a standard screen into a reference display capable of preserving the content creators' original vision.


Passionate writer about the world of bytes and technology in general. I love sharing my knowledge through writing, and that's what I'll do on this blog, show you all the most interesting things about gadgets, software, hardware, tech trends, and more. My goal is to help you navigate the digital world in a simple and entertaining way.