- An internet connection is an essential requirement for managing any application source.
- The path to the network settings varies significantly depending on the version of webOS installed.
- The navigation menus have been reorganized from versions 4.0 to 26 to optimize the user experience.
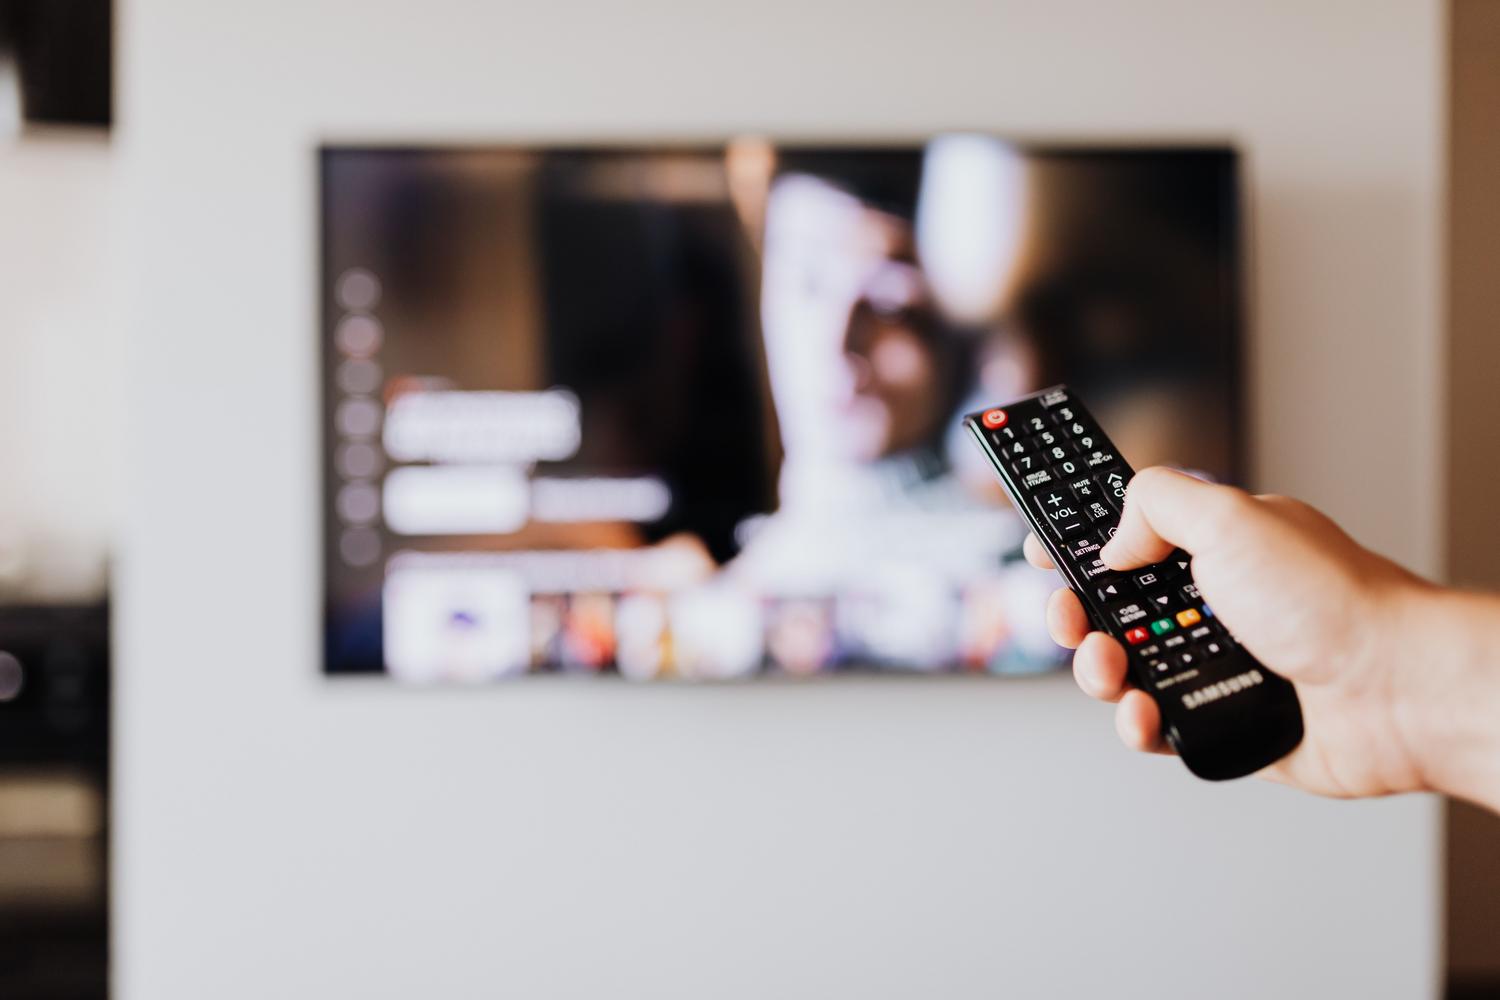
If you're looking to expand the capabilities of your LG Smart TV and want to download apps on your LG webOS Smart TV that aren't included by default in the official store, the first thing you should know is that internet access is essential . Whether you prefer the stability of an Ethernet cable or the convenience of Wi-Fi, without a connection you won't be able to perform any of the necessary steps to enable these external sources.
Navigating the webOS menus can be a bit confusing at first because the path changes depending on your TV model. LG has tweaked the interface with each version, so it's very likely that what an older manual says won't work for your current TV. To save you the trouble of searching, we've prepared a detailed guide to help you find the exact path based on your software version.

Steps to connect your TV depending on the webOS version
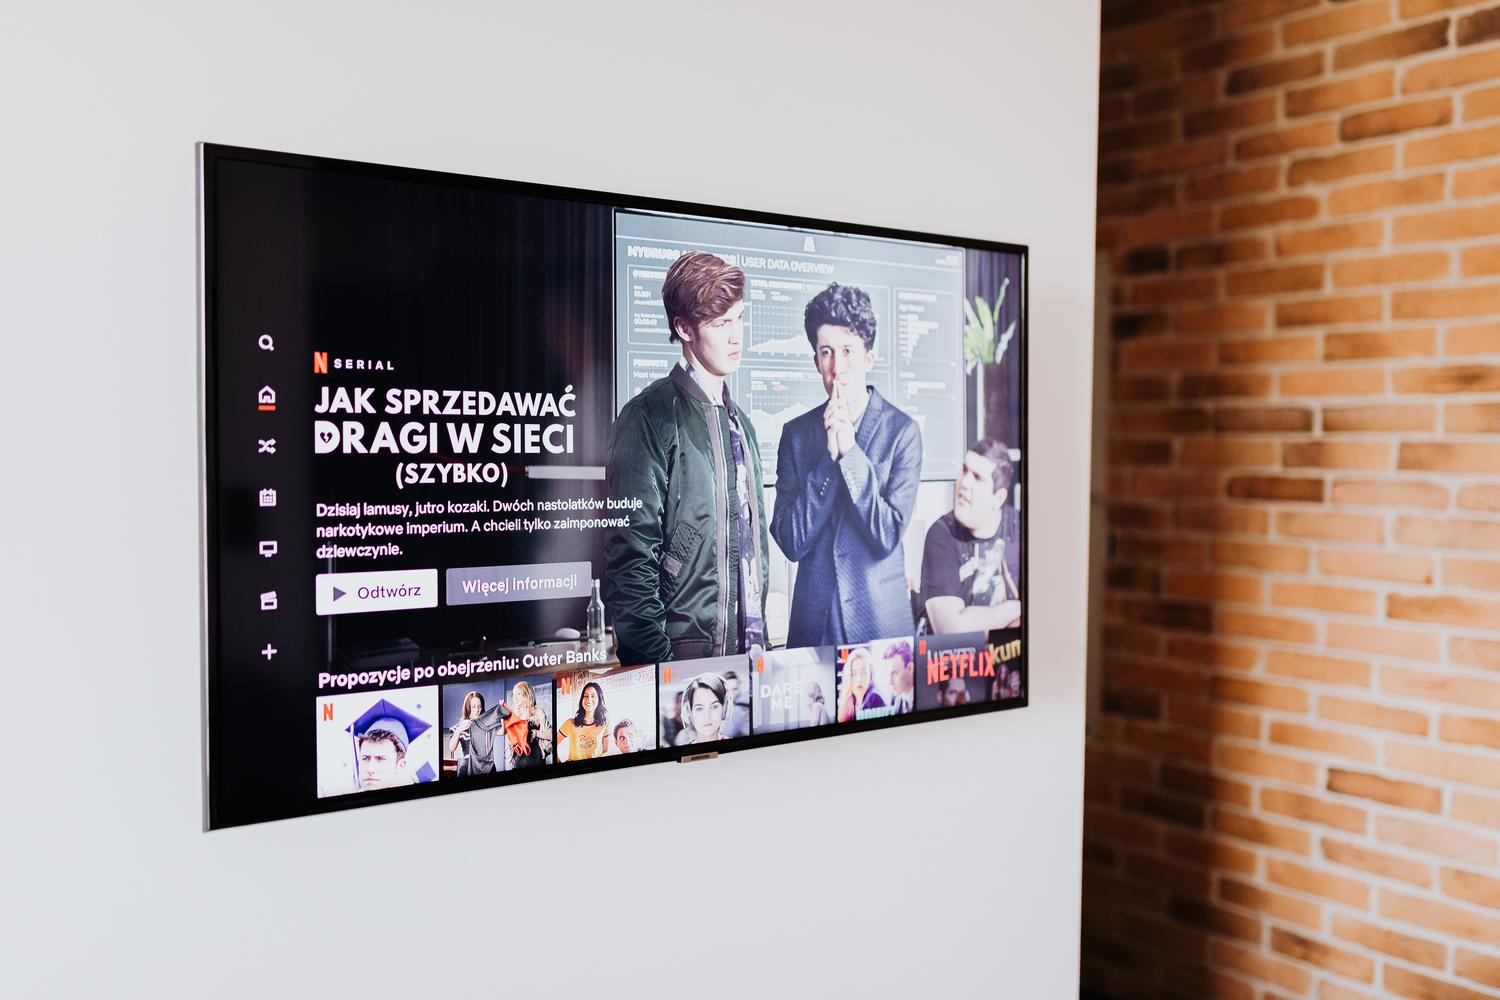
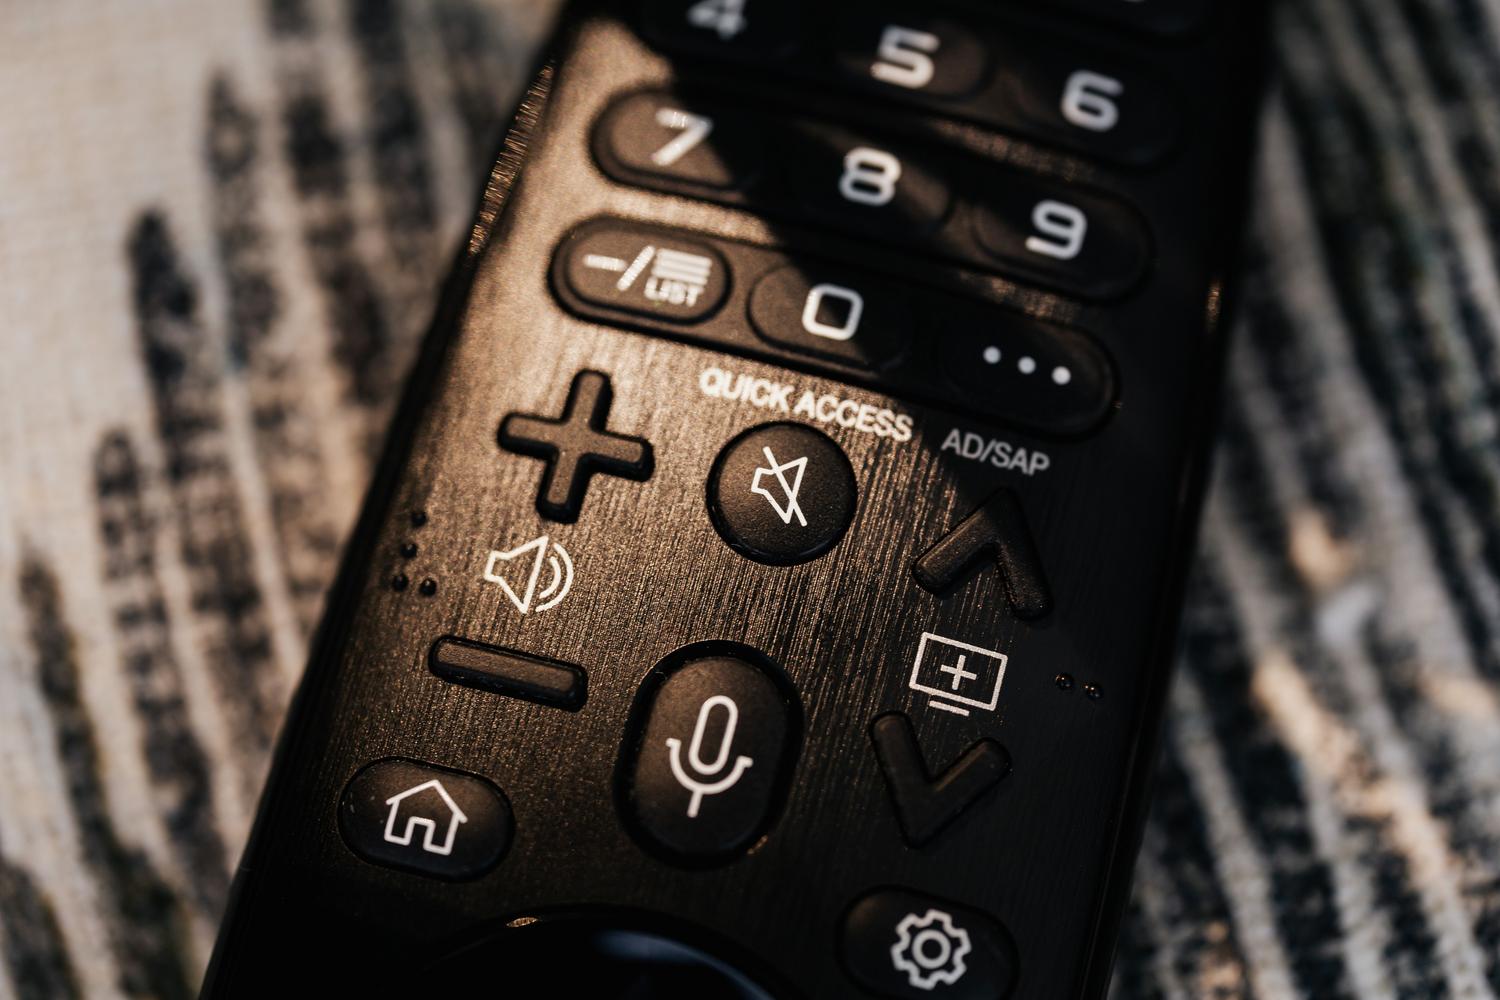
For those lucky enough to own the latest devices, specifically models from 2026 onwards running webOS 26 or higher, the process is quite straightforward. Simply press the Settings button on your remote, go to All Settings, navigate to System, then Network, and finally select Wi-Fi Connection.
If your TV is a bit older but still modern, specifically models released between 2021 and last year (webOS 6.0 or later), the process varies slightly. In this case, after pressing the Settings button and going to All settings, you'll need to find the General section, go to Network, and there you'll find the Wi-Fi Connection option.

For those using 2020 TVs with webOS 5.0 , things are slightly different. Once you're in All Settings and the General section, you won't see "Network" directly; instead, you have to go to Network Connection Settings to manage your Wi-Fi connection.
If you have a 2019 device with webOS 4.5 , the process is a bit simpler compared to the previous model. After accessing All settings and entering General, you'll see the Wi-Fi Connection option directly, without any intermediate steps.
Finally, for 2018 models and earlier versions using webOS 4.0 or earlier, the structure is different. After pressing the Settings button and entering All settings, you'll see the Network section appear in the main menu, where you can manage the Wi-Fi connection without going through the General menu.

Once you have secured the network connection, you can proceed to review the security policies and settings to allow the system to accept external application packages , always ensuring that the software comes from reliable sources so as not to compromise the stability of your device.


Passionate writer about the world of bytes and technology in general. I love sharing my knowledge through writing, and that's what I'll do on this blog, show you all the most interesting things about gadgets, software, hardware, tech trends, and more. My goal is to help you navigate the digital world in a simple and entertaining way.