- Comprehensive configuration of educational ChromeOS fleets from the Google admin console.
- Best practices for monitoring, protecting, and optimizing Chromebook devices at scale.
- License management, mandatory policies, applications, kiosks, and guest sessions.
- Additional tools such as Chromebook Getter for bulk inventory and reporting.
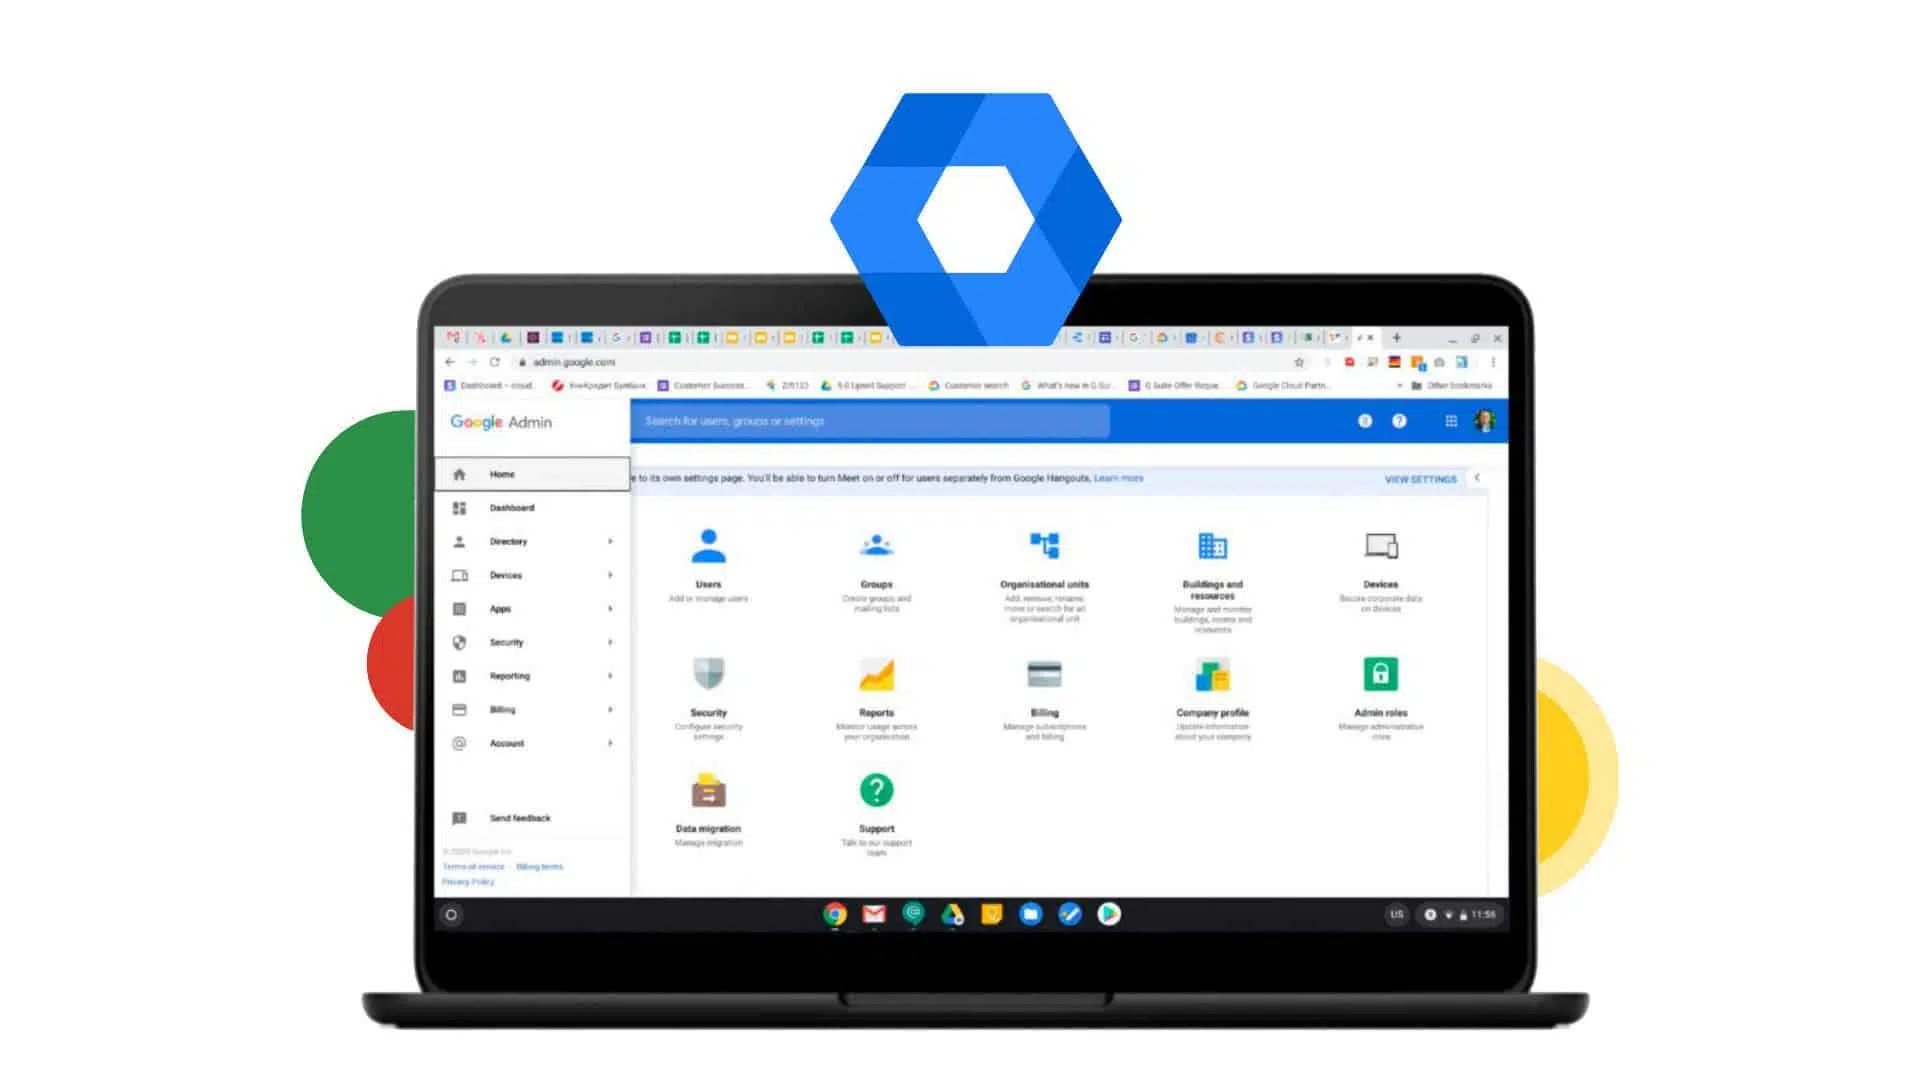
Managing an entire fleet of Chromebooks in a school, college, or university can be a breeze… or utter chaos, depending on how the Google admin console is configured. As the number of devices grows, managing them one by one is no longer enough: you need a clear strategy, best practices, and the right tools.
If you're an IT administrator in an educational or business environment and you work with ChromeOS, the Google Admin Console is your command center: from there you control policies, security, applications, networks, and much more. In this article, you'll see, in detail and with a practical approach, how to leverage the console to manage large fleets of Chromebooks, what licenses you need, how to organize users and devices, and what best practices to follow to maintain a healthy and easy-to-manage fleet.
What is the Google Admin Console and why is it key for ChromeOS in education?
The Google Admin Console is the central dashboard for managing users, groups, devices, and services across Google Workspace domains, including educational domains (formerly Google Apps for Education). In the context of Chromebooks, it's the critical component that ensures everything runs smoothly and securely.
As an IT administrator at a school or business, you can manage Chromebooks and other ChromeOS devices across your organization directly from the console. It's not just about turning things on and off: you can enforce policies, configure Chrome browser features so users only have what they truly need, force the installation of apps and extensions, and define how devices connect to internal Wi-Fi and VPN networks.
Furthermore, the console operates at two main levels: user level and device level . At the user level, you work with account-related policies (ideal for centers using Chrome on Windows or Linux). At the device level, you control ChromeOS hardware (Chromebooks, Chromeboxes, etc.): locking, enrollment, camera, microphone, kiosk use, managed guest sessions, and more.
There's an important distinction: the exact features you have access to depend on the account type . If your organization is educational and you use devices with ChromeOS Enterprise Upgrade designed for businesses, there will be features reserved for enterprise accounts that you won't see in an educational domain. It's important to understand this before you start deploying large fleets.
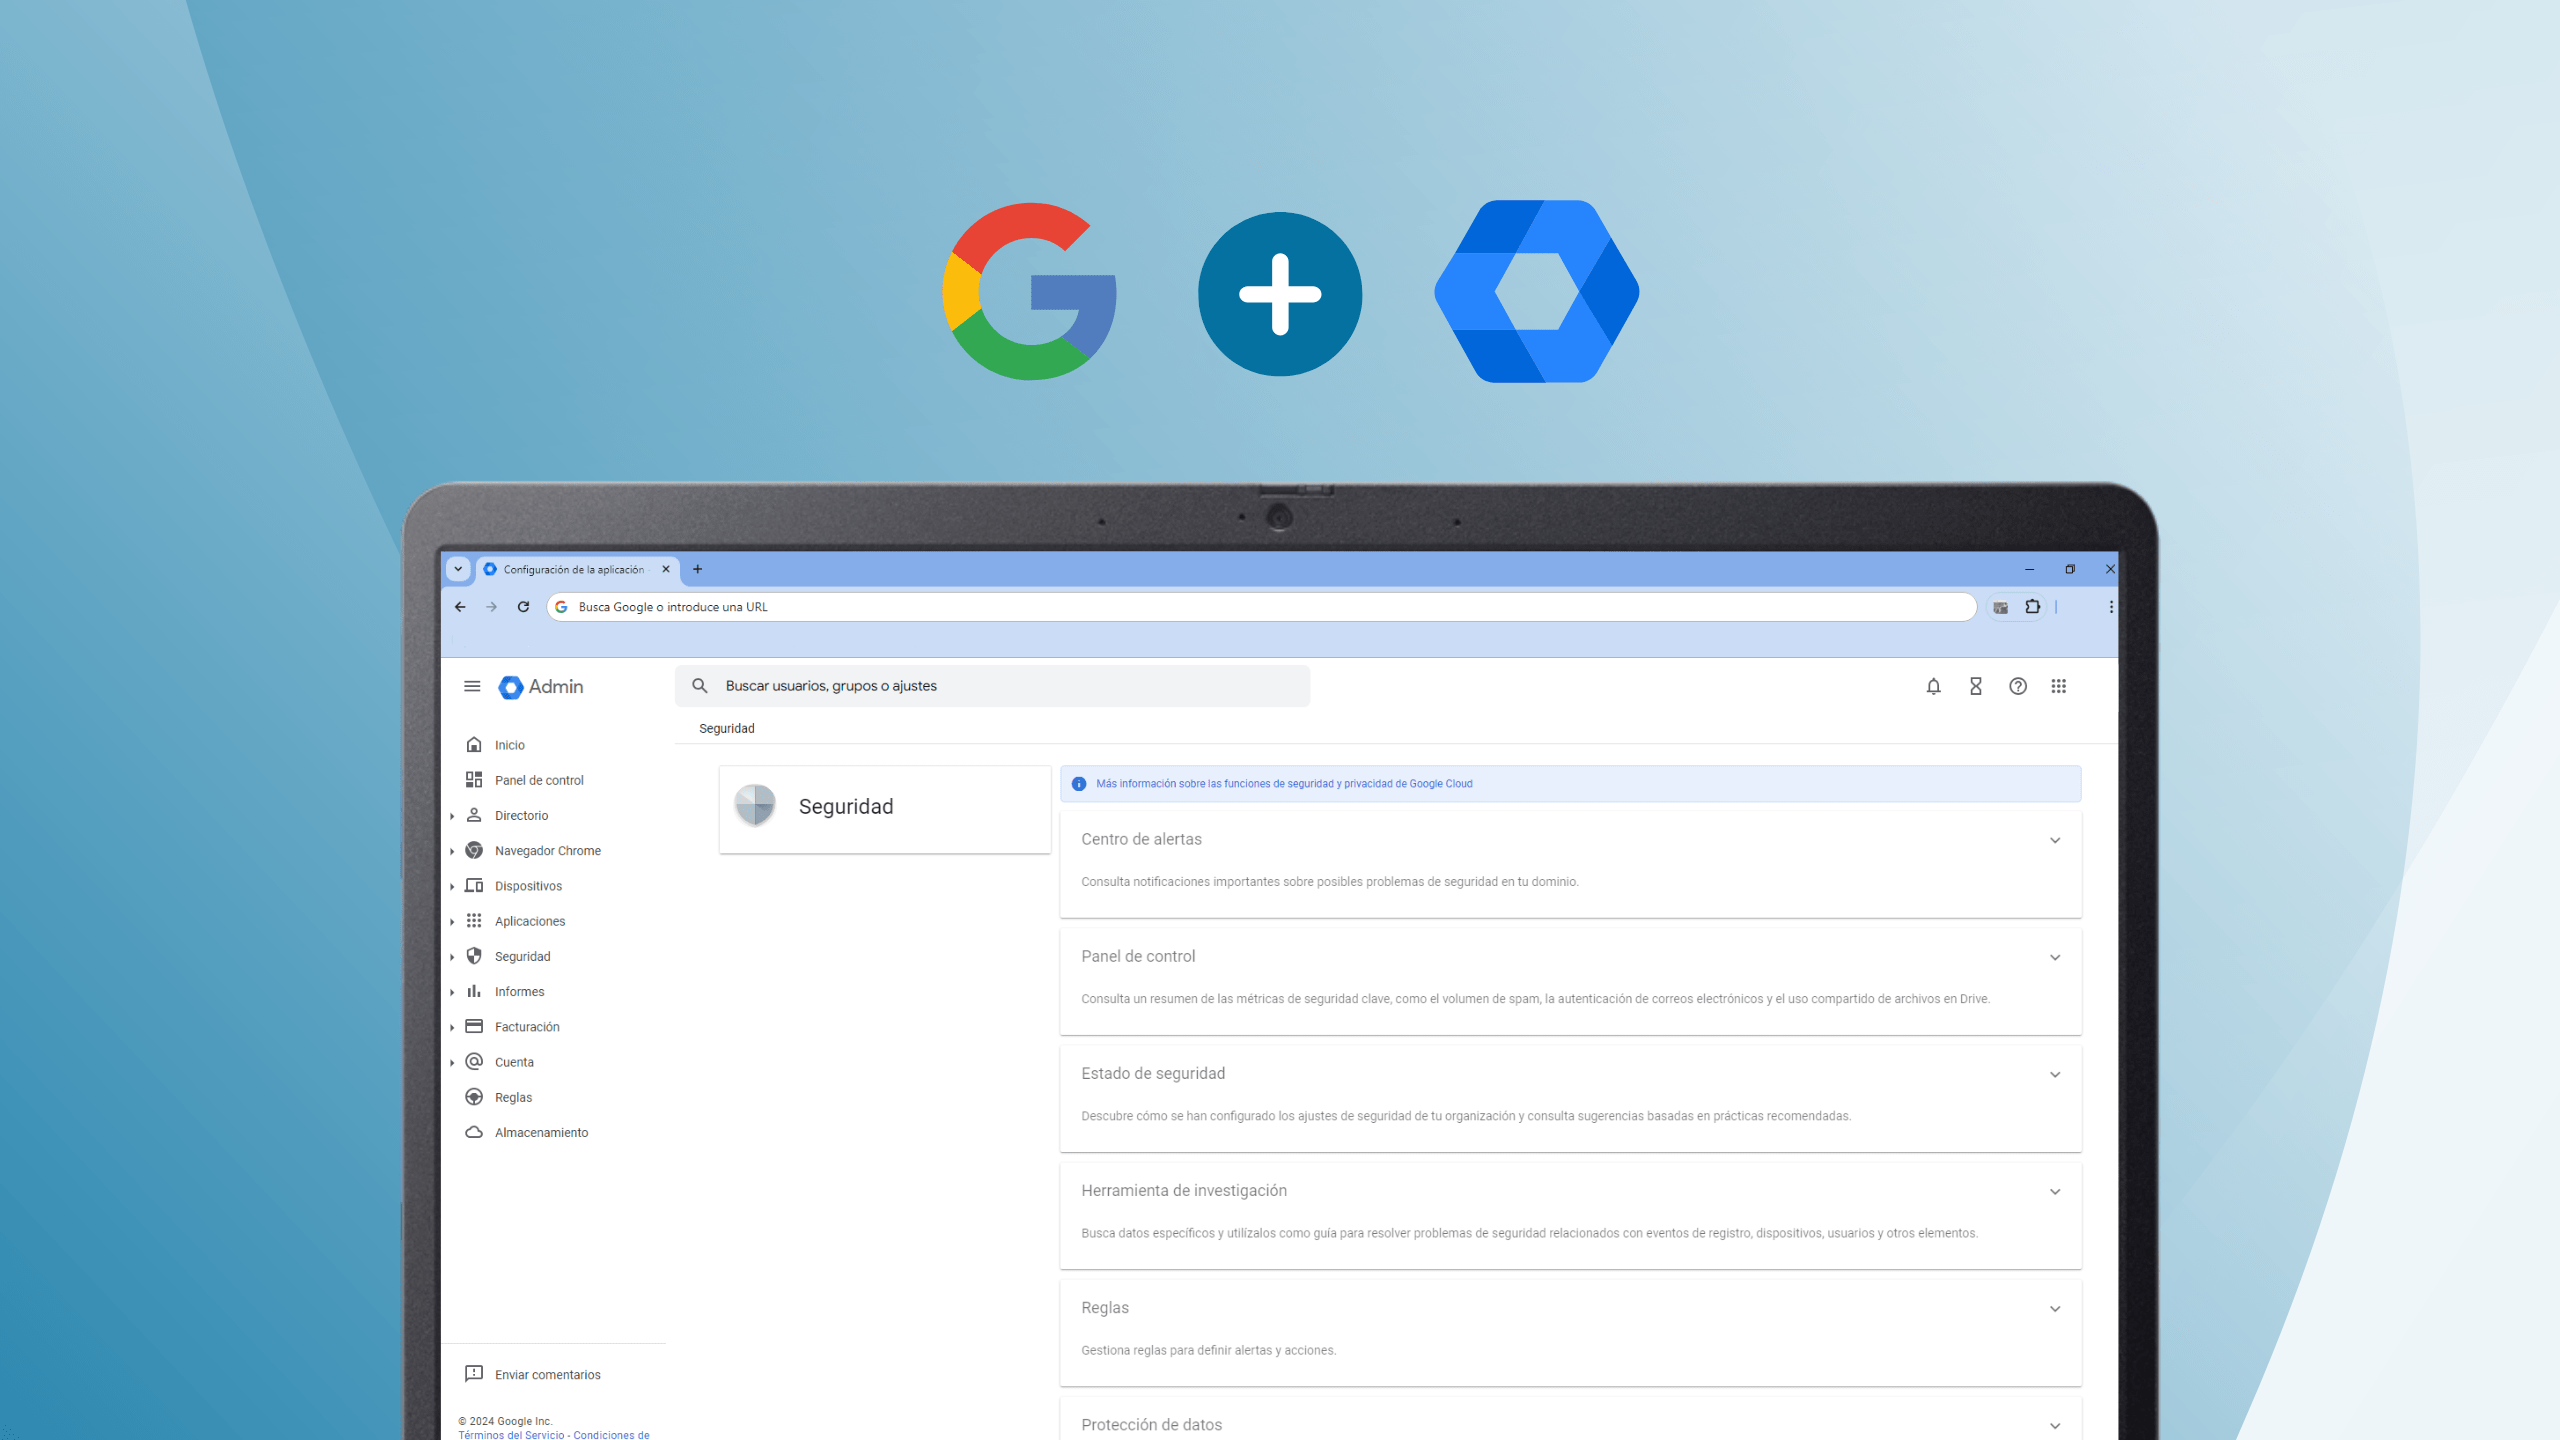
ChromeOS Licenses: Enterprise, Education, and Kiosk
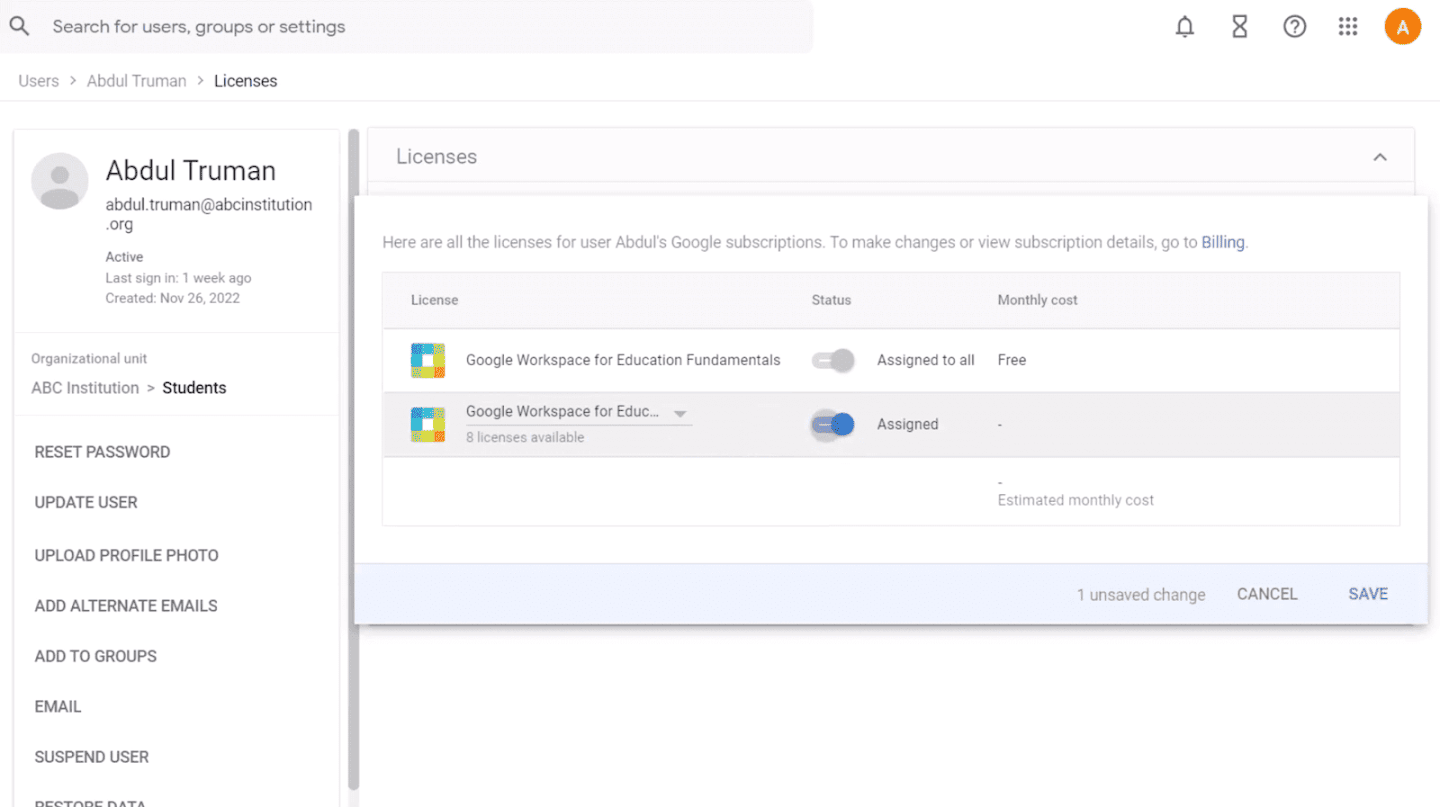
To move from basic use to real control over Chromebooks , you need specific licenses. This is where ChromeOS Enterprise Upgrade, ChromeOS Education Upgrade, and the Kiosk and Signage License come in.
In the case of Chromebooks used in education, it's common to pay a device license for each device you want to manage at the hardware level. Traditionally, the cost was a one-time payment per device (for example, around €23 + VAT in some cases), although this can vary depending on agreements and current models. This license grants you access to features such as camera and microphone control, remote locking, and many other device-level policies.
Many manufacturers already sell devices with integrated licenses , so the Chromebook includes ChromeOS Enterprise Upgrade or ChromeOS Education Upgrade as standard, and you don't have to buy licenses separately. In that case, the devices are considered "with integrated licenses," and you only need to register them in your domain to start applying policies.
If you purchase Chromebooks individually without a license, you'll need to purchase a ChromeOS Enterprise Upgrade, ChromeOS Education Upgrade, or Kiosk and Signage license to manage them from the console. In that scenario, you must purchase a license for each standalone ChromeOS device you want to manage.
The Kiosk and Signage License, on the other hand, is designed for devices dedicated to specific functions : information points, digital signage displays, exams, point-of-sale terminals, etc. It shares several features with Enterprise and Education, but optimized for "public display" scenarios or highly controlled use.
First steps: organizing, registering, and enrolling Chromebooks
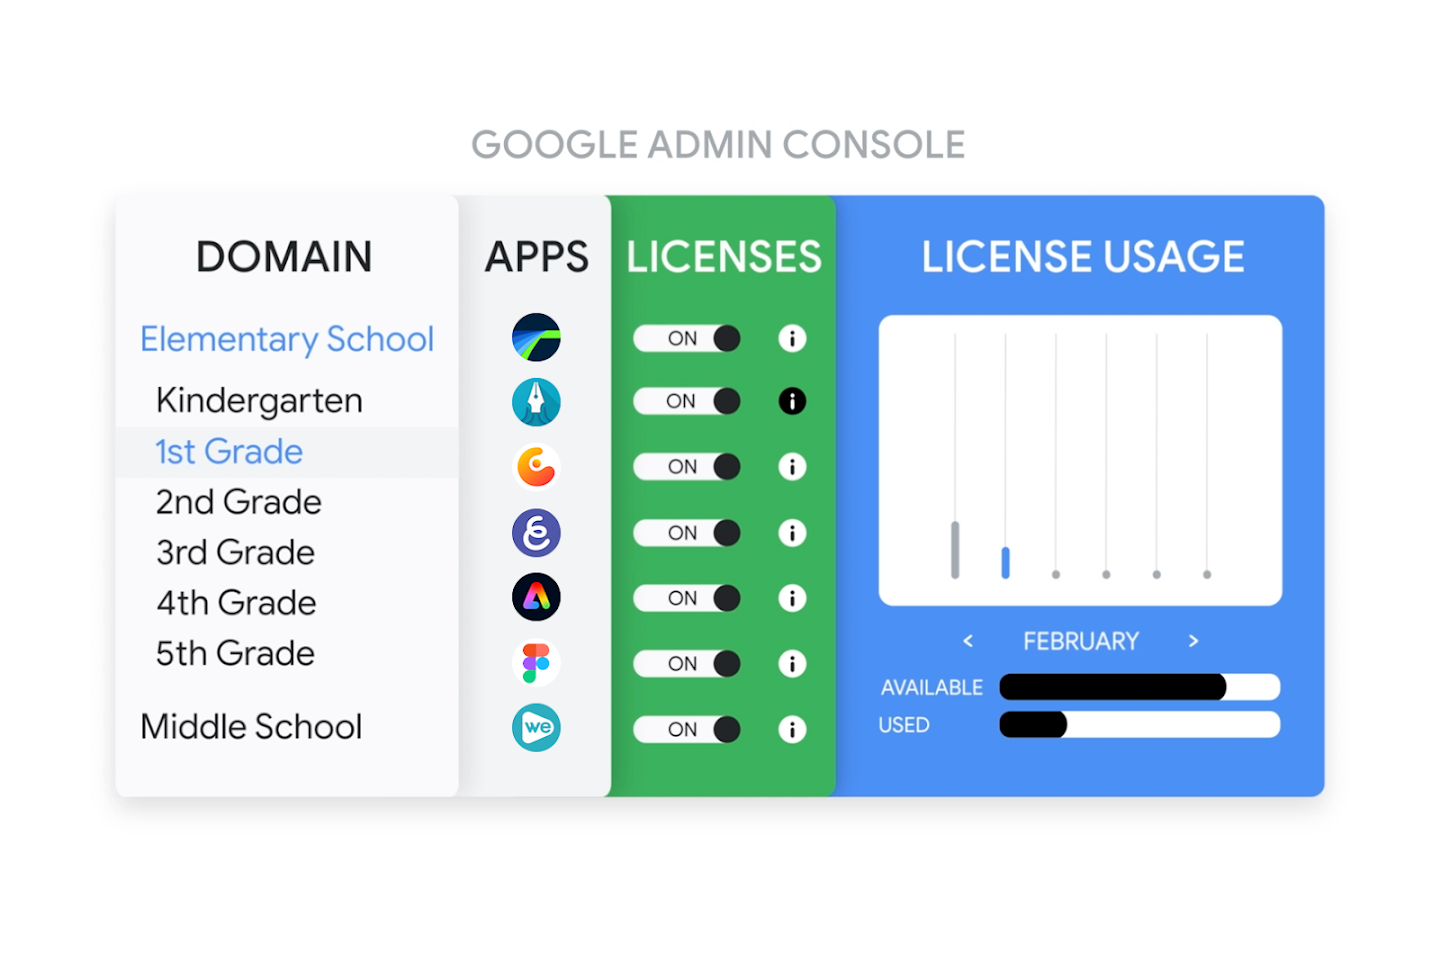
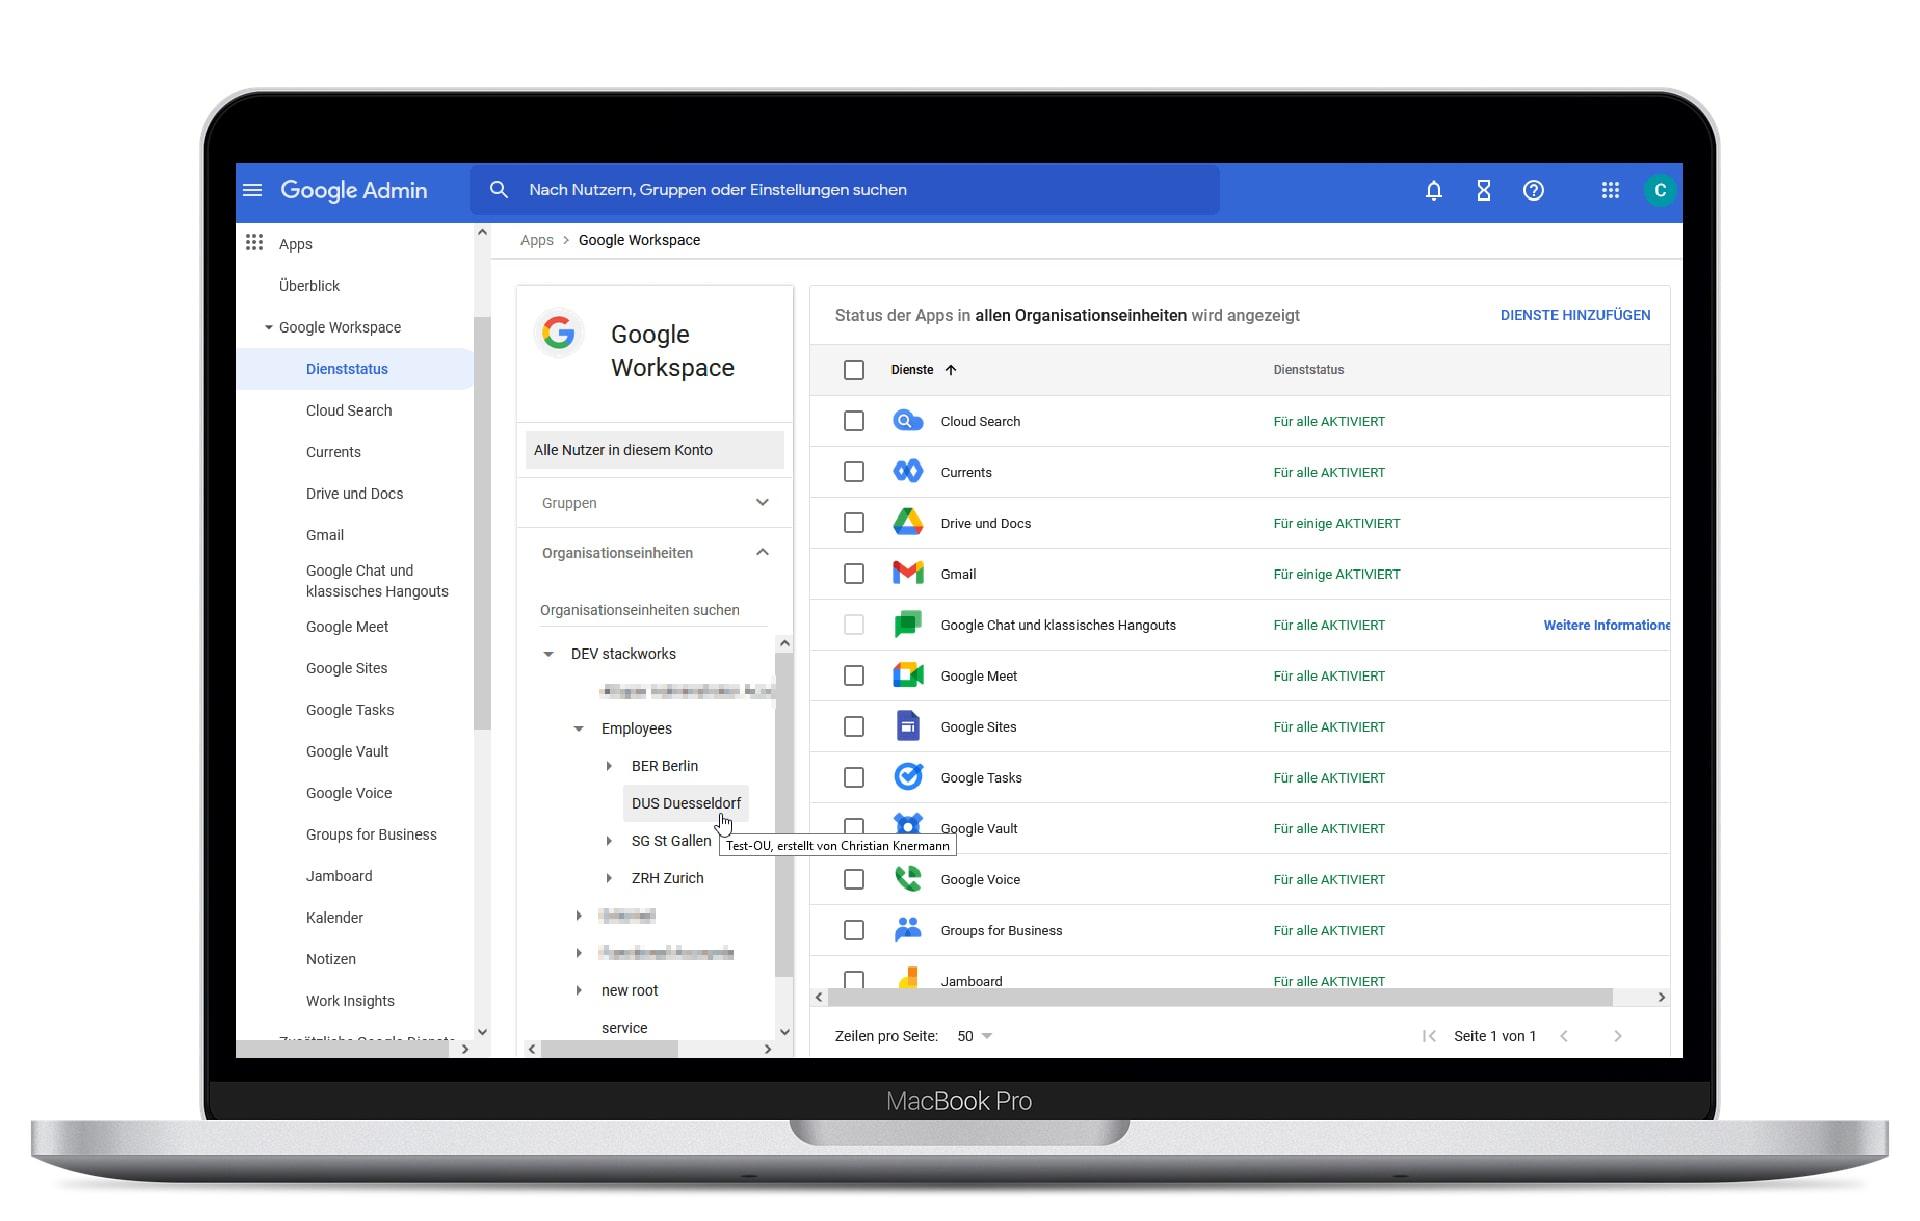
Before you start registering computers willy-nilly, it's essential to have a clear understanding of how you're going to structure your domain. The key lies in the organizations and sub-organizations (OUs) in the administration console, because that's where you'll apply most of the policies.
When creating users, whether manually or by importing a file, it is essential that you have first defined organizations and sub-organizations that represent the reality of your center : for example, teachers, primary school students, secondary school students, high school students, administrative staff, etc. Each OU can have different restrictions, Chrome configurations, desktop backgrounds, pre-installed applications, or permissions.
With students, this is pure gold: you can apply age restrictions, browsing limits , or different permissions depending on the course, or even create a specific sub-organization for students who need special supervision (due to intensive gaming, digital behavior issues, etc.). The ability to move users between OUs becomes your fine-tuning tool.
Once you have a clear understanding of your OU structure, it's time to register ChromeOS devices with your organization . This requires a managed user account that meets administrator requirements. After acquiring devices with pre-installed licenses or purchasing licenses separately, the enrollment process typically occurs on the Chromebook's first boot, either by logging in with an administrator account or by following the organization's enforced registration flow.
After registration, the devices are associated with your domain and you can start applying mandatory policies : who can use the device, what networks it has pre-configured, what applications are installed without asking, or whether the device can log in with accounts external to the domain.
User management: policies when using Chrome on any system
The admin console isn't just for Chromebooks: it's also very useful if your users work with Windows, Linux, or other operating systems like Aluminium OS but use the Chrome browser . In that scenario, management is primarily at the user level.
However, there's a detail here that often causes problems: it's not enough for the user to simply log in to Gmail or Drive . They need to log in to the Chrome browser itself (in the browser's settings menu) with their domain account. Only then will the policies you've defined in the admin console for that user be applied.
In environments where students share Windows or Linux computers with a common local account , it can be difficult for each student to log in individually to Chrome. One alternative is to create a generic user in the console and configure all browsers to log in with it. The problem is that, in this case, you won't be able to differentiate between students and you'll lose useful features such as user activity audits.
On the other hand, if your students have Chromebooks but you only configure user-level policies, you'll encounter a serious limitation: they can simply log in with a standard Gmail account to bypass domain restrictions. This underscores the importance of device licensing and hardware-level policies for educational environments.
With teachers and adult staff, on the other hand, user-level management is often sufficient, without the need for a device license, especially when it is trusted that they will use the tools responsibly and do not need strong restrictions.
Policy application, networking, and application management
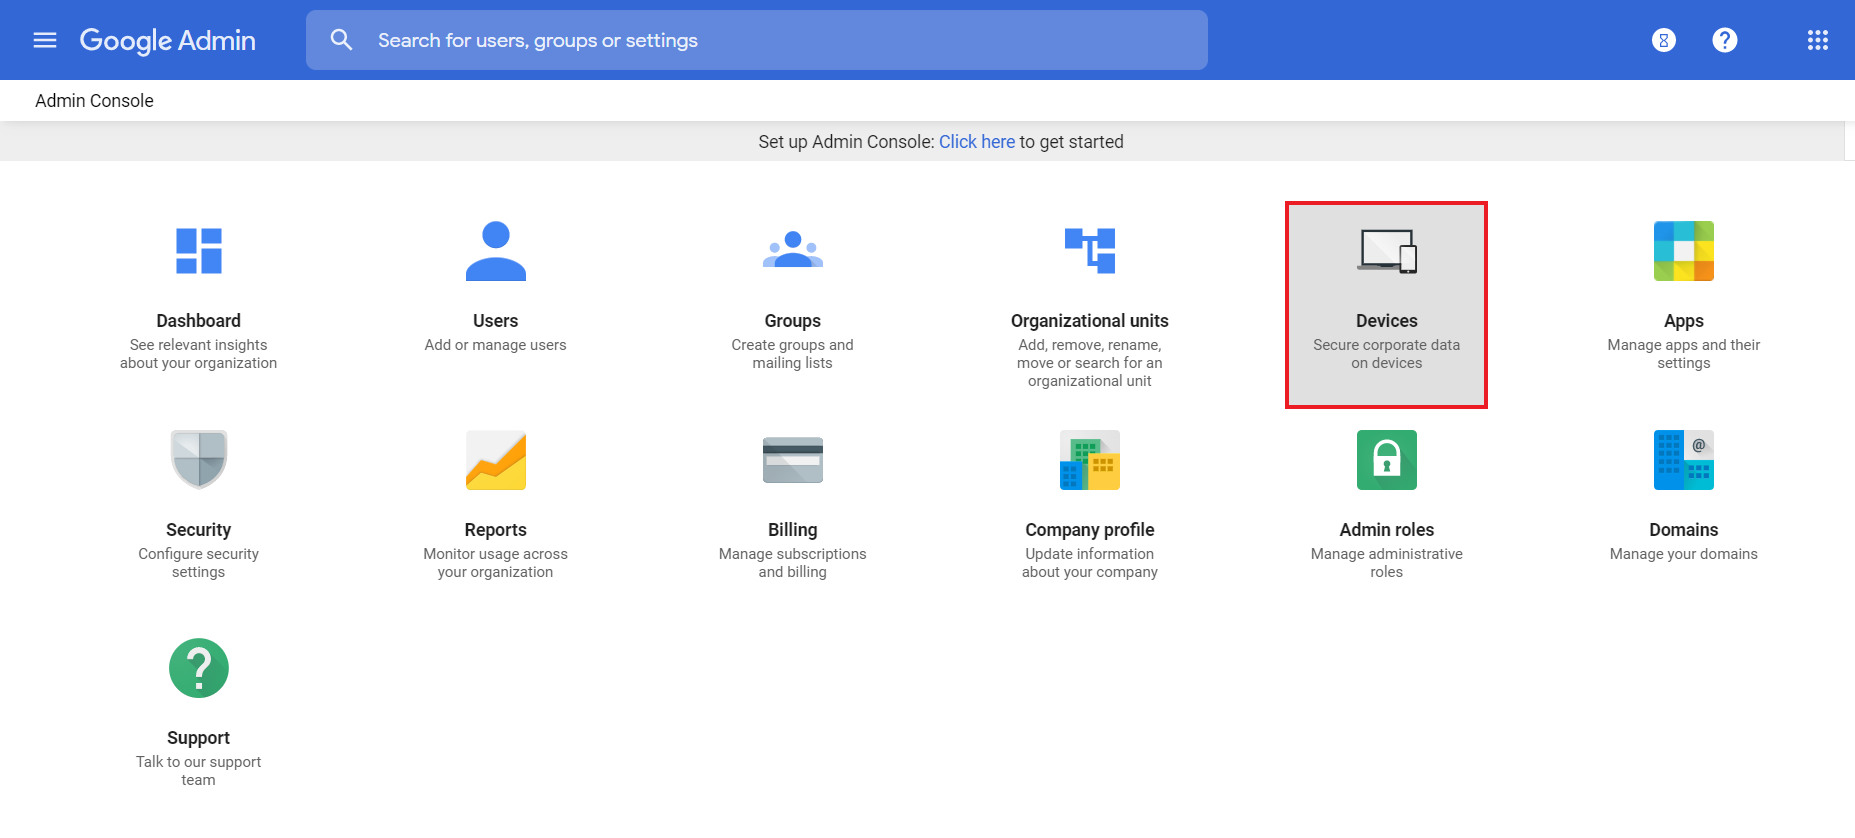
Once you have registered users and devices, it's time to get down to day-to-day operations: defining policies, managing applications, and configuring networks . This is where a well-designed console really shines.
From the console, you can apply Wi-Fi and proxy settings so that Chromebooks automatically connect to the institution's internal networks, without students needing to know passwords or advanced configurations. Similarly, you can deploy VPN configurations to allow access to internal resources when the device is off-campus.
Regarding applications and extensions, the console allows you to force the installation of apps and extensions on users or devices within a specific OU. This is perfect for ensuring that students have everything they need from day one: productivity tools, assessment apps, screen readers, etc., without wasting time on manual installations.
The path to this setting is somewhat hidden, so it's helpful to know where to find it. From the console, go to the Applications section (sometimes you need to click "More controls" at the bottom of the page first), then go to Additional Services , scroll down to Chrome Administration , click on User Settings , and once there, select the desired user organization and click on Manage forced installation apps . In that window, you can search for apps in the Chrome Web Store and assign them to the selected OU.
In addition, you can restrict access to only authorized domain users, limit which types of extensions can be installed, or completely disable free extension installation so that only IT-approved extensions can be used. All of this helps reduce distractions, improve security, and prevent performance issues.
Kiosks, managed guest sessions, and shared computing
One of the most powerful uses of ChromeOS in educational and corporate environments is leveraging devices as kiosks or shared workstations . Here, ChromeOS Enterprise Upgrade, ChromeOS Education Upgrade, and the Kiosk and Signage License play a key role.
With these licenses, you can configure Chromebooks as kiosk devices dedicated to a single function : for example, terminals for student exams, information points in a library, reference computers in a study room, or even points of sale in a small shop. The device boots directly into the configured kiosk application, and the user does not have access to the rest of the system.
In addition, the console supports managed guest sessions . These sessions allow different people to use the same Chromebook without logging in with their own accounts, which is especially useful in libraries, internet cafes, or business centers. Even as a "guest," you can control what can be done, which websites are allowed, and which applications are available.
All of this aligns with ChromeOS's "shared and simplified computing" approach : you deploy devices in offices, libraries, or classrooms, and centralize management from the console. Updates are applied automatically, security is integrated at the system level, and the IT workload is reduced compared to traditional environments with heavier systems.
With proper configuration, interactive learning stations become stable and secure access points for students, without the IT team having to constantly "put out fires" or reinstall machines.
Best practices for monitoring ChromeOS fleets
Over time, Google has compiled a set of best practices for monitoring ChromeOS fleets , specifically designed for IT administrators in businesses and educational institutions using the Admin console. While official documentation and PDF guides exist, the core principles remain the same: visibility, prevention, and rapid response.
A key recommendation is to learn how to find and interpret reports about devices that haven't synced with the latest policies. If a Chromebook stops connecting to the console or isn't receiving the latest policies, it's a red flag: it may be out of control, lost, in the wrong hands, or simply unused. Knowing how to locate these devices and take appropriate action (blocking, deprovisioning, reviewing) is essential.
Another important practice is to set up notifications for devices that repeatedly re-enroll in your domain. A device that is constantly being unenrolled and re-enrolled may indicate technical issues, workflow errors, or even attempts to bypass restrictions. Automatic alerts allow you to detect these patterns without having to manually check everything.
It's also crucial to prevent users from enrolling unauthorized devices . If any user could register their personal Chromebook to the domain, you risk mixing personal devices with corporate or educational equipment, with all the associated security and compliance risks. Policies should clearly define which accounts are authorized to enroll and which registration flows are enabled.
Monitoring isn't limited to managed devices. It's also advisable to monitor unmanaged devices that connect to your domain or resources to gain a complete view of what's entering and leaving your network. While you may not have the same level of control over them, you can still detect suspicious behavior, unusual access, or patterns that require attention.
Finally, Google's own best practices guide includes a recommended configuration that serves as a starting point: policy settings, minimum security levels, synchronization options, access controls, and other parameters that help you avoid leaving any loose ends in the initial setup.
Chromebook Getter and other tools for bulk inventory and reporting
As your Chromebook fleet grows, the admin console is powerful, but sometimes you need additional tools for large-scale operations . One of the most popular in educational settings is Chromebook Getter, a Google Sheets add-on.
Chromebook Getter is designed specifically for G Suite/Google Workspace domain administrators who manage ChromeOS-licensed devices. Its goal is to simplify the process of maintaining an accurate inventory and making changes across multiple devices simultaneously, without having to manually manage each device individually in the console.
With this tool, you can obtain your Chromebook inventory in bulk, including assigned user, device location, and additional metadata such as status notes, information about malfunctions, purchase dates, etc. All this information is directly exported to a spreadsheet and kept synchronized with what you have on the console.
One of the biggest advantages is that it eliminates the need to manually scan barcodes when receiving new devices. Chromebook Getter can directly extract device serial numbers from the Chrome admin console and import them into your spreadsheet, along with any metadata you've defined in the dashboard.
It is also especially useful for tasks such as bulk updating device organizational units after enrollment (for example, when reassigning equipment to another course or building), disabling or re-enabling Chromebooks in bulk, or grouping devices for bulk deprovisioning processes from spreadsheet rows.
Currently, part of the application is translated into several languages, including Spanish and Japanese , and work is underway to expand compatibility. The logic is simple: if you set Chrome's language to one of the supported languages, the interface adapts, making it easier to use in environments where English is not the primary language.
By combining the power of the console with tools like Chromebook Getter and a clear strategy of OUs, policies, and licenses, it is possible to manage large fleets of Chromebooks with much less friction , keeping inventories up to date and ensuring that the equipment is used as intended.
With this entire ecosystem well integrated—from the organizational structure and appropriate licenses to policies, kiosks, guest sessions, and monitoring tools—the Google Admin Console becomes a kind of "control tower" from which it is perfectly feasible to orchestrate hundreds or thousands of Chromebooks in education, maintaining a reasonable balance between control, security, and flexibility so that technology supports learning rather than complicating it.


Passionate writer about the world of bytes and technology in general. I love sharing my knowledge through writing, and that's what I'll do on this blog, show you all the most interesting things about gadgets, software, hardware, tech trends, and more. My goal is to help you navigate the digital world in a simple and entertaining way.