- Windows 11 prioritize drivers signed and generic drivers, which causes conflicts when using specific drivers for CH340 and FTDI chips, especially on clone boards of Arduino.
- Older FTDI drivers corrupted the identification of clone chips, rendering many devices useless until their EEPROM was reprogrammed with tools like FT_Prog.
- A complete driver cleanup and manual installation of reliable versions (for both CH340 and FTDI) is key to recovering COM ports that have stopped working.
- Control automatic driver updates in Windows Knowing the specific chip on each board helps to avoid recurring failures and serial communication losses.
When we upgrade to Windows 11, many electronics enthusiasts encounter an unexpected problem: the USB serial drivers for chips like CH340 and FTDI start acting up , especially on clone Arduino boards or devices with inexpensive USB-to-serial converters. Suddenly, devices that worked perfectly in Windows 10 stop being detected, appear as "Unknown USB," or simply disappear from the list of COM ports.
In this article, we'll calmly but thoroughly break down what's happening with the CH340 and FTDI drivers in Windows 11, why conflicts are appearing, and what can be done to restore serial communication . We'll look at strange messages like "pre-installed driver," signature errors, the infamous FTDI "Trojan horse" that rendered chips unusable, and how to cleanly uninstall and reinstall drivers to bring your Arduino, 3D printer, or any USB-to-serial device back to life.
Why do CH340 and FTDI drivers break when upgrading to Windows 11?
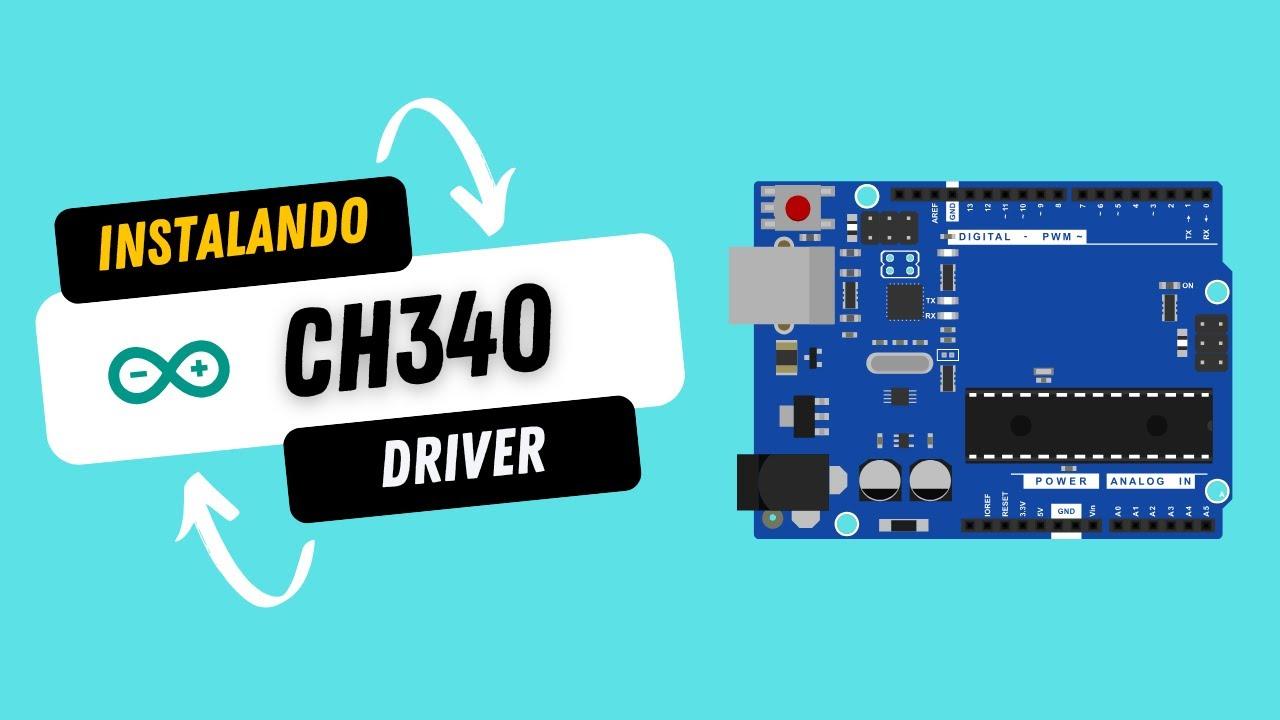
Many users upgrade from Windows 10 to Windows 11 and discover that their Arduino clone boards (such as the "Hero," Nano, etc.) that use the CH340 chip stop creating a functional COM port . The system forces the use of Microsoft's generic USB driver, and although the device appears in Device Manager , there is no way to communicate with the board.
In these cases, when attempting to manually update the driver, Windows displays a warning indicating that the driver was already "pre-installed" and does not offer a full installation or the option to replace the active driver . This is quite confusing because it seems the system recognizes the manufacturer's package but still prefers the standard Microsoft driver, which, for many clone motherboards with CH340, simply doesn't work properly.
When the user decides to uninstall the CH34x driver to start from scratch, they encounter another obstacle: the uninstaller indicates that it cannot find the driver or that there is nothing to remove . In practical terms, the driver is "halfway there": Windows knows it exists, marks it as pre-installed, but doesn't allow for easy removal or proper activation on the USB device.
All of this points to a rather aggressive behavior by Windows 11 with USB-to-serial drivers: it prioritizes drivers signed and packaged in Windows Update , and in some cases ignores or blocks the use of third-party packages, even if they are official from the chip manufacturer . On original Arduino boards, which use official and signed chips (for example, ATmega16U2 or genuine FTDI in older models), the same cable and the same USB port work without problems, but with CH340 clones, the story changes.
Typical problems when installing CH340 and FTDI drivers on Windows 11
If you're just starting out with Arduino and your Windows 11 laptop isn't detecting your board as a COM port, it's easy to get stuck in a cycle of failed installations. One of the most common symptoms is that Device Manager shows the device as "Unknown USB" or similar, without assigning a virtual serial port , even if you've followed tutorials to the letter.
After running the chip manufacturer's installer (for example, the package for CH340G), a vague message appears at the end of the installation: Windows reports that the driver has been "pre-installed" but a normal installation was not completed . This text is not usually found in standard tutorials and leaves the user wondering whether they should do anything else or if the driver is actually working.
Some manuals recommend uninstalling and reinstalling the driver. However, when uninstallation is attempted, Windows responds that it cannot find the driver or that there is nothing to remove . In other words, the system considers that the driver was never fully installed, even though it is listed as pre-installed in its driver database.
This behavior is repeated even when testing several different devices, for example, a laptop with Windows 11 and a desktop with Windows 10. In both cases, the result is identical: the device continues to appear as an unknown USB device, no COM port is listed, and attempts to reinstall the driver end in the same message loop.
Even installing all the latest Windows updates, including optional ones, usually doesn't change the situation. If the system decides that the device should use the generic driver or one it considers "more secure," it will most likely ignore your attempt to force the use of the manufacturer's driver , especially if that driver isn't signed in the way Microsoft requires in Windows 11.
The FTDI case: malicious drivers, cloned chips and a “Trojan horse”
The problems with FTDI are long-standing and help explain why CH340 chips are so widely used as an alternative in many budget motherboards today . Years ago, FTDI released versions of its Windows drivers that included extremely aggressive behavior: if they detected a supposedly counterfeit or unauthorized chip (FTDI clone), they would write invalid values to its EEPROM memory, leaving it without a valid USB identification.
The impact was enormous. From approximately September of that year, devices began dropping like flies: Arduino Nanos, programmers, converter cables, and all sorts of gadgets that integrated FTDI clone chips . Users who calmly updated their drivers through Windows Update found that, upon reconnecting their device, Windows no longer recognized it and it was impossible to open a serial port.
This was not an accidental failure: the drivers deliberately contained a Trojan horse that modified the idVendor and idProduct values in the chip's EEPROM . The correct values for an FTDI recognized by Windows were something like:
- idVendor: 0x0403
- idProduct: 0x6001
After the malicious drivers took effect, many of these chips ended up with the same idVendor (0x0403) but an idProduct 0x0000 that did not correspond to any legitimate FTDI device . In practical terms, the chip was "erased" at the USB identification level, and Windows no longer knew what to do with it.
The problematic version of the FTDI drivers was around 2.12.0.0, while earlier versions, such as 2.10.0.0 and prior, did not include this destructive behavior . For a time, Windows Update massively distributed this aggressive driver, potentially rendering millions of devices unusable without the user being aware of what was happening.
FTDI defended its position by arguing that it was a measure against counterfeiting of its chips , but the reality is that the biggest loser was the end user, who had no way of knowing whether the USB-to-serial converter in their device was genuine or a clone. Distributors, board manufacturers, and designers were also seriously affected, as they too had no control over the authenticity of the chips they received from the factory.
Diagnosing an FTDI chip damaged by malicious drivers
When an FTDI clone had been "marked" by those drivers, the most obvious symptom was that Windows stopped recognizing the device and did not offer a COM port . However, unlike a hardware failure , the chip remained physically intact: what had been corrupted was its identification in the EEPROM.
To verify this, a tool like USBView could be used, an executable that displays in detail all devices connected to USB ports and their descriptors. Upon connecting the suspected device, its identification values could be read and compared:
- Correct values for a genuine FTDI: idVendor 0x0403, idProduct 0x6001.
- Values after malicious deletion: idVendor 0x0403, idProduct 0x0000.
If, when inspecting the device, you saw that idProduct 0x0000, it was clear that the chip had been "erased" by the driver and that Windows would no longer treat it as a standard USB-to-serial converter.
.
Under these circumstances, the user didn't have a problem with broken hardware, but rather with the chip's internal configuration. The good news is that, with the right tools, it was possible to rewrite the EEPROM data and restore the chip to its correct identity , provided that FTDI itself hadn't completely blocked the possibility of reprogramming the memory.
For a time, FTDI removed the Trojan horse from its drivers (maintaining the 2.12.0.0 version, but supposedly without EEPROM erasure), although it offered no official solution for the millions of chips already affected . Many users and communities felt doubly aggrieved: first by the damage caused, and then by the lack of a simple and official recovery tool.
Switching from FTDI to CH340: a more user-friendly alternative (but with a catch on Windows)
Following the FTDI scandal, many board and device manufacturers began migrating to other USB-to-serial converters. One of the most popular has been the CH340G chip and its variants, of Chinese origin and very low cost . This chip performs the same basic function: emulating a virtual serial port (COM) over USB to communicate with microcontrollers, 3D printers, etc.
On GNU/Linux systems, CH340 support is usually excellent: the kernel recognizes it out of the box, and no additional drivers are needed . On macOS, in many cases it works with specific drivers or compatible modules. The major problem usually arises on Windows, where a specific driver is required for the system to create the COM port.
The procedure, in principle, is very simple: download the official package from the chip manufacturer (or one provided by the motherboard distributor), run the installer, and when you connect the device, Windows should detect it as “USB-Serial CH340” or similar and assign a COM port . The drawback is that, with Windows 10 and especially with Windows 11, driver signing policies and Microsoft's tendency to impose its own standard USB stack come into play.
In practice, many users find that, despite following the installation process, the system insists on using a generic driver or a Windows Update driver, which doesn't always work well with certain clones or versions of the CH340. This leads to situations where the same board works in Linux without any modifications, but in Windows it gets stuck as an "unknown USB device . "
For this reason, some communities recommend avoiding products with FTDI (original or copied) and opting for chips like CH340, CP2102, etc. However, this doesn't eliminate the potential for conflicts with Windows 11, which remains very strict regarding signatures, catalogs, and drivers considered "safe . "
Clean up conflicting drivers and force the correct installation
When a USB-to-serial device stops working, one of the most effective solutions is to completely uninstall the associated drivers and reinstall them manually . This is especially important if you suspect your system has had problematic versions of FTDI drivers or multiple failed attempts with the CH340.
In the case of FTDI, utilities like CDMuninstallerGUI allow you to delete the USB-serial drivers registered in the system based on their identifiers. By specifying the data idVendor 0x0403 and idProduct 0x6001, the program removes both the drivers and references to the device , so that the next time you connect it, Windows will treat it as if it were the first time.
This type of cleanup is useful when Windows is stuck on a specific driver version (for example, the problematic 2.12.0.0) and won't update or roll back to a previous version. After running the tool and restarting your computer, you can manually install a known safe driver version, such as 2.10.0.0, and force the system to accept it for that device. Additionally, sometimes it's necessary to delete old drivers from DriverStore to prevent Windows from restoring the conflicting version.
For the CH340, the approach is similar but without specific FTDI tools. Often, it's enough to go to Device Manager, locate the unknown USB or problematic USB-to-serial adapter, uninstall the device by checking the box "Delete the driver software for this device ," and then reinstall the manufacturer's package before reconnecting the board.
A key point in Windows 11 is to disable, if applicable, the automatic installation of drivers through Windows Update . From "Devices and Printers," by right-clicking on the PC icon and going to "Device installation settings," you can select an option that limits or prevents Windows from replacing your manually installed drivers with "recommended" ones from the internet. This reduces the risk of the system changing the driver as soon as you connect the USB device.
Recovering an erased FTDI chip: EEPROM recovery
If your situation is more extreme and you suspect your FTDI clone chip has been "erased" by the old drivers, you can still try to revive it. The process is somewhat advanced, but it allows you to recover the correct idVendor and idProduct and use the device normally again , at least in terms of USB-serial communication.
The first step is to ensure that the chip, even with idProduct 0x0000, is recognized by Windows as an FTDI device that can be driven. A common technique for this is to modify the INF files of a known driver version (for example, 2.10.0.0) , adding the combination idVendor 0x0403, idProduct 0x0000 to the list of supported devices.
Specifically, you would need to edit ftdibus.inf and ftdiport.inf, add the entries that identify the device with the "deleted" PID, and then manually install the driver from Device Manager, pointing to the folder where these modified files are located. Windows will warn that the drivers are not signed or that the INF file has been altered , but if you accept the installation, the system will recognize the device as a functional FTDI USB-to-serial converter.
Once the chip is operational again as seen by Windows, the next step is to reprogram its EEPROM with the correct values . This is done using the FT_Prog application, FTDI's official tool for configuring its chips. After running it, the USB bus is scanned (magnifying glass icon), the device is detected, and its current parameters are loaded.
In the “USB Device Descriptor” section, you can select the appropriate option for “Custom PID” or choose “FTDI Default” to have the tool fill in the default identifiers (for example, Product ID 0x6001) . Then, click the lightning bolt icon and press “Program” to write the changes to the chip's EEPROM.
If everything went well, after disconnecting and reconnecting the USB cable, Windows will recognize the device again as a "USB Serial Port" with a consistent ID, and it can be used with the official drivers without any additional workarounds . You can verify the new values with USBView or directly in Device Manager, checking that it appears under the COM ports category.
Signature errors, hashes, and x64/x86 compatibility
Another common problem when installing FTDI or CH340 drivers on modern versions of Windows is error messages related to driver certificates and signatures, and the file hash . These errors usually appear when you try to force the installation of an older driver or one from a source that doesn't fully comply with Microsoft's security requirements.
A typical example is the following: You try to point Windows to the arduino.inf file (or the manufacturer's generic INF file) from the "drivers" folder in your Arduino IDE, and Windows responds with a warning indicating that the folder does not contain any software drivers compatible with the device . It also adds that, if it does contain a driver, you should check that it is designed for x64 or x86-based systems, as appropriate.
This usually means that the INF file isn't compatible with your version of Windows or your architecture (32/64-bit) , or simply that the connected device doesn't match any of the identifiers listed in the file. In that case, even if the INF file is fine for other models, Windows rejects it because it doesn't see a clear match with the hardware.
Another very common message when trying to install FTDI drivers from a folder like “ftdi” is something like: “ The hash for the file is not present in the specified catalog file. The file may be corrupt or have been tampered with .” In other words, the system doesn't trust the file because its signature doesn't match the cryptographic catalog or it simply doesn't exist, and by default, it blocks the installation.
This type of blocking is directly related to Microsoft's security policies for kernel drivers. In Windows 10, and even more so in Windows 11, valid and verifiable signatures are required to allow many drivers to load . If you work with older hardware or manually modified INF files, it's relatively easy to run into this problem.
In some advanced cases, users choose to boot Windows with driver signature verification disabled (test mode or special boot configurations ). However, for most home users, this is not recommended , and it's better to look for a signed and updated version of the driver or use a motherboard with a more compatible chip as standard.
Practical tips to avoid conflicts between CH340, FTDI and Windows 11
Beyond the technical details, there are a number of best practices that greatly help reduce the likelihood of driver conflicts between CH340, FTDI and Windows 11 , especially if you work with multiple boards and devices at the same time.
First, it's important to identify which chip your board or USB-to-serial adapter actually uses . Many Arduino UNO, Nano, "Hero," and similar clones use the CH340, others use FTDI (original or a copy), and some even integrate other converters like the CP210x. Knowing what you have will allow you to download the correct driver and avoid installing unnecessary packages.
It's also useful to maintain some control over Windows driver updates . If you have a well-functioning environment, it's a good idea to disable automatic driver updates and manage new versions yourself, especially on equipment dedicated to 3D printing, CNC, or automation, where a COM port failure can leave you stranded in the middle of a job.
When a device suddenly stops working after an update, it's advisable to suspect driver changes. In that case, a reasonable strategy is to review the Windows update history, uninstall the problematic driver, and manually reinstall the version you know worked . This applies to both FTDI and CH340 drivers and usually restores system stability.
Finally, if you work with very inexpensive hardware or clones of dubious origin, it's advisable to have tools like USBView, FT_Prog, or driver uninstallation utilities on hand . While not essential for daily use, they allow you to diagnose deep-seated problems (such as a corrupted idProduct or a driver conflict) and can save you from throwing away a device that can still be repaired. It's also useful to be able to see all installed drivers to audit the system when something goes wrong.
Dealing with conflicts between CH340 and FTDI drivers in Windows 11 becomes a mix of patience, driver cleanup, and manually controlling what the system installs or doesn't install. Knowing FTDI's history, the specifics of the CH340, and Windows 11's strictness regarding signed drivers makes it much easier to interpret the strange messages, choose the right driver, and restore serial communication to your Arduinos, 3D printers, and other devices without going crazy or having to give up on your hardware.


Passionate writer about the world of bytes and technology in general. I love sharing my knowledge through writing, and that's what I'll do on this blog, show you all the most interesting things about gadgets, software, hardware, tech trends, and more. My goal is to help you navigate the digital world in a simple and entertaining way.
Table of Contents
- 1 Why do CH340 and FTDI drivers break when upgrading to Windows 11?
- 2 Typical problems when installing CH340 and FTDI drivers on Windows 11
- 3 The FTDI case: malicious drivers, cloned chips and a “Trojan horse”
- 4 Diagnosing an FTDI chip damaged by malicious drivers
- 5 Switching from FTDI to CH340: a more user-friendly alternative (but with a catch on Windows)
- 6 Clean up conflicting drivers and force the correct installation
- 7 Recovering an erased FTDI chip: EEPROM recovery
- 8 Signature errors, hashes, and x64/x86 compatibility
- 9 Practical tips to avoid conflicts between CH340, FTDI and Windows 11