- Android It offers a notification history (since Android 11) that saves alerts from the last 24 hours and allows you to retrieve them even if they have been discarded.
- The history must be manually activated from Settings and can be viewed both from the notifications menu and from the system settings themselves.
- Not all mobile phones include this function or do so in the same way, so in some cases it is necessary to use third-party applications to register and manage alerts.
- Configure properly which notifications each app can send and how they are displayed in the lock screen It is key to balancing privacy, comfort, and productivity.
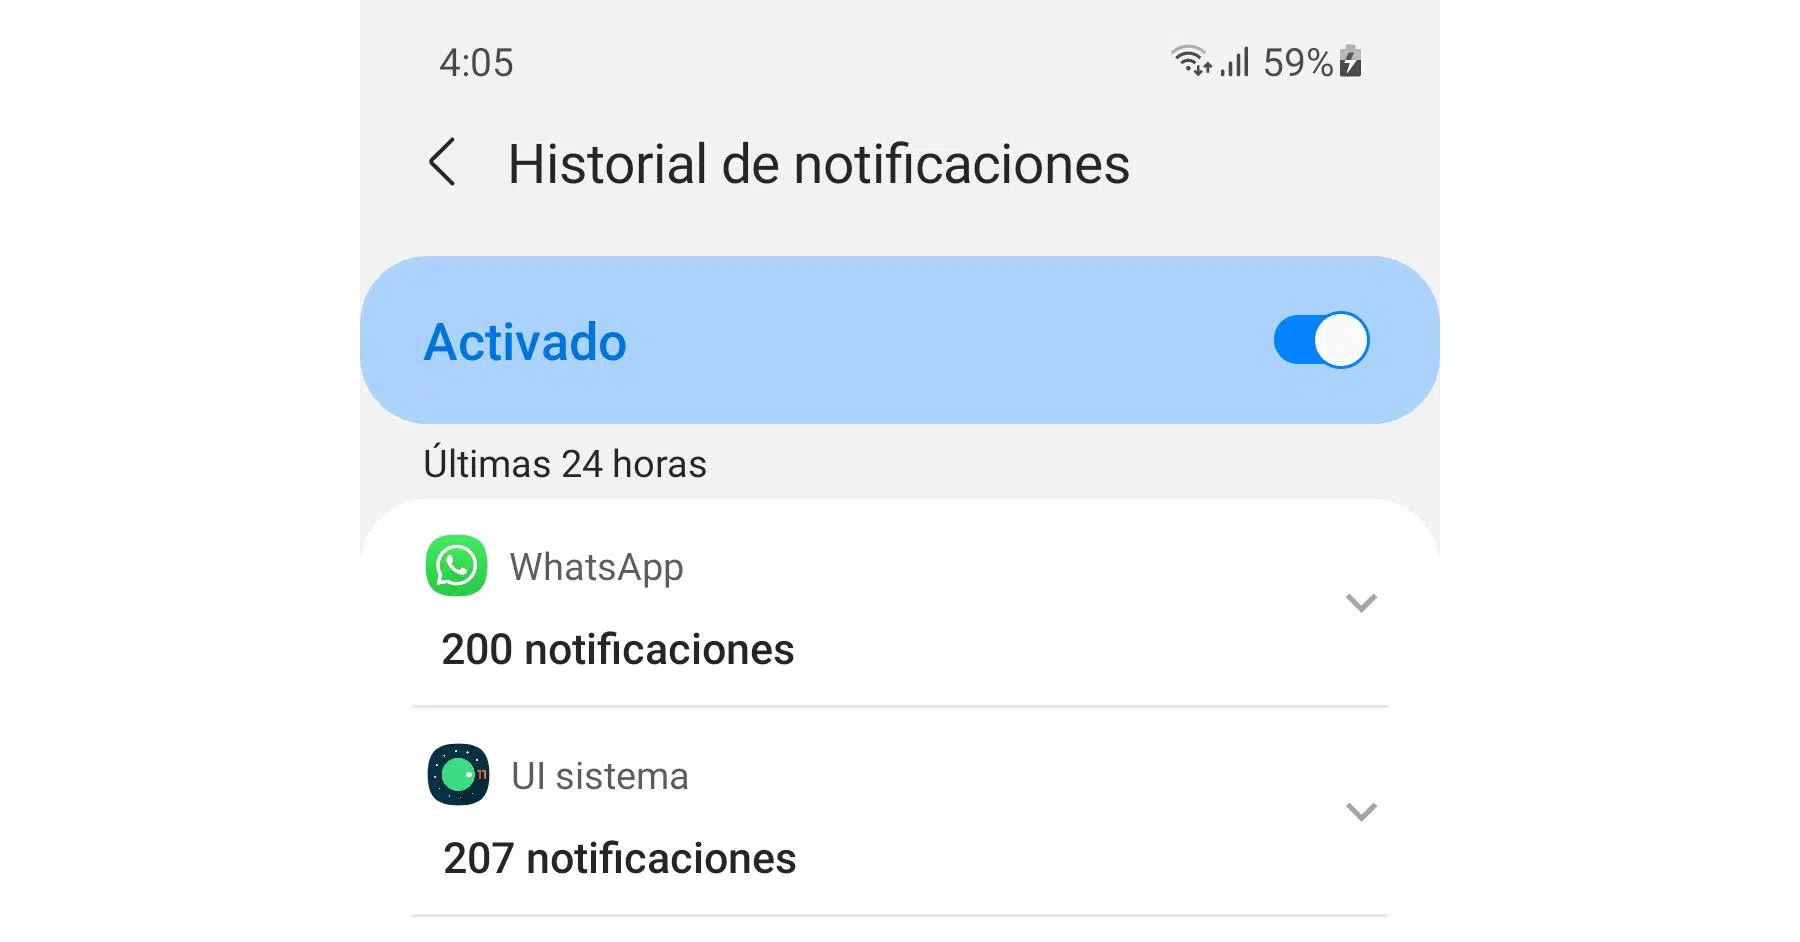
If you use an Android phone daily, it's easy to end up hastily deleting notifications and then wondering what exactly that message or alert you dismissed said. The good news is that Android has a notification history which, when properly configured, allows you to review what has appeared in the notification bar in the last few hours, even if you accidentally deleted it.
This guide will show you how to activate, view, and get the most out of your Android notification history , its limitations, alternatives if your phone doesn't include this feature by default, and how to use notifications to better manage your daily life. Everything is explained in clear and straightforward Spanish (from Spain).
What is Android notification history and how does it work?
The system keeps an internal log of all notifications received by the device during a limited period, usually the last 24 hours. This log is what Android displays when you access the notification history.
Starting with Android 11, Google integrated a dedicated panel where you can view recently dismissed, snoozed, and current notifications , grouped by app and ordered chronologically. This way, if you dismiss all the notifications at once or something pops up while you're busy, you'll always have a second chance to check it.
It's worth noting that not all custom Android skins include the history in exactly the same way. Phones with "pure" Android (Pixel and some models from other manufacturers) include it as is, while other manufacturers may modify it, hide it, or not offer it at all.
Additionally, the native history feature isn't retroactive : it only starts saving notifications from the moment you enable it. If you need to restore settings, see how to reset notification settings.
How to activate notification history step by step
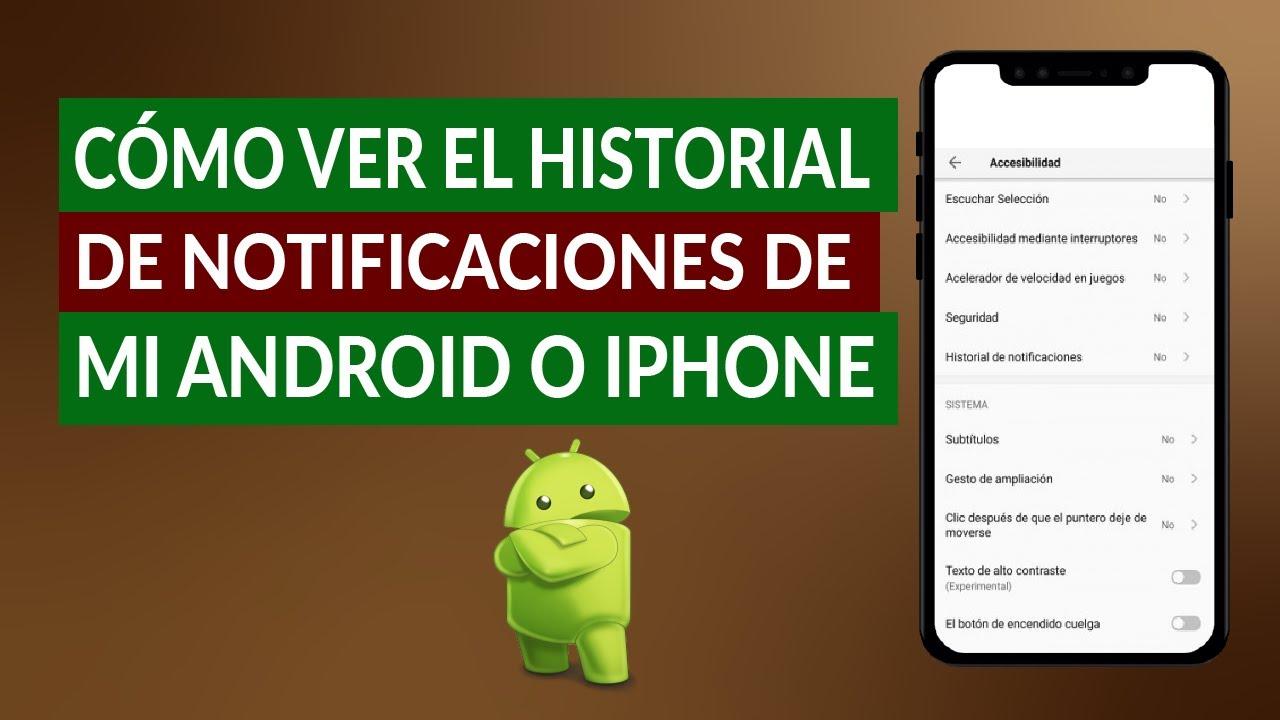
The first essential step is to enable history from the system settings . The path may vary slightly depending on the manufacturer, but on most modern phones it's quite similar.
On many devices running Android 11 or higher, simply follow this general procedure: open the Settings app, go to the Notifications section, and locate the section that refers to "Notification History" or alert log . Once there, you'll see a switch that allows you to enable it.
On other models, especially those running stock Android, it's convenient to use the built-in settings search: type "Notification History" in the Settings app's search bar and tap the option that appears in the results. If your phone supports it, you'll see the dedicated panel with the toggle switch to enable it.
Once you turn it on, the system will begin saving notifications from that point forward . From that same menu, you can view a list, organized by application, of all notifications received in the last 24 hours, indicating whether they are closed, snoozed, or active.
Access the history from the notifications panel
Once activated, Android offers convenient shortcuts to open the history without having to delve into the settings . The most direct one is in the notification panel itself.
When you have notifications visible in the notification bar, swipe down from the top of the screen to open the notifications. Just below the last notification, you'll usually see a button or text that says "History" or something similar. Tapping there will take you directly to the screen that displays the complete log of the last 24 hours.
If your notification panel is empty, don't worry. On many phones, simply tap the blank space that says "No notifications" to take you to the same notification history panel. It's a little-known but very useful trick once you've cleared everything.
Within this list, entries are usually grouped by app and ordered by time. Tapping on a notification in the history opens the app that generated it . Keep in mind that it doesn't always take you to the exact item (for example, the specific Gmail email), but in many cases simply opens the app in a generic way.
Check if your mobile phone has a notification history
Not all devices offer this feature as standard. On some models, especially older ones or those with heavily customized interfaces, the notification history may not exist or may be quite hidden.
The quickest way to check is to open Settings and go to the Notifications section . If your phone supports it, you'll see a specific option related to history, log, or previously viewed notifications. If you don't see it, use the settings search function with terms like "history," "log," or "previous notifications."
Google warns that some manufacturers remove or modify this feature , so don't be surprised if your phone doesn't display the menu even if you have Android 11 or higher. In that case, you'll have to use third-party apps if you absolutely need a detailed log.
It's also important to remember that the native history is limited to about 24 hours of activity . If you want to save notifications for longer, analyze patterns, or have a very long log, specialized apps offer more flexibility and additional features.
Manage notifications from the history and dashboard
In addition to serving as a "backup" of missed notifications, the history and the notification bar itself help you control what bothers you and what doesn't on a daily basis.
From the main panel, if you press and hold a specific notification, the settings for that app will open directly . There you can completely disable notifications for that app or refine them by category (for example, mute only promotions, but leave personal messages active).
Some notifications include quick actions at the bottom, such as Reply, Archive, or Mark as Read . If you have many notifications, these actions may appear hidden; simply expand the notification or tap the corresponding icon to view them without having to open the entire app.
In the history list, tapping on certain entries will give you access to that app's specific notification settings . This is very useful for quickly identifying which app is bombarding you with notifications and adjusting its behavior without wasting time searching for it in the menu.
Configure which notifications you want to receive on Android
A key part of avoiding being overwhelmed by notifications is carefully adjusting which apps can notify you and how . Android offers several ways to configure this flexibly.
The most comprehensive way is through the Settings app. Go to Notifications > App notifications (or a similar path) and you'll see, under "Most recent," the apps that have recently sent alerts. From there, you can open the full list by tapping "All apps" or an equivalent menu.
When you access an app's details page, the system allows you to enable or disable all notifications , or browse category by category: direct messages, system alerts, promotions, reminders, etc. If the app supports notification channels, you can adjust the sound, vibration, priority, or on-screen display for each type.
Another option is to manage alerts directly from a current notification. Tap and hold the notification, tap Settings, and choose whether you want to block it, mute it, or allow bubbles (floating windows for certain messaging apps). It's a quick way to react when something bothers you in the moment.
Many apps also include their own internal menu for customizing sounds, vibrations, and alert frequency . This is usually found in a "Notifications" or "Alerts" section within the app's settings. There, you can decide, for example, that a specific chat sounds different or that certain alerts don't make a sound but still appear in the notification bar. You can find more detailed information on how to customize sounds in specific apps.
Hide or limit notifications on the lock screen
If you're concerned about privacy, Android lets you control exactly what appears on the lock screen when a notification arrives. That way, no one can read your messages just by looking at your phone.
Within Settings, under Notifications, you'll find a section dedicated to lock screen notifications . From there, you can choose to show all content, hide sensitive content, or simply not show any notifications when the screen is locked.
The concept of "sensitive content" isn't universal; it depends on the application. Generally, it refers to personal data or private information , such as the body of a message, the sender of an email, verification codes, etc. If you choose to hide this content, you'll still see the notification, but not its details.
In some cases, if a notification can't be dismissed from the lock screen, you'll need to unlock your phone and close it within the system . This is common with persistent notifications , such as those for screen recording, VPNs , or voicemails that require action.
Using third-party apps for notification history
If your mobile phone doesn't include a native history, or if the 24 hours offered by Android fall short, you can use specialized apps from the Google Play Store that record alerts in a more advanced way.
These tools typically allow you to group notifications by app, sort chronologically, perform searches, export data, or even create backups of your notification log . The downside is that they require access permissions to your notifications, so it's important to install only trusted apps.
It's crucial to understand that none of these apps are magic: they can only record notifications received after installation . Notifications from before installation cannot be retrieved because the system hasn't saved them.
Among the most popular apps, some stand out for their simplicity and others for their extensive features. Before settling on one, it's worth trying several to see which best suits your needs, always carefully reviewing the permissions they request and other users' ratings.
Examples of popular apps for registering notifications
One of the most straightforward tools is an app whose name makes its function clear: “Notification History” . When you open it for the first time, it asks you to enable its access in the system settings, under the section for apps with special notification access.
Once permission is granted, this app allows you to group notifications by application, sort them by date, and search for specific notifications . It typically works by checking a box to always verify the settings, accepting, and then going to Settings > Apps & notifications > Special access > Notification access to enable it.
From then on, every message, call, alert or notification that arrives on your mobile will be recorded in the application, so you only have to open it to check what has accumulated, even if you have deleted it from the system bar.
Another similar option is “Notification history log” , which also saves notifications from the moment of installation and shows you the exact time, the content and, in many cases, the possibility of blocking certain applications so that they do not bother you again.
This app includes extra features like log backups and complete history deletion , which is useful if you handle a lot of sensitive information and prefer to clean it up from time to time. Again, the first step will be to accept its terms of service, enable notification access permission in your system settings, and then review the list from its interface.
Advanced control and monitoring with remote tools
Beyond apps focused solely on history tracking, there are remote control and parental control solutions that synchronize notifications from one or more devices in real time. These are primarily designed for parents who want to monitor their children's phones or for users who need to manage multiple phones.
A good example is comprehensive parental controls that allow you to view and manage notifications from another device , set usage limits, receive alerts if it detects problematic activity, and even review daily usage reports. This type of tool goes far beyond simple registration, because it also allows you to block apps, track location, and set safe zones.
The general process usually involves installing the control app on your own mobile phone, creating an account, and then installing the child module or client on the device you want to monitor . After linking both devices using a pairing code, you'll be able to see notifications from the other phone on your screen.
This approach is useful if you want to ensure that critical notifications (e.g., school notices, important messages, security alerts) are not missed , or if you need to have more overall control over how certain devices are used within the family.
However, given that these are very powerful and sensitive tools, it is essential to use them responsibly and respect the privacy of those involved, especially minors. It is always advisable to discuss it openly and explain the reason for the monitoring.
Tips for getting more out of your history and notifications
Once you have your history working, you can use it for several practical purposes beyond simply recovering something you've accidentally deleted. For example, it's a good way to identify which apps are bombarding you with notifications throughout the day.
If you keep seeing the same categories in your notification list, it might be time to mute some categories or turn off their notifications altogether . This not only reduces noise but also helps save battery and keeps you less distracted.
The history can also be used to quickly review everything that happened on your phone while Do Not Disturb mode was enabled . By disabling Do Not Disturb, you'll have a perfect summary in the log without having to open each app individually.
Finally, get used to using the snooze notification feature if your phone offers it. Many apps let you swipe down a notification and choose to have it reappear after a few minutes or hours. This way, if you can't attend to something right now but don't want to forget, you can be sure it will reappear at the right time.
Mastering your notification history and all its settings gives you much finer control over what happens on your phone : retrieve missed alerts, avoid missing important messages, reduce constant noise, and adapt each app to your usage so your phone works for you, not the other way around. If you want more detailed tracking and to make sure you don't miss anything, see how to find your unread notification count.


Passionate writer about the world of bytes and technology in general. I love sharing my knowledge through writing, and that's what I'll do on this blog, show you all the most interesting things about gadgets, software, hardware, tech trends, and more. My goal is to help you navigate the digital world in a simple and entertaining way.