- Prior linking of the license through an update guarantees automatic activation after formatting.
- Using external installation media and the custom installation option removes any residue from previous software.
- It is essential to validate hardware requirements and perform backups before migrating to new versions.
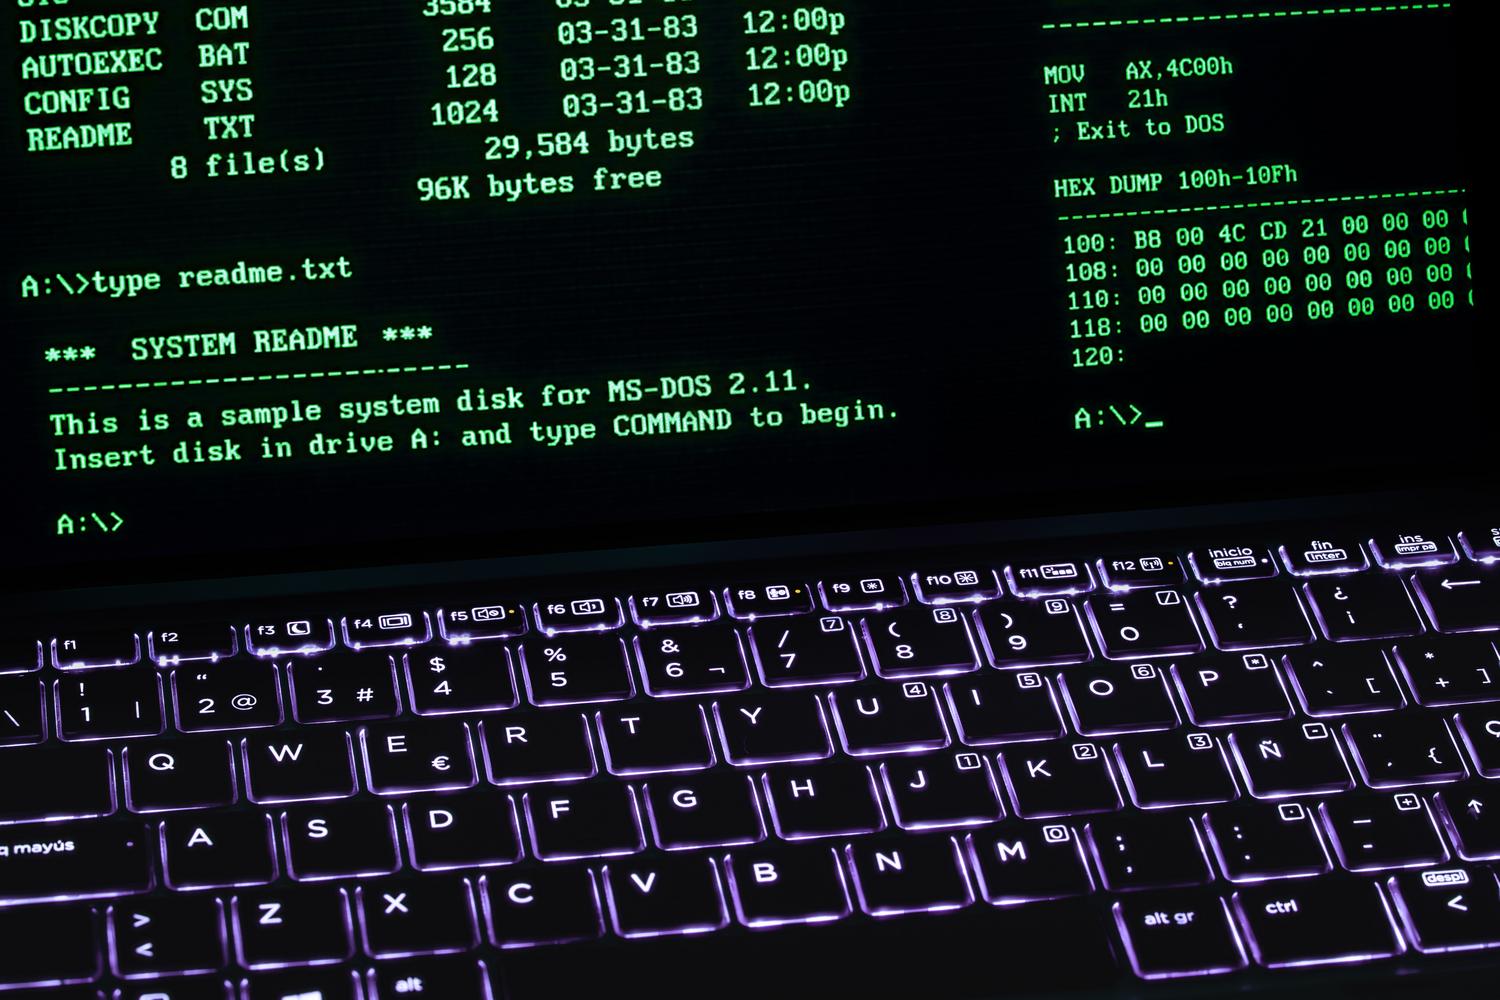
Sometimes, when we feel like our computer is running at a snail's pace or has too much accumulated "junk," the best solution isn't to patch the system, but to start from scratch. A clean installation basically means deleting all traces of old configurations, useless applications, and that annoying crapware that manufacturers install by default, leaving us with a machine that flies and feels like it just came out of the box.
Although many people think that simply running an .exe file is enough to update, the reality is that this often leaves behind residual files that can cause problems later. For a professional result, it's best to force a clean installation using console commands when necessary or external boot media, ensuring that the system license is properly linked to avoid activation issues.

How to achieve a flawless installation on Windows 10

If you're coming from older versions like Windows 7 or 8.1, the trick to not losing your license is not to skip straight to formatting. The smartest thing to do is perform a standard upgrade first . When you install Windows 10 over the previous system, Microsoft links your hardware's identity to its servers, which ensures that even if you erase the entire hard drive afterward, the system will be automatically recognized.
Once you've updated, it's vital that you go to the Control Panel and verify that your system is properly activated and that you're using the correct edition (Home or Pro). If the activation process is slow or you encounter errors, don't worry; sometimes the servers are overloaded. In such cases, you can open a command prompt with administrator privileges and run the command `slmgr.vbs /ato` . Some users have had to run this command repeatedly before the system finally approved the activation.
With activation confirmed, you can now proceed with a complete cleanup. You have two options: use the "Reset this PC" option from the Recovery menu by selecting "Remove everything," or play it safe with external installation media . For the latter, download the Microsoft Media Creation Tool, create an ISO file or a bootable USB drive , and boot your computer from it. During installation, choose the Custom option , and when prompted for the product key, simply select " Skip ." The system will activate automatically once you connect to the internet.

Critical steps to migrate to Windows 11

Before you attempt to install the latest version, you need to make sure your machine meets the requirements. It's essential to check that you have a 64-bit processor with at least two cores, 4 GB of RAM , and, most importantly, that TPM 2.0 and Secure Boot are enabled in the BIOS. If you don't meet these requirements, the installer will most likely block you.
Since a clean install erases absolutely everything, don't forget to make a thorough backup . You can use an external hard drive to manually copy your folders, take advantage of the cloud with OneDrive or Google Drive , or configure the Windows File History tool to ensure nothing is left behind.
For the technical process, create your bootable USB drive using the Windows 11 Media Creation Tool. When you start your PC, enter the BIOS (usually with F12 or Esc) and select the USB drive as the priority. As in the previous version, choose a custom installation to format the partitions and ensure that no remnants of previous installations remain that could cause compatibility issues.

Optimization and subsequent maintenance
The cleanup doesn't end with the operating system. If you're going to install drivers, such as Intel graphics drivers , check if the installer offers the option to "Perform a clean installation ." Selecting this option is highly recommended, as it removes outdated drivers and restores factory settings, preventing past incorrect configurations from affecting visual performance.
To keep your PC running smoothly and prevent it from becoming cluttered with junk files again, you can rely on security and optimization tools. In addition to Windows Defender, there are options like Advanced SystemCare or well-known antivirus programs such as Avast and AVG that help clean the registry and protect user privacy from external threats.
Carrying out this process involves verifying hardware compatibility, ensuring license activation through previous updates or console commands, and performing a full format from an external medium to remove any trace of unwanted software, complementing the result with a driver cleanup and system optimization tools.


Passionate writer about the world of bytes and technology in general. I love sharing my knowledge through writing, and that's what I'll do on this blog, show you all the most interesting things about gadgets, software, hardware, tech trends, and more. My goal is to help you navigate the digital world in a simple and entertaining way.