- Advanced hardware configuration using OptiX and Studio drivers to maximize stability and rendering speed.
- Critical differences between Cycles and Eevee engines to choose the most efficient workflow for your project.
- Sampling optimization techniques, denoising, and memory management to drastically reduce waiting times.
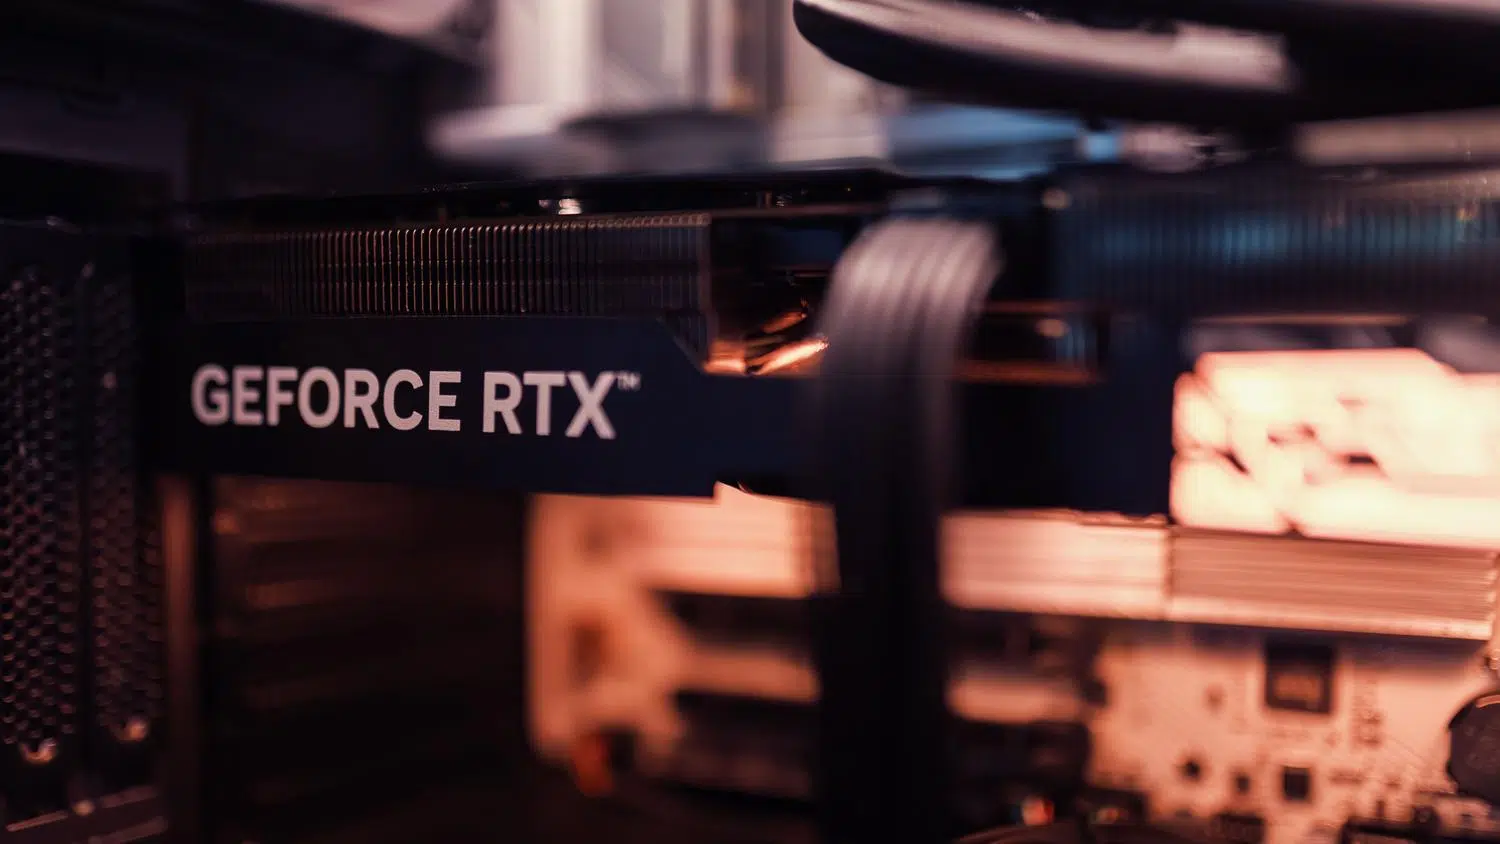
If you've ever launched a render and felt like your computer froze or the estimated wait time felt like an eternity, you're not alone. For many of us, Blender is a creative dream, but configuring the hardware correctly can be a real headache, especially when you have a powerful graphics card that doesn't seem to be performing at its best.
The key to a smooth workflow isn't just buying the most expensive GPU on the market, but knowing how to bridge the gap between the operating system, video drivers, and software. In this sense, adjusting drivers and internal program parameters can reduce rendering time from hours to a fraction of the time, allowing you to optimize Blender for faster rendering and focus on what really matters: designing.
The heart of performance: Video Drivers
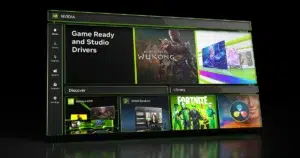
To begin, it's important to understand that a driver is the translator that allows Windows and your graphics card to communicate. If you use NVIDIA, you'll find that there are two types of drivers. Game Ready drivers are designed for those who prioritize the latest game releases and fast patches, although they can sometimes be somewhat unstable. On the other hand, Studio drivers are the ideal option for 3D artists, as they are rigorously tested to ensure that applications like Blender don't crash and run with complete stability.
It's crucial to avoid downloading from third-party sites and always use the manufacturer's official website. A common mistake is letting Windows install a generic driver; even if the PC boots, you won't be able to take advantage of the hardware acceleration features . Additionally, it's important to keep an eye on updates, as some specific versions can cause Blender to stop recognizing the GPU, sometimes forcing you to revert to a previous, more stable version to restore performance.
GPU settings in Blender

Once your drivers are up to date, you need to tell Blender to utilize the full power of your graphics card. To do this, go to Edit > Preferences > System. If you have an NVIDIA RTX series card, the best option is to select OptiX , which is significantly faster than CUDA by utilizing the dedicated ray tracing cores. If you're using AMD, the way to go is either HIP (for RX 6000 series and later) or OpenCL for older models.
One of the most interesting features of OptiX is its support for hybrid rendering . This means the system can utilize both the GPU and CPU simultaneously. There's even a process called "space stealing," where the GPU, if it finishes its tasks first, helps the CPU complete its own, ensuring that system resources are fully utilized without leaving any core idle. In some advanced cases, it's possible to use multiple GPU rendering to further accelerate the process.

Cycles vs Eevee: Which one to choose and how to optimize them?
Not all projects need the same engine. Cycles is the king of photorealism because it simulates the physical behavior of light, but it's very demanding. To tame it, the best thing is not to increase the sample size haphazardly. Using adaptive sampling with a noise threshold of 0,01 allows the program to stop calculating pixels that already look good, saving precious time.
Denoising is the real lifesaver . Instead of rendering 4000 samples to avoid grain, you can use 256 or 512 and let OptiX Denoiser (on GPU) or OpenImageDenoise (on CPU) clean up the image. For interiors, it's vital to increase diffuse bounces to 6 or 8 so that light reaches dark corners, while for glass you should raise transmission bounces above 12.

If you need pure speed or work with motion graphics, Eevee is your best friend . As a real-time rasterization engine, it's incredibly fast. In the latest versions (Blender 4.x), Eevee Next has incorporated hardware ray tracing, bringing its quality closer to that of Cycles without sacrificing its responsiveness. To optimize it even further, you can disable real-time shadows or use solid mode while modeling to prevent the interface from lagging.
If you have a very large scene, don't try to render it directly at full resolution. Use the 50% resolution setting to do quick tests of lighting and framing. Another critical point is memory management; enabling Persistent Data in animations is key, as it prevents Blender from having to rebuild the entire scene in each frame, helping to optimize Blender for animation and speeding up the process considerably.

Regarding the final output, there's a golden rule: never render directly to video (MP4 or AVI). If the program crashes at frame 400 out of 500, you'll lose the entire file. The correct approach is to export a sequence of images in PNG or EXR format . This way, if there's a power outage or a crash, you can simply resume rendering from the last saved frame and then stitch the images together in a video editor.
When local hardware falls short, the solution is cloud render farms . These platforms distribute your work across hundreds of nodes with powerful GPUs (like the RTX 5090) or massive CPUs, transforming renders that would take a week at home into processes of just a few hours, allowing you to scale production without having to invest thousands of euros in your own hardware.
Keeping your Studio drivers up to date, prioritizing OptiX in your system settings, and balancing sample usage with a good denoiser forms the foundation of any professional workflow. Combining this with intelligent light bounce management and exporting via image sequences can transform a frustrating experience of endless waiting into a smooth and efficient creative process that utilizes every watt of your graphics card's power.


Passionate writer about the world of bytes and technology in general. I love sharing my knowledge through writing, and that's what I'll do on this blog, show you all the most interesting things about gadgets, software, hardware, tech trends, and more. My goal is to help you navigate the digital world in a simple and entertaining way.