- The Migration Assistant is Apple's official tool for transferring data, apps, and settings between devices.
- There are several connection methods, with Thunderbolt cable being the fastest option compared to Wi-Fi.
- It is possible to perform a selective transfer to avoid carrying over junk files or outdated configurations.
Getting a new computer is always exciting, but there's one moment that makes everyone a little nervous: transferring your data. Nobody wants to lose that important document or spend hours reinstalling every little application they used on their old machine. Luckily, Apple has designed a very robust system to make switching machines virtually painless , so you don't have to do all the manual work.
To ensure your new Mac is exactly like your old one, or even better, we offer Migration Assistant. This utility is a true Swiss Army knife, allowing you to move everything from user accounts to system preferences , ensuring nothing gets lost in the process. Whether you're coming from an older iMac, a MacBook, or even a Windows PC, there are optimized paths to make the transition smooth and seamless.

What exactly is the Migration Assistant?
This is a built-in macOS application that essentially clones your user experience to a new computer. It's not just a file copy; the system can transfer installed applications, custom settings , and all user accounts. The best part is that both computers don't need to have the exact same operating system version; for example, you could migrate from an older version like Lion to a more recent one like Ventura without much trouble.
Ways to transfer your information

- Wi-Fi connection: It's the most convenient option because it doesn't require cables, but be warned, if you have terabytes of photos and videos, it can take forever. It's essential that both devices are on the same network and as close to the router as possible.
- Thunderbolt or USB-C cable: Without a doubt, it's the fastest way. If you connect the two Macs with a direct cable, the transfer speed is infinitely faster, being the Recommended option for massive volumes of data.
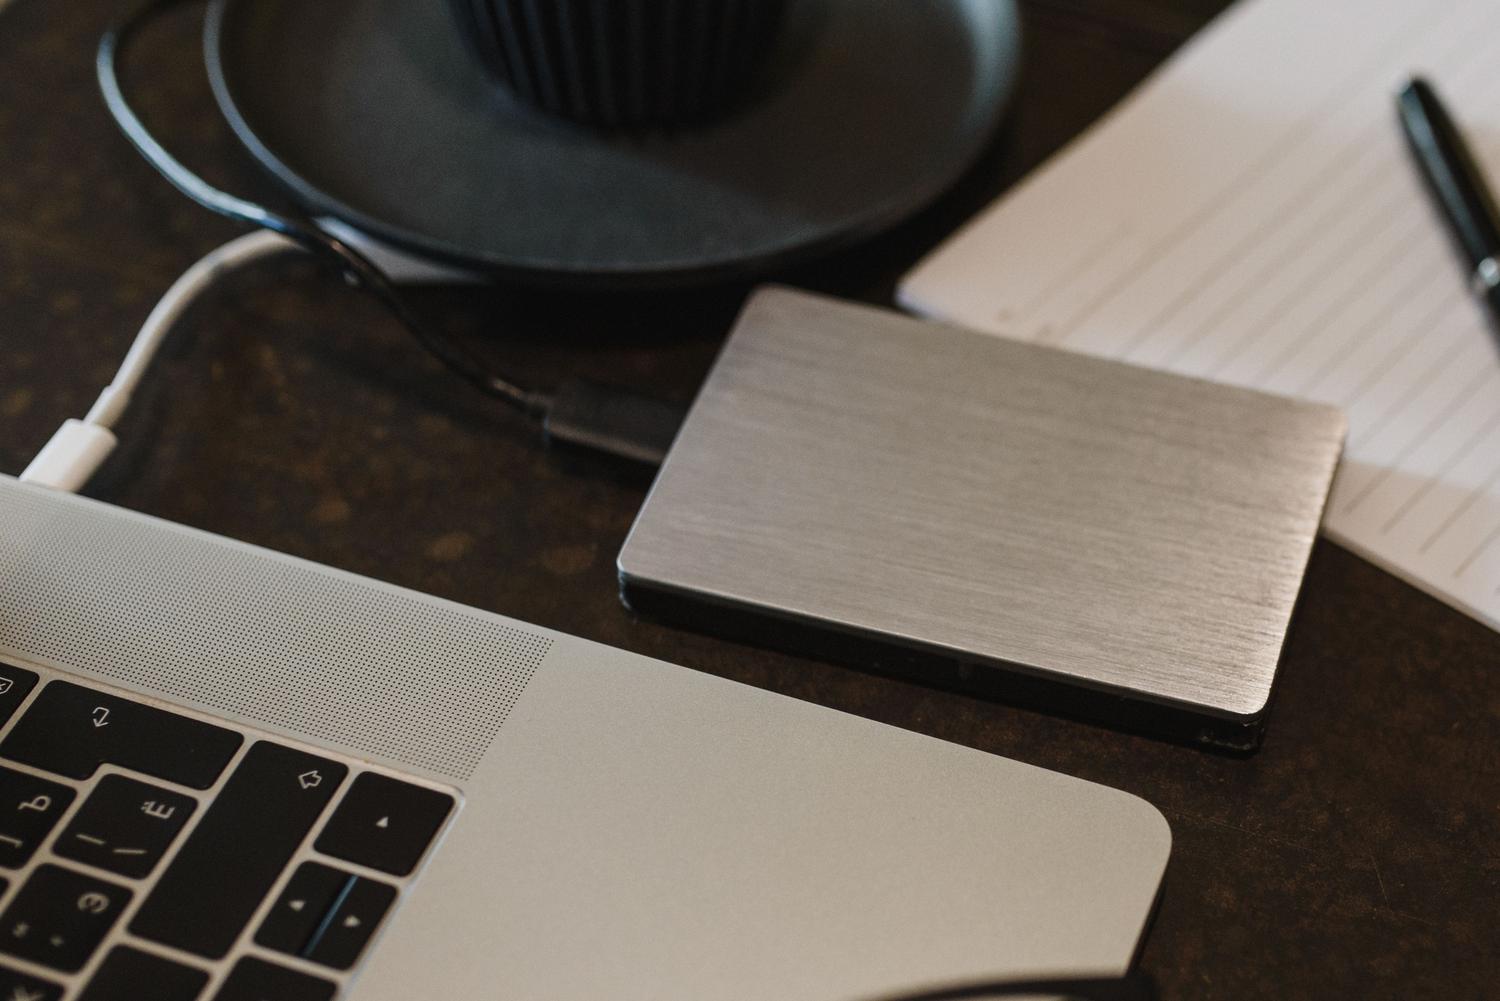
- Time Machine Backup: If you're one of those people who has everything backed up on an external hard drive, you just have to plug that drive into the new Mac and let the assistant work its magic, restoring everything to its previous state.
Detailed steps for a flawless migration
If you've just turned on your new Mac, the assistant will appear automatically during the initial setup. If you've already passed that screen, no problem: you can find the application in the Utilities folder within Applications or simply use Spotlight.
Once you open the app on your new computer, select that you want to transfer the information from another Mac, a startup disk, or Time Machine. Meanwhile, on your old Mac, open the same Migration Assistant and select the option to send the information to another computer . When both computers are detected, a security code may appear on the screen; make sure it matches on both to avoid security breaches.

At this point, the system will calculate the space your data occupies. Here's the good part: you don't have to move everything. You can check or uncheck boxes to specifically choose which folders, accounts, or applications you want to transfer. This is ideal if you want to do a sort of "spring cleaning" and avoid carrying over software you no longer use.
User and password management
If the new Mac already has an account with the same name as the one you're importing, the system will give you a choice. You can either replace the current account with the one from the old Mac (saving a copy of any deleted data if you wish) or rename the old account to keep both accounts running on the computer.
Regarding passwords, if you transfer an administrator account, you'll need to set a strong password. If it's a standard account, the system will assign you a temporary password that you should write down , as it will ask for it the first time you log in before letting you set your own. In some cases, it can be helpful to know how to fix permissions and access issues in macOS if you notice that some files aren't opening correctly after the transfer.
The dilemma of clean installation vs. migration
Many advanced users wonder whether it's better to migrate everything or start from scratch. The risk of using Migration Assistant is that you could import hidden resource files, outdated drivers , or even minor configuration errors that slowed down your old Mac. If you feel your current machine is "contaminated" with digital clutter, it might be wisest to set up your new Mac from scratch and manually move your personal files (such as photo libraries or documents) using an external drive or the cloud.

This prevents new hardware, such as the powerful M-series chips, from being held back by remnants of old software or incompatible kernel modules . However, for the vast majority of users, automatic migration is more than sufficient and saves them the headache of reconfiguring every detail of the system.
Finally, remember that once the process is complete, it's vital to double-check that everything is in place, update your apps from the App Store, and reconfigure your email accounts if prompted. Keeping both devices plugged in will prevent interruptions, ensuring that your entire digital life is transferred seamlessly to the new device so you can start enjoying the speed of the new hardware immediately.


Passionate writer about the world of bytes and technology in general. I love sharing my knowledge through writing, and that's what I'll do on this blog, show you all the most interesting things about gadgets, software, hardware, tech trends, and more. My goal is to help you navigate the digital world in a simple and entertaining way.