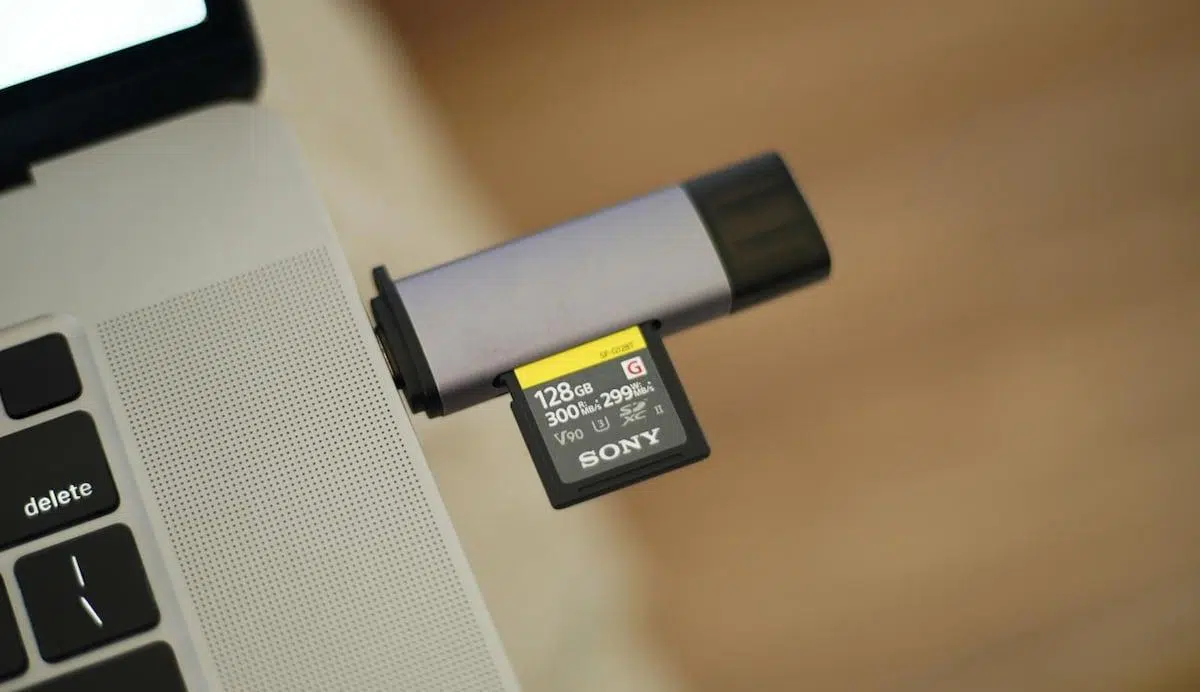
In home and, especially, corporate environments, controlling what is connected via USB is critical to keeping malware at bay and preventing data leaks; therefore, it is useful to know how to block USB devices in Windows with policies and other techniques that allow you to adjust the level of restriction according to your needs.
In addition to local group policies, you can also manage these restrictions using administrative solutions like Intune with ADMX administrative templates, and supplement them with adjustments in the Registry, Device Manager , or even the UEFI/BIOS to enable or disable USB ports . This guide will provide you with step-by-step instructions and clear examples on everything you need to completely block USB drives, allow exceptions, or limit only storage or writing when necessary.
Why block (or restrict) USBs and what scope can they have?
The primary motivation is security : a USB drive can carry malware, and there are devices like USB Rubber Ducky capable of running malicious scripts in seconds; therefore, many organizations prefer to block specific classes (e.g., storage) or only allow essential peripherals such as keyboards and mice.
Another compelling reason is data protection : blocking removable storage prevents copying sensitive information without permission; even if you don't completely prohibit USB use, you can strengthen the policy by blocking writing and allowing only reading in specific cases to minimize risk.
Block removable storage with local group policy (GPO)
If you have Windows Pro or Enterprise, you can use the Local Group Policy Editor to deny access to all removable storage classes centrally, a very effective option that is easy to revert if the policy changes later.
Recommended steps:
- Press Windows + R, type
gpedit.mscand confirm with Enter. - Navigate to: Computer Configuration > Administrative Templates > System > Removable storage access.
- Open the directive All removable storage classes: Deny access to all.
- Brand Able, apply and accept. Restart if necessary.
Once activated, Windows will deny access to USB flash drives, external USB hard drives, CDs/DVDs, and any type of removable storage; when you want to revert the change, return to the same path and leave the policy as Not Configured or Disabled.
Restrict device installation by ID or policy (GPO)
If your goal is to prevent certain USB devices from being installed (but you don't want to block all types of storage), you can work with device installation restrictions in GPO, either by device ID or by denying everything that is not explicitly allowed, which gives fine and scalable control.
Basic procedure in the Group Policy Editor:
- Opens
gpedit.msc(Windows + R) and go to Computer Configuration > Administrative Templates > System > Device Installation > Device installation restrictions. - To block by ID: enable Prevent installation of devices that match any of these device IDs and add the IDs of the devices to be blocked.
- For a stricter approach: enable Do not allow installation of devices not described in another policy setting and, in parallel, Allow installation of devices described by device ID, adding the IDs that you do approve.
How to locate device IDs: Open Device Manager, locate the hardware USB, go to Properties > Details tab > Hardware ID. On some computers, USB tethering devices have IDs that begin with USB\class_e0, useful information if you intend block that functionality.
Intune Management: ADMX Administrative Template for USB
In environments managed with Microsoft Intune, creating an ADMX policy allows you to configure USB blocking/allowing and deploy it on a massive scale; this approach serves as a starting point for your organization, adding or removing parameters according to what you need to standardize.
Steps to create a profile in Intune:
- Sign in to the Microsoft Intune admin center.
- Go to Devices > Manage devices > Settings > Create > New policy.
- Initial properties: Platform = Windows 10 and later; Profile type = Templates > Administrative Templates.
- Balance Create and, in the section Basic, add Name (for example, “Restrict USB Devices”) and Description.
- En Configuration options, set the desired USB parameters (blocking by allowed classes/IDs, installation restrictions, etc.).
- En Scope tags (optional) Assign tags to filter by IT groups, such as
US-NC IT TeamoJohnGlenn_ITDepartment, facilitating an RBAC granular. - En Assignments, select the device groups that will receive the profile.
- Check everything in Review and create and confirm with Create.
When an installation is blocked by policy, the system will display a warning such as: The installation of this device is forbidden by system policy. Contact your system administrator.; this message confirms that the directive is being implemented correctly.

Troubleshooting: An allowed device appears blocked
Some USB devices have multiple class GUIDs, and it's common to forget one in the policy; if it's missing, the device may be blocked despite being "allowed" in the configuration, so it's advisable to check the device installation log.
Steps to diagnose with the log file:
- Open the file
%windir%\inf\setupapi.dev.logon the affected computer. - Find the section Restricted installation of devices not described by the directive.
- Locate the line with the text
Class GUID of device changed to: {GUID}and add that{GUID}to the permitted directive.
Example of a relevant log entry showing the change of class GUID to {36fc9e60-c465-11cf-8056-444553540000} and policy blocking; note how the system explicitly reports the restriction, indicating that you should add missing GUIDs to politics:
>>>
>>> Section start 2020/01/20 17:26:03.547
...
dvi: Class GUID of device changed to: {36fc9e60-c465-11cf-8056-444553540000}.
...
!!! pol: The device is explicitly restricted by the following policy settings:
!!! pol:  Restricted installation of devices not described by policy
!!! pol: {Device installation policy check  exit(0xe0000248)}
!! dvi: Installation of device is blocked by policy
...
<<<
If the problem persists after adding a GUID, repeat the check and add the remaining class GUIDs until the device installs without crashing.
Common class GUIDs to allow for necessary peripherals
When you choose to deny everything except exceptions, you will save time if you include from the start the class GUIDs that cover essential devices (keyboard, mouse, audio or camera), reducing friction for users and maintaining minimum usability.
- Keyboard: {4d36e96b-e325-11ce-bfc1-08002be10318}
- Mouse: {4d36e96f-e325-11ce-bfc1-08002be10318}
- USB (hubs/controllers): {36fc9e60-c465-11cf-8056-444553540000}
- HID: {745a17a0-74d3-11d0-b6fe-00a0c90f57da}
- Multimedia devices: {4d36e96c-e325-11ce-bfc1-08002be10318}
- Cameras: {ca3e7ab9-b4c3-4ae6-8251-579ef933890f}
- Imaging device: {6bdd1fc6-810f-11d0-bec7-08002be2092f}
- System devices: {4D36E97D-E325-11CE-BFC1-08002BE10318}
- Biometrics: {53d29ef7-377c-4d14-864b-eb3a85769359}
- Generic software: {62f9c741-b25a-46ce-b54c-9bccce08b6f2}
For 3,5mm headphones, whose drivers pass through the audio stack, you will be interested in looking at Multimedia Devices and Audio Connection Point with the GUIDs: {4d36e96c-e325-11ce-bfc1-08002be10318} and {c166523c-fe0c-4a94-a586-f1a80cfbbf3e} respectively.
Quick fix: Disable USB controllers from Device Manager
If you want a complete block, you can disable the USB controllers; it's simple, but remember to have an alternative control method (e.g., Bluetooth keyboard/mouse ) so you don't run out of input.
How to do it:
- Open Device Manager (Windows + S, search for “Device Manager”).
- Unfolds Universal Serial Bus (USB) Controllers.
- Right click on each item and choose Disable device. Repeat for all necessary entries.
To revert, repeat the steps and choose Enable device for each item; this method blocks any USB device, not just storage, so it's convenient when you need a complete port blackout .
Block only USB storage with Registry/PowerShell
If you intend to prohibit only storage devices (USB drives or external hard drives), you can disable the USBSTOR service from the Registry, either with PowerShell or manually, which prevents Windows from recognizing these devices.
With PowerShell (Admin):
- Block storage:
Set-ItemProperty -Path "HKLM:\SYSTEM\CurrentControlSet\Services\USBSTOR" -Name "Start" -Value 4 - Reactivate storage:
Set-ItemProperty -Path "HKLM:\SYSTEM\CurrentControlSet\Services\USBSTOR" -Name "Start" -Value 3
After running the command, restart your computer to apply the changes; this approach is ideal if you want to keep peripherals like USB keyboard/mouse working, but disable only storage.
Manual editing from the Registry Editor:
- Opens
regeditand navigate toHKEY_LOCAL_MACHINE\SYSTEM\CurrentControlSet\Services\USBSTOR. - Edit the value Start: : press 4 to lock, 3 to reactivate.
Keep in mind that this method operates at the service level, so it does not depend on GPOs; even so, it is advisable to document it in your security policy to maintain consistency with the rest of the controls.
Restrict writing to USB (allowing reading)
Another popular option is to block writing to USB drives to prevent exfiltration, while still allowing the user to read existing files; you can do this via the Registry or with a group policy, depending on the edition of Windows available.
From the Registry (WriteProtect):
- Opens
regeditand go toHKEY_LOCAL_MACHINE\SYSTEM\CurrentControlSet\Control\StorageDevicePolicies. - If the key StorageDevicePolicies does not exist, create it manually.
- Inside, create/edit a DWORD value called WriteProtect and put it to 1 (write lock). Set it to 0 to allow it again.
Via GPO (Pro/Enterprise editions):
- Opens
gpedit.mscand navigate to Computer Configuration > Administrative Templates > System > Removable storage access. - Enable Removable disks: deny write access so that the content is read-only.
With this formula, users will be able to open files from the USB drive, but they will not be able to modify or copy them to the computer, which provides an effective barrier against leaks.
Unmount a USB drive to prevent its occasional use
If you only want to prevent the use of a specific drive currently connected, you can "unmount" it from Explorer; this way, even if it remains plugged in, the system will not display it or allow its use, a quick and non-intrusive measure.
Steps:
- Open Explorer (Windows + E) and enter This team.
- Under "Devices and drives", right-click on the desired USB drive and select Expel.
The icon will disappear from the window; you will be able to safely disconnect the device when the system prompts you, maintaining temporary control over its use.
Disable USB ports from BIOS/UEFI
Some manufacturers include options in BIOS/UEFI to disable USB ports; it's effective, but more delicate: if you're not familiar with it, consult your motherboard manual and assess the impact before touching anything, as an incorrect change can compromise the equipment , or learn how to disable it from BIOS/UEFI.
This method has the advantage of operating below the operating system; however, its administration can be more complex and is not always viable in heterogeneous fleets, so it is usually reserved for advanced users or high security scenarios.
Third-party applications to block USB
If you prefer to avoid changes to the Registry or policies, there are simple utilities that disable USB drives directly; however, check their reliability , updates, and compatibility with your corporate policy before adopting them.
Nomesoft USB Guard: a lightweight tool designed to block USB devices to prevent infections that spread via flash drives; its interface is basic and resource consumption is minimal, allowing tasks to be performed in just a few clicks and providing an additional layer of protection.
USB Drive Disabler: Portable software that quickly disables access to all USB ports without touching the Registry; with a single window you can disable or reactivate USB drives, which is convenient for less experienced users looking for immediate control.
Check results and system messages
After applying GPOs or Intune profiles, validate the results on the target computers. If the policy blocks the installation, you'll see a message like: The installation of this device is forbidden by system policy. Contact your system administrator. certifying that the restriction is active, and if the device still does not work, also check for possible USB power problems.
If the device should be allowed but won't install, check setupapi.dev.log to identify the missing class GUID to allow; relying on this evidence speeds up diagnosis and avoids blind testing, especially on devices with multiple classes.
Good practices when designing your USB policy
Start by defining the scope: total blocking, storage only, or blocking with exceptions? A tiered approach (denying by default and allowing critical peripherals by GUID) usually offers a better balance between security and operational efficiency.
In managed scenarios, use scope tags and RBAC (as in Intune) to enforce the policy by areas, locations, or departments; maintain an inventory of allowed GUIDs and IDs and document the reasons for permission for auditing.
Have a contingency plan ready: alternative keyboards/mice (Bluetooth), local administrative accounts for recovery, and procedures to quickly revert if an overly restrictive policy causes an unintentional lockout.
Before production, test on pilot groups and collect installation logs; the file setupapi.dev.log It is your ally to fine-tune settings and reduce exceptions, in addition to giving you technical traceability before incidences.
You can implement robust controls over USB ports and devices in Windows, whether with local GPO, Intune/ADMX, or Registry settings; by combining class or ID blocking, clear exceptions, and log verification, you achieve a sensible balance between security and convenience that supports smooth daily operations .


Passionate writer about the world of bytes and technology in general. I love sharing my knowledge through writing, and that's what I'll do on this blog, show you all the most interesting things about gadgets, software, hardware, tech trends, and more. My goal is to help you navigate the digital world in a simple and entertaining way.