- WinSxS is the component store of Windows and should not be cleaned manually to avoid damaging the Servicing Stack.
- DISM and the StartComponentCleanup task allow you to safely reduce the size of WinSxS, even in an automated way.
- Advanced parameters such as /ResetBase and /SPSuperseded free up more space, but limit the ability to revert updates.
- WinSxS cleanup should be integrated into a comprehensive maintenance plan along with cleanmgr and removal of Temporary files.
The WinSxS folder is one of those corners of Windows that's alarming when you check its size in File Explorer: several gigabytes taken up, and the immediate temptation to delete it manually to reclaim space. But in this case, messing with the wrong things can wreak havoc on the system and break the Servicing Stack, which is precisely what manages updates and the component store itself.
The good news is that you can automate WinSxS cleanup without breaking anything if you use Windows' built-in tools (Task Scheduler, DISM, and Disk Cleanup) correctly. In this article, we'll see, step by step and in detail, how WinSxS works, what makes the folder so large, how to analyze it, and what methods exist to clean it safely in Windows 10 and modern server versions.
What WinSxS really is and why you shouldn't delete it manually
The C:\Windows\WinSxS folder is the Windows component store , the repository where all versions of system components, optional features, server roles, and installed updates are stored. Each time Windows is updated, new versions of system files are stored, and for a period of time, previous versions are also retained so that changes can be rolled back or updates and service packs uninstalled.
WinSxS is closely linked to Side-by-Side (SxS) technology , which was developed to eliminate the infamous "DLL Hell" caused by version conflicts, overwritten DLLs, or incorrect registry entries. Thanks to SxS, Windows can store multiple versions of the same DLL in WinSxS and load the one each application needs, guided by the assembly manifest included in the executable.
One very confusing thing is that the size shown by Explorer in the WinSxS properties isn't the actual disk size . This folder contains both physical files and a lot of hard links to files that actually reside in other locations on C:\Windows . Explorer treats everything as if they were independent copies, while the file system knows that much of that data is shared.
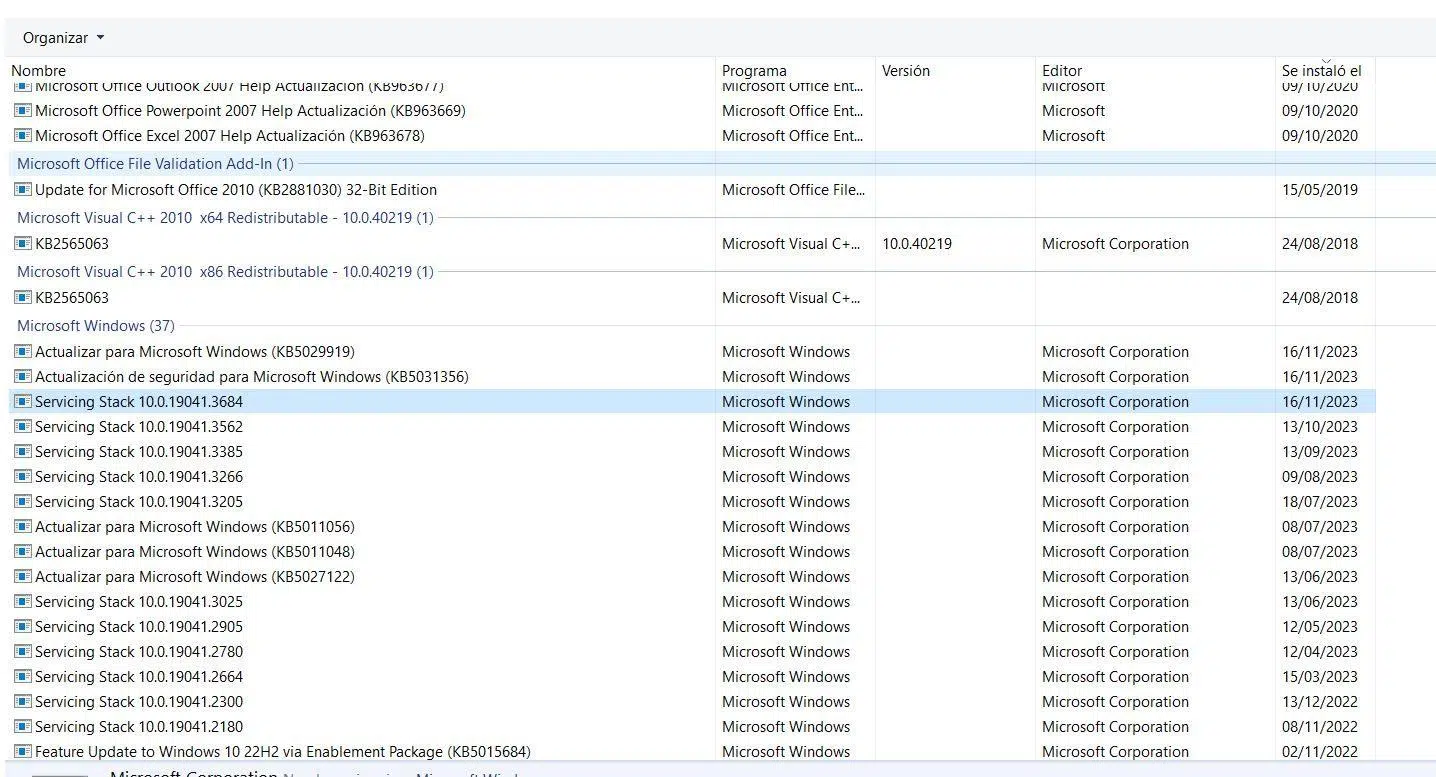
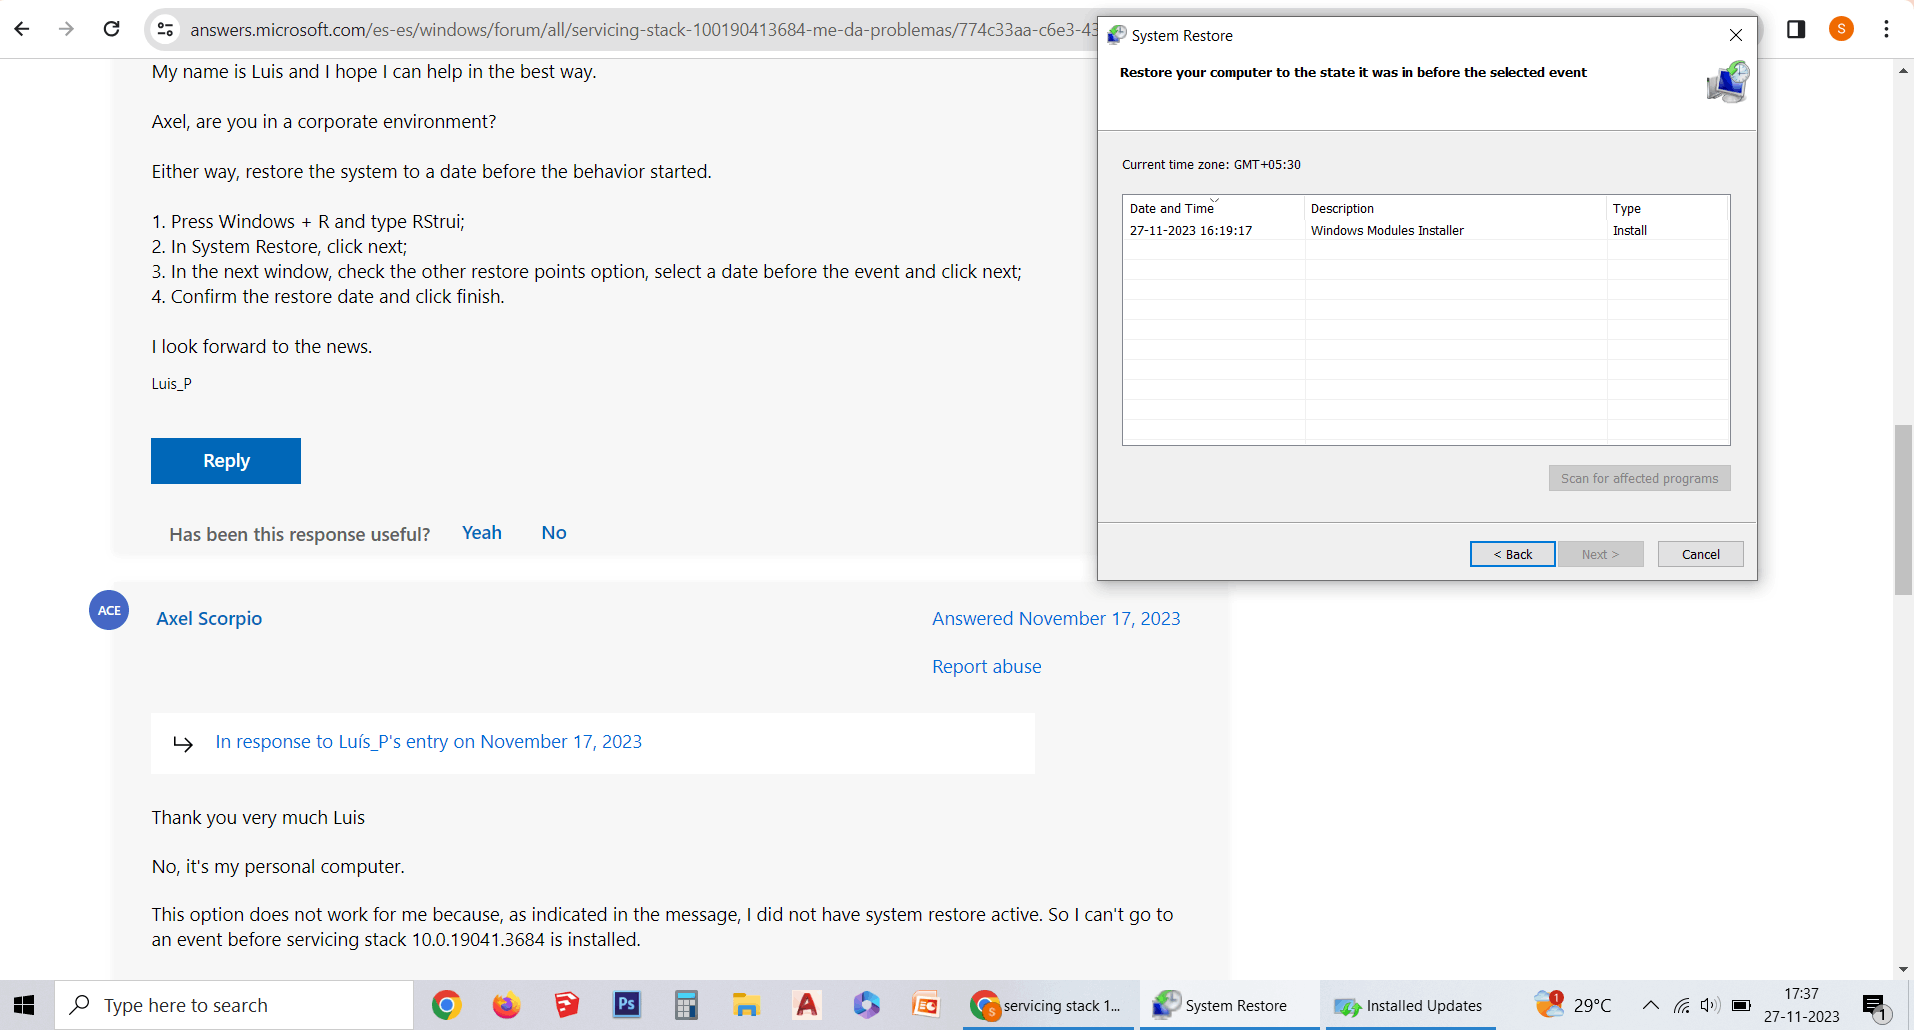
For all these reasons, manually deleting files within WinSxS is a very bad idea : you can leave orphaned components, break internal dependencies, and, above all, damage the Servicing Stack, which is the set of components responsible for installing, uninstalling, and maintaining Windows updates and features. If the Servicing Stack breaks, updates will start to fail, and repairing the system can become extremely difficult.
How Windows calculates the actual size of WinSxS
To truly understand how much space WinSxS is using, relying solely on File Explorer is insufficient . Microsoft provides specific commands , via DISM, that analyze the component store and differentiate between actually used space, data shared with the system, and backups that could be cleaned up. You can find commands and procedures for repairing the image in the specific commands section.
The key command is: Dism.exe /Online /Cleanup-Image /AnalyzeComponentStore, which runs from a symbol of the system with administrator privileges. This analysis shows several important data points: size reported by Explorer, actual store size, space shared with Windows, backups and disabled features, temporary cache, date of last maintenance, and whether or not a cleanup is recommended.
One of the most relevant fields is "Number of recoverable packages ," which indicates how many old or replaced packages could be removed through cleanup tasks. If the report indicates that "Recommended component cleanup" (or equivalent text in your language) is "Yes," DISM considers it worthwhile to run a component cleanup.
Keep in mind that even after cleaning WinSxS, the number of subfolders can still be enormous (thousands of directories), and the size shown in the folder properties may change very little. The indicator that truly matters is the overall free space on the system drive, which is what will increase after an effective cleanup.
How automatic cleaning works with the StartComponentCleanup task
Starting with Windows Server 2012 and Windows 8, Microsoft includes a scheduled task called StartComponentCleanup that automatically prunes the component store. This task runs when the system is idle and removes outdated versions of system components that have been superseded by newer versions.
The task path in Task Scheduler is: Task Scheduler (Local) → Task Scheduler Library → Microsoft → Windows → Servicing → StartComponentCleanup . From there you can view its status, schedules, and, if you wish, launch it manually using the "Run" button.
When StartComponentCleanup runs automatically, it respects a 30-day grace period after the installation of an updated component. This allows, for example, uninstalling a problematic update during that time. After this period, previous versions of the components can be removed without affecting the system's ability to revert any critical changes.
There are two significant limitations to this built-in task : first, it's configured with a maximum runtime of 1 hour, so on systems with a heavily inflated WinSxS stack, it might not complete the entire cleanup in a single pass; second, if something is wrong with the system (such as the Servicing Stack itself), the task may fail with errors like 0x80070002 – The system cannot find the file specified . For update problems and maintenance-related failures, it's advisable to review common causes of Windows Update errors.
In environments with many servers, cases have been observed where StartComponentCleanup was constantly failing , causing the WinSxS folder to grow uncontrollably. In these scenarios, forcing the task from the Task Scheduler was ineffective, and it was necessary to first use DISM commands to repair the image and then re-enable the task, which then began working again and managed to save around 10 GB per server.
Using DISM to clean WinSxS without breaking the Servicing Stack
If you want more control than the scheduled task provides, the next level is DISM (Deployment Image Servicing and Management) . This console tool allows you to perform various operations on the Windows 10 or Windows Server online image, such as analyzing, cleaning components, or working with Service Packs.
To use DISM, you must open the Command Prompt as an administrator . In Windows 10, you can search for "CMD" in the Start menu, right-click on "Command Prompt," and select "Run as administrator." Without these privileges, DISM will not be able to access the component store or the Servicing Stack.
The basic command to clean up previous versions of components is: Dism.exe /online /Cleanup-Image /StartComponentCleanupThis parameter does something very similar to the Task Scheduler's StartComponentCleanup task, but with two important differences: it doesn't wait 30 days to remove old versions and it doesn't have the 1-hour execution limit.
Running `/StartComponentCleanup` can take a considerable amount of time on systems with large WinSxS installations, especially on servers with years of patches installed. In some cases, it has been observed running for over 8 hours. As long as it doesn't produce errors and completes at 100%, it's normal to be patient and let it finish.
If after running /StartComponentCleanup you don't see an apparent reduction in the size of the folderFirst, check the report of /AnalyzeComponentStore and the free space on the drive. There might simply not have been many recoverable packages, or most of the space might be shared with Windows and not eligible for cleanup.
DISM advanced options: /ResetBase and /SPSuperseded
When you need to free up even more space and you're sure your system is stable , there are more aggressive DISM parameters that can help, always with the warning that they reduce the ability to undo certain updates.
The /ResetBase modifier is combined with /StartComponentCleanup To remove all superseded versions of each component from the store. The complete command would be as follows: Dism.exe /online /Cleanup-Image /StartComponentCleanup /ResetBaseAfter this, all components are "consolidated" to their current version, and it will no longer be possible to uninstall any updates applied up to that point. If you need to manage specific uninstallations in newer environments, see how. delete a specific update.
Using /ResetBase is ideal on systems where you don't plan to revert patches , for example, highly controlled workstations or master images before they are captured for deployment to many machines. In exchange for the space recovered, you sacrifice the ability to roll back Windows Update to dates prior to consolidation.
Another interesting parameter is /SPSuperseded, intended for Service Packs on older systems. The command Dism.exe /online /Cleanup-Image /SPSuperseded This deletes the backup files needed to uninstall the installed Service Pack. Running this command will free up space, but you will no longer be able to uninstall the Service Pack. In Windows Server 2008 and equivalent versions, this parameter was used precisely when /StartComponentCleanup It did not exist or was not recognized.
When running /SPSuperseded on a system without Service Pack backups , DISM will simply report that it has not found any backup files and display the typical message that the operation completed successfully without making any changes. On modern systems without "classic" Service Packs, this parameter is usually less relevant.
How to integrate WinSxS cleanup into regular maintenance
WinSxS cleanup shouldn't be seen as a desperate, isolated action when your disk is nearly full , but rather as part of a broader Windows maintenance strategy. Combined with other system cleanup tasks, it can help keep performance and disk space under control for years.
A first piece of that strategy is to take advantage of the Disk Cleanup tool (cleanmgr.exe)which is still available in Windows 10 and allows you to delete temporary files, memory dumps, remnants of updates and many other non-essential elements. Launching it as administrator from Win + R typing cleanmgrYou can select the system drive and, after scanning, check the "Windows Update" box to delete unnecessary old updates. If you need a practical guide, see how use cleanmgr.
Another key area is C:\Windows\Tempwhere temporary system and application files accumulateYou can delete them manually (with administrator privileges) or let Disk Cleanup do the job. It's a good idea to check this folder from time to time, especially if your computer hasn't been formatted in a long time.
downloads Windows Update data is stored in C:\Windows\SoftwareDistribution\DownloadAfter the updates are installed successfully, these files are no longer needed. To safely remove them, it's good practice to first stop the update service with net stop wuauserv, empty the contents of the folder and then resume the service with net start wuauservMore details about that folder and its management can be found in software distribution.
We must not forget the impact of other heavyweight system elements such as the hibernation file and memory dumpsIf you don't use hibernation, you can disable it with powercfg -h off, lo que elimina C:\hiberfil.sys and frees up several gigabytes. As for memory dumps, deleting the contents of C:\Windows\Minidump and the file C:\Windows\MEMORY.DMP It may leave extra space if you've had several recent blue screens.
Common problems when trying to clean WinSxS and what to keep in mind
One of the most common scenarios is that, after running the DISM cleanup commands, it appears that no space has been freed up . The user sees that WinSxS still has thousands of subfolders and that the "Size" displayed in File Explorer barely changes. This is usually due to two factors: first, the effect of hard links, which distort the figure shown in the properties; second, that a large portion of the WinSxS files are shared with Windows itself and cannot be deleted.
When DISM indicates that there are few backups and features disabled, the actual margin for reduction is limited.In those cases, the commands /StartComponentCleanup y /ResetBase They may have a moderate impact, but don't expect to go from 8 GB to 1 GB like magic. Based on experience in different environments, a reasonable expectation is to recover around 15-20% of the WinSxS size, plus a little extra if a cleanup has never been performed before.
Another typical problem is that StartComponentCleanup or the DISM commands themselves fail. This can be caused by a corrupted servicing stack, partially installed updates, or files the system cannot find. Errors such as 0 x 80070002 Errors in the scheduled task are a clear sign that something in the route or in the maintenance service components is wrong. In cases, running a Dism.exe /Online /Cleanup-Image /RestoreHealth Repeating the cleanup process can help fix the problem. If you're experiencing more general update failures, check out the typical causes in [link to relevant documentation]. Windows Update failures.
The context must also be considered before adopting aggressive parameters.On a critical production server, it's sometimes desirable to retain some ability to uninstall problematic updates, while on a home PC or a reference image intended to clone dozens of machines, it can be very advantageous to use /ResetBase or even clean up old Service Packs.
Finally, it's important to understand that WinSxS isn't the only culprit when the C: drive runs out of space.Often, a combination of browser caches and installers in C:\Windows\Installertemporary files, logs Overflowing user folders contribute to the problem as much as, or even more than, the problem itself. Therefore, the winning strategy involves automating the cleanup of WinSxS while simultaneously checking the other system hotspots. To learn more about the installer folder and its management, see [link to relevant documentation]. C:\Windows\Installer.
Mastering the cleanup tools for WinSxS and other critical Windows folders allows you to recover several gigabytes without jeopardizing the Servicing Stack or system stability; by combining Task Scheduler, DISM, and Disk Cleanup, it's possible to keep your machine lightweight and functional for years without resorting to drastic solutions or manual deletions that later take their toll.


Passionate writer about the world of bytes and technology in general. I love sharing my knowledge through writing, and that's what I'll do on this blog, show you all the most interesting things about gadgets, software, hardware, tech trends, and more. My goal is to help you navigate the digital world in a simple and entertaining way.