- Define actions in Photoshop and use Batch with naming scheme to export without overwriting.
- Save and import actions (.atn) to standardize and share flows across your team.
- In Figma, automate with export presets, slices, and batch/optimization plugins.
If you often repeat the same settings on dozens or hundreds of images, automating the process saves you hours and prevents human error.In Photoshop, this is achieved with actions and batch processing; in Figma, it's by combining export settings, slices, and plugins. Here's how to fine-tune everything so your workflow is a breeze.
In addition to covering step-by-step recording and using actions in Photoshop, we'll cover how to export, import, batch process them without overwriting files, and where to find ready-made actions.. And, to complete, we add the Figma part with Tricks practical, presets and automation with plugins and API, which is exactly where many tutorials fall short.
What are Photoshop actions and what are they used for?
Photoshop actions are sequences of scripts recorded from your own steps that are then played back with a click.. Think of them as the excel macros: You record what you do and Photoshop repeats it perfectly in any other image.
They are used for repetitive and uncreative tasks that should be standardized.: convert to black and white, resize, duplicate layers, adjust opacity, apply filters or adjustment layers, among many other common operations.
In environments such as eCommerce and social networks, where style must be consistent, actions make the difference.They allow you to apply an identical "recipe" to hundreds of photos while maintaining consistency and reducing turnaround times.
Photoshop already includes some predefined actions, but the powerful thing is to create your own and save them as commands ownedWhen you do it right, every action becomes a productivity shortcut ready to use and share with your team.
When to create an action
As long as the task is repeated frequently and does not require creative decisions on each image, it is a perfect candidate for an action.I'll give you some typical cases that fit like a glove.
- Convert to black and white with a homogeneous set of values.
- Resizing and reframing for banners, thumbnails or product sheets.
- Opacity adjustments, duplicating layers, and applying adjustment layers with fixed parameters.
The more standardizable the process, the greater the benefit of automating it.. Eventually, the action becomes a standard part of your workflow and reduces operational fatigue.
A useful trick is to write down the exact order of steps before recording.This way, you avoid oversights and keep the action clean and easy to maintain if you need to edit it later.
How to Create an Action in Photoshop (Step by Step)
Let's record an action that duplicates the layer, lowers its opacity and applies a Black and White adjustment layer.It's a classic example of creating images with a certain look for an eCommerce store or social media feed.
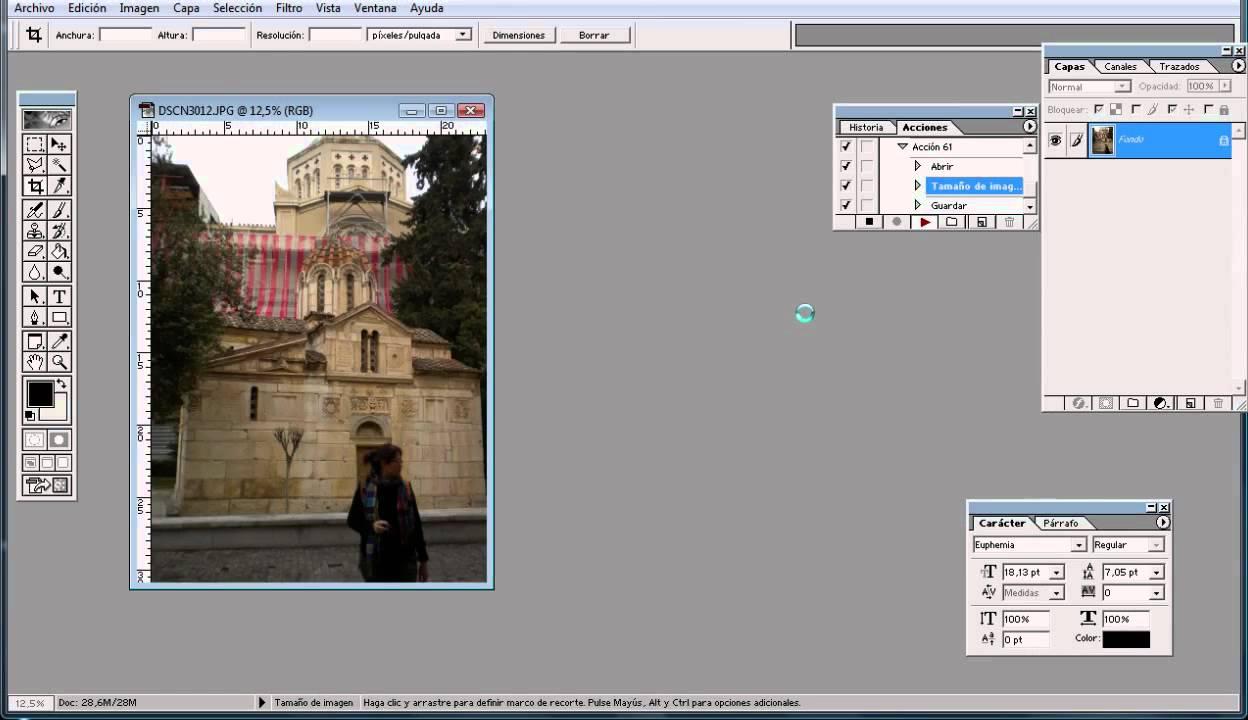
Step 1: Open the Actions panel. Go to Window > Actions (or use Alt + F9) and you'll see the predefined actions; from there, you'll manage everything.
Step 2: Create a group and a new actionAt the bottom of the panel, tap the folder icon to create a group (for example, "Images"), then the new action icon (the folded sheet of paper) to create one. Give it a recognizable name, like "Opacity + B&W."
Step 3: Record the stepsWhen you press Record, the red button on the panel lights up. From now on, everything you do will be saved in your action:
- Open an image to serve as a basis for recording.
- Duplicate the layer (Ctrl/Cmd + J) to work non-destructively.
- Adjust the opacity of that duplicate layer to the desired percentage.
- Add a Black and White adjustment layer from the Settings panel to make the color uniform.
Step 4: Stop recording. Click the Stop button in the Actions panel when you're finished; the action is ready to use whenever you want.
Step 5: Test the action. Close the test image, open another one, and in the Actions panel, select your action and press Play. If everything is correct, Photoshop will play the sequence without you having to touch anything.
Automate in batch and avoid overwrites when exporting
When you need to apply an action to dozens or hundreds of images, the best thing to do is to go to File > Automate > Batch.In this window, you choose the set, action, source folder, and, most importantly, how and where to save the results.
Basic Batch Processing Configuration:
- Set: the group where you saved the action (e.g., “Images”).
- AGENDA: the one you recorded (e.g., “Opacity + B&W”).
- Origin: Folder, and with Choose you select the folder with the working copies.
- Destination: It is safest to select Folder (not “Save & Close”) to control the final name and avoid overwriting.
Very important not to overwrite files when exporting: In the Batch box, select “Override Action 'Save As' Commands.” This way, even if you used Save for Web in your action, the batch will ignore that step and respect the save settings you define in the Batch window.
Defines a naming scheme in Destination. Use combinations like “DocumentName” + “_” + “3-digit serial number” + “Extension.” This way, if you process 600 photos, they'll end up as product_001.jpg, product_002.jpg, and so on, and they won't overlap each other.
What if your action includes Save for Web and asks for a name every time? This is exactly the typical problem: it overwrites everything or opens dialogs one by one. Solution: 1) record the action without the save step; 2) in Batch, use Destination: Folder, select “Skip 'Save As'” and define the name pattern; 3) if you need compression parameters, consider the Script “Image Processor” or use an action ending in standard “Save As” with JPEG quality, because “Save for Web (Legacy)” is more fussy about automation.
Alternatives that work wonders When “Save for Web” is a pain: File > Scripts > Image Processor (allows you to resize, set JPEG/PSD/TIFF quality, and save to a folder), or File > Export > Export Layers to Files if you work with layers. These are robust options without unexpected overwrites.
Extra productivity: Create a Droplet (File > Automate > Create Droplet) and drag folders onto it to trigger the action with your predefined batch settings, without opening any dialogs.
Save, load, and share your actions
Exporting your actions is key to making backup or move your flow to another computerFrom the Actions panel menu, choose “Save Actions…”, name the file, and you’ll get an .atn file that you can share with anyone.
To load external actions, go to the same Actions panel menu and click “Load Actions…”. Select the .atn file and you’ll see the new set ready to use.
Organize by groups and descriptive names So you and your team can see at a glance what each action does. You'll save clicks and avoid execution errors.
Where to get predefined actions
In addition to creating your actions, there are a multitude of free and paid resources on the Internet.. Search in Google “free Photoshop actions” to find collections of design blogs and websites.
On marketplaces like Envato you will find more complex and specialized actions. that can solve advanced styles without breaking your head. Just check compatibility with your version of Photoshop and read reviews.
quick tip: Install the actions in your own set and test them on copies of your files; this way, you validate the results without compromising the originals.
Alternatives within Photoshop: scripts and processors
When export is the bottleneck, not everything depends on actionsThere are native tools that automate without having to record anything.
- Image processor (File > Scripts): Resize, convert, and save to formats with defined quality, in batches and without overwriting.
- Export layers to files (File > Export): Ideal if each layer is a separate resource; export each one with a naming pattern.
- Export as: useful for specific cases, although historically it has provided less play in actions than “Save As”.
If you rely heavily on “Save for Web (Legacy)” for its fine-grained weight control, consider combining it with Batch and the naming scheme in DestinationYou'll avoid repetitive dialogues and guarantee unique files.
Automate exports in Figma
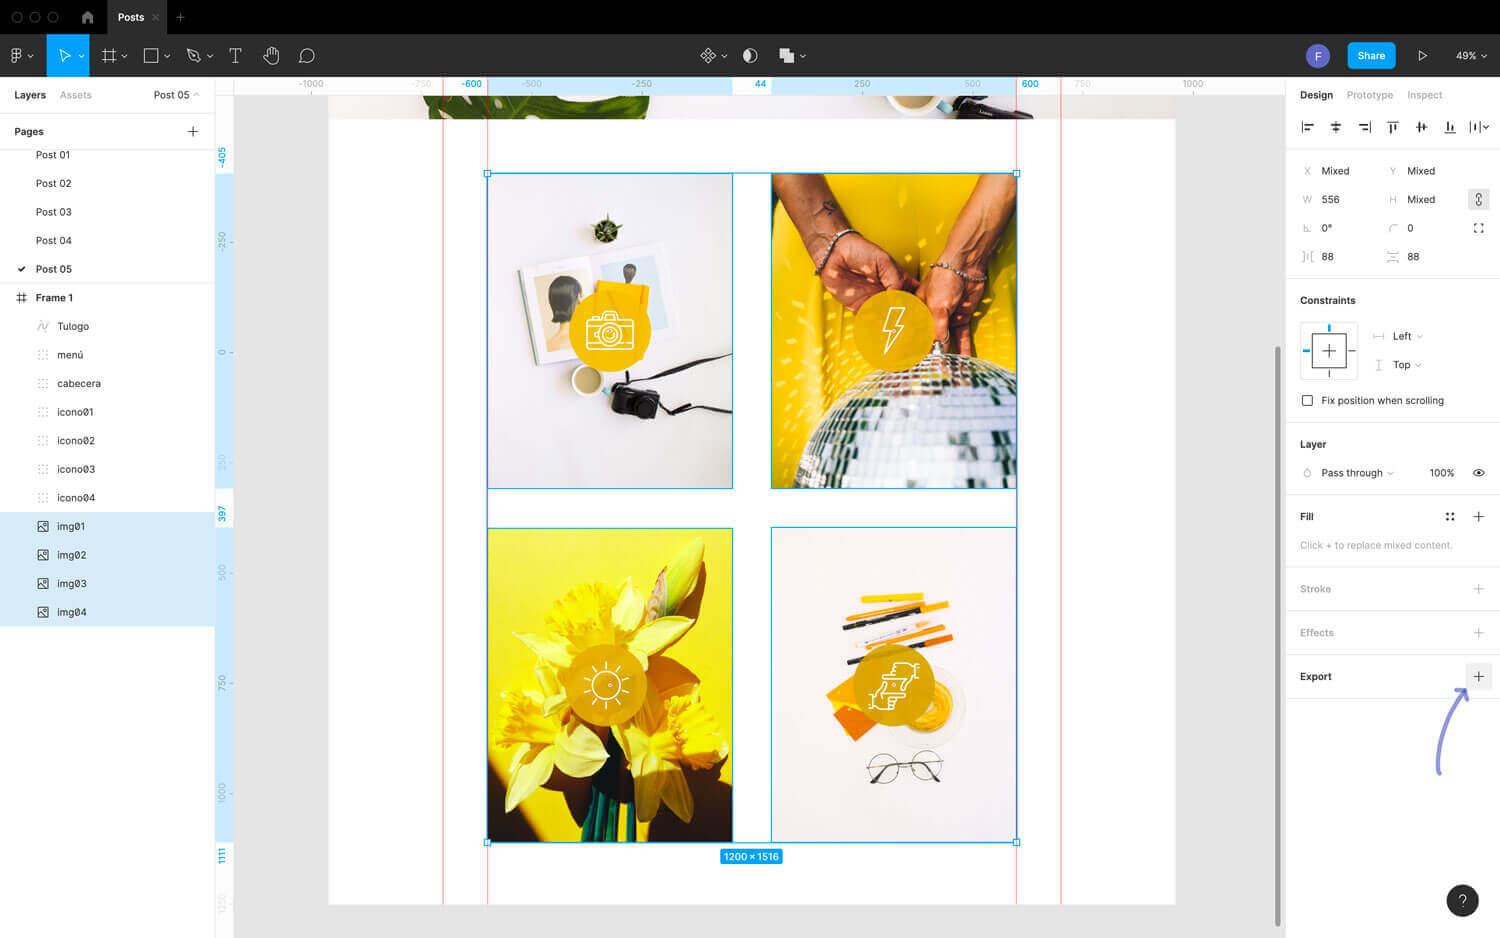
Figma doesn't have "actions" like Photoshop, but it does have a very powerful export system for layers, components, styles, and slices.That's precisely why it's automated using presets, multiple selections, and plugins.
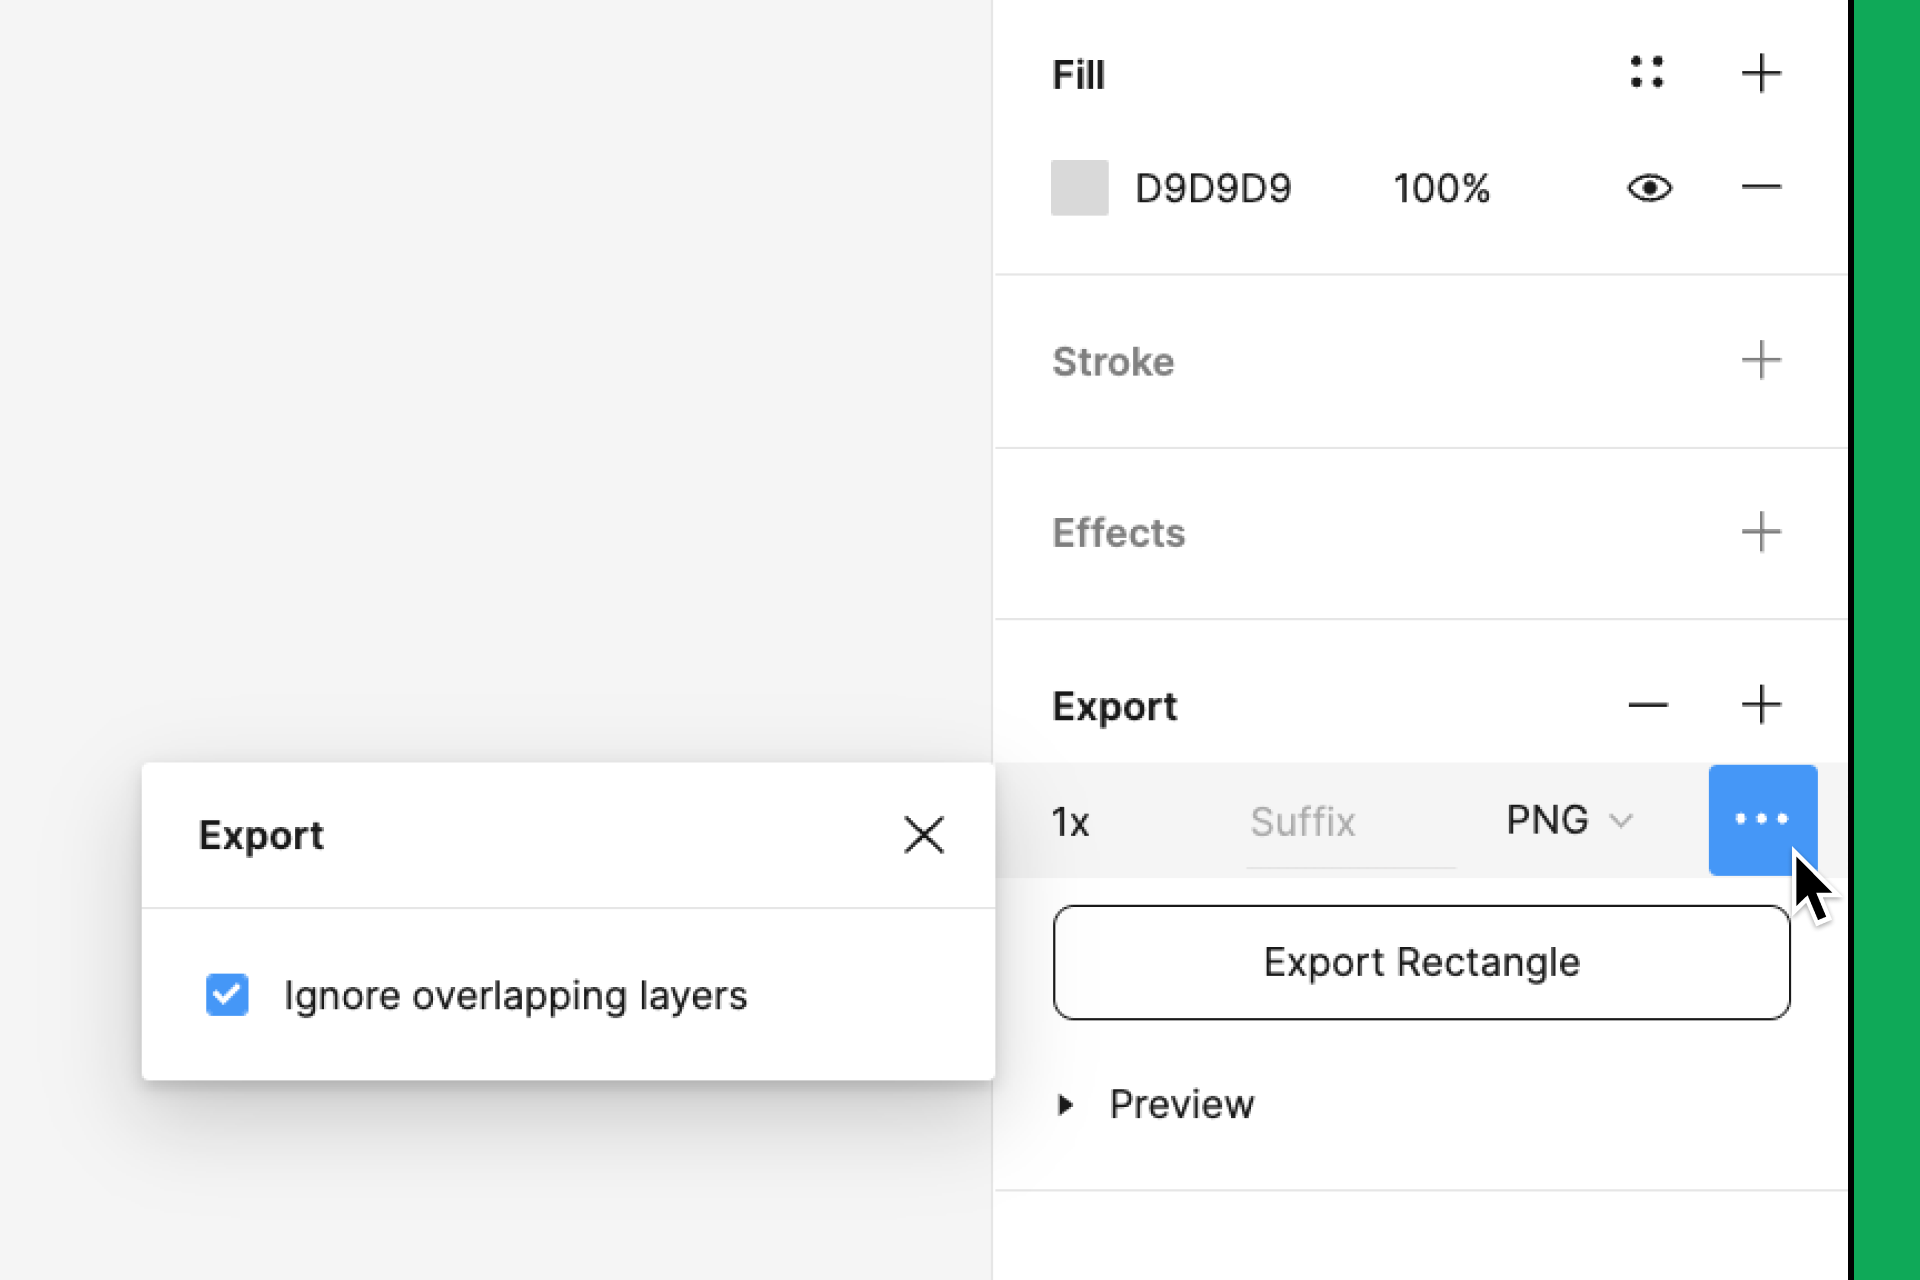
The key is to define export settings for each element you are going to reuse. (components, variants, frames) with formats such as PNG, JPG, SVG or PDF and 1x/2x/3x scales. Then with multi-selection, you can Export All and Figma will respect each preset.
If you need specific areas, create slices And this way, you can control exactly which region is exported. It's a simple way to "crop" without altering the design and repeat the export as many times as you like.
For large or repetitive flows, plugins make all the difference.: TinyImage Compressor (optimization and WebP/AVIF), Batch Export, Export to WebP, Page Exporter or Batch Rename to set naming conventions and ensure nothing is overwritten.
What if you want to go a step further? The Figma API allows you to automate exports from external scripts: you get nodes by ID, define formats and scales, and export programmatically, ideal for design-to-development pipelines.
You have a winning combo: actions and batch in Photoshop to transform and export without overwriting, and Presets, slices, and plugins in Figma to deliver assets at scale without friction. The result is faster, more consistent flow with less operational wear and tear—just what you're looking for when volume is tight and deadlines are tight.
Passionate writer about the world of bytes and technology in general. I love sharing my knowledge through writing, and that's what I'll do on this blog, show you all the most interesting things about gadgets, software, hardware, tech trends, and more. My goal is to help you navigate the digital world in a simple and entertaining way.