- There are multiple ways to change the network name in Windows 11, from settings to the Registry Editor.
- You can also use commands en PowerShell o DCM to rename network interfaces in bulk.
- Customizing your network names improves organization and security, especially in environments with multiple connections.
- Avoiding generic and sensitive names increases privacy and makes it easier to identify each network.
Assign a custom name to a network interface in Windows 11 may seem like a minor cosmetic change, but it has practical implications that make it easier to identify active networks, especially if you have multiple connections configured. Plus, doing it is easier than it looks., and you can choose from several methods: from simple graphical configuration to more advanced techniques using the command line or the famous Registry Editor.
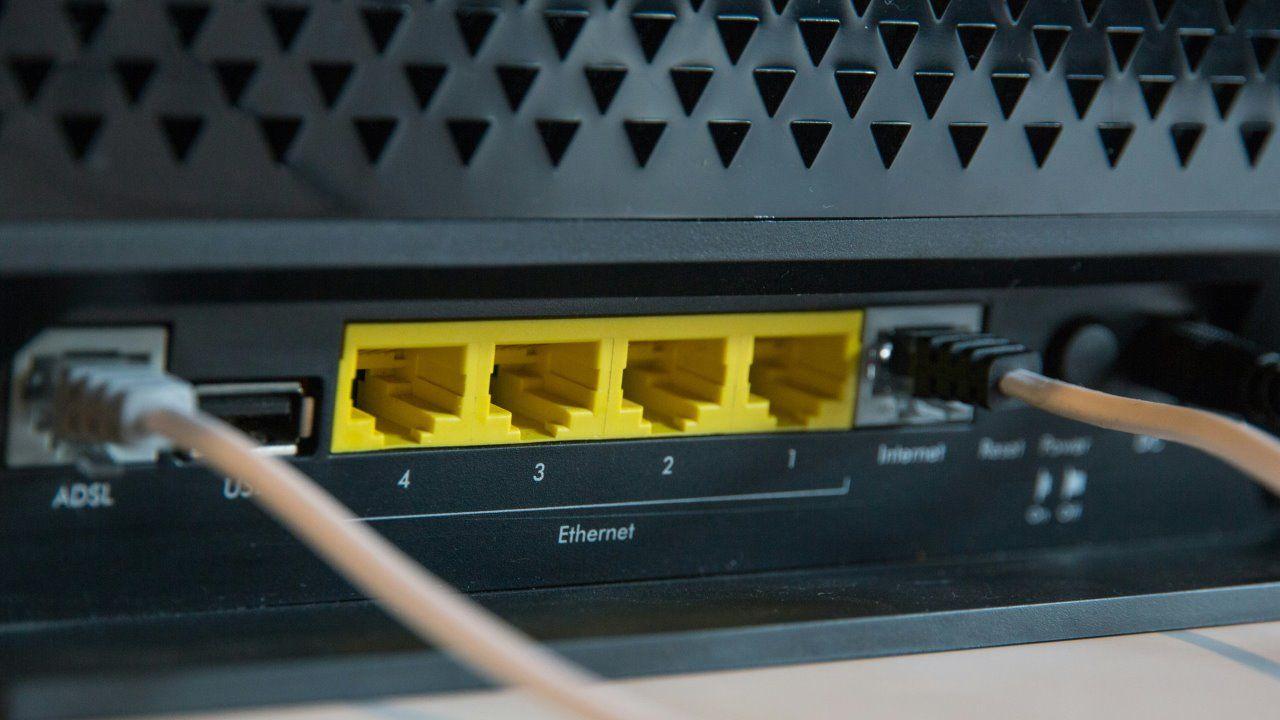
By default, Windows assigns generic names like “Network 1” or “Wireless Network Connection.” This is not useful when you have to manage multiple adapters or networks.Renaming them provides order, clarity, and, in certain contexts, even improves security. Below, we explain all the possible ways to do it.
Change the name from Windows 11 Settings
The most visual and simple way is to access the configuration menu directly. This method is ideal for users who prefer to avoid advanced commands or tools..
Steps to rename a network interface in configuration:
- Click the Windows Start icon or press the key Windows + I to open Settings.
- In the left side menu, select Network and Internet.
- Scroll and enter Advanced network settings.
- There you will see a section for network adapters. Select the adapter you want to rename (Wi-Fi or Ethernet).
- Click on Rename this adapter and click on the button Rename.
- Enter the new name you prefer and save the changes.
This method is fast, requires no technical knowledge and is ideal if you only need to rename one or a few connections.
Using Control Panel in Windows 11
Another classic and still current option is the Control Panel. Although Microsoft is migrating functions to the new configuration, This method still works perfectly on Windows 11..
Steps to follow:
- Open Windows Search and type Control panel. Select the corresponding option.
- Go to Network and Internet and click Center network and sharing.
- In the left column, select Change adapter settings.
- You will see a list of all active and deactivated connections.
- Right click on the interface you want to rename and choose Rename.
- Enter the new name and press Enter to confirm.
This procedure works on both Windows 10 and Windows 11. and is especially useful if you are used to the classic Windows environment.
Modify the name using PowerShell
If you need to perform this action in bulk or want to integrate it into automated scripts, PowerShell is your best optionWith just a few commands, you can rename any network interface precisely.
Steps to do it with PowerShell:
- Right click on the Windows icon and choose Windows PowerShell (Administrator).
- To list all available interfaces, run:
Get-NetAdapter | Format-List -Property Name- Once you've identified the current name you want to change, run:
Rename-NetAdapter -Name "NombreAntiguo" -NewName "NombreNuevo"Replace "OldName" and "NewName" by the actual values, without quotes if they do not contain spaces.
This method is ideal if you want to automate configuration on multiple computers at the same time.
It is also useful to know how Edit the Windows Registry with PowerShell to make advanced changes to network settings.
You can also use Command Prompt (CMD)
Another alternative to renaming adapters without going through graphical interfaces is the classic CMD. This is useful in situations where PowerShell is not available..
Follow these steps:
- Open the Start menu, type cmd and run it as administrator.
- Run the following command to list interfaces:
netsh interface show interface- Then change the name with:
netsh interface set interface name="NombreAntiguo" newname="NombreNuevo"This method is useful in deployment or automation scripts in enterprise environments.
Rename networks by modifying the Windows Registry
If you want to change the name that appears in the network profile (not the adapter name), you must edit the Windows Registry. This method requires attention, since a wrong step can affect the system.
Steps with Registry Editor:
- Press Windows + R, writes regedit and press Enter.
- Navigate to the following path:
Equipo\HKEY_LOCAL_MACHINE\SOFTWARE\Microsoft\Windows NT\CurrentVersion\NetworkList\Profiles- Here you'll see folders with unique identifiers. Each one represents a known network.
- Click on each one and locate the value ProfileName.
- Double-click ProfileName and enter the name you want.
Reboot the system so that the changes are reflected correctly. If something goes wrong, you can always revert using the same steps.
Why you should change your social media names
Many people think the name of the network is irrelevant, but it actually has some very useful features. Renaming adapters and interfaces helps manage complex networks and also avoids common mistakes like connecting to the wrong network.
In addition, generic names like “Network 2” or “Local Area Connection” can make it more difficult to identify active networks for file sharing or operating in business environments. A good personalized name simplifies all this..

Passionate writer about the world of bytes and technology in general. I love sharing my knowledge through writing, and that's what I'll do on this blog, show you all the most interesting things about gadgets, software, hardware, tech trends, and more. My goal is to help you navigate the digital world in a simple and entertaining way.