- Dynamic DNS allows you to assign a fixed domain name to a changing IP.
- No-IP offers a free and easy-to-configure service on routers and computers.
- It can be used to access servers, IP cameras and other devices remotely.
- The free version requires monthly renewal to continue working.

If you've ever tried to access your home network or a personal server remotely, you've probably encountered the problem of your public IP address constantly changing. This is where dynamic DNS comes in , and a popular service for this is No-IP . In this article, we'll explain everything you need to know about setting up and configuring No-IP as your dynamic DNS server so you can access your devices remotely without any hassle.
We'll guide you step-by-step through creating a No-IP account, configuring a hostname , and setting up the service on both your router and your computer , if needed. So, if you're looking for an easy solution to manage remote access to your network, keep reading.
What is Dynamic DNS (DDNS) and how does it work?
Dynamic DNS (DDNS) is a system that allows a domain name to be associated with a public IP address that changes over time . Most internet service providers assign dynamic IP addresses to their customers, meaning that the IP address changes every time the router is restarted or after a certain amount of time. This makes remote access to devices on the network difficult.
With a DDNS service like No-IP, we can create a static domain name and link it to our public IP address. When this changes, the service automatically updates the information so we can always access our network using the same domain name.
Why use No-IP?
No-IP is one of the most popular platforms for dynamic DNS because it offers a free basic service and paid options with advanced features. Some of its advantages are:
- Free service: No-IP allows you to create up to 3 hostnames for free.
- Compatibility with most routers: Many routers include No-IP support, making setup easier.
- Technical support: They offer detailed documentation and a support team.
How to create an account on No-IP
To start using No-IP, the first thing you need to do is register on their website . Follow these steps:
- Access the website of We p.
- Click on Sign Up to create a new account.
- Fill in the fields with your Email, password and accept the terms of use.
- Confirm your account through the link you will receive in your email.
Once the account is activated, we can create a hostname to associate with our IP address.
Creating a Hostname in No-IP
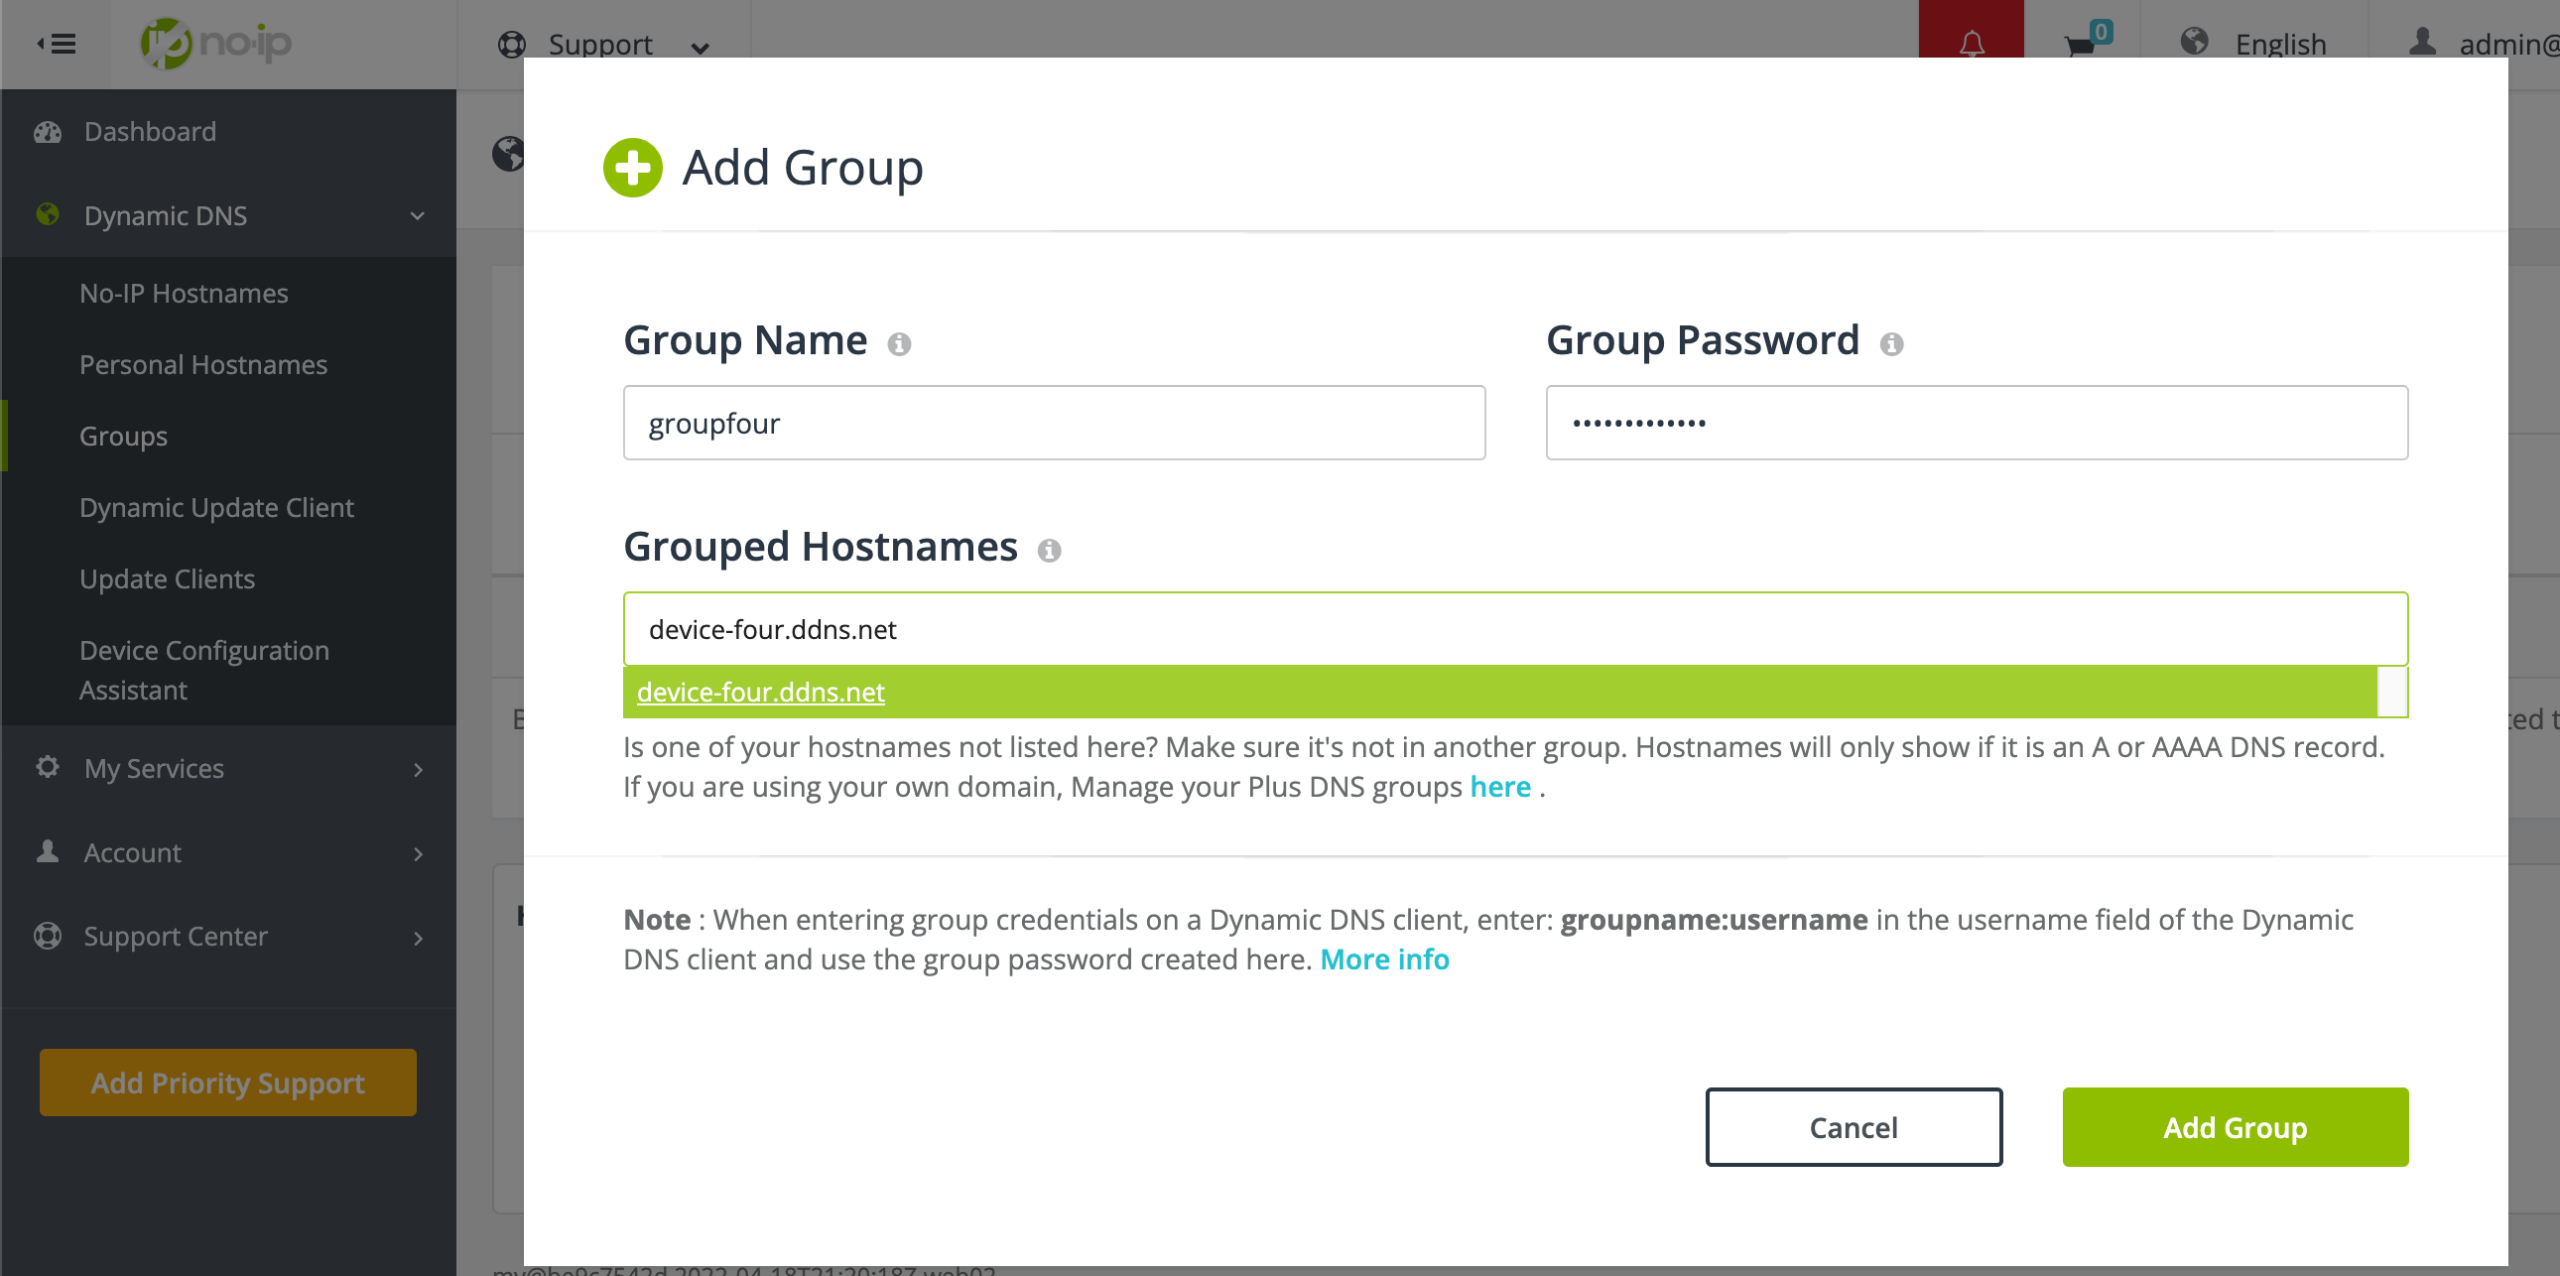
The hostname will be the domain name we use to access our network. To generate it, follow these steps:
- Sign in to No-IP.
- Go to section Dynamic DNS.
- Click on Create Hostname.
- Enter the desired name for your domain (for example, micasa.ddns.net).
- Select the domain ending from the available list.
- Save the changes.
This hostname will be the one we will use later to connect remotely.
Configure No-IP on a router
For the service to work correctly, your router must be configured to automatically update your public IP address in No-IP. The configuration varies depending on the router model , but the steps are generally similar:
- Access the configuration of the router through their website (usually
192.168.1.1o192.168.0.1). - Look for the option of DDNS, DynDNS or Dynamic DNS in advanced settings.
- Choose We p as a service provider.
- Enter the username and password for your No-IP account.
- Enter the hostname that you created previously.
- Save the settings and verify that the connection has been established correctly.
Setting up No-IP on a computer
If your router does not support No-IP, you can install the update client on your computer :
- Download the update client Dynamic Update Client (DUC) from the No-IP website.
- Install the program and open it.
- Sign in with your No-IP account.
- Select the hostname that you created previously.
- Save and leave the program running in the background.
This client will be responsible for updating the public IP when it changes.
Other uses of dynamic DNS
Setting up No-IP not only allows you to access your network remotely. It is also useful for:
- Access web or FTP servers from anywhere.
- Control IP security cameras.
- Create a game server or VPN.
Disadvantages and considerations
While No-IP is a great solution, it has some limitations:
- The free version requires manual renewal every 30 days.
- If your Internet provider assigns you a Private IP, DDNS will not work.
- There may be interruptions if the No-IP service has problems.
By understanding how No-IP works and how to configure it, you can now easily and securely access the devices on your network from anywhere in the world. Implementation is quite simple, and while the free version requires monthly renewal, it remains an excellent option for those needing a cost-free solution. If you're looking for reliability and don't want to worry about renewals, you might consider a paid subscription for added convenience.

Passionate writer about the world of bytes and technology in general. I love sharing my knowledge through writing, and that's what I'll do on this blog, show you all the most interesting things about gadgets, software, hardware, tech trends, and more. My goal is to help you navigate the digital world in a simple and entertaining way.