
When you download a GNU/Linux distribution in ISO format, the usual thing to do is burn it to a USB drive and start the installation, but there's an essential preliminary step that many people skip: verifying the integrity of the ISO image . It might seem like a tedious procedure, but it can save you hours of trouble and more than one headache.
Although we often install programs without giving it much thought, the operating system is a key component and deserves at least a minimum of verification . ISOs are usually large files, susceptible to corruption during download or, in the worst case, manipulation by third parties. If you work with other formats, consult the image format comparison . Verifying their integrity in Linux is simple, fast, and gives you peace of mind that you're installing exactly what the project has published.
Why is it so important to check an ISO image before using it?
Beyond theory, verifying a Linux ISO has a very practical consequence: preventing faulty or tampered installations . A corrupted image can cause random errors during installation, boot failures, or strange behavior that is very difficult to diagnose.
If you plan to install that distribution as your main system, a corrupted ISO can lead to an unstable system, data loss, or even serious security vulnerabilities . Sometimes the file is downloaded with minor errors that go unnoticed until something critical fails.
You also need to consider the security scenario: if someone has modified the ISO on the server or a compromised mirror, you could be installing a version with malware or backdoors . It's not common, but it's not science fiction; the GNU/Linux ecosystem itself has recommended verifying hashes and signatures for years.
Fortunately, official distribution websites usually have a section with checksums and, in many cases, GPG-signed files . If we spend a couple of minutes reviewing them, we can be sure that the image is intact.
What is a hash function and why is it used to verify ISOs?
To understand the whole process, it's helpful to have a clear concept: a hash function is an algorithm that takes any file and generates from it a unique (or very difficult to duplicate) string of characters for that specific content.
This string is usually represented as a long sequence of letters and numbers in hexadecimal . If you change a single byte of the original file, the result of the hash function changes completely, as if it had nothing to do with the original. That's the beauty of it: it's extremely sensitive to any modification.
Many different algorithms are used in the real world, but the most common for verifying ISO images are MD5, SHA-1, and SHA-256 . MD5 is now considered obsolete for strong security, but it is still seen on download lists. SHA-1 also suffers from cryptographic problems, while SHA-256 is currently the most recommended option for integrity.
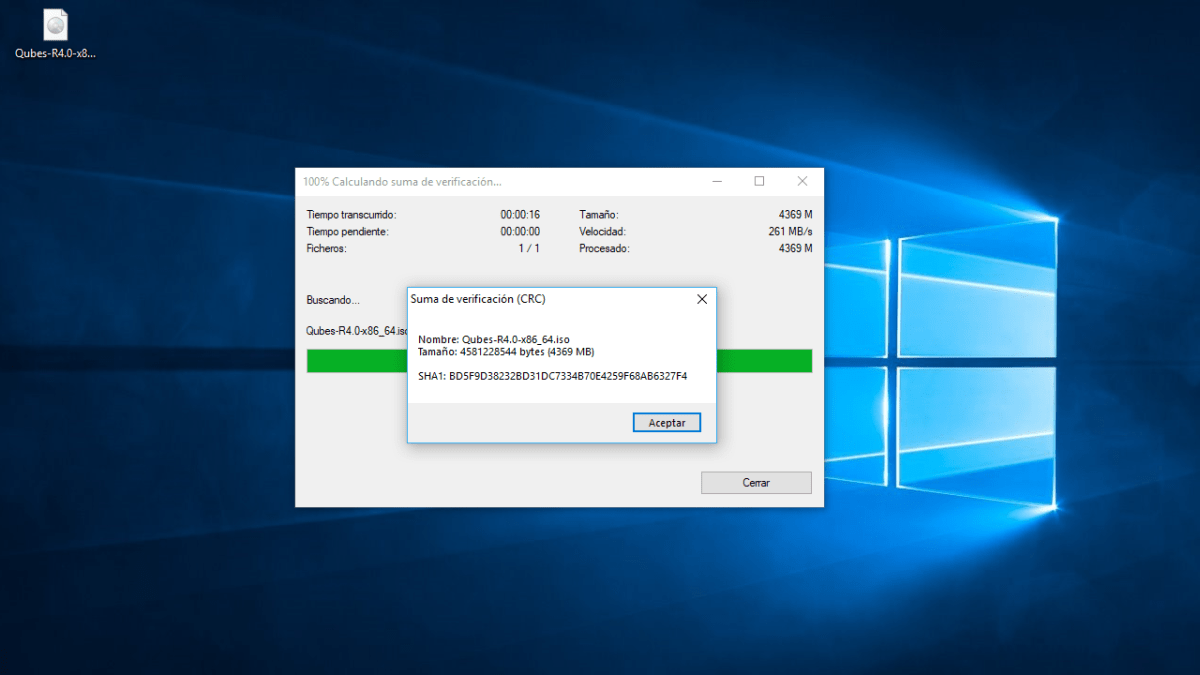
In practice, what a software project does is generate a hash for each file it offers and publish those strings in a list. When you download the ISO, you calculate its hash locally and compare it to the official one ; if they match, you know that the file you have is identical to the one generated by the developer (at least in terms of binary content).
Besides verifying the integrity of ISOs, these hash functions are widely used in computer security: password management, digital signatures, data integrity in backups, etc. But here we'll focus on their most practical use for the average Linux user.
Types of checksums you will encounter (MD5, SHA-1, SHA-256)
When you visit a distribution's download page, it's very common to see something labeled as "checksum," "MD5," "SHA1," "SHA256," or "verification sum ." Sometimes it's on the same page, and other times it's linked to separate text files.
Generally speaking, MD5 was the de facto standard for years , but collisions (different files producing the same hash) have been found, and it is no longer considered secure for cryptographically strong integrity validation. Even so, it is still used in some projects, primarily for compatibility.
After MD5 came SHA-1, which for a time was the most common alternative . However, weaknesses have also been discovered, and it is currently recommended to avoid it for critical uses. In the context of an ISO downloaded from an official site, it can still be useful for detecting download corruption, but it is not ideal against potential targeted attacks.
The modern and more robust option is SHA-256, a variant of the SHA-2 family that is much more resistant to collisions . An increasing number of distributions are directly publishing their SHA-256 hashes, and some are even omitting MD5 and SHA-1.
Therefore, if you have several options available, it's recommended that you always use SHA-256 to verify your ISOs . The additional computational cost is minimal these days: on a modern computer, calculating the SHA-256 hash of an ISO image usually takes only a few seconds.

Linux tools for calculating the hash of an ISO image
Most modern GNU/Linux distributions come with the basic hash calculation utilities—md5sum, sha1sum, and sha256sum—pre-installed by default . In other words, you don't need to install anything extra; you can simply use the terminal.
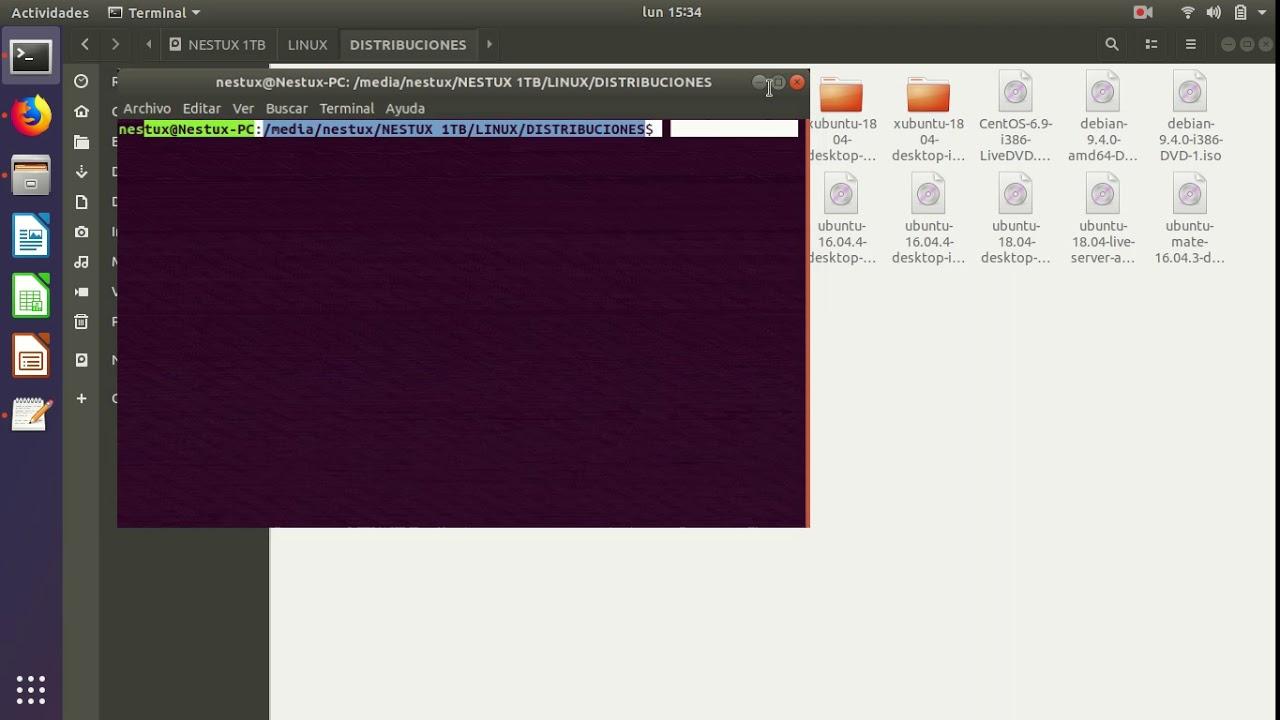
First, navigate to the folder where you saved the ISO file. If, for example, it's in your Downloads folder, you can navigate using:
cd Descargas
Once there, the process is very simple. To generate the MD5 hash, you would use:
md5sum nombre-de-la-imagen.iso
If the official website provides you with an SHA-1 hash, you can calculate it with:
sha1sum nombre-de-la-imagen.iso
And if you have the SHA-256 value, which is most common these days, simply run:
sha256sum nombre-de-la-imagen.iso
In all cases, the tool will print a long alphanumeric string followed by the filename . That string is your local hash, which you should compare with the one published by the distribution. If the two are identical (respecting every character exactly), the image has not been modified or corrupted during download.
The time it takes to generate this code depends mainly on the size of the ISO file and the speed of your processor and hard drive. In practice, even for fairly large distributions, it's usually a matter of a few seconds . That's why it makes perfect sense to perform the verification before creating the bootable USB drive.
How to compare the calculated hash with the official hash
Once you have the hash in your terminal, you need to compare it with the official value provided by the website where you downloaded the ISO . This information may appear in various formats: as text on the page, in .md5, .sha1, or .sha256 files, or in files with names like SHA256SUMS, MD5SUMS, etc.
The most straightforward method is a simple visual copy and paste: copy the string from the website, paste it into a text editor, and compare it to the string returned by md5sum/sha1sum/sha256sum . Any difference, however small, means the file does not match the original.
Many distributions, especially large ones like Ubuntu, Debian, or Manjaro, publish summation files containing the hashes of all available ISOs . For example, a SHA256SUMS file will include several lines, each with the hash and exact name of the corresponding ISO.
In these cases, in addition to calculating the hash manually, you can use addition tools to automatically verify that the ISO matches what's in the file . Below we'll see how to do this with similar commands like sha256sum -cy.
If you can't easily find the hash list, you can usually just search the distribution's website or do a Google search using the distro's name followed by terms like "hash," "checksum," or "SHA256SUM ." Serious projects always provide this information in an accessible way.

Verifying an ISO in Linux using MD5 and SHA checksums
Many distributions go a step further and, in addition to displaying the hash on the web, offer a summation file that you can download along with the ISO image . This file is usually called something like MD5SUMS, SHA1SUMS, SHA256SUMS, or similar.
Let's imagine the typical case of a distribution that publishes the SHA256SUMS file in the same downloads folder. This text file contains one line for each ISO with its SHA-256 hash. The recommended procedure would be:
1. Download the ISO image you want to install.
2. Also download the corresponding sums file (e.g., SHA256SUMS) from the same source.
Once you have both in the same directory, you can automatically check the ISO with:
sha256sum -c SHA256SUMS
This command will read the hash file, locate the line corresponding to your ISO, and verify that the calculated hash matches the file's contents . If everything goes well, you'll see a message like this:
ubuntu-20.04-desktop-amd64.iso: La suma coincide
If SHA-1 or MD5 is used instead of SHA-256, the mechanism is exactly the same, only using `sha1sum -co` and `md5sum -cy` with the corresponding file . The advantage of this method is that you don't have to copy and paste hashes manually; everything is automated, and it's harder to make a visual error.
In some projects like Manjaro, the sums may come in specific files per ISO, with names ending in -sha1.sum or -sha256.sum . For example, for the ISO manjaro-xfce-0.8.1-x86_64.iso, you might find:
- manjaro-xfce-0.8.1-x86_64-sha1.sum
- manjaro-xfce-0.8.1-x86_64-sha256.sum
These files are simply text files with the hash and name of the ISO , ready to be used with sha1sum -co sha256sum -c, or for you to copy the code yourself and compare it with the one you generate locally.
Practical example: ISO verification as in Manjaro
To show you how simple it is, let's assume you've downloaded manjaro-xfce-0.8.1-x86_64.iso and its corresponding SHA-256 hash file, for example manjaro-xfce-0.8.1-x86_64-sha256.sum. The workflow would be very similar for any distribution.
First, open the sum file with a text editor (Gedit, Kate, whichever you prefer) . Inside you will see a long string of characters and, usually, the ISO file name at the end of the line.
Next, in the terminal, navigate to the folder where you have the ISO and the summation file . Something like:
cd Descargas
Now you can directly use sha256sum to generate the ISO hash :
sha256sum manjaro-xfce-0.8.1-x86_64.iso
Compare the hash displayed in the terminal with the one contained in the .sum file. If both codes match, the ISO is correct and you can burn it to the installation media without worry . If they don't match, the safest course of action is to delete the image and download it again.
If the .sum file is in the standard format supported by sha256sum -c , you could also do the following directly:
sha256sum -c manjaro-xfce-0.8.1-x86_64-sha256.sum
and let the tool automatically verify that the hash matches the one in the ISO. When the result is successful, the command will usually indicate that the sum is correct and finish in a "successful" state . From there, you can move on to the next step: creating the bootable USB drive or mounting the ISO in a virtual machine.
Use GPG signatures to certify that the ISO comes from the legitimate developer
So far we've talked about verifying that the ISO file hasn't been corrupted, but one question remains: how do you know that the sum file itself is authentic and hasn't been tampered with? That's where GPG signatures come into play.
In large distributions like Ubuntu, it is common to publish another file with the extension .gpg or .sig alongside the sums file (for example, SHA256SUMS) , which contains a cryptographic signature of those sums made with the project's private key.
Following the example of Ubuntu, you may find these files:
- ISO itself: ubuntu-20.04-desktop-amd64.iso
- The SHA256SUMS file: list of SHA-256 checksums of all ISOs
- The SHA256SUMS.gpg file: GPG signature of those sums, performed by the Ubuntu CD Image Automatic Signing Key
The recommended process would be:
1. Download the ISO, the SHA256SUMS file and its signature SHA256SUMS.gpg from the official website.
2. Make sure you have GnuPG (the gpg package) installed on your system. It comes pre-installed on most distributions , but if not, you can add it using your package manager.
3. Verify the signature of the sums file with:
gpg --keyid-format long --verify SHA256SUMS.gpg SHA256SUMS
If your system doesn't yet know the public key used for signing, GPG will warn you that it can't verify the signature correctly . In that case, you'll need to import the project's official key, usually from a public key server.
For example, for the Ubuntu CD Image Automatic Signing Key you could use:
gpg --keyid-format long --keyserver hkp://keyserver.ubuntu.com --recv-keys 0xD94AA3F0EFE21092
Once the public key has been imported, you run the verification command again :
gpg --keyid-format long --verify SHA256SUMS.gpg SHA256SUMS
If everything is in order, GPG will display a message indicating something like "Successful signing of 'Ubuntu CD Image Automatic Signing Key (2012) < [email protected] >'" . This means that the sign-in file has not been altered and actually comes from the project.
From this point on, you can trust the SHA256SUMS file and, as we've seen, use `sha256sum -c SHA256SUMS` to verify that your ISO matches the official hash . This double step (GPG signature + hash verification) is the most robust way to ensure that no one has tampered with it along the way.

What to do after verifying the integrity of the ISO
Once you've gone through all these steps and are certain the ISO is complete and authentic, you can use it with complete peace of mind . The next step will be to create the installation media or mount it, depending on your needs.
These days, the most common practice is to create a bootable USB drive using tools like dd, balenaEtcher, Rufus (from Windows), or specific utilities for each distribution . CDs and DVDs have largely fallen out of use, especially since many laptops no longer even include an optical drive.
You can also mount the ISO directly in a virtual machine (VirtualBox, KVM, VMware, etc.) and test the distribution without affecting your current system . In this case, integrity verification is equally important, as a corrupted file can cause problems during installation in the virtual machine.
If at any point the sums don't match or the GPG verification returns a signature error , the best course of action is to stop: delete the ISO and the sum files, download them again from the official source, and repeat the process. If the problem persists, it could be a temporary issue with the mirror, your internet connection, or a bug on the site itself; it's advisable to check the distribution's forums or support channels.
Ultimately, spending a few minutes verifying the integrity of a Linux ISO is a small investment of time that guarantees that what you're about to install is legitimate, complete, and hasn't been corrupted along the way ; it's a good security habit and a highly recommended practice if you often experiment with different distributions or are about to install a new system as your main environment.


Passionate writer about the world of bytes and technology in general. I love sharing my knowledge through writing, and that's what I'll do on this blog, show you all the most interesting things about gadgets, software, hardware, tech trends, and more. My goal is to help you navigate the digital world in a simple and entertaining way.
Table of Contents
- 1 Why is it so important to check an ISO image before using it?
- 2 What is a hash function and why is it used to verify ISOs?
- 3 Types of checksums you will encounter (MD5, SHA-1, SHA-256)
- 4 Linux tools for calculating the hash of an ISO image
- 5 How to compare the calculated hash with the official hash
- 6 Verifying an ISO in Linux using MD5 and SHA checksums
- 7 Practical example: ISO verification as in Manjaro
- 8 Use GPG signatures to certify that the ISO comes from the legitimate developer
- 9 What to do after verifying the integrity of the ISO