
Would you like to learn how to use the lasso tool in Photoshop? In this short guide, we'll explain how some of the lasso tools in this powerful photo editing tool work. Stay with us!
How to Use Photoshop's Lasso Selector Tool
Photoshop's Lasso tool is located at the top left, in the second position of the toolbar. It comes in the form of a knot. It is used to make a freehand selection.
Here you can learn about: How to Create a Color Sample with Photoshop
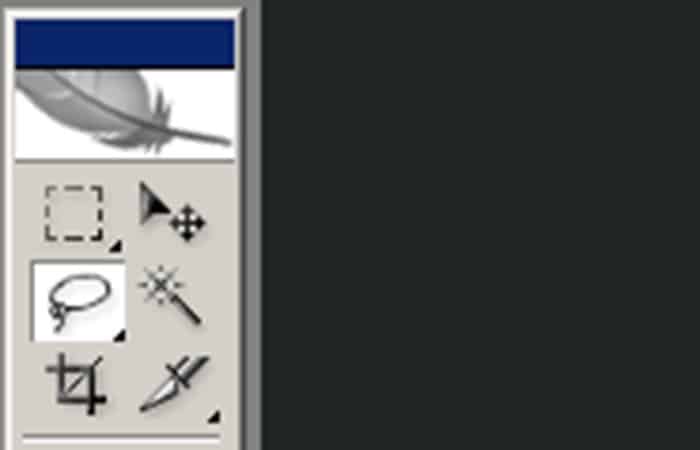
Photoshop's lasso tool helps you easily select parts of an image to change its color or remove a portion.
The Lasso sub-tools
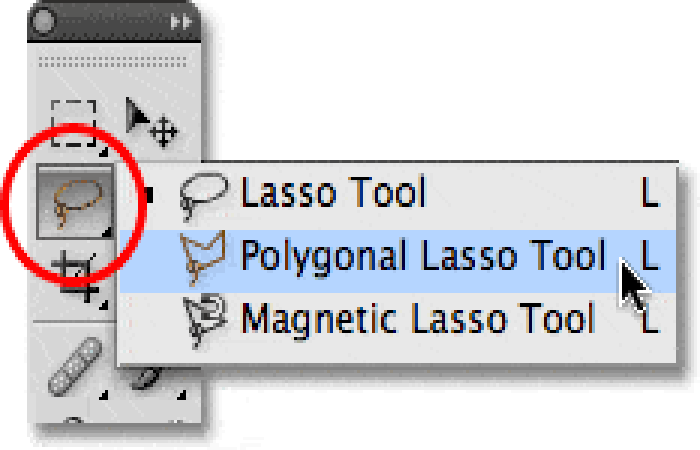
By holding down a left mouse click, we see three Lasso sub-tools appear:
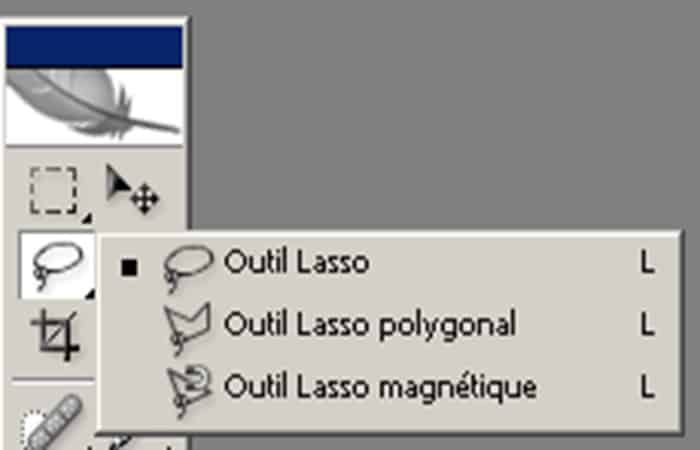
Lasso Sub-Tool
Using the Lasso tool (selected by default) requires continuous mouse pressure to select the edge of the object (here, an orange). You have to go around the entire edge to join the starting point and thus form the outline. This use is quite delicate and practical when the other sub-tools of the lasso do not allow you to obtain the desired selection.

Polygonal Lasso Tool
The Polygonal Lasso Tool makes using the Lasso easier, as it allows you to place points that will form straight lines, which is easier than using the default Lasso Tool. However, this tool is reserved for objects with a straight edge, so it doesn't work with images like the example above.
This is still a “freehand” selection, but it works point by point, so it is more useful than the simple lasso.
- Displacement: forces your selection to be at an angle of 90°, 45°, 0°, -45°, -90°, -135°, 180°, and 135°
- Alt: While you hold it, your tool becomes the simple loop. Very useful for curves.
- Shift: (after an already present selection): add to the first selection.
- Alt: (after a selection already present): subtraction from the first selection.

Magnetic Loop Tool
The Magnetic Lasso tool remains the most used tool, because it allows you to accurately select and automatically outline your orange within an image.

You may have noticed that to select orange in the image the most suitable tool is the Magnetic Lasso tool, since it allows the automatic selection of the image edge. This does not mean that it is the best tool, if we had to select the edge of a window for example the Polygonal Lasso tool would be more suitable.
Use these keys for other effects:
- Ctrl: you can move what you have selected
- Shift:(after an already present selection): add to the first selection
- Alt:(after a selection already present): subtract from the first selection
How to Use the Magnetic Lasso Tool in Photoshop
Photoshop can help you create the perfect photo. With this amazing software, you can even move parts of one image to another. While there are several ways to do this, the Magnetic Lasso tool works with almost any type of photo. With a mouse and a steady hand, you can move the most detailed parts of the image to another photo.
Instructions
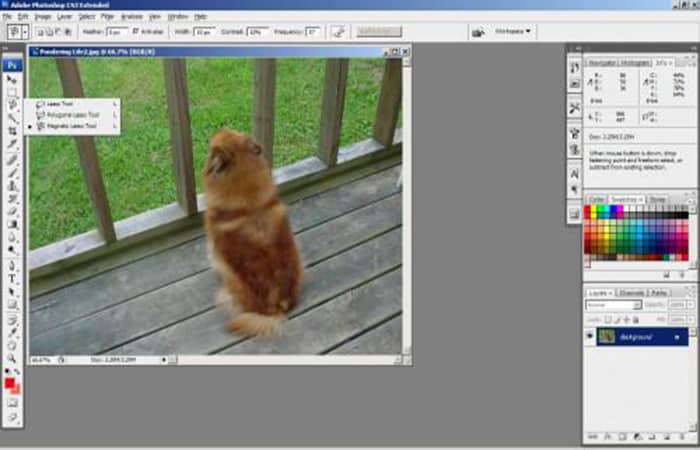
- Step 1:: Select the Magnetic Lasso tool from the Palace tools. If you look at the Photoshop Palace tools and don't see the Magnetic Lasso tool, you may need to click and hold the mouse button on the Lasso tool. This will bring up a short menu offering the different types of Lasso tools. Click on the Magnetic Lasso tool to select it.
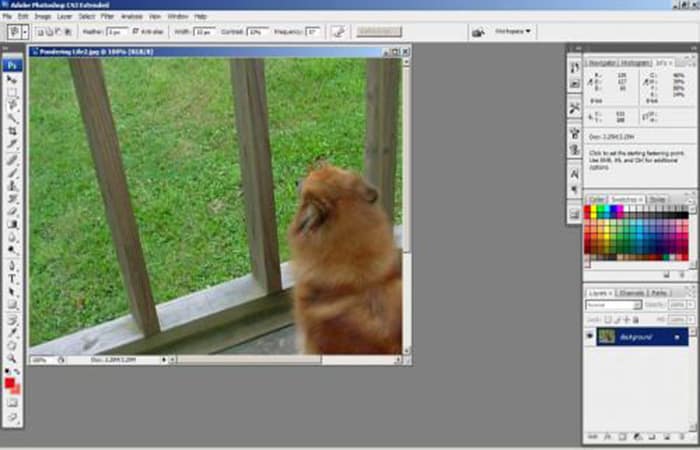
- Step 2:: Click on the edge of the image you want to create a lasso for the tie point. Get as close to the edge as possible. This ensures that you lasso the correct image instead of including bits of other images you don't want in your new photo.
- Step 3:: Use your mouse to pull the lasso around the image. Just as the name suggests, Photoshop's Magnetic Lasso tool creates a magnetic border around your image. The lasso sticks to the edge of your image. When you drag your mouse over the image, you'll notice that the attachment points will snap around the image.
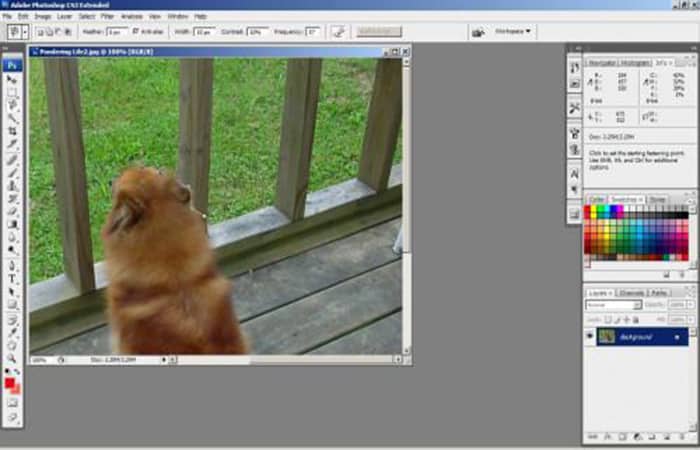
- Step 4:: Create additional hard-to-use join points to link areas of the image. Most images will need additional work. Although the Magnetic Lasso tool in Photoshop does not create join points, there will of course be times when the tool will be activated. In these cases, you will need to create additional join points so that the edge stays close to the image.
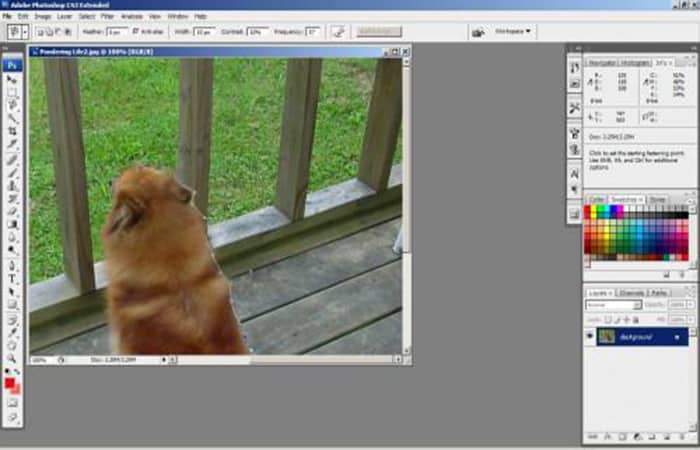
- Step 5:: Close the loop by clicking on the first anchor point. Once you have gone around the image, you need to click on the start point to close the loop. When done correctly, you will see what is known as a “walking ants«These blinking lines show that the image has been captured and is ready to move.
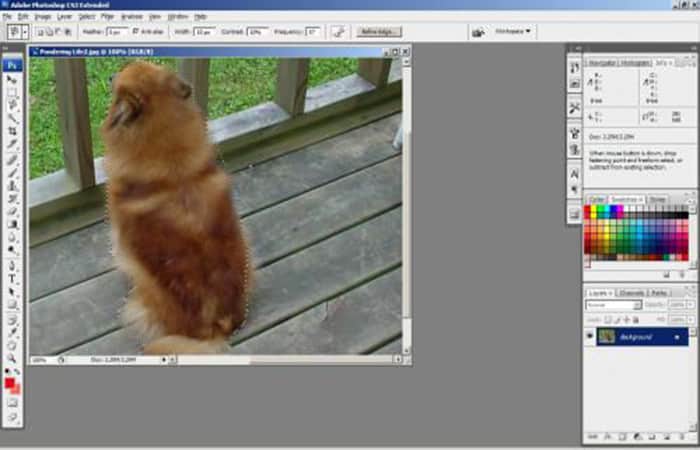
Tips and Warnings
- If a link point is placed in the wrong area, press the backspace key to cancel that point.
- If your first attempt to link an image doesn't work, click ESC to cancel the Magnetic Lasso tool.
- If the image is next to another image with similar colors, you will need to use additional connection points.
Other useful tips for using the Photoshop CS6 lasso tool
The lasso tools are almost as easy to use as the marquee tools. You just drag the part of the image you want to select. Just don't get too caffeinated. A regular lasso hand is a good lasso hand.
The selection you make is only as good as how accurately you can draw around the desired item. If you don't make an exact selection the first time, you can always go back and make corrections.
If you find yourself struggling with (and losing) the mouse when making a selection, you may want to invest in a digital drawing tablet, such as a Wacom tablet. Using the pen and tablet can make tools like Lasso much easier to master.
The Lasso and Polygonal Lasso tools have only three options in the options bar to worry about: Pencil, Anti-aliasing, and Refine Edge . These options work exactly as they do with the Marquee tools.
Example of using the lasso tool
To make a selection with the Lasso tool, follow these steps:
- Step 1:: Select the Lasso tool from the Tools panel. The tool looks like a rope. You can also use the keyboard shortcut: press the L key.
- Step 2:: Place the cursor somewhere on the edge of the element you want to select.
NOTE : The hotspot (plumb line) on the Loop slider is the end of the string. If you need a little visual help, press the Caps Lock key , which changes the cursor to a crosshair. Zoom in if the element and background don't have much contrast.
Outline the element and try to capture only what you want to keep in your selection.
- Step 3:: As you draw, one of the line shapes follows the movement of the mouse. Don't release the mouse button until you've completed the selection by returning to the starting point to complete the cycle. When you release the mouse button, Photoshop will think it has completed the selection and close with a straight line from your end point to the starting point.

- Step 4:: Keep doing this until you return to your starting POINT - release the mouse button. Recognizing that you're done, Photoshop presents you with a bounding box that matches your Lasso line.
Another way to use Photoshop's lasso tool
The lasso tool allows you to select a portion of an image by drawing freehand. Follow these steps to practice using the lasso tool:
- Step 1:: Click the Tools panel.
NOTE : The Lasso tool control panel is shown :
The Contour, Smooth , and Select and Mask options are the same as those of the Rectangular Marquee tool.
- Step 2:: Click on the image and drag the pointer around the area to select.
- Step 3:: If you want to draw a line, hold down the key Alt on PC or Option Mac and click on each end. Don't release the mouse if you want to alternate between straight and free drawing.
- Step 4:: When you want to complete your selection, release the mouse button.
Select with the Polygonal Lasso Tool
The Polygonal Lasso tool is used in the same way as the standard Lasso, but it allows you to draw lines.
- Step 1:: Click on the panel Tools, hold down the mouse button and choose Polygonal lasso.
- Step 2:: Click on the image to define an origin point and repeat the action at each end.
- Step 3:: If you want to draw lines with a 45° angle, hold down the key Shift. If you want to alternate with a plot…
You might also be interested in reading about: How to Create a Reflection in Photoshop and Improve the Appearance of Photos
Conclusion
As you can see, these are the ways you can use the Photoshop lasso tool. There are thousands of ways you can practice with this tool. We advise you to follow this guide so you can learn to use the tool like a professional. We hope we have helped you with this information.

My name is Javier Chirinos and I am passionate about technology. Ever since I can remember, I have been interested in computers and video games, and that passion has turned into a job.
I have been publishing about technology and gadgets on the Internet for over 15 years, especially in mundobytes.com
I am also an expert in online marketing and communication and have knowledge in WordPress development.